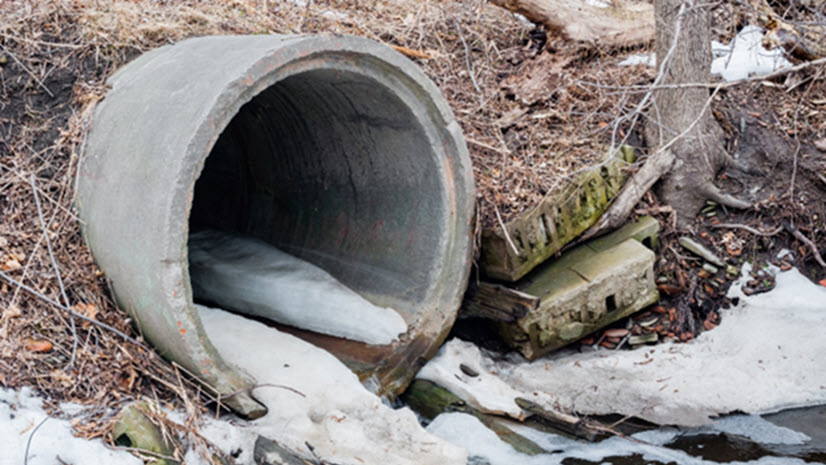
Have you ever driven over a road after heavy rain and wondered why it wasn’t flooded? Underneath that road, there’s likely a culvert, a pipe or channel moving water from one side to the other. Culverts are everywhere, and they’re critical to how water actually moves across a landscape.
But here’s the challenge: in the digital elevation models (DEMs) used for hydrologic analysis, culverts are invisible. Roads data appear as solid ridges in the data, and water has no way to pass beneath them. This gap produces real errors in how we derive stream networks and model flow paths.
In ArcGIS Pro 3.7, we introduced two new tools – Generate Breach Lines tool and Adjust Raster to Stream tool- specifically designed to account for culverts in high-resolution DEMs and complete the workflow that the Locate Depressions tool started in 3.6.
Using the three tools in sequence lets you:
- Locate potential culvert sites.
- Define how water moves through them.
- Update your surface raster accordingly.
The Scenario: Something Looks Off
Imagine you’re working with high-resolution elevation data to generate a stream network. You run a stream extraction analysis and review the output. However, something doesn’t look right. There’s a road crossing at a specific location, and your stream features stop abruptly at the road’s edge where a culvert should be directing water underneath.
This is exactly the scenario the new workflow was designed to solve.

The workflow starts with the Locate Depressions tool, which uses an elevation raster as input, and identifies areas of topographic depressions that may indicate culvert locations.
The tool produces two key outputs:
- Depression polygons — the areas identified as potential culvert sites
- Connection points — locations where water likely enters and exits the culvert
Optional parameters can help refine the search, focusing the analysis to the most likely areas based on your data and study area.

With the depression outputs, the Generate Breach Lines tool creates a line representing the path water would travel through the culvert, connecting the depression to a lower-elevation cell on the downstream side of the road.
The tool takes as input the depression polygon and connection points from the previous tool. Optional parameters let you control how the path is computed.
The output is a set of 3D lines that trace the subsurface flow path, elevation-aware, ready to be used directly into the next step.

The final step is the Adjust Raster to Stream tool, which modifies the cell values of the surface raster along the input lines, in this case, the 3D lines from the previous step.
By default, the tool interpolates elevation values along the line, smoothly adjusting the surface to reflect the culvert path. Optional parameters let you create v-shaped channels or apply other adjustment methods depending on your analysis needs.
The result is an updated surface raster that now reflects the culvert pathway. Flow can now go beneath the road as it does in the real world.

Accounting for Culverts: Accurate Stream Features
With the corrected raster, running the Derive Stream as Line tool produces stream features that accurately account for the culvert. The gap is removed, and the water now flows through the culvert path.

A Modular Workflow, Step by Step
Each of the three tools tackles a distinct step in the process, and they’re designed to be used together or independently depending on your data and workflow:
- Locate Depressions tool: find where culverts may exist.
- Generate Breach Lines tool: define how water moves through them.
- Adjust Raster to Stream tool: update the surface raster to reflect that path.
You can automate this workflow, for example, using ModelBuilder in ArcGIS Pro.

Whether you’re producing flood maps, delineating watersheds, or extracting stream networks, this workflow helps ensure your elevation data reflects what’s actually happening on the ground, including what’s happening beneath it.

Article Discussion: