Creating a hillshade with ArcGIS Pro’s raster functions is spectacularly simple…but also spectacularly fun. There’s a sense of magic behind a simple button press. Whole landscapes reveal themselves. Data transforms into information. Geography becomes art. All that.
So if a single button press is so rewarding, what’s the harm in a few more button presses? None, that’s how much.
Here’s how you can conjure your own fully custom multidirectional hillshading in ArcGIS Pro. Then get crazy and do a chromatic hillshade. Then get ridiculous and apply hypsometric tinting.
With a digital elevation model in hand, you can use the hillshade raster function to participate in the joy of algorithmically converting an elevation surface into an illuminated terrain. Just magic. But why choose just one angle? You can create any number of hillshade layers at various angles…

…and use Soft Light blend mode to merge them together into your own tenderly crafted multidirectional hillshade.

Or, if you prefer, you could use a darkening blend mode like Multiply.

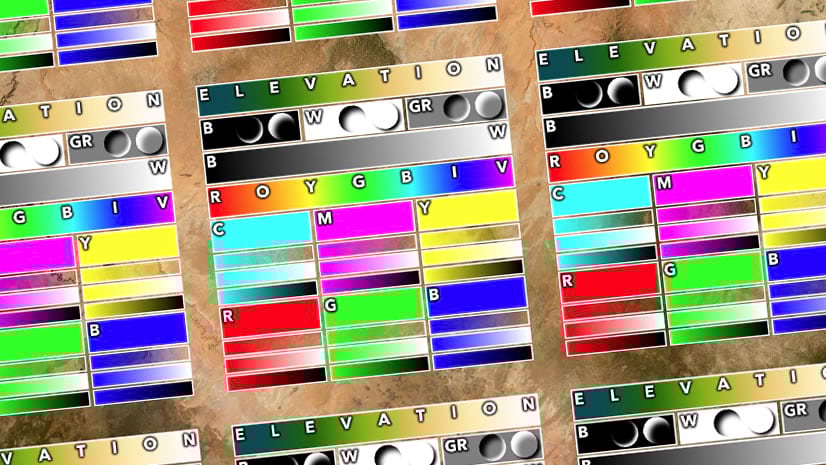
Say, why stick with the default black-to-white hillshade color gradient? What if you gave the hillshade layers black-to-red, black-to-green, and black-to-blue gradients?

Then you could use the Screen blend mode to combine them into a trippy colorized hillshade. Now instead of just tones to illustrate terrain, we can give our brains a bit of color to help tease out the angular characteristics of the landscape.

Then if you’d like to add a bit of depth to this terrain, drag up the original elevation layer and give it a Soft Light blend mode to hypsometrically tint the lower and higher elevations.

Because why not? There’s a million different ways you can take command of your cartographic terrain adventures to make your map carry the message it needs. Try it out, have fun. But be warned: terrain conjuring is a slippery slope and you may find yourself wholly consumed by the delicate powers of throwing shade.
Happy terrain mapping! John


Mr. Nelson, can this chromatic hillshade, and your previous article on the 3D street network appearance, be made into a basemap layer for publishing to AGOL?
hi Barry! i could create a raster tile package from this oblique hillshade map and then see it Online. but, because it’s an oblique-ified 2d map, it wouldn’t line up with other online map layers, so there isn’t as much utility in that sort of thing. you might be better off making a cool looking 3D web scene.
the 3D street network appearance (assuming you are talking about this technique) is native to the AGO map viewer (using blends and effects) so you’re all set because it’s already online.
John, I’m not sure if you’ve ever heard of or seen Harold Fisk’s maps of meander belts and historic river courses of the Mississippi River, but they are beautifully artistic. I’d love to see someone find a way to recreate his style using modern mapping technology. He was a geology professor at LSU and also worked for USACE. He made these series of maps by hand for the USGS in the 1940s. If nothing else, I’d love for you to take a look at them to appreciate his artistic cartography style. I have a couple framed in my home office. Here is some more information if you’re curious.
https://publicdomainreview.org/collection/maps-of-the-lower-mississippi-harold-fisk/
hi Patrick! thanks for pointing me in this direction. i have seen Fisk’s maps but didn’t know anything about him. i always love learning more about map makers’ processes and background. i’ll look more into it. thanks again!