Deploying Field solutions after an emergency event allows you to collect data in a timely manner and maintain workforce transparency and accountability. ArcGIS Field Maps is an application you can use to manage debris clean-up for emergency and disaster management situations.
Debris reporting is a solution that supports emergency management organizations with collecting and monitoring debris after an emergency event. You can learn more about this solution on the Emergency Management site.
This blog article will walk you through how to create a debris reporting layer using an ArcGIS Online layer template. You will then create a map from this layer and use the ArcGIS Field Maps web app to configure a data collection form. Finally, you’ll learn how to use the Field Maps mobile app for collecting debris data on a mobile device.
Step 1: Create a Debris Reports Feature Layer in ArcGIS Online
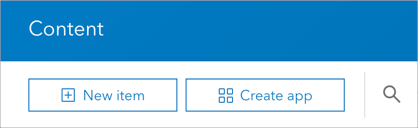
ArcGIS Online includes a Debris Reporting feature layer template. To access it, sign into your ArcGIS Organization, click Content, and click New item.
Next, select Feature Layer and then select Use a template.

In the search bar, type Debris Report, select the Debris Reports template, and click Next.

Click Next twice to pass the Layer details and Options pages.
On the New item page, provide a title for the feature layer, for example Debris Report, and click Save.
Step 2: Author a Debris Reporting Web Map
Now that we’ve created a Debris Reports layer, we will create a web map that we can configure and collect data on in Field Maps.
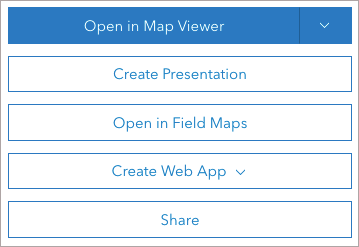
On the Debris Reports item details page, click Open in Map Viewer.
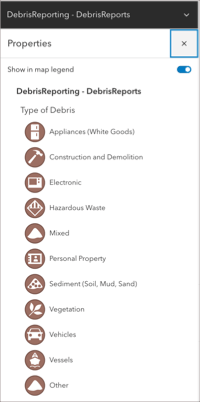
Click on the Debris Reports layer to see the list of report types. Each of these types will be a feature type entry in Field Maps.
Next, on the map, zoom into the area that you would like to start collecting debris and consider changing the basemap using the Basemap tool.
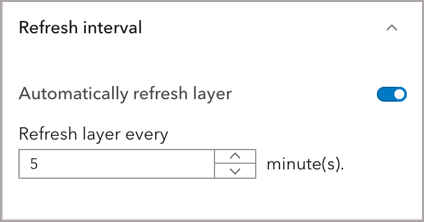
Set a layer refresh interval for the Debris Reports layer so that you can see new reports that come in from Field Maps.
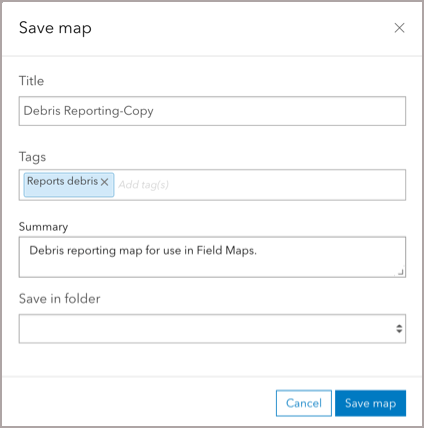
Next, you will need to save your web map and share it to a group that others can access. Click Save and then click Save As. Enter the following metadata for the map.
- Title: Debris Reporting
- Tags: Reports, debris
- Summary: Debris reporting map for use in Field Maps.
Next, click Share map  and share the map with the group your emergency responders are members of.
Step 3: Configure your reporting form in Field Maps
Now that we have created a map, we will use the Field Maps web app to configure the form responders will use for debris reports
In the top left corner of the screen, select more options and select Field Maps from the list of available apps.
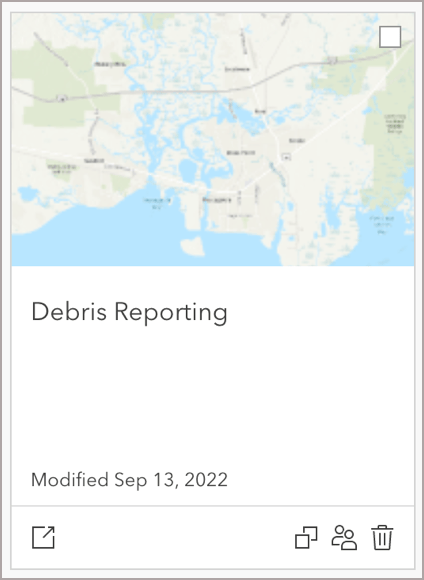
On the Maps page, click Configure  on the Debris Reporting map to open it.
The Debris Reporting map content page will open in Field Maps. Select the Debris Reports layer from the layers list.
The form canvas page will appear and this is where we will build the data collection form.
From the field list in the properties panel, add the following fields to your form:
- Name
- Assigned to
- Date Submitted
- Details
- Estimated volume (cubic yards)
- Estimated weight (tons)
- Report ID
- Status
- Type of Debris
Feel free to re-order the form fields in a way that makes sense to you.
Next, we will add a conditional visibility expression to the Name, Date Submitted, and Email fields. This expression will automatically fill in these fields. As a result, mobile users won’t have to input this information every time they fill out the form. This feature will not work in the mobile app if the device is offline.
Select the Name field.

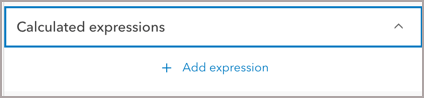
In the properties panel, scroll down and select Calculated expressions from the drop down menu and select + Add Expression.
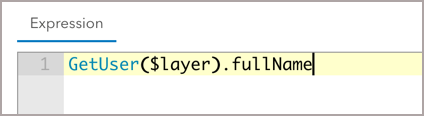
The Arcade editor will open. Add this expression to the expression builder window: GetUser($layer).fullName
Click Edit next to New Expression and give the expression a new name.
Click Save to save the new name and then click Okay to save the expression.
Complete the same process for the Date Submitted field and Emails field using the following arcade expressions:
- Date Submitted: Now()
- Emails: GetUser($layer).email
Save the form.
Step 4: Use the map and capture reports
Next, we will open the map in the Field Maps mobile app and start collecting debris reports.
Install and open the ArcGIS Field Maps mobile app on your device. Sign into your ArcGIS organization.
Tap on the Debris Reporting map card to open it and start capturing debris. If you are in an area with an unreliable internet connect, you can create an offline map area and download it to your device to collect data offline.

Press the blue Add  button to capture debris. In this example we will select the Hazardous Waste debris type.
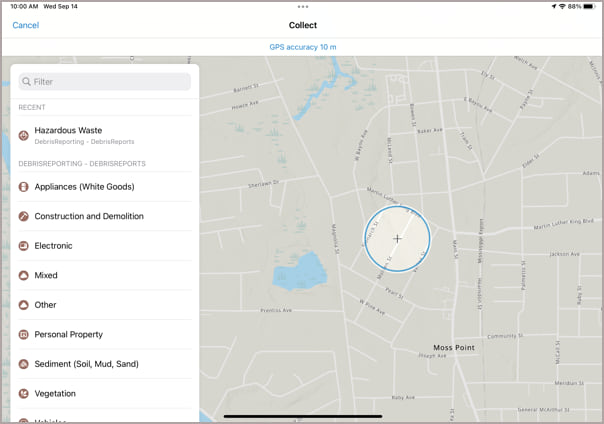
Field Maps automatically uses your GPS position as the location of the debris report.
Next, fill out the data collection form. This is the form we constructed and configured in the Field Maps web app.
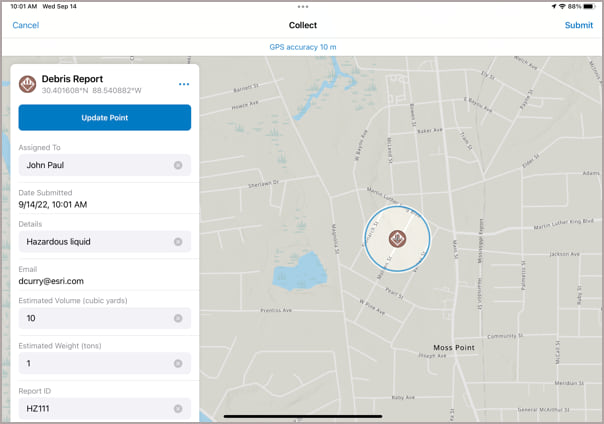
Tap the camera button to open the camera on your device. Take one or two photos of the damage and then tap Done when complete.
Once you have filled out the form and taken photos, press the Submit button to send the changes back to the Emergency Operations Center.
Once submitted you will return to the map screen on your device and can collect more debris data. The back office will see the new debris report appear in map viewer when the layer refreshes itself.

Article Discussion: