When creating an urban model in a projected coordinate system, it’s essential to correctly set up the basemap and elevation layers. This blog post explains how to prepare the data in ArcGIS Pro and publish it so that the layers can be consumed in ArcGIS Urban.
It includes the following sections with step-by-step instructions:
- Preparing data in ArcGIS Pro
- Publishing layers to ArcGIS Online
- Publishing layers to ArcGIS Enterprise
- Processing items on the portal
- Creating a local urban model in ArcGIS Urban
Preparing data in ArcGIS Pro
Step 1 – Set up a local scene in ArcGIS Pro
As a first step, we prepare a clean ArcGIS Pro (v3.2.0) scene and configure the coordinate system and the tiling scheme for publishing.
- Create a new local scene: Insert > New Map > New Local Scene
- Right click on the Scene inside Contents > Select Properties > Go to Coordinate Systems > Type your wkid in the Search field > Select the coordinate system and click OK
- Add your elevation layer to the current map
- Move the layer to the Ground inside Elevation Surfaces
- Add basemap layer(s) to the 2D Layers group of the scene (for multiple layers create a Group layer by selecting all layers > right click > Group)

Step 2 – Create a tiling scheme
- Find the Generate Tile Cache Tiling Scheme tool in Geoprocessing
- Select the elevation layer as Input
- Provide a file location and a name for the tiling scheme in Output
- Set Number of Scales to 5 and add additional levels by dividing the last number by 2. The last level should be below 1000 to make sure you can zoom in enough on the basemap
- Click Run at the bottom
Now, we are ready to publish our layers to the portal.
Publishing layers to ArcGIS Online
Note: Skip this section if you publish your layers to ArcGIS Enterprise.
Step 3 – Publish elevation layer to the portal
Next, we publish the elevation layer to the portal.
- Right click on the elevation layer > Select Sharing > Select Share as Web Layer
- In the General tab, select a name
- Go to Configuration > For Tiling Scheme select Tiling scheme file from the dropdown > select the tiling scheme file
- In Levels of Details select a range that includes Buildings
- Click Publish at the bottom
Step 4 – Publish basemap layers to the portal
Then, we publish the basemap to the portal.
- Right click on the basemap layer(s) > Select Sharing > Select Share as Web Layer
- In the General tab, select a name and as Layer Type > Tile
- Go to Configuration > for Tiling Scheme select Tiling scheme file from the dropdown > select the tiling scheme file
- In Levels of Details select a range that includes Buildings
- Click Publish at the bottom
Publishing layers to ArcGIS Enterprise
Note: Skip this section if you publish your layers to ArcGIS Online.
Step 3 – Publish elevation layer to the portal
- Right click on the elevation layer > Select Sharing > Select Share as Web Layer
- In the General tab, select a name and check Copy all data under Layer and Data Type
- Go to Configuration > For Tiling Scheme select Tiling scheme file from the dropdown > select the tiling scheme file
- In Levels of Details select a range that includes Buildings
- Click Publish at the bottom
Step 4 – Publish basemap layers to the portal
- Right click on the basemap layer(s) > Select Sharing > Select Share as Web Layer
- In the General tab, check Tile inside the Copy all data section
- Go to Configuration > Click on the Edit button next to Tile > for the Tiling Scheme select Tiling scheme file from the dropdown > select the tiling scheme file
- In Levels of Details select a range that includes Buildings
- Click Publish at the bottom
Processing items on the portal
Now we add the published basemap to the basemap gallery so it can be used in ArcGIS Urban and Scene Viewer. We will also verify in Scene Viewer that the basemap and the elevation layer can be displayed together in a scene.
Step 5 – Add basemap to the basemap gallery and verify on the portal
- Open the basemap layer item on the portal and click on > Open in Map Viewer
- In Map Viewer > Click on Basemap in the left navbar > select the layer
- In the right side panel > Adjust the Visible range to include the lowest level
- Save the Web Map > Open the item in your Content > Share the item with the basemap gallery group
- Go to the elevation layer item on the portal and click on Open in Scene Viewer
- In Scene Viewer, select the web map from the previous step as a Basemap

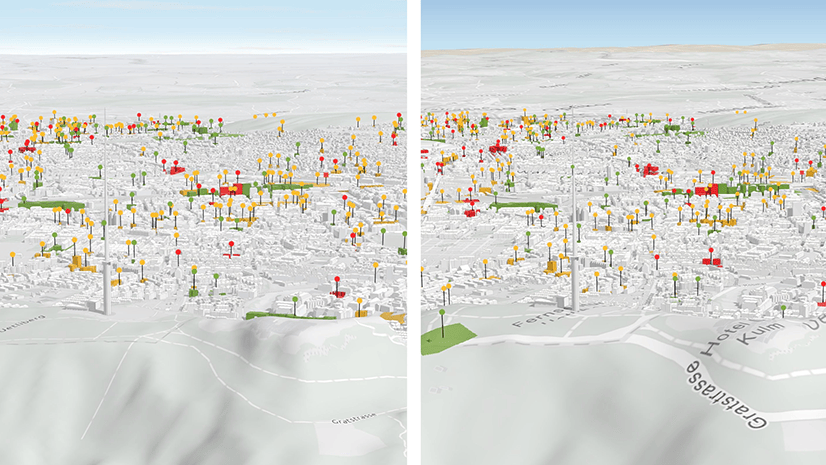
Creating a local urban model in ArcGIS Urban
Now that the basemap and the elevation layer are correctly published, you can go to ArcGIS Urban to create your local urban model.
Step 6 – Create a local urban model with the basemap and elevation layer
- Go to ArcGIS Urban and select the Set Up button to create a new urban model
- Type the location for your urban model > Select the Basemap > Select the Elevation layer
- Click on Create Urban Model > wait until the model is created and loaded

Troubleshooting
If you are getting an error in ArcGIS Pro, e.g., you cannot publish the elevation layer, please see further information in Share a web elevation layer.
If you are getting an error in Scene Viewer, e.g., that the spatial reference or tiling scheme of the basemap does not match with the elevation layer, check the following:
- Open the URL on the item page (bottom right) and compare the tiling schemes (scales, resolution, origin, spatial reference). Make sure that they are exactly the same and that the spatial reference has a well-known id instead of a well-known-text.
- Both the elevation layer and the basemap should be tile layers, not vector tile layers.
Note: If your basemap does not show up in the dialog in Urban, check that the item has the correct extent through the item’s Settings page on the portal.
Further resources:
- Create a basemap gallery for your organization
- Web scenes authoring in ArcGIS Pro – Basemap and elevation layers


Article Discussion: