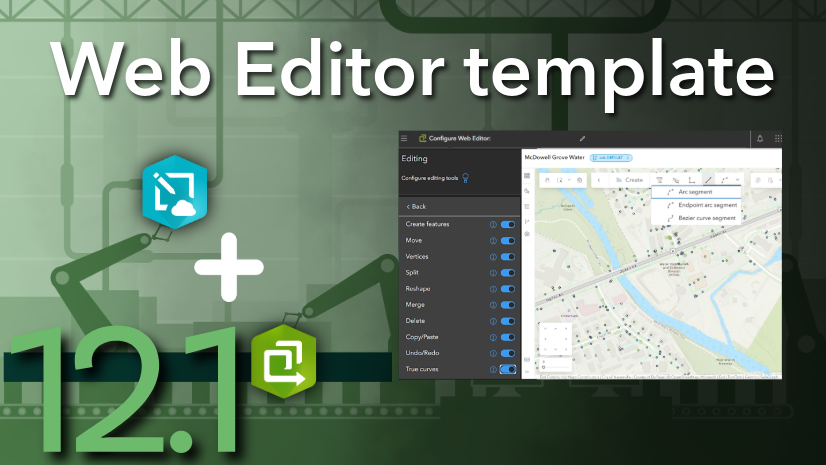
With the release of ArcGIS Enterprise 12.1, ArcGIS Web Editor is introducing some powerful new editing tools — including the snap chip. This is a handy new tool that displays a list of features, along with their height, so you can easily choose one to snap to. In this article, we’ll show you how you can use the snap chip to elevate your editing workflows.
Snapping from A to Z
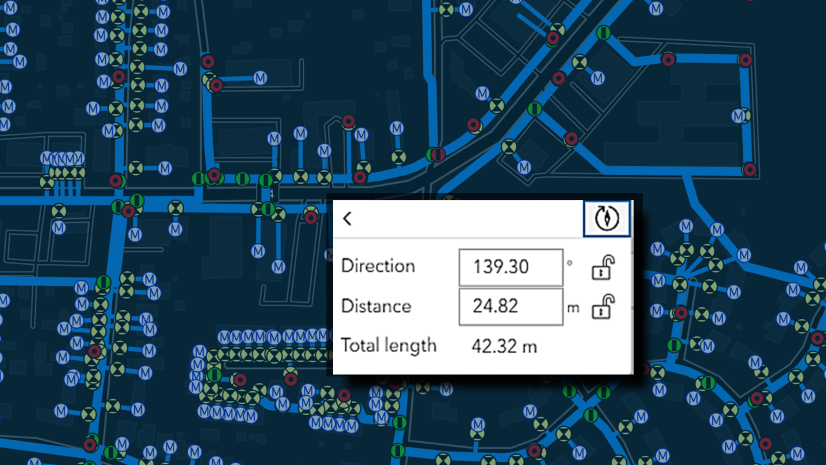
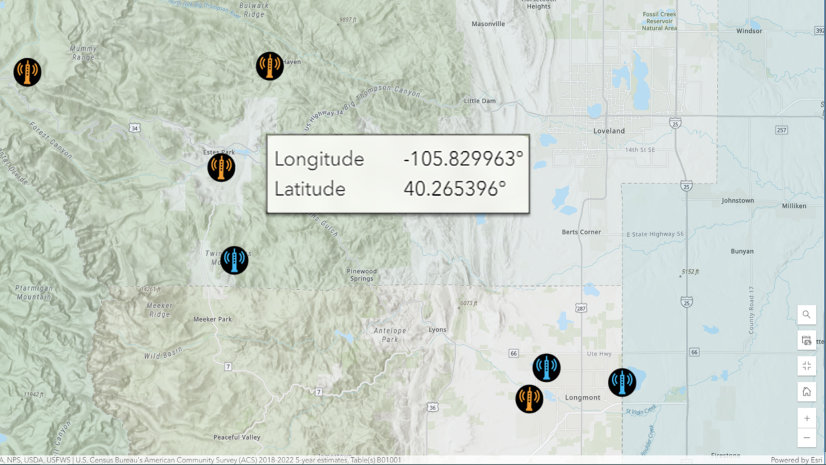
You already use X,Y coordinates to define a location on a map. Naturally, what comes next is Z. This is the coordinate that measures the distance above (or below) ground, often representing height, or elevation. At a busy junction, you may have multiple features such as water lines, fittings, and valves that occur at different heights. With the snap chip, you can now easily view the height, or Z-value, of each feature in a clear, organized list. This allows you to select which feature to snap to, ensuring appropriate connectivity across your layers.

Getting started
Configure snapping
To use the snap chip, open a map in Web Editor with at least one editable layer with Z-values enabled, then configure snapping from the general toolbar.

Toggle to enable both snapping and the snap chip. Then choose the layers you want to snap to.
Hint: If snapping isn’t enabled, the snap chip won’t appear on the map.

Activate the snap chip
The snap chip is available when creating or moving points and vertices, such as when you:
- create a new point
- move an existing point
- place or move a vertex in a line or polygon
To activate the snap chip, drop a point or vertex on a location that overlaps other points (or vertices). The snap chip appears above your cursor after you click on the map.

Preview the list
Click the drop down to see a list of all the coincident features. Each row shows the feature title and its Z-value. The last option shows the default Z-value for your layer, or 0 if none exists.

Pro Tip: Open the Editing tab in the Settings panel to switch between Metric and US Standard units.
Make a selection
Select the row for the feature or value you want to snap to. That value is automatically applied to your point or vertex. Its that easy. With the snap chip, you can now see Z-values at a glance and pick exactly the one you want to snap to.
Best Practices
When a layer has Z-values, we say that it is z-enabled. Here’s a quick run down for how values get set when you’re working with Z-enabled data:
Default values:
- When the layer has a default Z‑value set, that value usually gets applied to new features.
- If no default value is set, the Z-value defaults to zero.
Overwriting default values:
- Tooltips: Enable tooltips to set specific Z-values when creating or updating features. For a step-by-step guide, check out this previous article.
- Snap chip: Enable the snap chip to pick an existing feature and copy its Z-value.
- Interpolation: When you update a feature that has vertices at different heights, the Z-value for new vertices is calculated when possible.
Now you can choose which tools to use, and when, in order to set the right height for your features.
The Bottom Line
We’re continually enhancing web based editing tools to give you more ways to manage your data on the web. The snap chip is one of the latest additions designed to help you reach the exact height you want when creating and editing features in Web Editor and the new Web Editor template in 12.1. You’ll see it bubble up in more areas across the platform, including ArcGIS Online, down the road. In the mean time, keep an eye out for more updates and don’t forget to share your ideas and feedback with us over on Esri Community.


Commenting is not enabled for this article.