ArcGIS Pro includes a wide variety of editing tools right out of the box. These interactive tools can be used to create, modify, or delete the features and related data on layers in 2D and 3D. You can use the tools in work that ranges from natural resource planning to interior design and beyond.
If you’re already using Pro’s editing tools, you know how powerful they are, but you may not know some of the cool features that will make your daily work even more efficient.
Group Templates
Most feature creation doesn’t happen in a vacuum. If you draw a line on a map, you may also want a point, or a label, or another line to go with the original line feature you create.
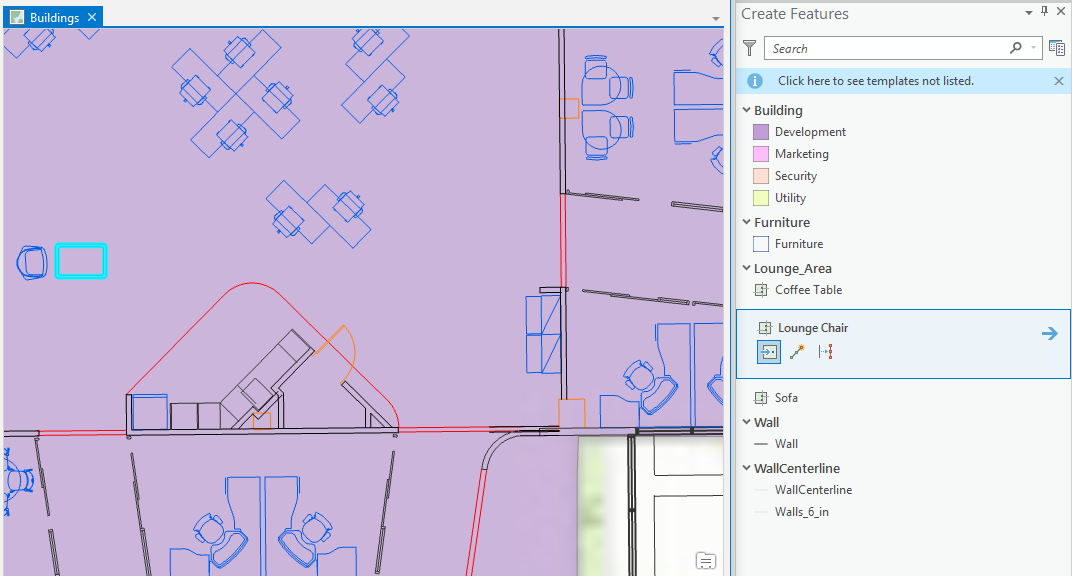
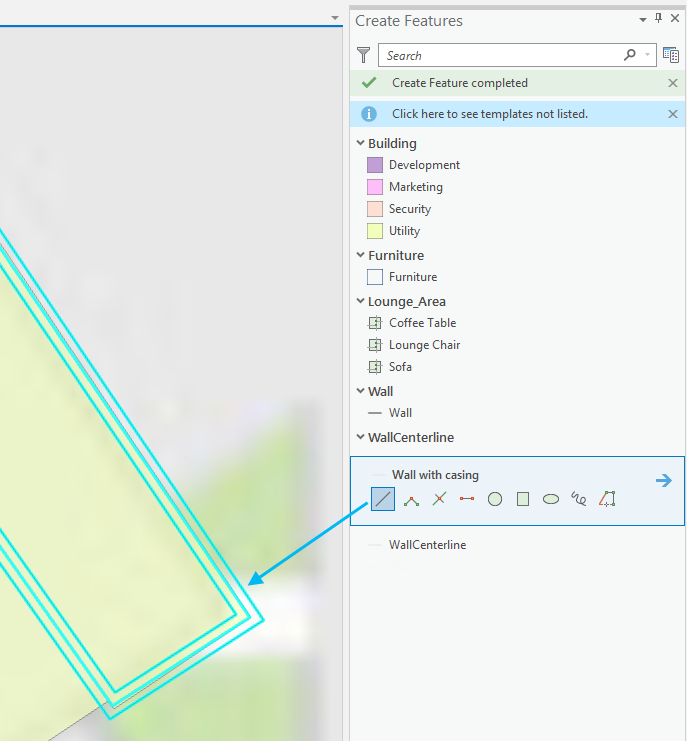
With group templates, you can choose a template (point, line, or polygon) as the primary template and add other templates to it to create and place multiple features in one editing action. For example, if you’re creating walls for a new building, you might want two lines 6 inches offset from either side of the wall centerline to accurately represent the actual thickness of the wall.
How to create a group template:
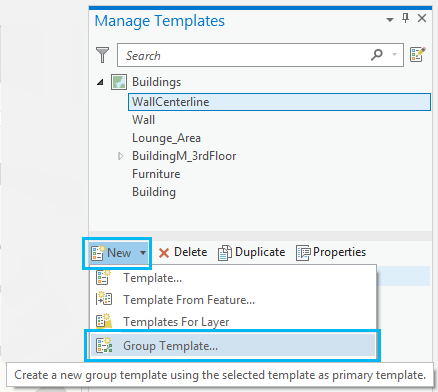
1. Open the Manage Templates pane.

2. On the Manage Templates pane, select the primary template on the top half of the pane, and click New > Group Template on the bottom half of the pane.
3. On the Template Properties: New Template dialog box, you can add a Name and Description for your template, and use the Tools tab set the default tools that will appear in the template. 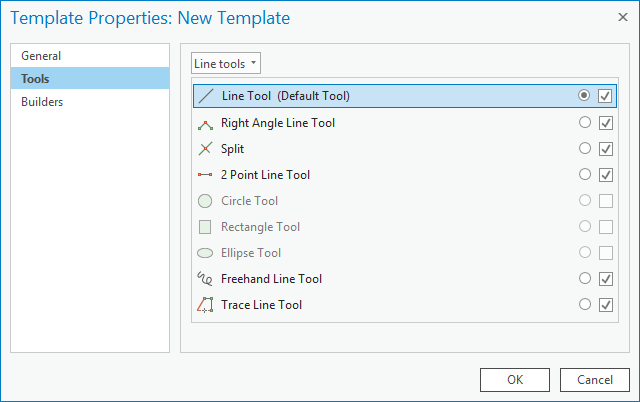
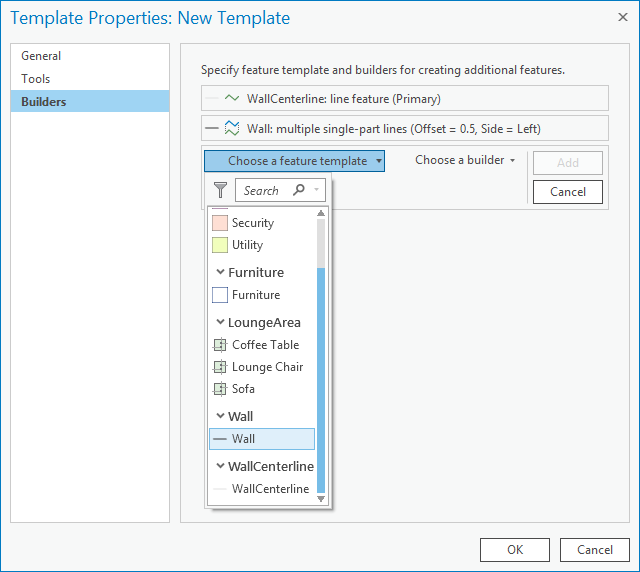
Then click the Builders tab to add additional feature templates and customize your group template.
4. Click OK to save your new template and then put it to work.
Learn more about creating and configuring group templates in the ArcGIS Pro Help.
Customize the Tool Gallery
On the Edit tab on the ribbon, there’s a gallery of commonly used tools used for editing.

But what if your most commonly used tool isn’t in the gallery? You can add your favorite tools to the gallery with 2 easy steps:
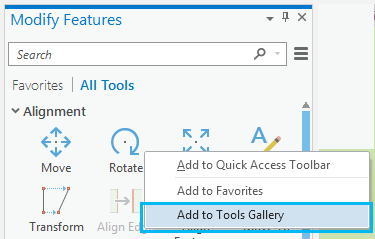
1. Open the Tools Gallery dropdown and click More Tools.
2. Find your tool under All Tools, right-click a tool and click Add to Tools Gallery.
Keep an eye out for an update to this gallery functionality in the next release of ArcGIS Pro.
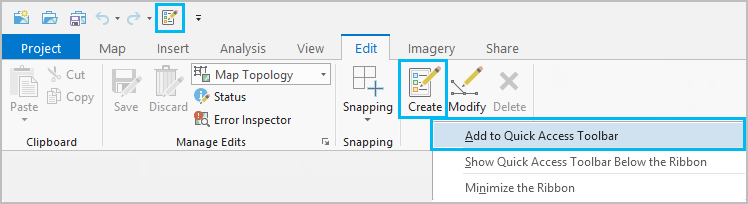
You can add your favorite editing tools to the Quick Access Toolbar at the top of Pro too! Just find the tool in the All Tools list or on the ribbon, right-click the tool and click Add to Quick Access Toolbar.
The Editing Grid
New at the 2.0 release is the editing grid. Use the grid to make editing and creating features simple. Just turn on the grid and turn on snapping. The features you create will be snapped to the grid to make your editing even more precise.
In 2.0, the editing grid is only available in 2D, but 3D support is coming at 2.1!
At this year’s user conference, Ty Fitzpatrick and J.D. Overton gave some great demos of ArcGIS Pro Tips and Tricks in a tech session.
Here’s the full video, but to see the editing grid at work, skip to 41:51 in this presentation:
If you have any other tips that make your editing workflows faster, be sure to share and comment below!

Article Discussion: