Representative depictions of ground surfaces are needed for visualization and analysis workflows, as part of bringing together design files from architecture, engineering, and construction (AEC) projects. Several options are available across ArcGIS for digitally representing 3D ground surfaces. Recent enhancements focusing on terrain datasets facilitate streamlined generation of surface models in ArcGIS Pro, centralized storage of key model components (for example, in an enterprise geodatabase), and use of surface models in cross-team collaborations. The following sections discuss options and tips for incorporating ground surface models when creating scenes in ArcGIS Pro and publishing scenes to ArcGIS Online.
Include ground surface models in ArcGIS Pro scenes
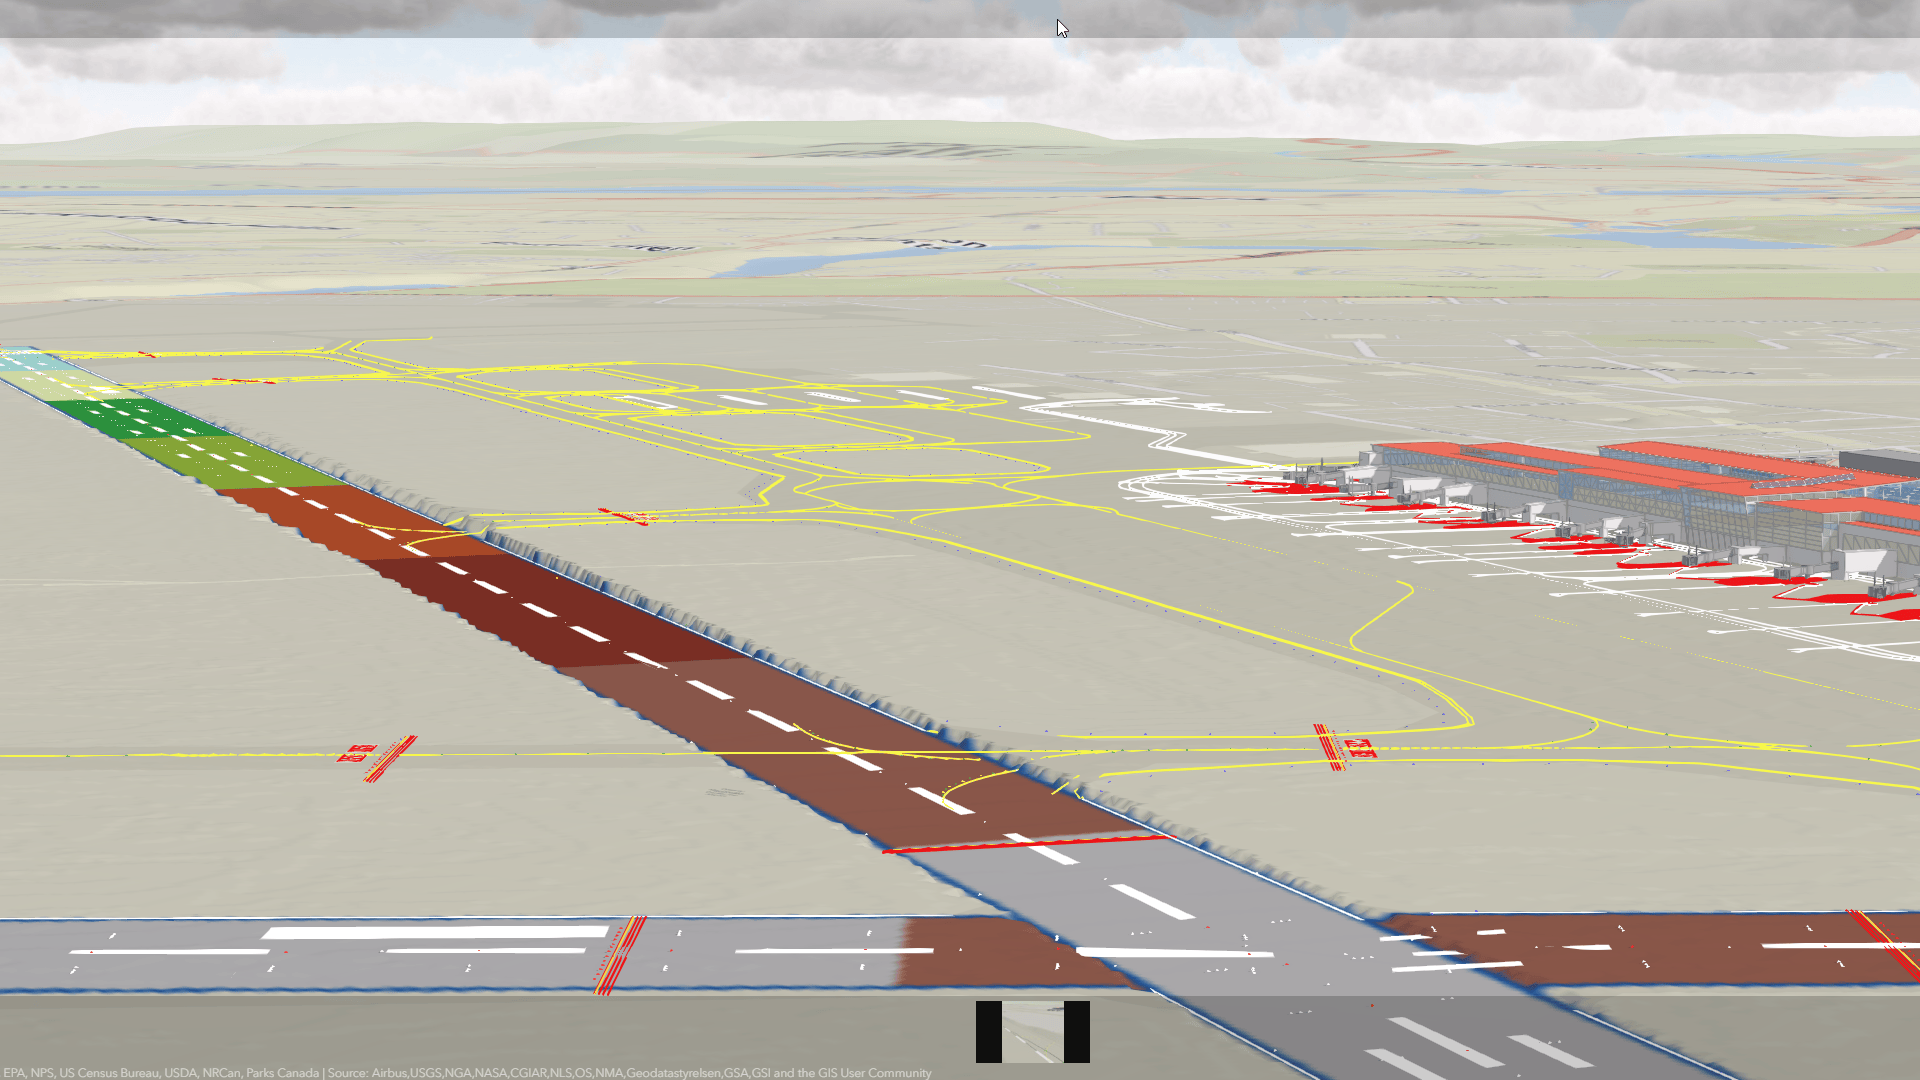
Over the course of AEC projects, ground surfaces evolve from existing to final conditions, requiring consideration when selecting surfaces for creating scenes in ArcGIS Pro. Recent enhancements to ground surface modeling capabilities, particularly those involving consumption of Autodesk® Civil 3D® surface models, simplify workflows for generating existing and proposed ground surface models and incorporating them into ArcGIS Pro scenes. For example, an Autodesk Civil 3D model (.dwg file) of a project site may contain multiple surface models, where both existing and proposed ground surfaces are represented as triangular irregular networks (TINs).
In ArcGIS Pro, elevation surfaces serve as fundamental components to scenes, providing defined ground height values across the scene extents. Multiple types of datasets can be used to define ground as part of elevation surfaces. For example, you can use TIN surfaces to define ground in ArcGIS Pro, as detailed in Autodesk Civil 3D surface as ground in ArcGIS Pro. For publishing and visualizing ground surfaces in ArcGIS Online (discussed later), you must use raster data.
Options for generating raster data from surface models
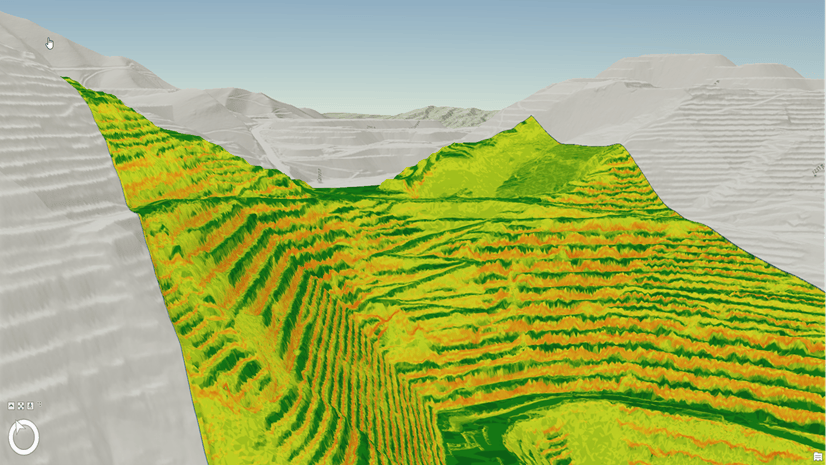
After generating a terrain dataset, you can enable use of surface models with the elevation surface as ground in ArcGIS Pro by generating a corresponding raster layer. Note that representation of the ground surface as raster data (as opposed to terrain data) is relatively less accurate, and raster data generated in this way is not recommended for use in analysis. However, the raster data remains of value for efficient visualization of ground surfaces in ArcGIS Pro and is necessary for publishing to ArcGIS Online.
For scenarios where a terrain dataset is available, you must use the Terrain To Raster geoprocessing tool to generate the corresponding raster data. Here, you select the input terrain that represents the ground surface of interest and specify the output raster name and data type. Additional parameters include the interpolation method and sampling parameters. The sampling value for the cell size should be small to best reflect the topology of the terrain dataset.

Another option is to use the streamlined process discussed in Terrain datasets—Surfaces in a centralized location to select an Autodesk Civil 3D TIN surface of interest and generate surface model data in ArcGIS Pro. The streamlined process uses a script to generate raster data if you check the Generate Raster check box. The resulting raster is contained in an output geodatabase, which is also specified as part of the script usage.

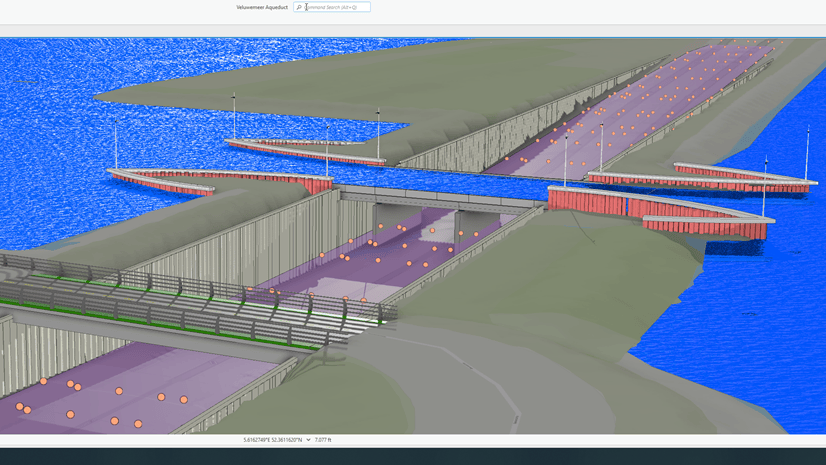
After the raster data is generated, you can add it to a scene in ArcGIS Pro. For example, in the Contents pane, right-click Ground and click Add Elevation Source Layer. From there, select the raster data to add it to the scene as the definition of ground. Note that multiple ground source layers can be added to the scene, and the top ground surface data listed modifies (stacks on top of) the second ground surface data listed, and so on.

Publish ground surface models to ArcGIS Online
Raster data added as an elevation source layer in an ArcGIS Pro scene can be published to ArcGIS Online. The publishing process first requires you to sign into ArcGIS Online. You can right-click the desired raster layer, click Sharing, click Share As Web Layer, and follow the prompts.

Alternatively, you can publish the raster layer by clicking the Share tab from the ribbon menu and clicking Web Scene from the Share As group.

Considerations for vertical units
When a raster layer is published, the vertical units must be in meters. One approach to satisfy this requirement is to create an additional raster layer, with vertical units in meters, using the Raster Calculator geoprocessing tool. Using this tool, you select a raster of interest, an operator (for example, multiplication), and a scale factor. For example, to convert from feet to meters, the scale factor could be input as 0.3048. The tool then produces a new raster for use in publishing, which satisfies the requirement of meters as the vertical unit.

Alternatively, the workflow discussed in Terrain datasets—Surfaces in a centralized location can be used to both draw on Autodesk Civil 3D TIN surfaces and satisfy the requirement of having meters as the vertical unit for the raster layer. When the script from this streamlined workflow is used, and the Generate Raster check box is selected, an additional check is carried out on the TIN surface model data contained in the Autodesk Civil 3D file (.dwg). Namely, the units associated with the coordinate system assigned in the .dwg file are assessed. If a coordinate system is assigned with units other than meters, the Convert Raster Elevation to Meters for Publishing check box is available. Selecting this option generates a second raster elevation with vertical units of meters, which is suitable for publishing to ArcGIS Online.

There may be instances in which a raster layer is present in the ArcGIS Pro scene and is intended for publishing to ArcGIS Online but does not use meters as the vertical unit. In these instances, you can access the properties for the raster layer, click the Source tab, and specify the Vertical Units Override setting as Meters. The raster layer will display correctly in the scene while remaining suitable for publishing to ArcGIS Online.

Recall that multiple ground source layers can be added to scenes in ArcGIS Pro, where the top-down listing order of the layers determines how the surface data modify (stack on top of) one another. In contrast, when you publish more than one ground surface (raster layer) into the same scene in ArcGIS Online, these published layers do not exhibit the stacking behavior.
Summary
Throughout the different stages of infrastructure projects, having accurate and up-to-date information about the ground is crucial. Recent enhancements related to terrain datasets and raster data within ArcGIS Pro make it easier to generate surface models, publish the surface data, and collaborate with teams across disciplines. Numerous options are now available for use across ArcGIS to support visualization and analysis workflows involving definition of ground.


Article Discussion: