Today, many of us are being challenged to build increasingly complex applications that not only deliver insightful visualizations and metrics, but that are essentially self-explanatory in this age of remote work. The “splash screen” has become ubiquitous across the internet to pass essential information to users about usage or compliance before they enter an application or web page.
Dashboards made with ArcGIS Dashboards can be a compelling tool for displaying these metrics and visualizations. However, often we’ve configured a specific purpose or workflow within the dashboard that we want users to follow. The Side Panel widget is great for describing data sources and methodology, but readers aren’t forced to read it before exploring the content. Additionally, many users are required to put an organizationally mandated entry window to grab users’ attention and inform them about an app’s usage terms, intended use, or even specific viewing instructions.
Fortunately, we can extend the functionality of the dashboard by leveraging ArcGIS Experience Builder.
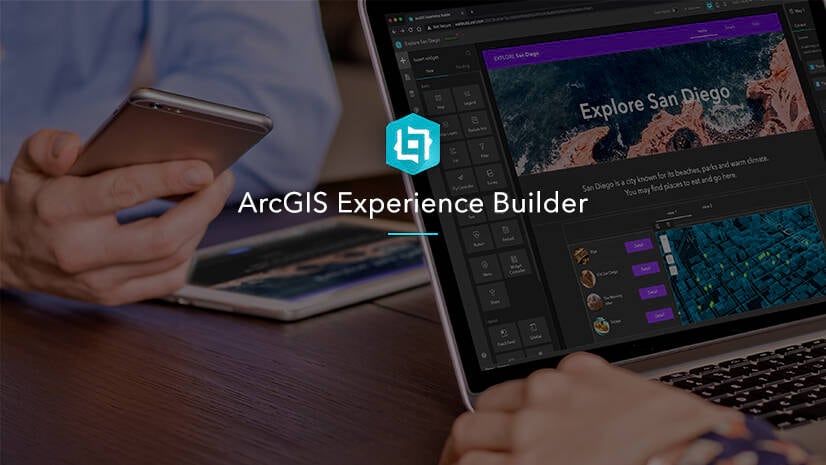
ArcGIS Experience Builder
ArcGIS Experience Builder is a new way of building web apps, providing a drag-and-drop workflow for creating powerful information products. With it, you can add in text, media, multiple maps, surveys, and other types of content, all within one unified web experience. It can even be used to enhance other applications, as outlined in this example. It is adaptable and mobile friendly, and with the newest release (June 2020), it lets you create highly tailored windows that you can use to inform individuals about an application before they use it.
With the new window or “splash screen” capability in Experience Builder, users can easily create landing dialogs for incoming users to ensure that important information about data permissions, general guidance when using the application, and even terms and conditions for the application are seen and acknowledged before entering the app.
Getting Started
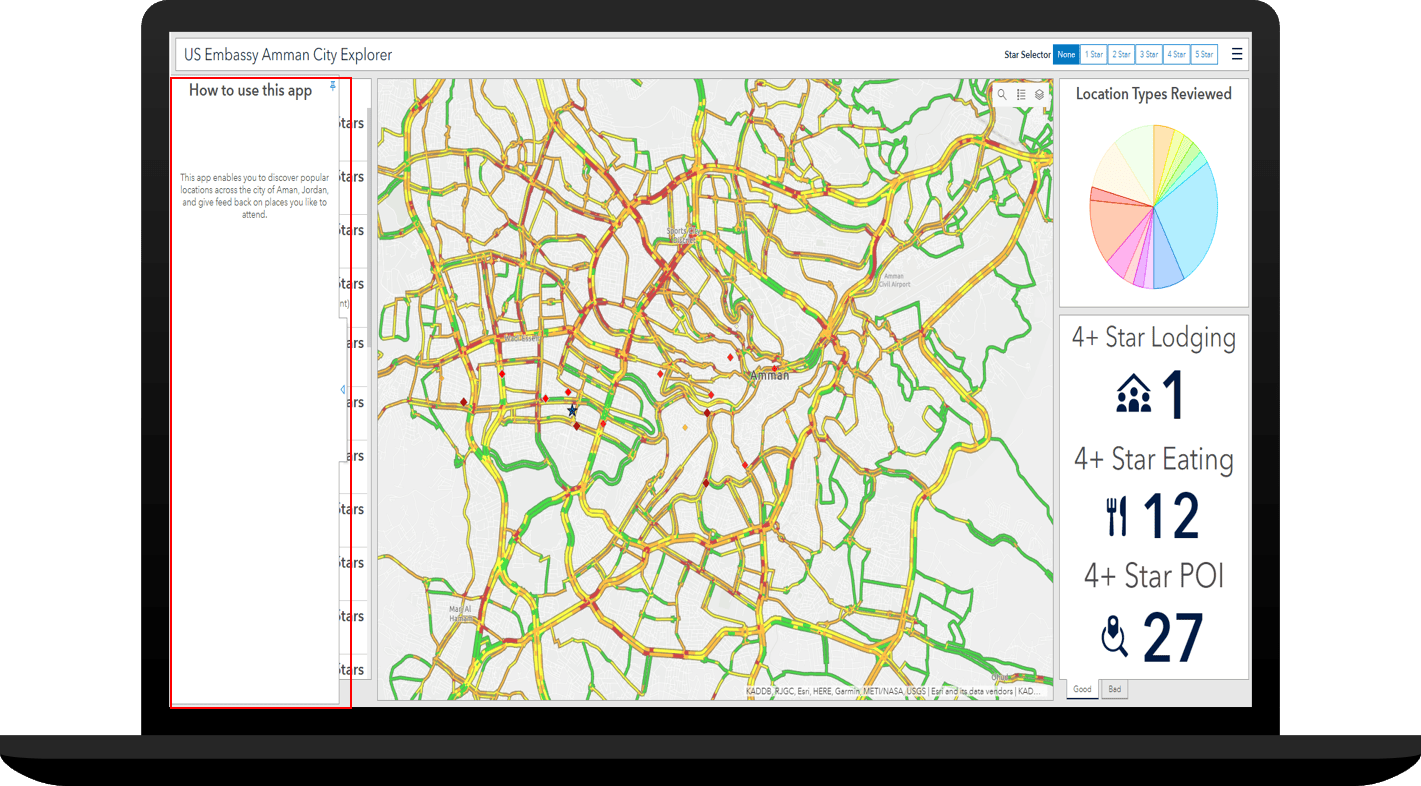
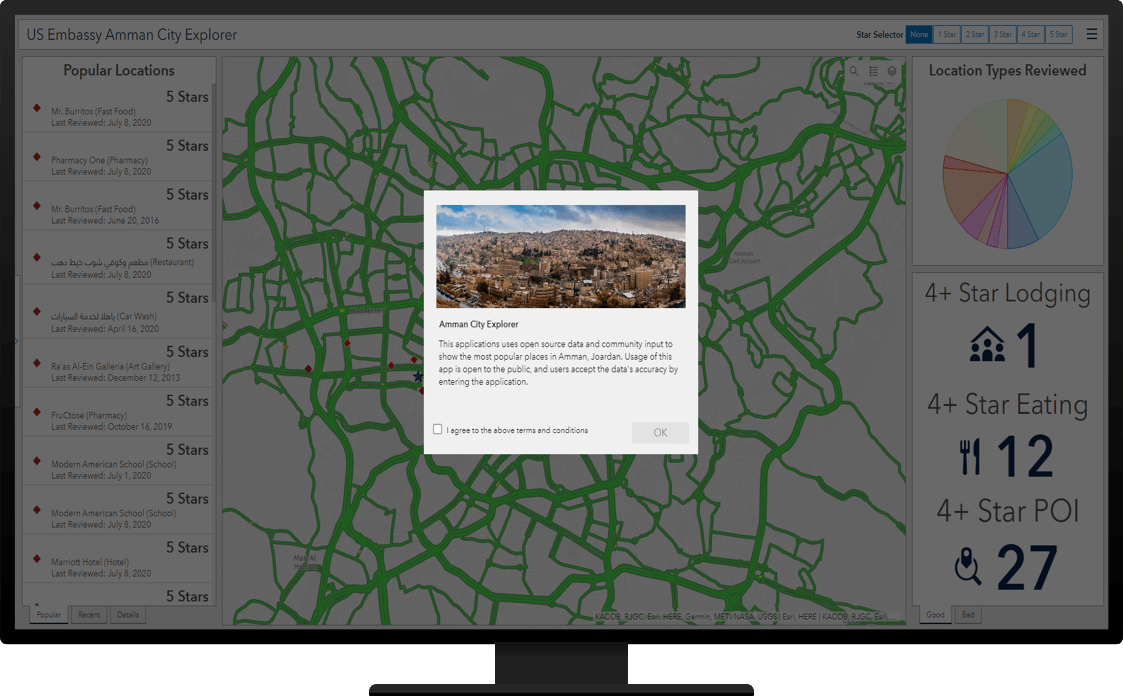
The first step is to build a dashboards in the ArcGIS Dashboards application. This example is a dashboard that looks at popular locations around Amman, Jordan for foreign travelers to visit. We want users entering the application to understand how our data was sourced and validated and ensure that they agree to our terms of use before using the application.
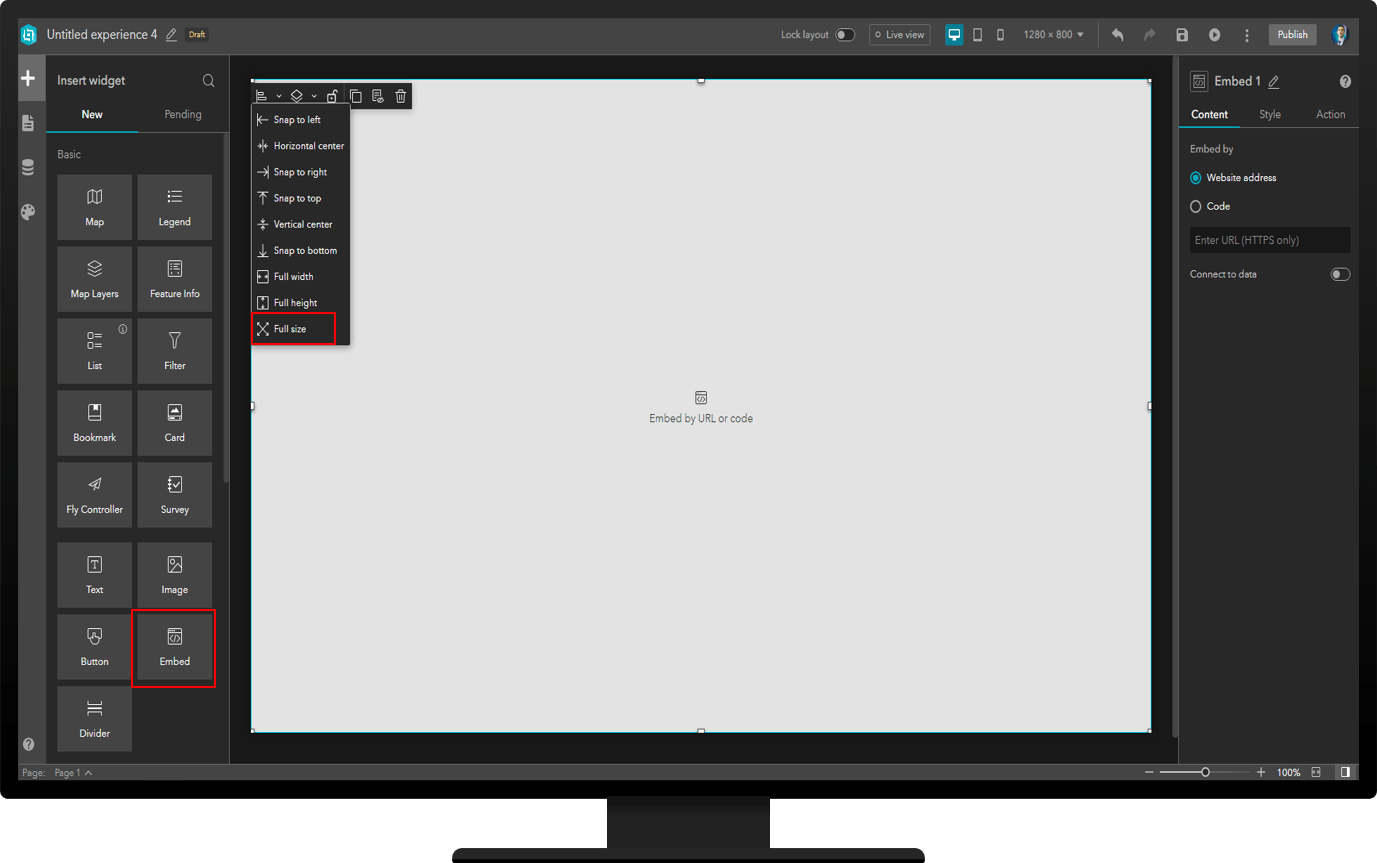
Once the dashboard is created, open ArcGIS Experience Builder. Because this will be a simple Experience Builder application, select the blank full screen template.
The next steps are easy to follow: In the builder, add a basic Embed widget by dragging and dropping it into the main workspace. Click on the new frame and select the option to enlarge it to full-screen. Add the URL for the desktop view of the dashboard as the website address.
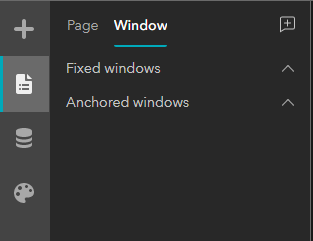
Now we will configure a window to create a splash screen when users arrive at the app. In the builder, select the Page tab, and then the Window option.
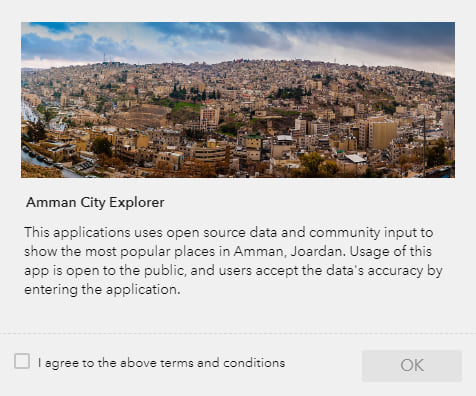
Now add in a new window and choose the “Confirm” template.
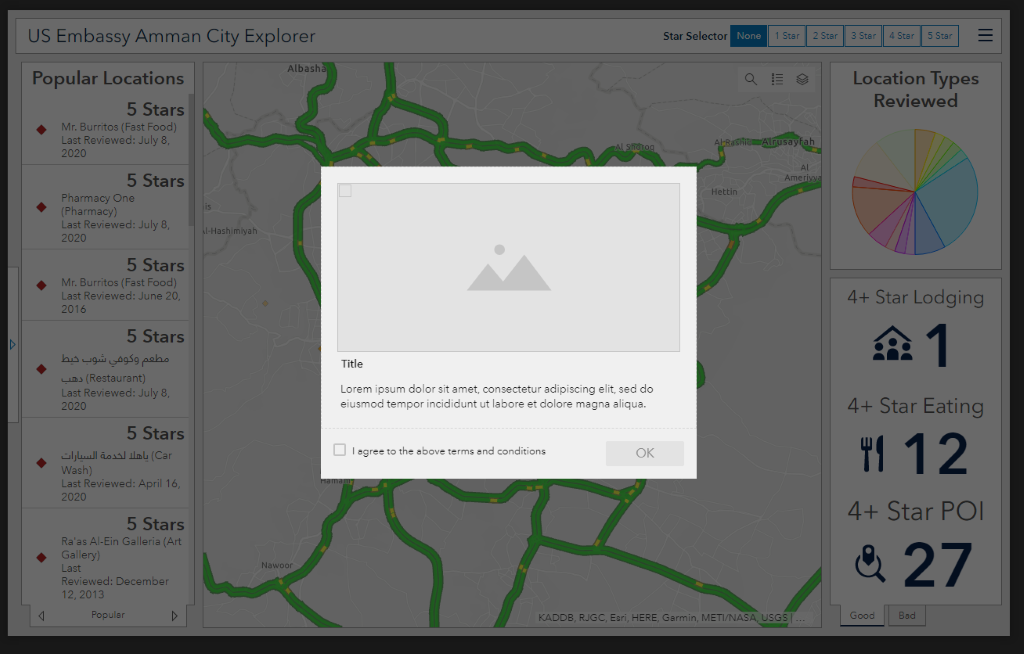
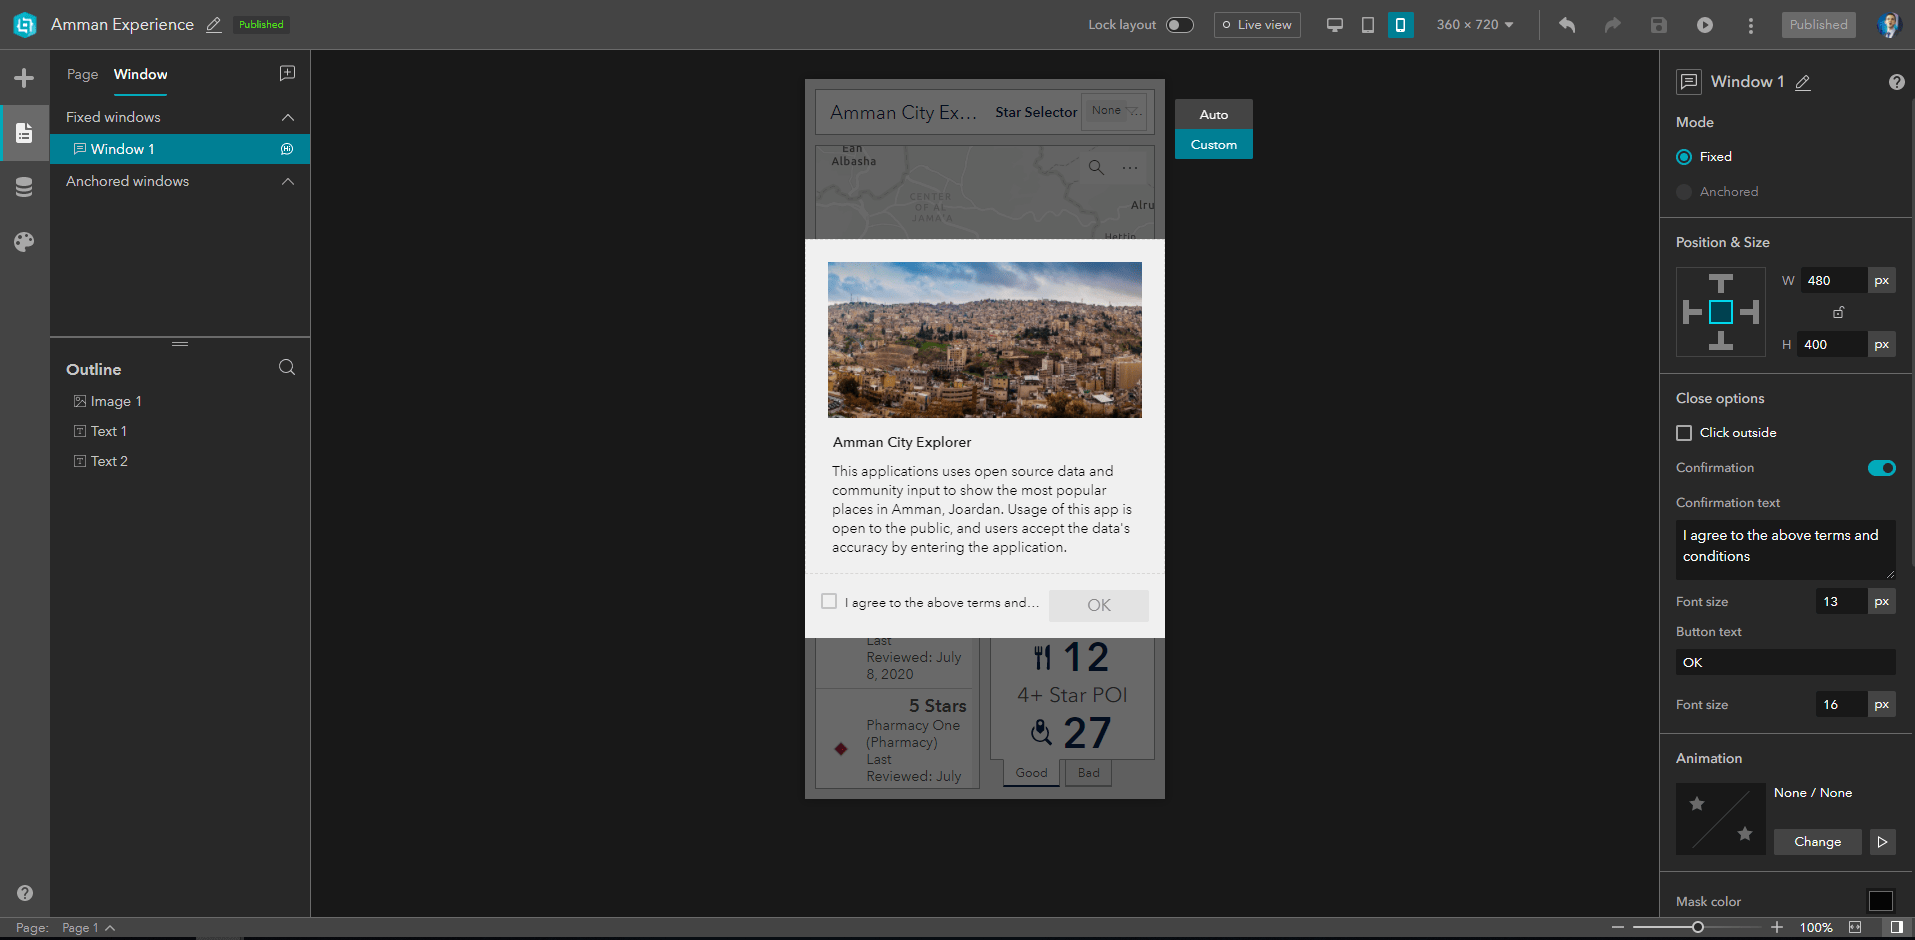
Here, we will style our window with the requisite images, text, and acceptance messages for the application. In this case, users will have to agree to the above terms and conditions concerning data and app usage that are listed before entering the app.
The position and size of the window is customizable, so if you know a lot of your users will be on mobile devices, you can configure both the dashboard and splash screen to be built for small screens.
Once it’s saved, you can share your application, and users will be greeted with the new splash screen when they open the dashboard. Of note, once you select “agree to the terms and conditions” and click “OK” on the splash screen, it will not redisplay within the same browser session.
Try this live example, and learn more about how ArcGIS Experience Builder can combine multiple apps into one immersive experience for your users.
Splash screens are just the beginning of how Experience Builder can enhance other ArcGIS applications. Users can add menu bars, multiple pages, and even surveys. Check out Part I of this series to learn how it can even make your applications mobile-friendly.
Note: Microsoft and Esri recommend using Microsoft Edge (instead of IE11) to view Experiences, as it will impact performance.


Nice article – thanks for taking the time to write it. There is one key step that is missing. To get the window to pop up when starting the app I had to update the “Open with window” setting on the Page object – to change it from the default of None to the name of the Window object (the splash screen). The other thing I don’t see is a way to have the splash screen close itself after a certain about of time. Is that possible (I don’t need any terms and condition acceptance)?
Hi Don,
Thanks for the feedback. I will look at updating the blog with that small caveat concerning setting the behavior for when the app opens. There is not currently a way to put a timer on the splash screen to close automatically, but that is great feedback for the product team that I will pass along.
I used this workaround for a new dashboard I just built. Works pretty nicely. I wish the confirmation text color could be changed though, like the rest of the text can. This is under the ‘Close options’ section. Currently just the text or size can be changed, but not the color, style or font. My splash screen is a color, so all of my text color is white. The confirmation text is black and can’t be changed. Due to the background color the confirmation text doesn’t pop as much as all the other text. It would be nice to be able to change it to match the rest of my text. Thanks.
Thanks, that’s great feedback that I’ve passed along to the team to try to incorporate into a future release.
The splashscreen is great, I use it on a dashboard project that I have been working on. There is one little quirk that I dont like and just cant figure out though. In my splashscreen I have a long text box, my text takes up the entire text box and more. The text box doesnt have any configurable options on how to scroll to the end of the text within the splashscreen. It gives a little area at the bottom with two arrows that are live pointing down, as if it is instigating the user to click the bottom area of the text box to scroll to the end of the text. This would be fine, however the arrows/bottom area are not clickable at all and if you hover over the area it does nothing either. The text box also does not respond to using the keyboard’s arrows for scrolling. This is my one complaint, and seemed worthy of mentioning.
Hi, you can use your mouse wheel or trackpad to scroll down when hovering above the text box. I’ve reached out to the team to see if there is a way to include other scroll options.