Here’s a pretty cool workflow for classifying video collected from a plane or UAV. What follows is a quick and dirty approach that is designed to give you a first look at what’s on the ground.
Step 1 – Capture frames periodically and then create a mosaic out of those frames.
- Open the Mosaic Video Geoprocessing tool in the Full Motion Video Toolbox.* This tool automates the collection and mosaicking of the frames. What you want to do here is make sure that each frame that is captured does not overlap with any others.
- (If they overlap, the intelligence that’s build into the mosaic dataset will take over, and the overlapping pixels will get blended together. It wouldn’t be an issue if you were capturing every single frame, but because this is more of a sample, you get weird artifacts.)
- The main parameter is the Image Capture Interval. Watch the video and keep an eye on the top of the screen to see how much time elapses for it to move to the bottom of the screen. If it takes 4 seconds to fly over one of these horizons, then your Image Capture Interval should work fine at 5 seconds. Remember, you don’t want any overlapping frames.
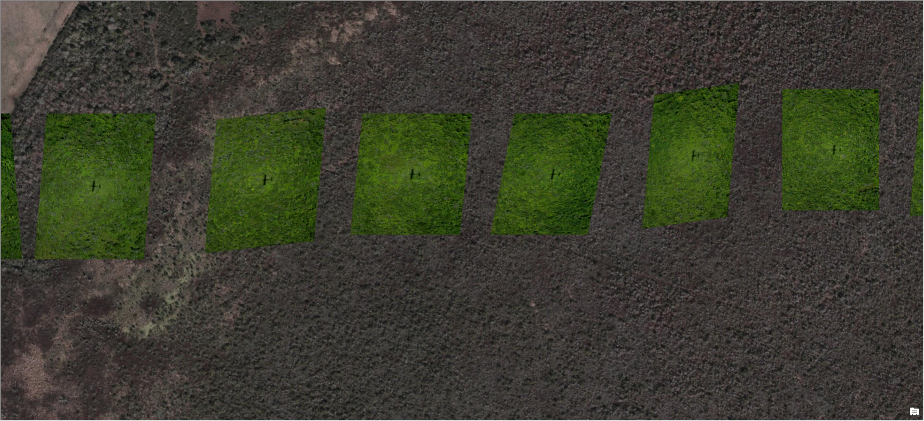
You can tell a lot about the flight path from these screen shots. Variations in the width of the frames (from left to right) and the amount of space between frames indicate a change in velocity of the aircraft. If the frame gets larger, the aircraft has gained in elevation. The less square a frame is indicates the camera has changed its viewing angle. All of these introduce error and lend to the quick and dirty approach advocated in this blog. Ideally, you’d have consistently sized and spaced squares.
Once you’ve run the tool, it’s a fairly straightforward workflow to classify each image. Usually I would never recommend using raster functions to segment an image because it’s processing intensive and every time you pan/zoom, it’s going to reprocess. You can get artifacts if you zoom in too far. But it works here because these frames are only 8-bit, 3 band images. You can zoom into each frame and get a pretty decent classification. If the images were overlapping, it wouldn’t work out well.
Step 2 – Set up the ISO Cluster Parameters
- You do need to run the Train ISO Cluster Geoprocessing tool to generate an .ecd file. This just stores the parameters (such as number of classes) that get called when classifying the image. I set my max number of classes to 4. I’m hoping to pick up variation in vegetation and bare earth.
Step 3 – Segmentation
- From here, apply the segmentation raster function to the mosaic dataset from the Image Analysis Window. Set the spatial and spectral details to 20.
Step 4 – Classify
- Then add the Classify Function using the segments and the .ecd file as your inputs. It should process pretty quickly.
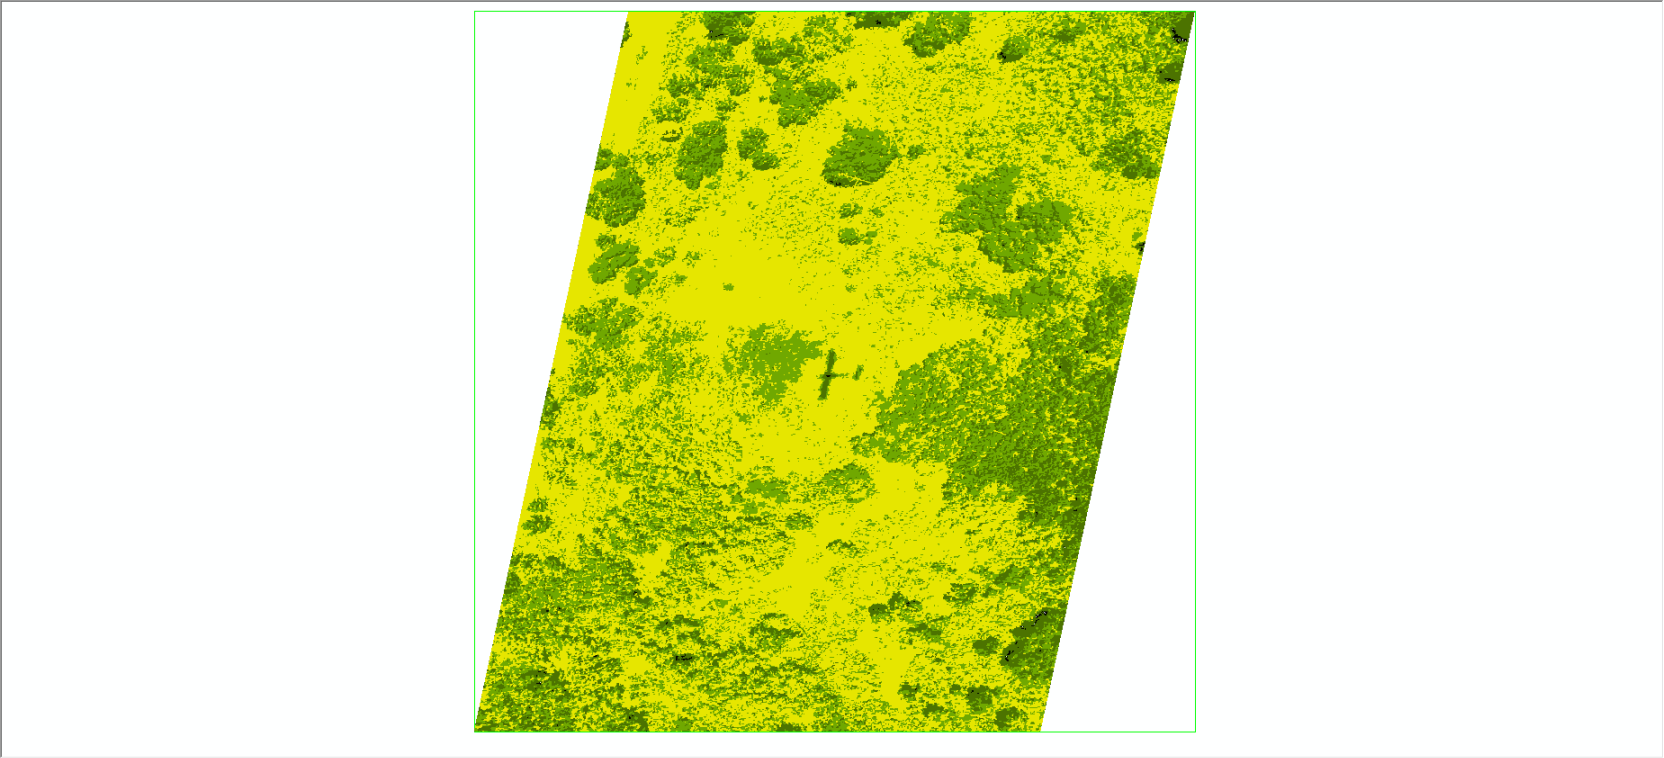
- To inspect the classification, zoom in so that one frame takes up the entire view. You can use the swipe tool to peel back the classified layer and reveal the imagery underneath.

Parting thoughts:
If you wanted to, you could create training sites and use a more robust classifier, like a Support Vector Machine. ISO Cluster missed the roads that are in the far right of the image, and if that’s what I’m looking for, then I’d have to go back and revisit my strategy. But if I’m interested in vegetation, this is probably good enough.

Article Discussion: