Have you tried using audio in ArcGIS StoryMaps? Adding sound can be a great way to entertain and make your story emotionally relatable, but it has other important uses too. For example, it can be hugely helpful in making your educational or instructional stories even more effective.
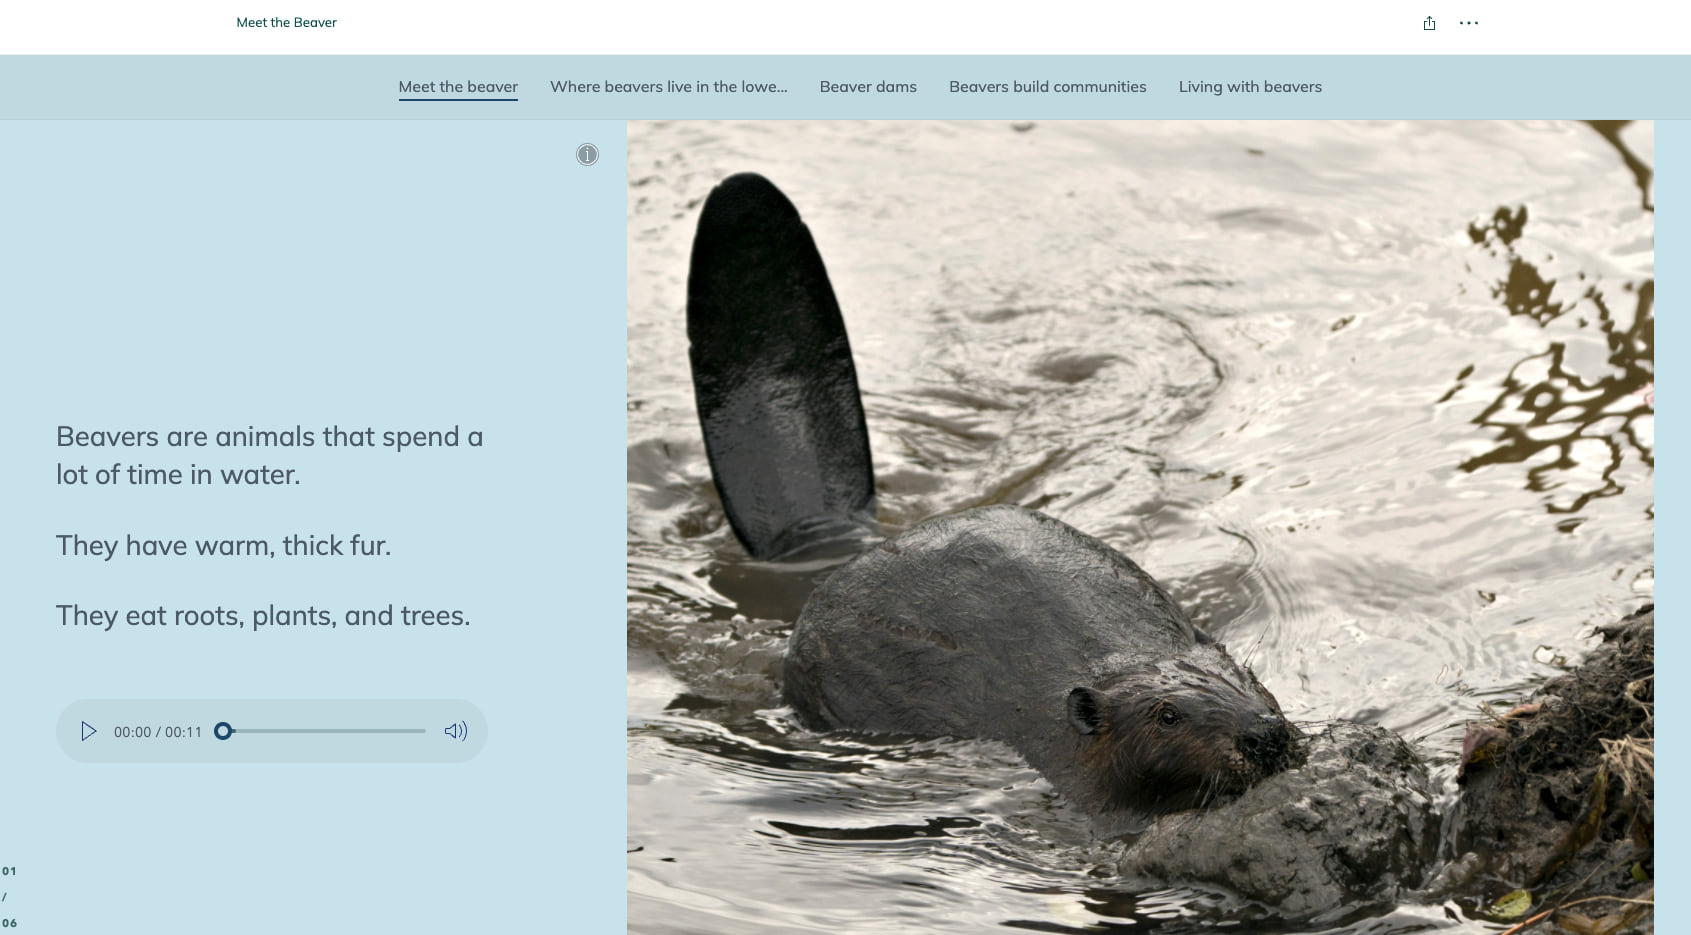
Let’s look at Meet the Beaver, which was spearheaded by my teammate, Lara Winegar. Lara is passionate about demonstrating how ArcGIS StoryMaps can be used to create educational content for younger audiences, and therefore is a big fan of the audio block in the story builder. In this story, we used audio to help engage younger readers and improve their literacy skills. How? By including click-to-play audio at the end of each section of the story.
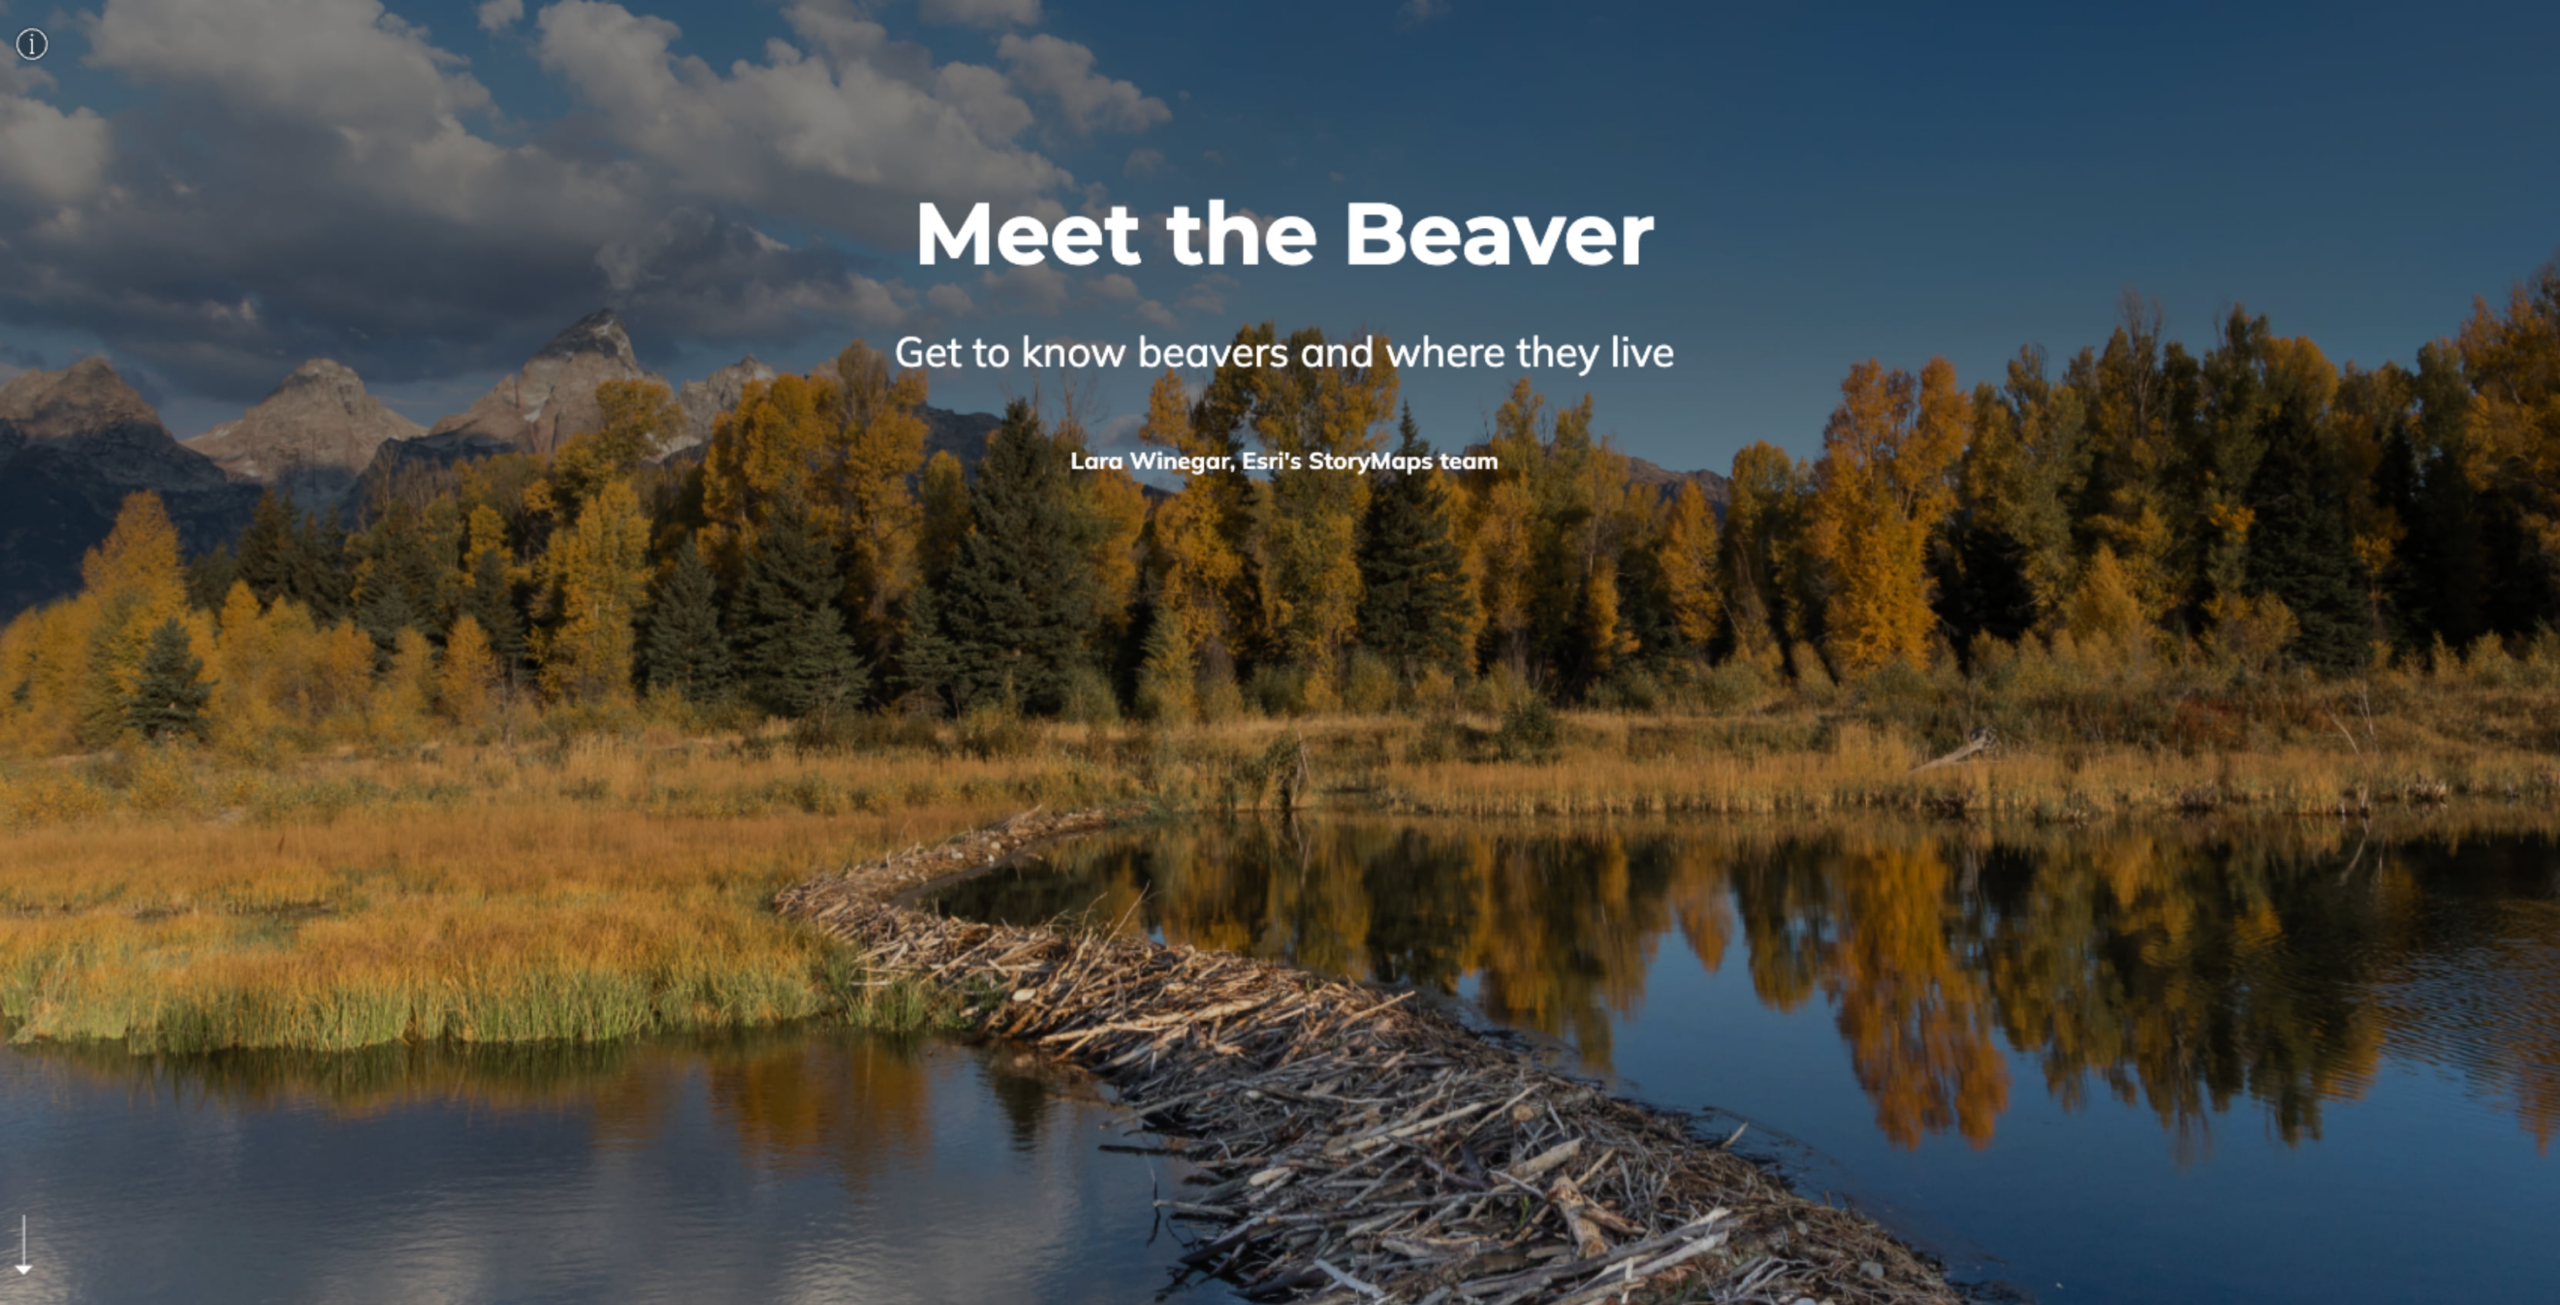
While collaborating with Lara on Meet the Beaver, I was curious about her decision-making process; I wanted to understand the why behind the approach we were taking with audio. So, I asked her! We had a talk about these concepts, giving me more insight into how to best work with audio narration in educational and instructional stories—regardless of whether your audience is five or 95.
Here are the three big takeaways to remember when creating audio narration for your stories:
Where you record matters
Let’s face it—most of us are not professional audio engineers. You probably don’t have a bonafide studio to record in, so you’ll want to find an enclosed space to have better sound quality with less background noise.
I asked Lara how she sets up her space when she’s ready to record, and she had some great advice:
Lara: Ideally, by going into a small room with a lot of soft materials, like a closet. This is a good idea because small rooms with things like clothing in it can help reduce background noise. . (A small room like a bathroom, where all the hard surfaces will bounce sound waves every which way, is not ideal.) If you have room, a chair to sit upright in and a stand for your script or screen are also very helpful.
If a small room is not an option, we recommend doing everything possible to minimize background noise (try sitting under a blanket!) and to use a microphone. Even the mic on your headphones should work for beginner audio storytelling; there’s no need to get too fancy when you are just getting started.
Finally, silence any device that dings—you don’t want your perfect take to be ruined by an unexpected text message notification
Choose your words carefully
Another point Lara drove home was the importance of your script. Your narration should match your story copy word for word, so make sure you have your copy finalized before starting the narration process. If your narration and written text don’t match, it can cause confusion and be counterproductive to the learning process.
I asked Lara to elaborate on this a little bit, and her answer was really helpful:
Lara: There are two important things to have squared away before you consider your script “ready.” First, be sure that the vocabulary you’re using is appropriate (not excessively difficult) for your target audience and that the sentences were grammatically sound. Second, make sure that your editor and any other important stakeholders have given their approval on the copy. You don’t want to have to re-record sections because of a few minor edits that come in!
Another pro tip is to rehearse. Read your script aloud a few times before you try to record it so you get a feel for the flow and where you need to pause for breaths. You’ll appreciate having fewer takes of each section to sort through later.
Where you add audio also matters
Where you place your audio in the story can make a huge difference when it comes to audience comprehension. So, I asked Lara, “how do you determine where certain audio should be placed in your story?”
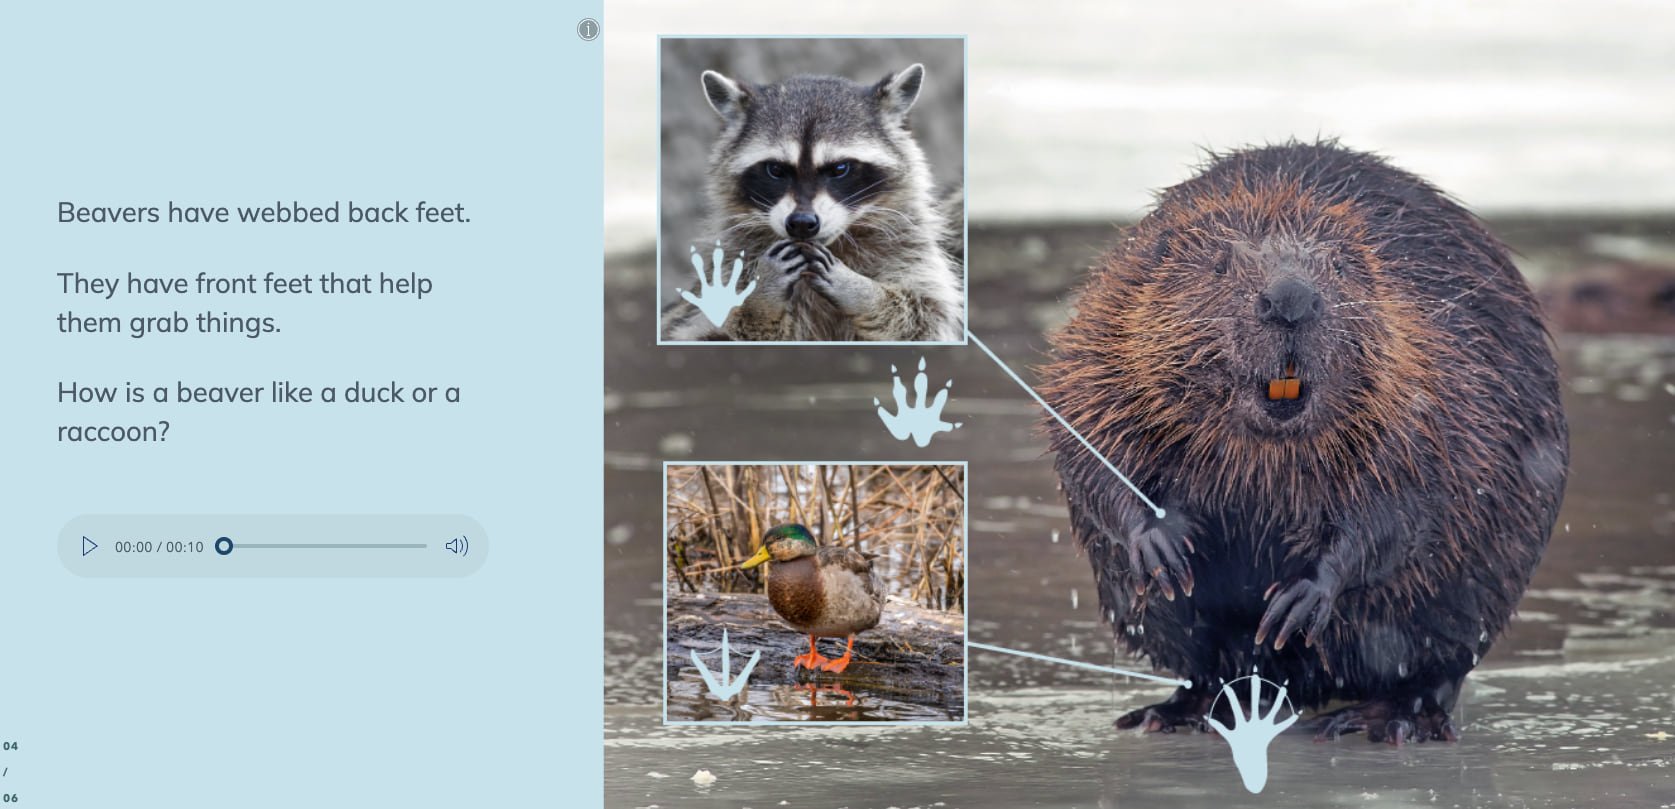
Lara: One of the factors when deciding where to insert your audio is to consider the audience and the purpose of the story. For the K-2 and English Language Learner stories, the goal was to support their literacy and learning needs. For this audience, we placed the audio clips at the end of the sections or sentences to provide a self-check to help verify they are understanding the written words.
Readers for this story should already have some background in the simple words that are typically introduced in K-2 classes, but for words that may be unfamiliar, having the ability to see and then hear a word supports the learner and allows them to process the information in both their visual and auditory parts of their brain.
So, if the reader needs help or is stumbling with a word, when they play the audio, they have the support they need to improve their literacy and comprehension skills. They can also use the audio placed after the text to confirm they are properly pronouncing the word.
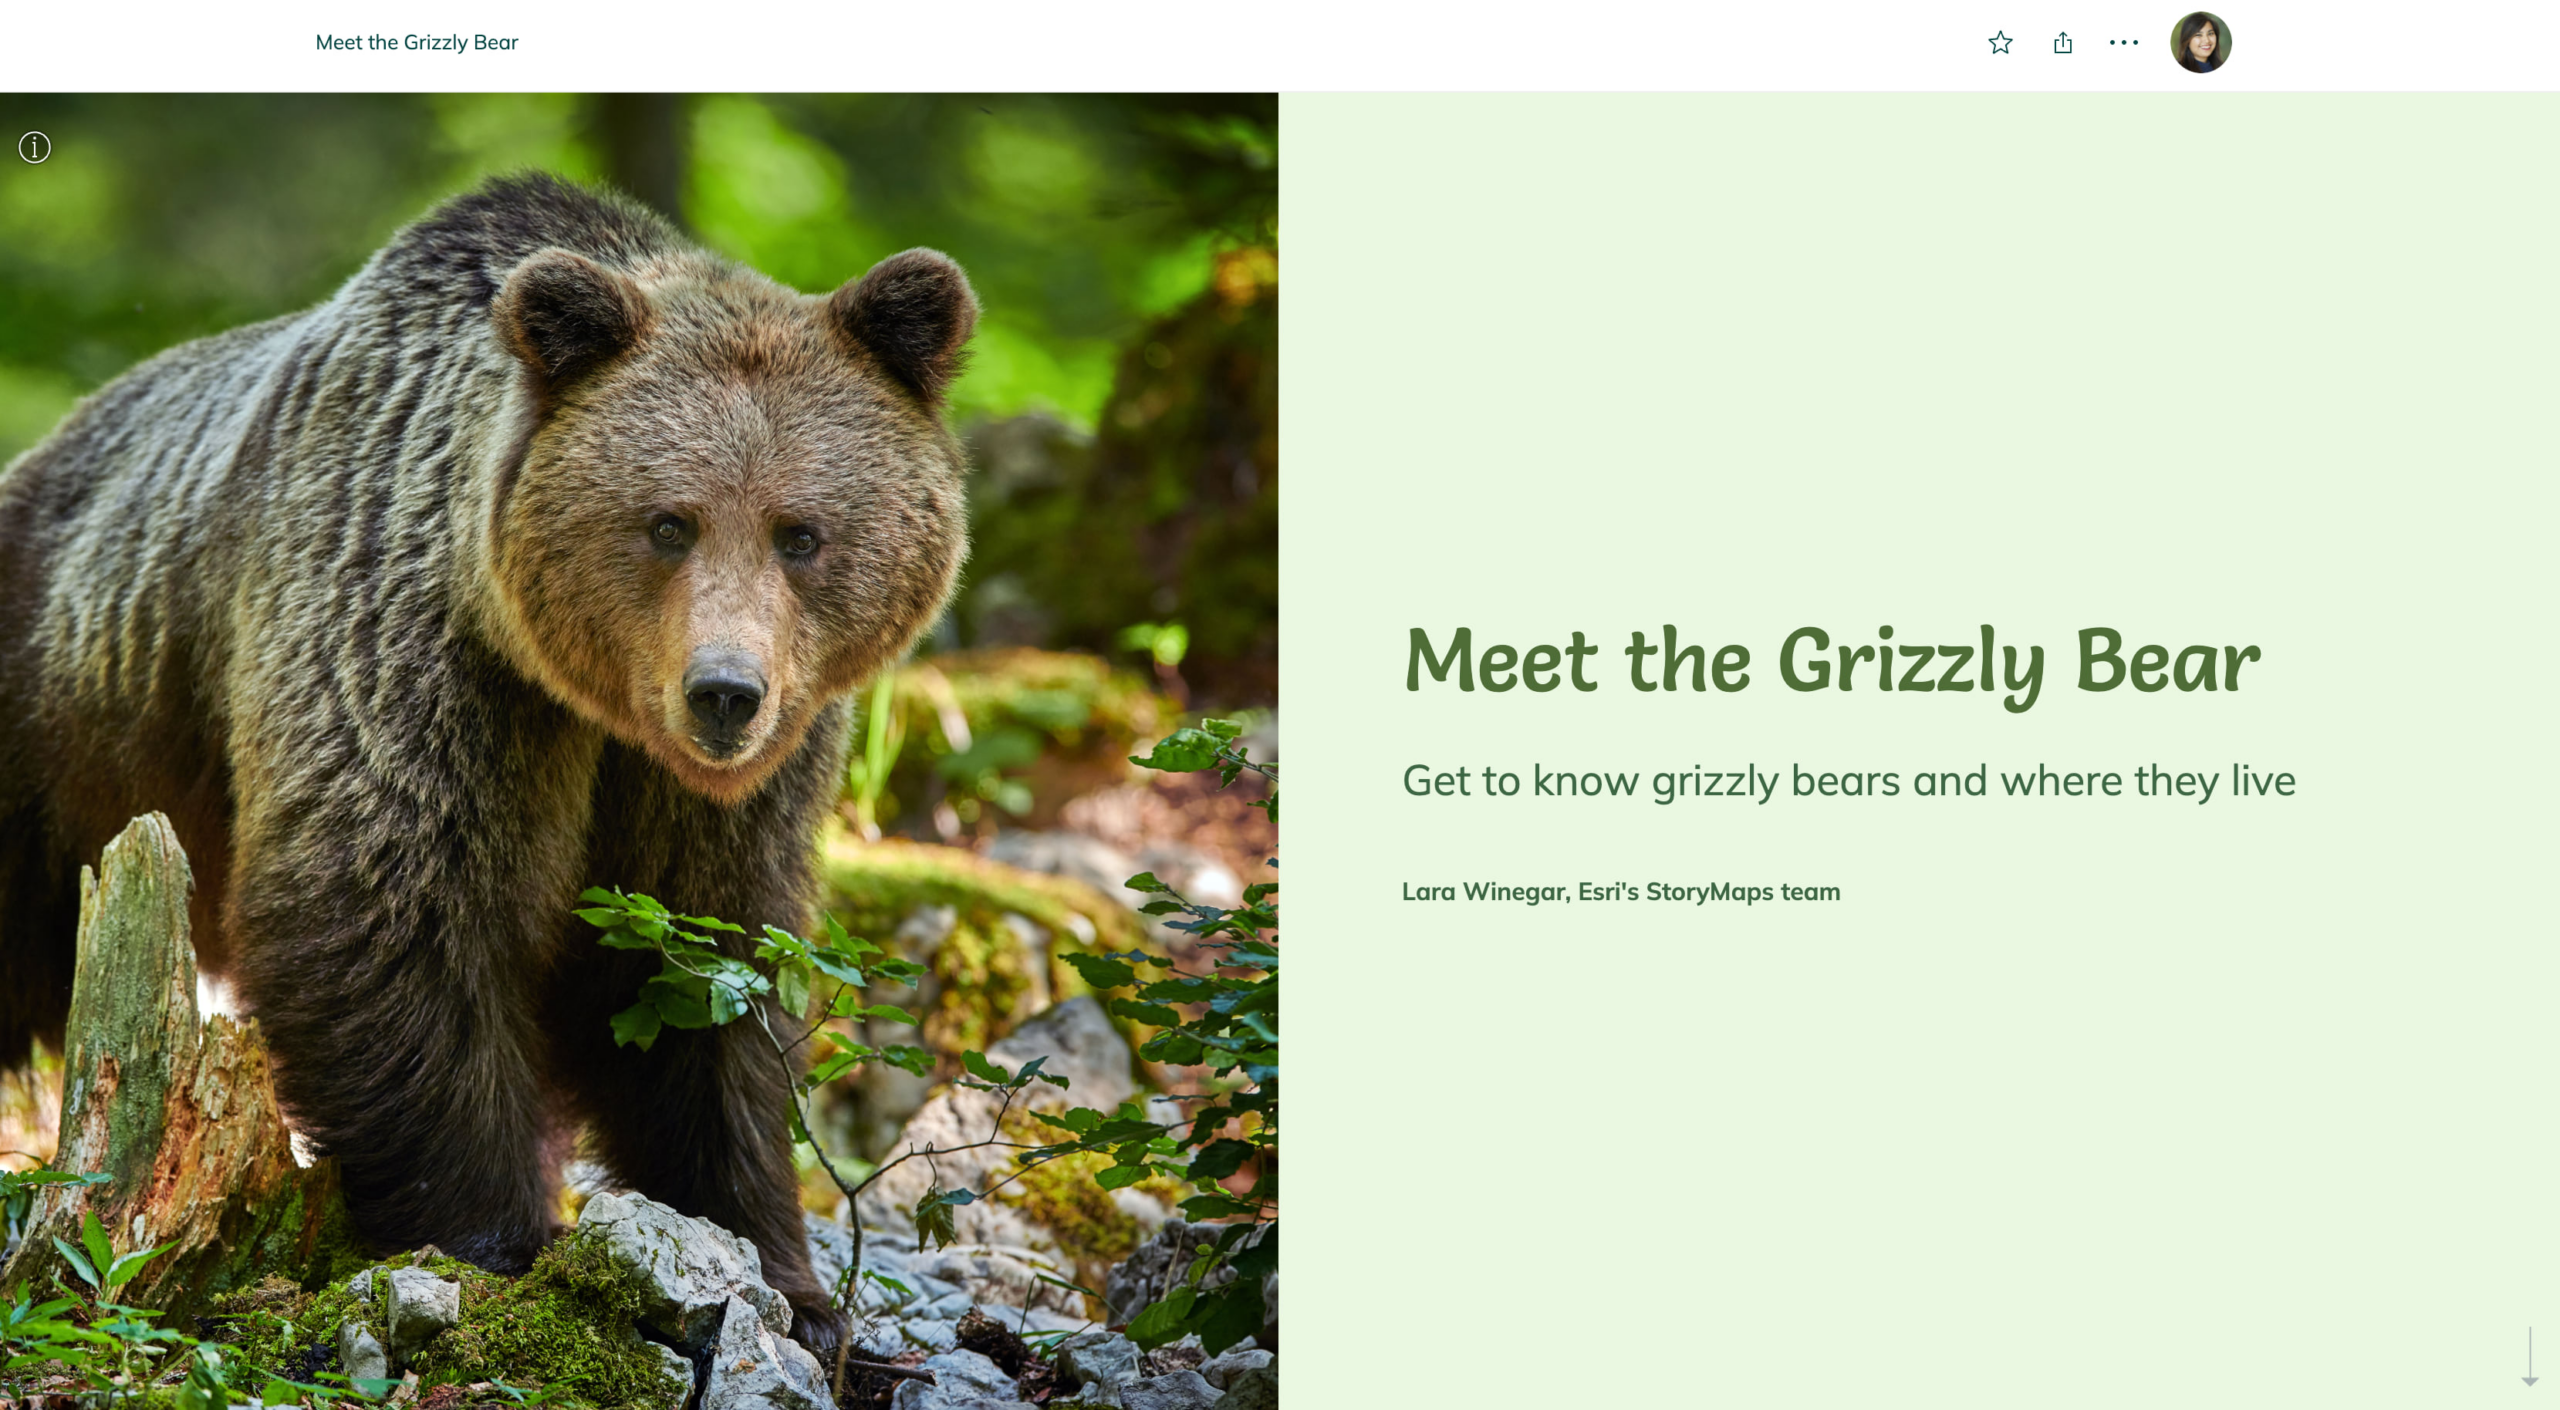
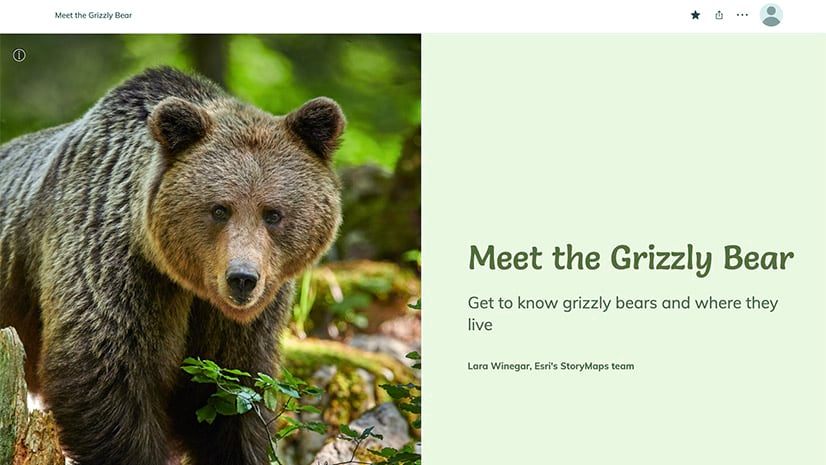
For content narration and instructional stories, these tips should help you use the best techniques for your audience to help make your story an effective learning tool. If you’re looking for another example of this technique, you can see it in action in another one of Lara’s masterpieces: Meet the Grizzly Bear.


Article Discussion: