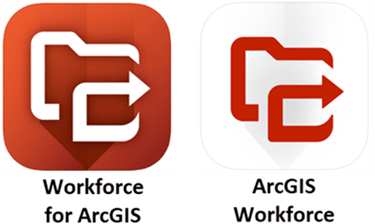
The August 2020 release of ArcGIS Workforce allows you to create projects enabled for offline use. Projects created prior to this release are now labelled as Classic projects and will only appear in the Classic version of the mobile app, listed as Workforce for ArcGIS. They will not appear in ArcGIS Workforce. The different store listings are shown below.
You can migrate your Classic project so it’s enabled for offline use and supported in ArcGIS Workforce. To do this, you will use either the Workforce web app or ArcGIS API for Python. The method you choose depends on what data your organization needs in the new project.
The Workforce web app can migrate mobile workers, dispatchers, assignment types, and app integrations. It cannot migrate assignments themselves. If you want to migrate assignments from your Classic project, you will need to use ArcGIS API for Python.
Migrate Classic projects with the Workforce web app
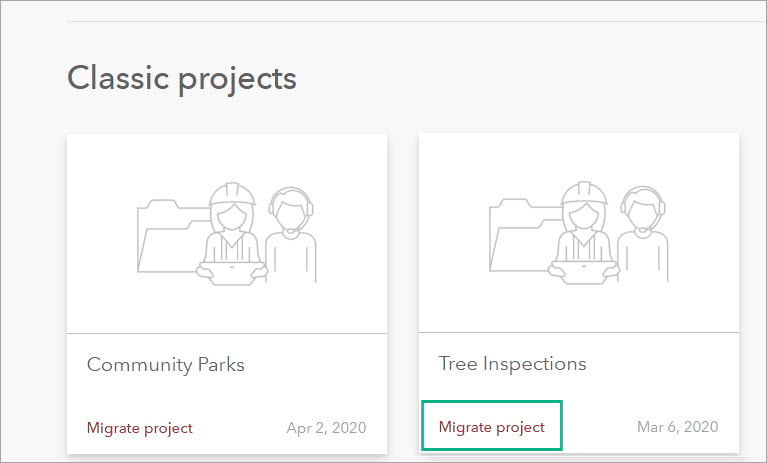
If you don’t need to migrate assignments from your Classic project, use the Workforce web app. Open the web app and navigate to the Projects page. Locate the Classic project you want to migrate and click Migrate project.
The Migrate project window appears. Give the project a New project name and choose whether or not you want to migrate Dispatchers and App integrations.
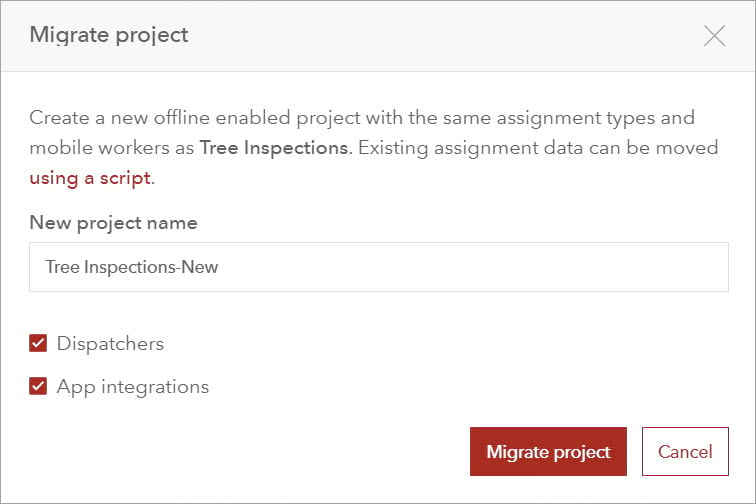
Click Migrate project. A new project is created that contains the mobile workers, dispatchers, assignment types, and app integrations found in your Classic project. A folder and group are created in your ArcGIS organization for the new project, and the project is listed in the main section of the Project page.
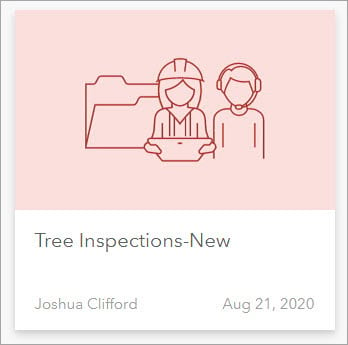
The new project is enabled for offline use and will now appear in the new version of the mobile app, ArcGIS Workforce.
Migrate Classic assignments with ArcGIS API for Python
ArcGIS API for Python and the Workforce module allow you to automate and script both Classic projects and projects enabled for offline use. This includes the ability to migrate Classic projects. Before you download the Workforce scripts, review the requirements for installing ArcGIS API for Python.
Download Workforce scripts
First, you need to clone or download the workforce-scripts GitHub repository. This contains the Python scripts for Workforce. Once it is downloaded, navigate to the “scripts” folder in either the terminal or the command prompt. I am using a Windows operating system for this example.
cd C:\Users\user\Desktop\workforce-scripts\scripts
Next, you will install ArcGIS API for Python.
Install ArcGIS API for Python
To automate and script Workforce projects you must use ArcGIS API for Python 1.8.3 or later. Version 1.8.3 is included in the workforce-scripts file and can be installed using the following steps:
First, run the following command to create the virtual environment with the correct dependencies:
conda env create --file environment.yml
Next, run the following command to activate the environment:
conda activate workforce-scripts
Once you’ve installed ArcGIS API for Python, you are ready to migrate a Classic project.
Choose which Python script to use
There are two different Python scripts to choose from for migrating Classic projects:
- Migrate assignment only—Use this script if you have already migrated the classic project using the Workforce web app, as detailed in the previous section.
- Migrate entire project—Use this script if you need to migrate the entire project including assignments.
Migrate assignments only
If you have already Migrated the classic project using the Workforce web app, use the migrate assignments script shown below.
python migrate_assignments.py -u <username> -p <password> -org https://<org>.maps.arcgis.com -classic-project-id <project-item-id> -new-project-id <new-project-fs-item-id>
You’ll need to modify the following parameters in the script:
- project-item-id—The item ID of your Classic project.
- new-project-fs-item-id—The item ID of your new project’s feature service.
Both project IDs can be found in the URL of the Workforce web app when the project is open:
https://workforce.arcgis.com/project/project_id/dispatch
Optionally, you can add a where clause at the end of the script for the assignments you want to migrate. For example:
- –where “status=0” will migrate unassigned assignments.
- –where “status IN (0,1,2)” will migrate unassigned, assigned, and in progress assignments.
If the –where parameter is not provided, assignments that are not completed or canceled are migrated by default.
Once you’ve run the script in the terminal or command prompt, the assignments appear in the new project.
Migrate entire project
If you haven’t Migrated the classic project using the Workforce web app, use the migrate project script shown below.
python migrate_to_v2.py -u <username> -p <password> -org https://<org>.maps.arcgis.com -project-id <project-id> -new-title <title>
This script migrates an entire Classic project to one that is enabled for offline use. It will preserve your assignment, worker, assignment type, web map, and app integration data. You also have the option to preserve dispatcher data.
You’ll need to modify the following parameters in your script:
- project-id—The item ID of your Classic project.
- title—The title you want your new project to be given.
Optionally, you can add –skip-dispatchers to the end of the script if you don’t want to migrate dispatcher data.
Once you’ve run the script in the terminal or command prompt, your new project appears in the Workforce web app. It contains all of the data from your Classic project and is enabled for offline use.
Next steps
Before deploying your new project, you’ll want to create a map area as part of the Worker map. This ensures your mobile workers will have all the data they need when working offline. For details, see Create a map area.
You can continue to configure your project in the web app or with the Workforce module in ArcGIS API For Python. For more information on working with projects enabled for offline use, see Create a project or Automate Workforce.



Article Discussion: