- Adding tex to a layout
- Changing text color and fonts
- Using the text card to embed HTML
- Formatting buttons, links, and tables
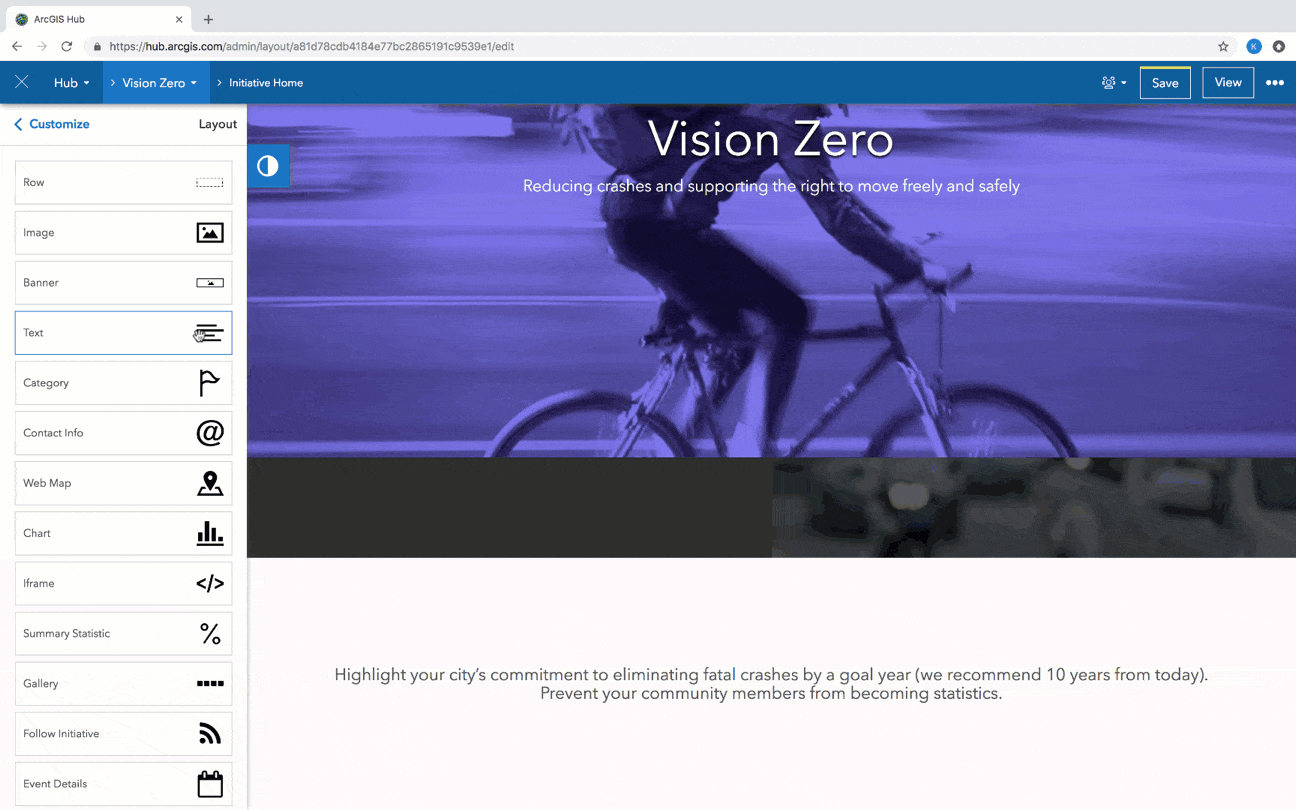
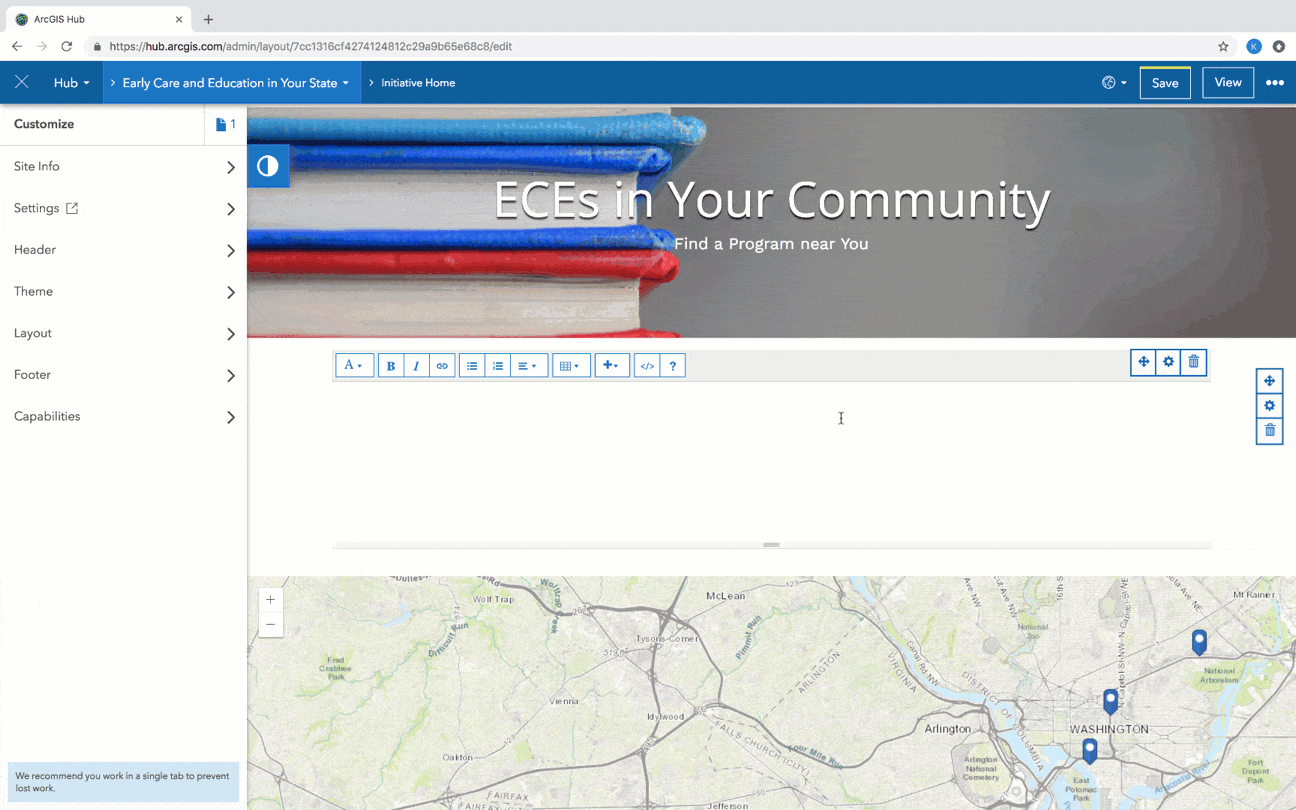
Add a text card
To add text to a site or page, drag and drop a text card onto an existing row.
Format text
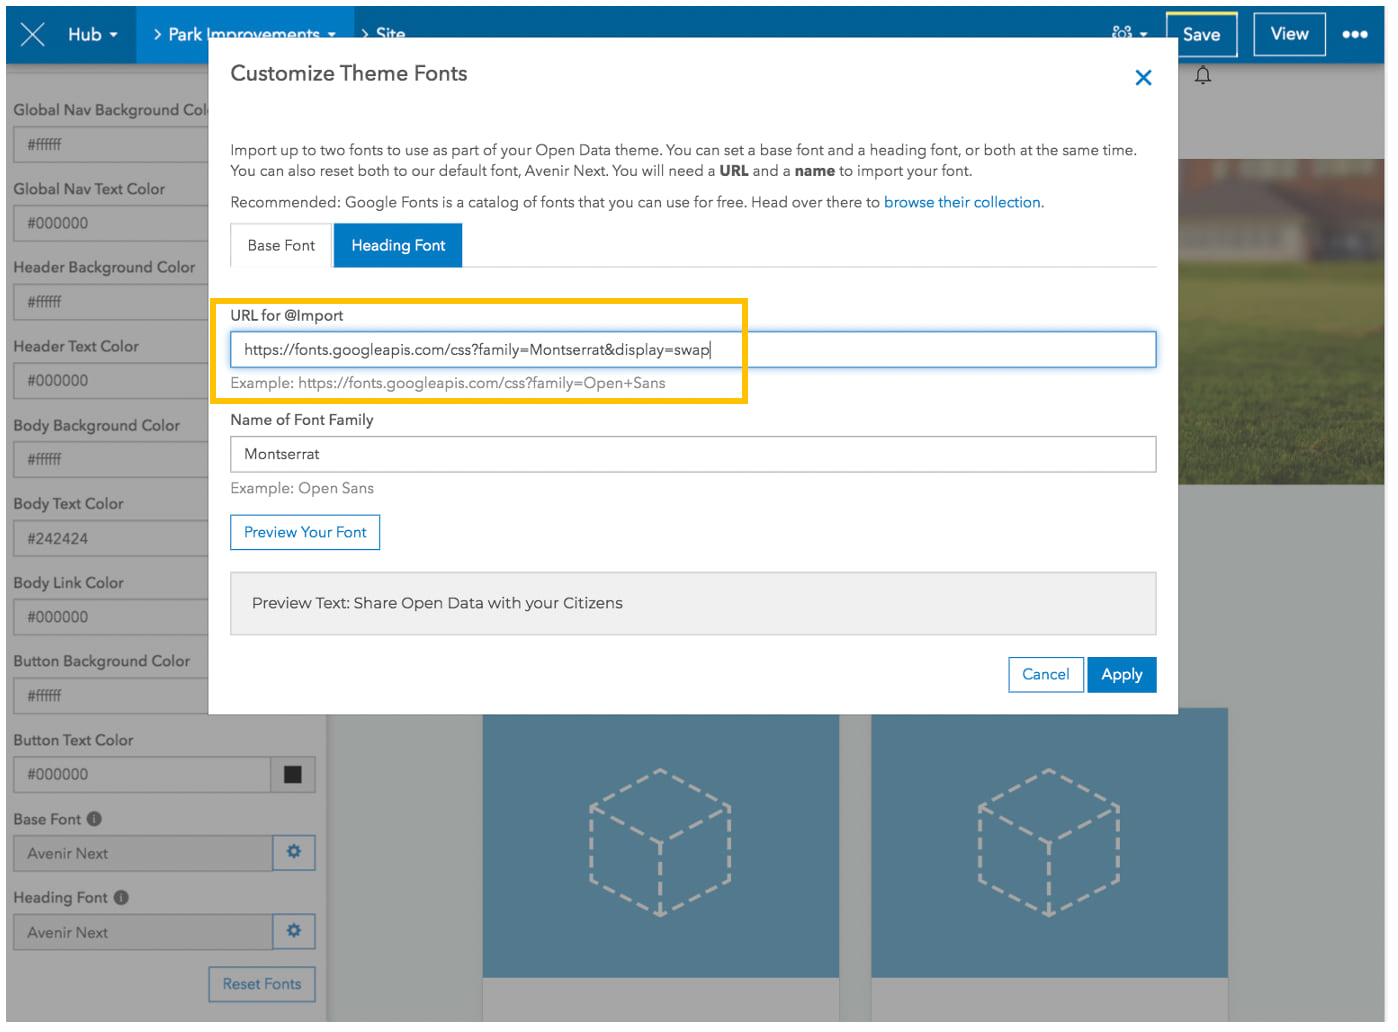
Change text color and fonts
You can change the font for text headings and base text. Base text includes all text on your site’s layout. It’s also applied to any pages that have been added to your site, item details pages, and any events views.
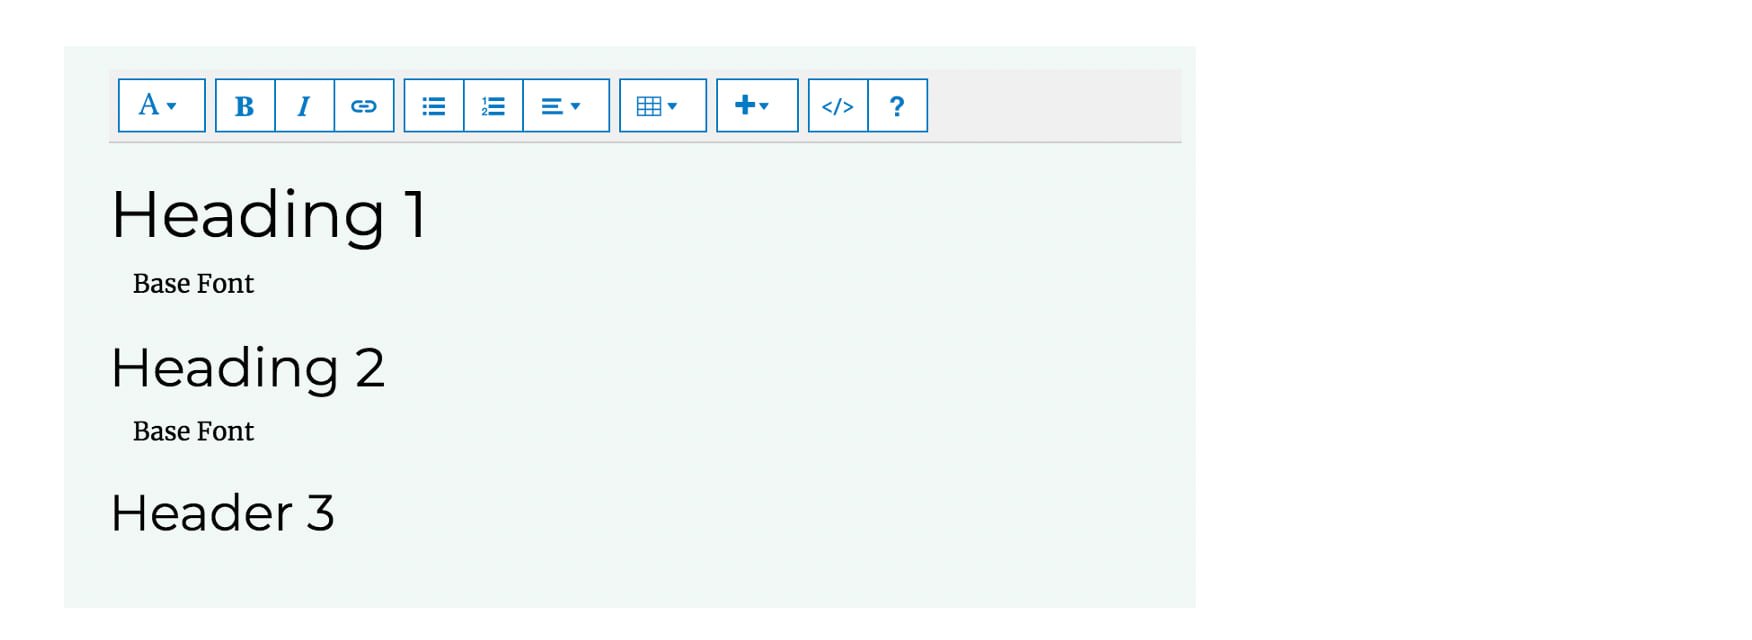
To change the font of your text, you can use Google Fonts.
Here’s how:
- Go to Google Fonts.
- Choose a font by clicking on the (+) button
- Expand the Selected Family menu at the bottom of the page.
- Copy ONLY the URL provided in the code (https://fonts.googleapis.com/css?family=Inter&display=swap)

Return to the site and click Theme on the side panel.
Click the settings button next to the Base Font or Headings Font text fields and insert the copied URL. Click Apply to save your changes.
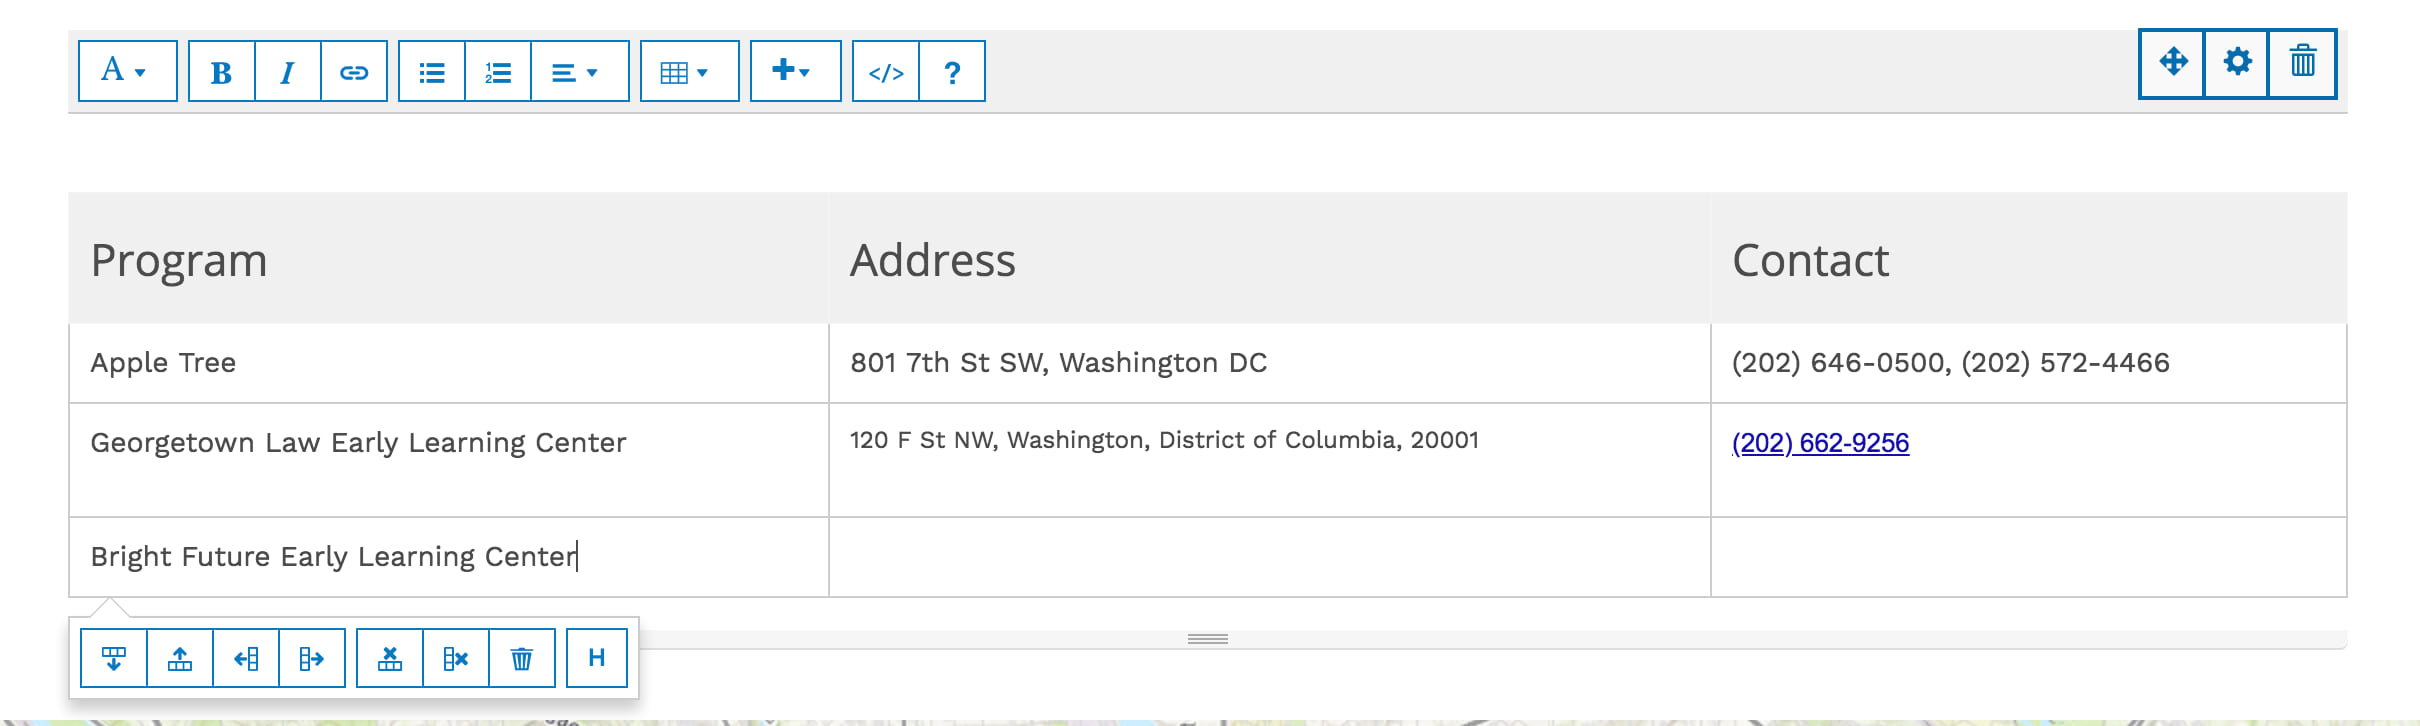
Create tables
Add or delete rows or columns simply by clicking inside the table and choosing an edit option. Be sure to click the “H” to add a header to clearly define your table and make it more accessible for screen readers and other assistive technologies.

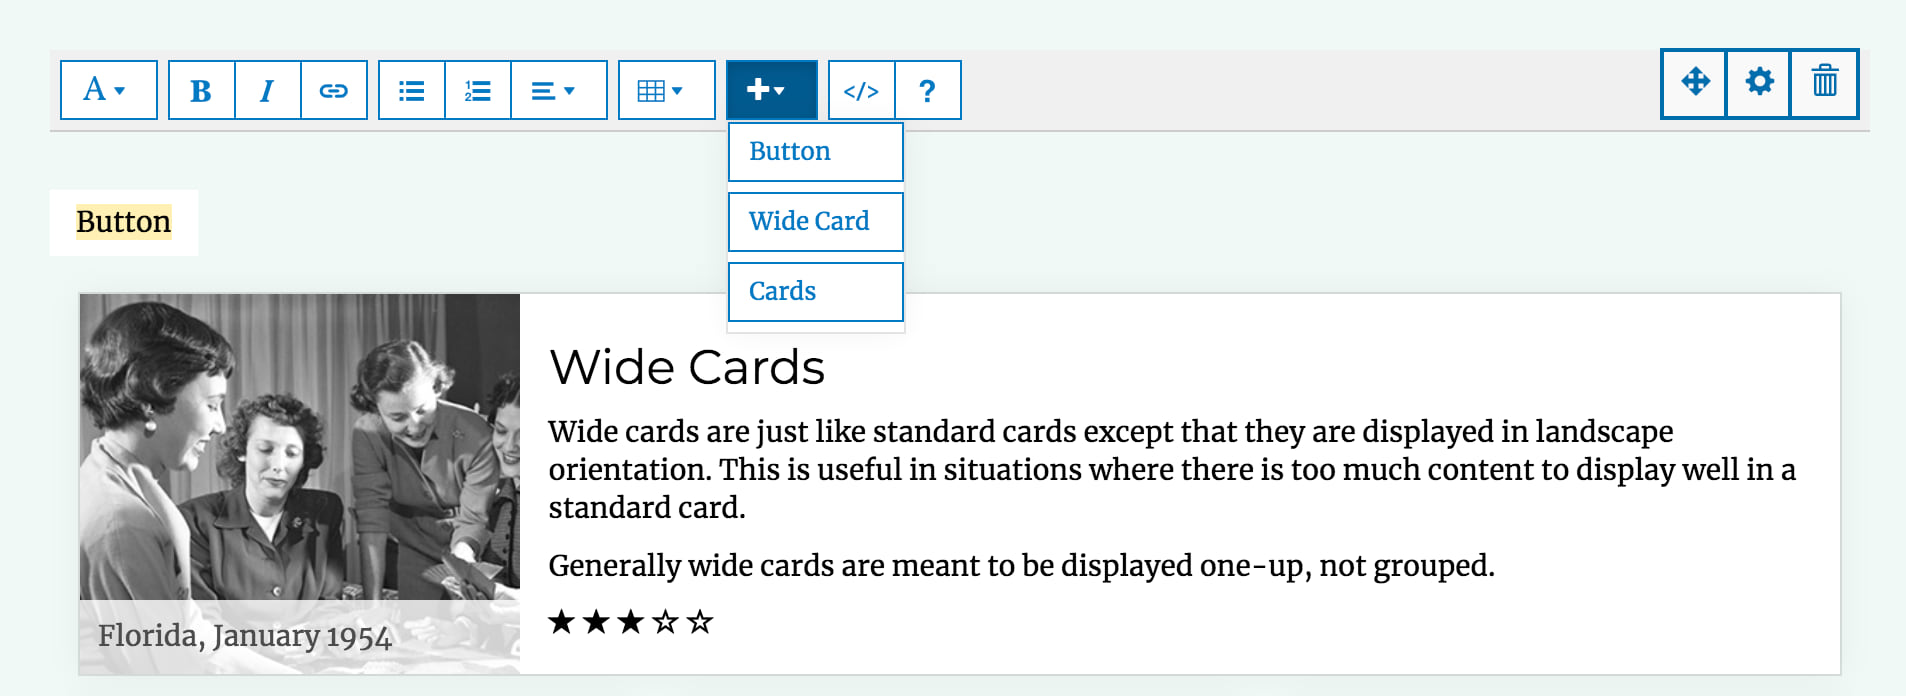
Add Buttons and Links
Invite people to explore additional content, such as a survey, by adding links to key phrases and words. Simply highlight any text and click the link button to paste a link.
Or, you can use the (+) to add a button. Once you’ve added the button, you can highlight “button”, replace it with your own text and add a link.
You can also add a single wide card or multiple cards to attract people to external resources. These cards can be modified in code view.
Embed your own code
Further customize text using code view. We no longer support Markdown, but you can still use HTML.

Made a mistake? No worries. Just click Ctrl + Z or Command + Z to go back. Check out the tooltip on your text editor for more shortcuts.
Ready to get started?
If you have ArcGIS Hub, you can get started today with ArcGIS Hub basic. If your organization has licensed additional ArcGIS Hub premium features, you can create a site by starting a new initiative.
ArcGIS Hub basic (including sites and core teams) are available with ArcGIS Enterprise Sites. For more information, see Create a site.
This post was originally published in Fall 2018 and has been updated.


Commenting is not enabled for this article.