Organization administrators have several options they can choose when inviting new members to join their organization. Administrators can invite members to join the organization
- with a pre-created account
- with an enterprise login
- with an existing public account
- with a new account the member will create
- with a new account using social network credentials
Remembering a new login specifically for an ArcGIS account may not be ideal, and using an existing enterprise login might make the most sense. But there may be reasons to let new members sign in with their own account, including social logins.
Here’s how to enable the use of social logins in your organization, and how to invite new members to join your organization using their Facebook or Google credentials.
Enable social logins for your organization
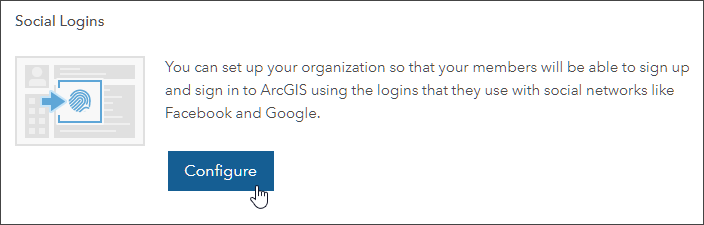
As an Administrator, go to the Security tab in your organization Settings, locate the Social Logins section, and click Configure.
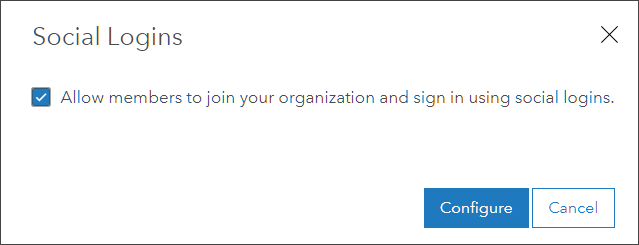
Check the box to Allow members to join your organization and sign in using social logins, then click Configure.
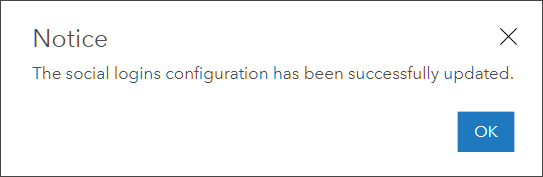
You will see a message confirming that social logins are now configured.
Invite members to join using their social credentials
Step 1 – Invite new members.
Now that social logins are enabled, you can invite new members and enable them to use their Facebook or Google credentials to join your organization. In the Members tab

Click Invite members

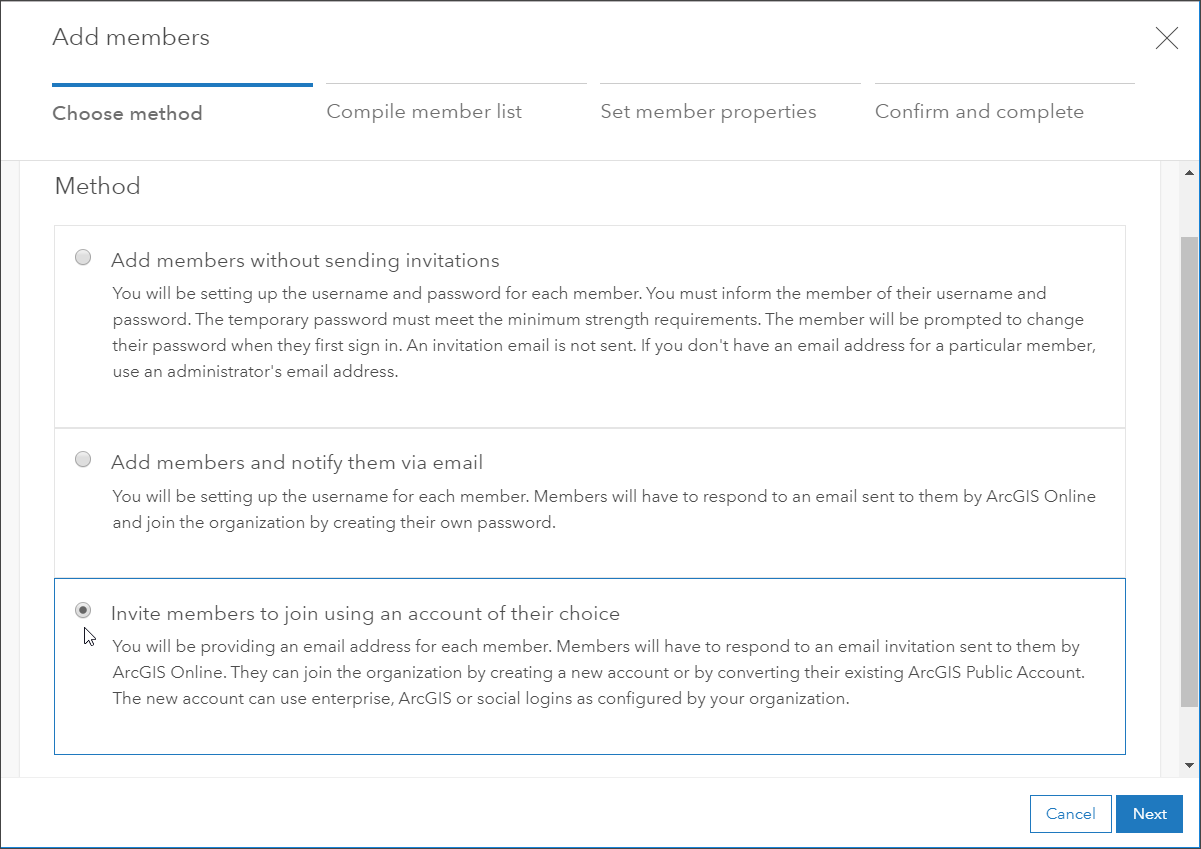
Step 2 – Choose the invite method.
Several different methods can be used to add members, choose Invite members to join using an account of their choice, then click Next to advance.
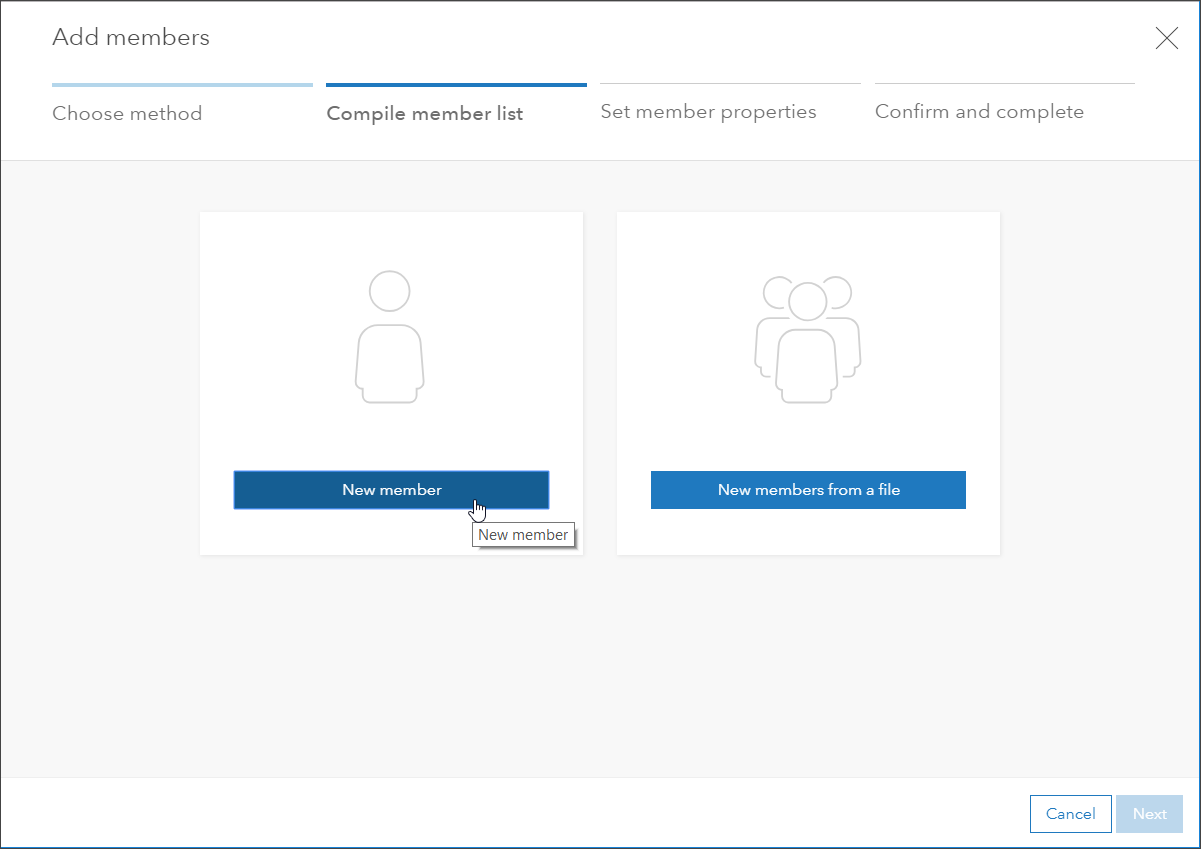
Step 3 – Compile the invite list of new members.
In the next step—Compile member list—you can add members one at a time, or add members in batch using a CSV file. In this example we will click New member to add only one member, but you can add as many as you wish.
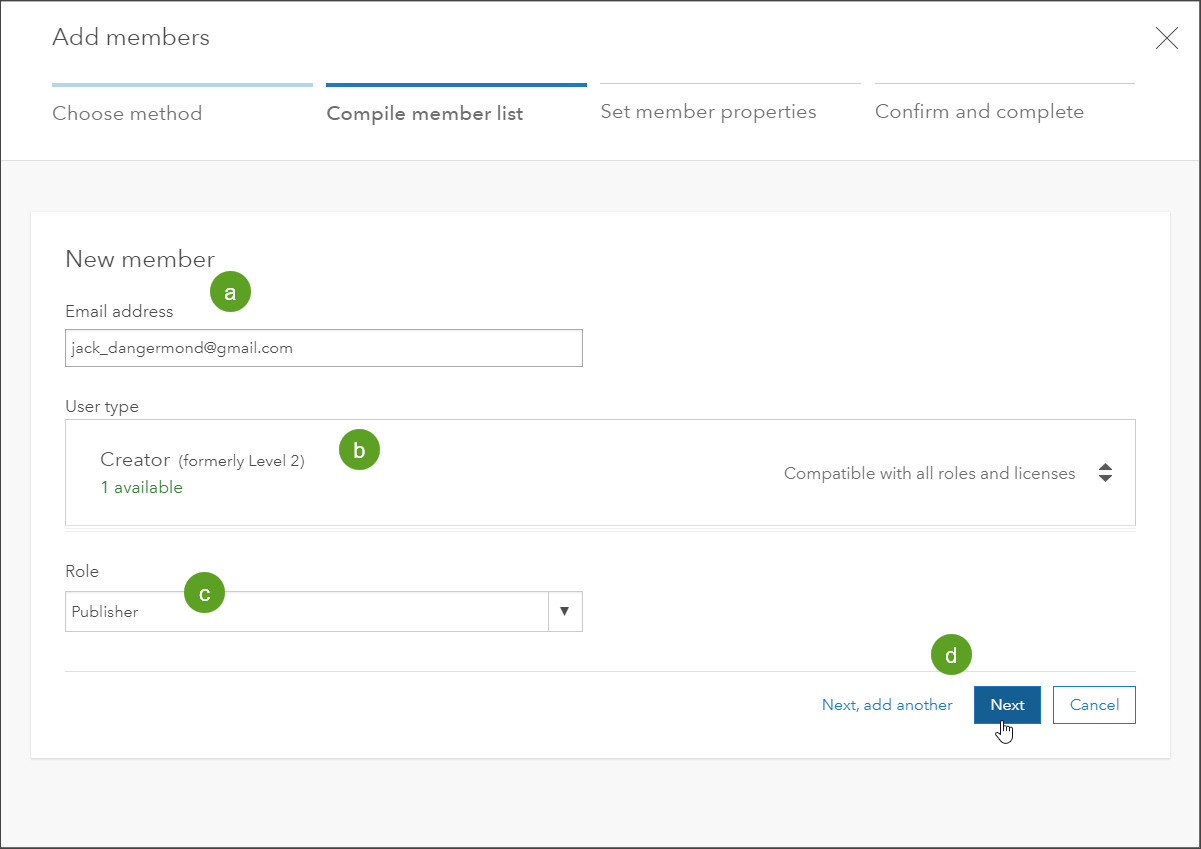
In the next panel enter the (a) email address of the new member(s), and (b) assign a User type and (c) role. Then (d) click Next.
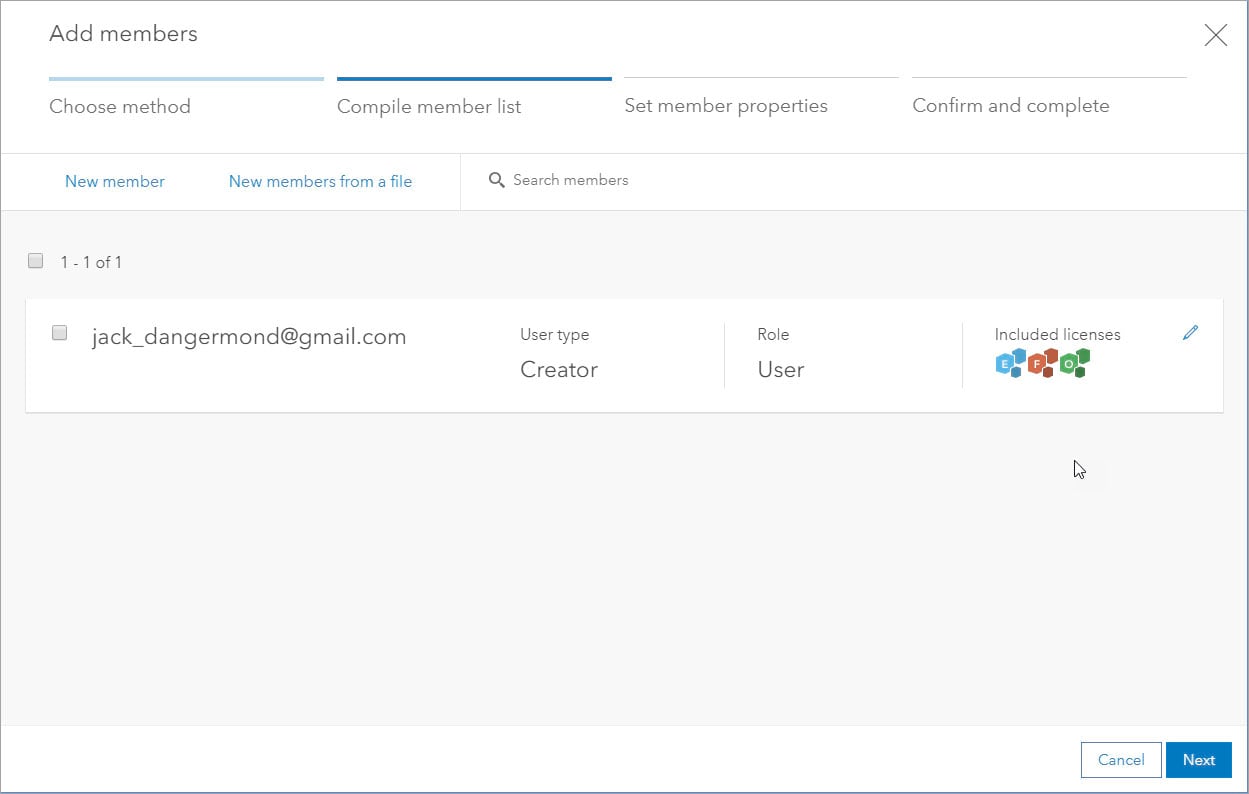
In the next panel, review the member list you have compiled. Check the box to edit or remove members. When finished, click Next.
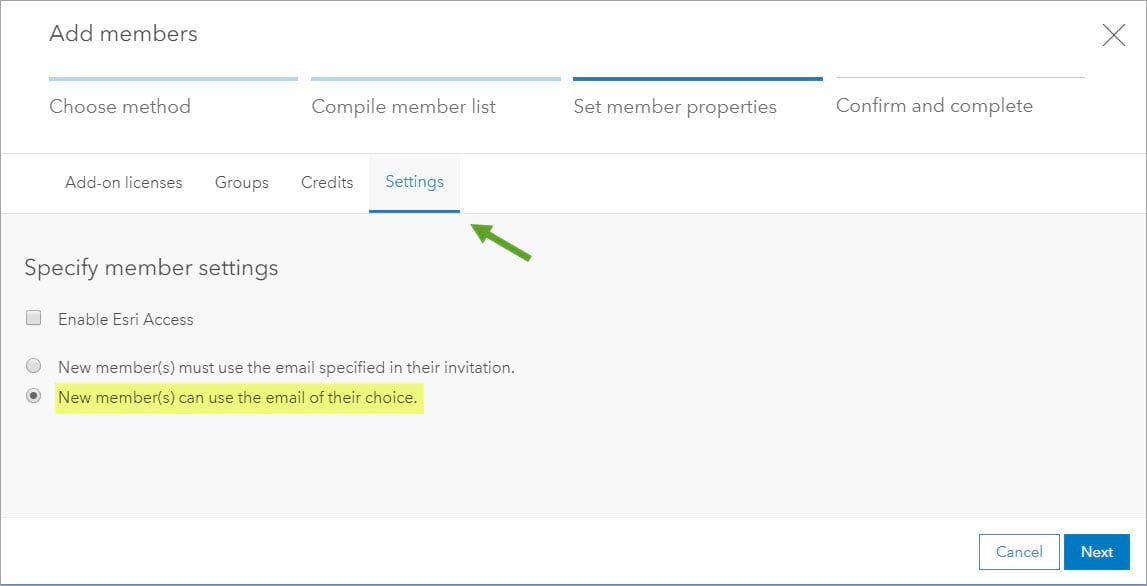
Step 4– Set the member properties.
In the next step—Set member properties—use the Add-on licenses, Groups, Credits, and Settings tab to assign default groups, set the credit allocation, and specify the settings for the new member. In the Settings tab make sure that you have toggled New member(s) can use the email of their choice. Then click Next.
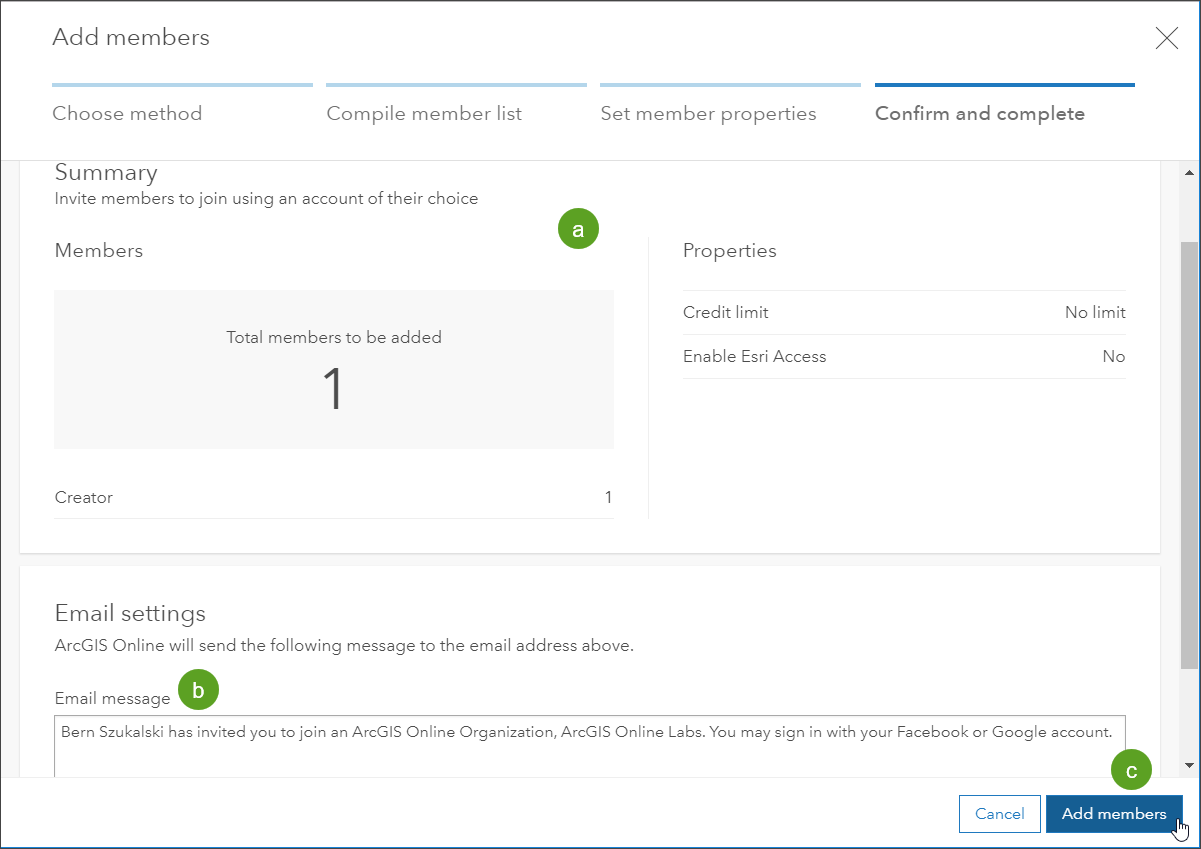
Step 5 – Review and confirm the settings, and send the invite.
In the next step—Confirm and complete—you can (a) review the settings and (b) edit the message that will accompany your invitation. When finished, click Add members (c).
You will see a notification that the invitations have been sent.

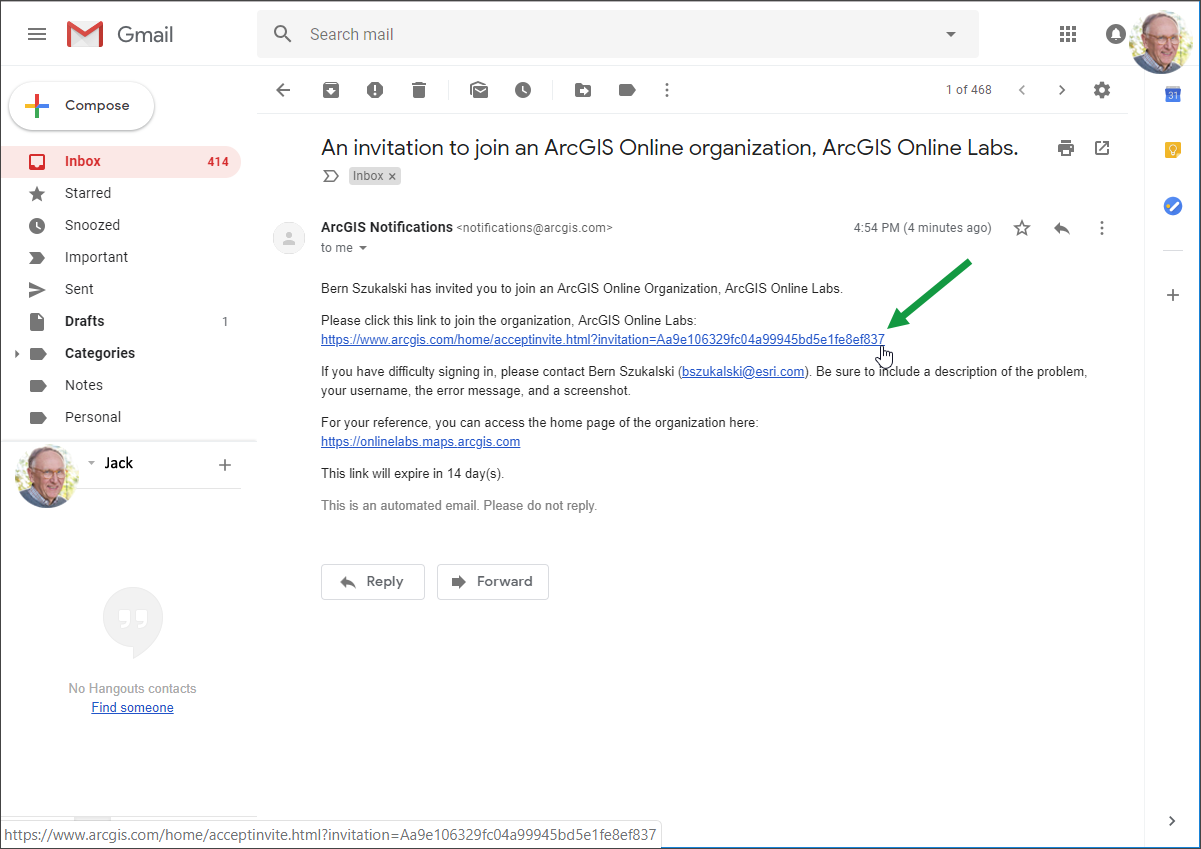
The invitation
An invitation to join the organization will be emailed to the new member. The recipient will see a link in the email to click to join the organization.
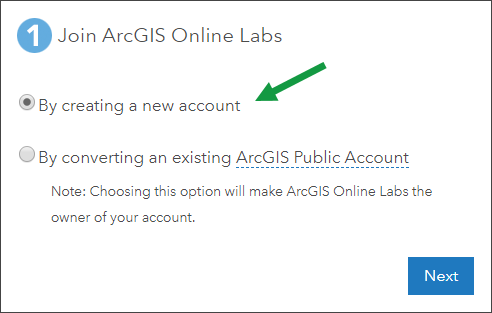
The link will prompt the member to join the organization. The member should accept the default option of By creating a new account,and click Next.
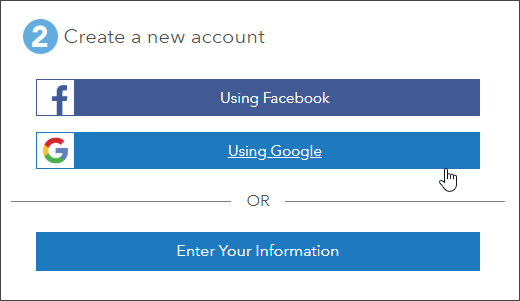
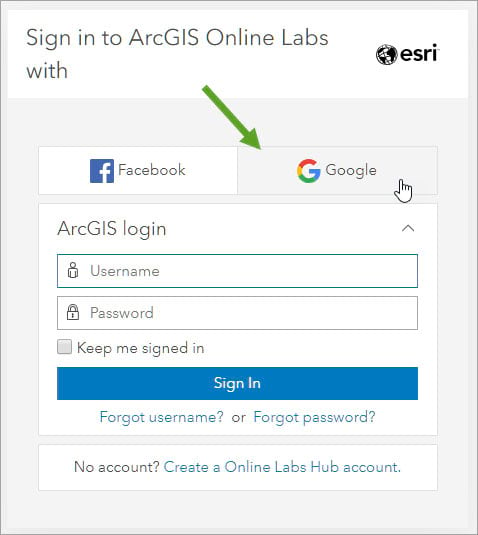
The member will see options for creating a new account, and can choose Facebook or Google to sign in to the organization.
Summary
Depending on your organization members and needs, using social credentials can provide an easy, and easy to remember way to sign in to your organization. Once social logins have been enabled, members will see the options to sign in with Facebook or Google. If already signed in, they are just a click away from entering your organization.
More information
For more information see the following:

Commenting is not enabled for this article.