Since its release in Map Viewer about a year ago, ModelBuilder has helped ArcGIS Online users turn multi-step workflows into reusable, shareable models and publish custom web tools that make sophisticated analysis more accessible across their organizations.
The latest ArcGIS Online update introduces several enhancements designed to make building, running, and sharing models even more efficient. Whether you are just getting started or you have already built a library of models published as custom web tools, a few best practices can help you save time and get more value out of your day-to-day analysis.
In this blog post, I will share practical tips for improving performance, managing credits, simplifying user inputs, and taking advantage of some of the newest ModelBuilder capabilities.
Let’s dive into the techniques that will help you get the most out of ModelBuilder in ArcGIS Online Map Viewer.

- Start with the Right User Type and Privileges
- Extend Access of Model Tools with Creator User Types
- Make Models Run Faster with Intermediate Outputs
- Overwrite Instead of Rebuilding
- Filter to focus on relevant features
- Control the Web Tool Experience with Variables and Parameters
- Skip Analysis Sessions When You Don’t Need Them
- Save Time with Copy and Paste
Start with the Right User Type and Privileges
You can access ModelBuilder from the Analysis pane in Map Viewer. If you don’t see the ModelBuilder tab, the most common reason is that you don’t meet the licensing requirements. Make sure you have an ArcGIS Online subscription account with either the Professional or Professional Plus user type, along with a Publisher, Facilitator, Administrator, or custom role that includes the necessary privileges, such as Spatial Analysis.
Some analysis tools, including Enrich Layer, Generate Travel Areas, and Plan Routes, are premium tools that require additional privileges.
Extend Access of Model Tools with Creator User Types
ModelBuilder makes it easy to create automated analysis workflows through an intuitive, visual interface—no coding required. When you publish these workflows as web tools, you extend that power beyond GIS specialists—allowing anyone in your organization to run complex analyses through a simple, web-based interface.
While creating and publishing web tools requires ModelBuilder access, such as a Professional or Professional Plus user type with the appropriate privileges, running published web tools has lower requirements. Users with a Creator user type can run web tools without needing access to the ModelBuilder functionality.
This approach allows organizations to share advanced analysis to a broader audience while maintaining centralized control over who can build, publish, and manage analytical workflows. GIS professionals can focus on developing trusted tools, and other users can access powerful analysis capabilities without needing to understand the underlying workflows.
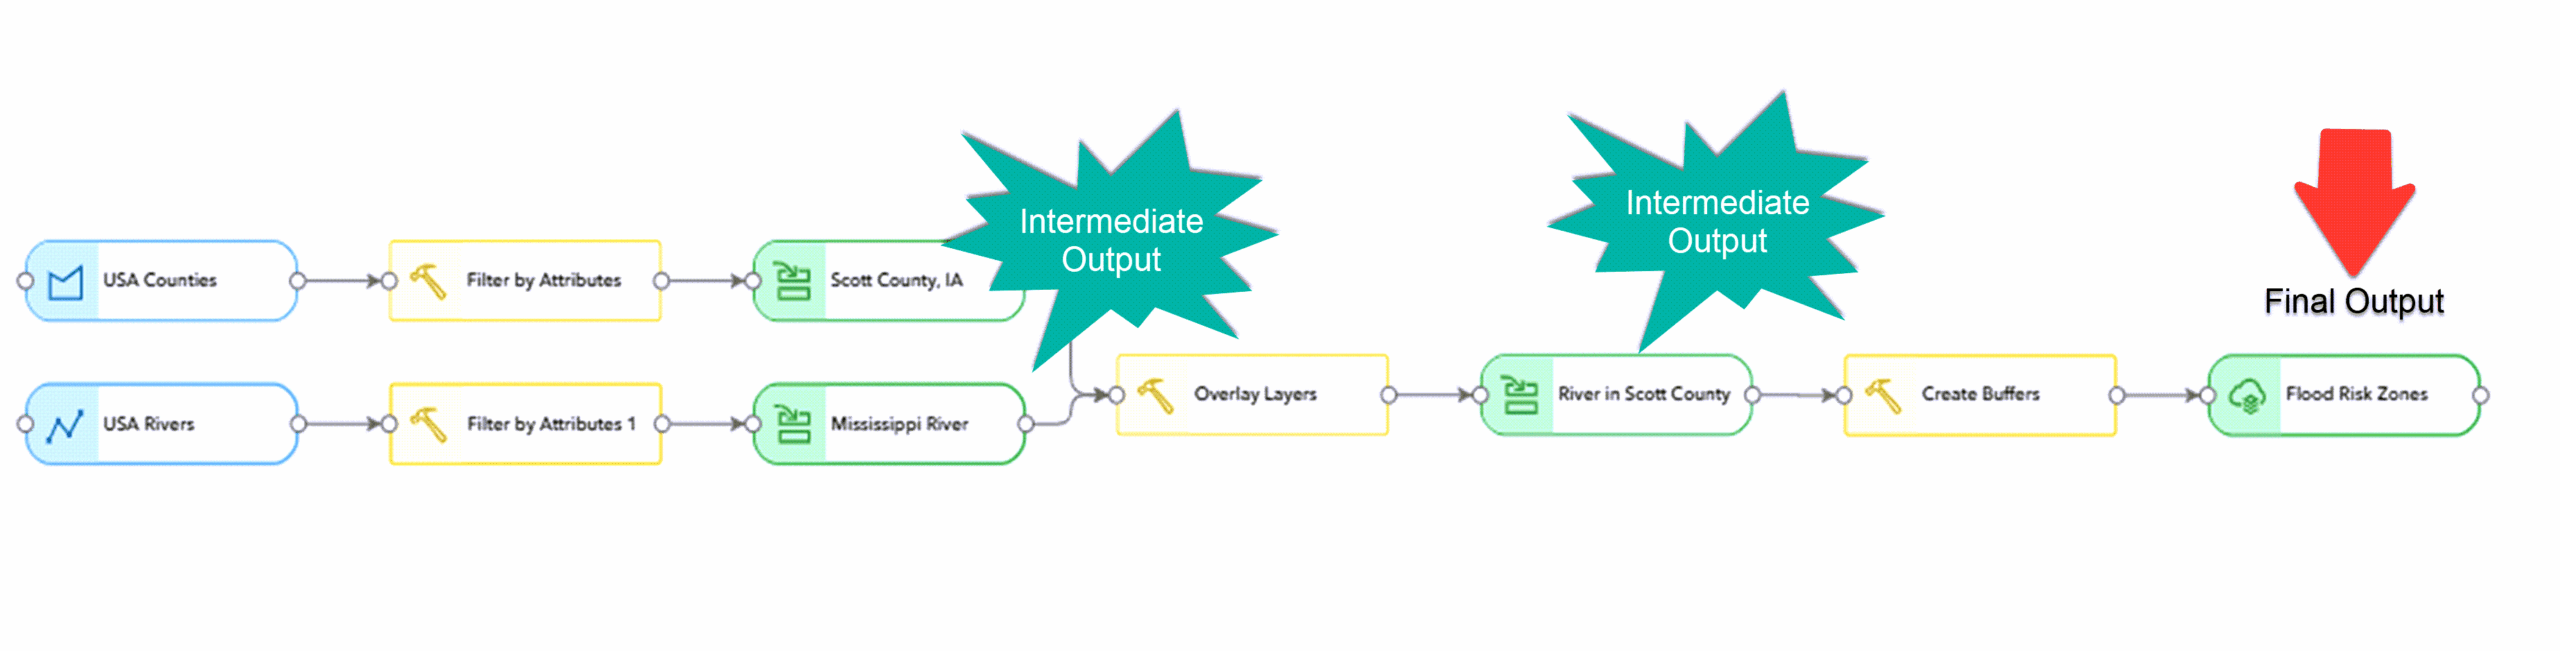
Make Models Run Faster with Intermediate Outputs
When building a model, avoid creating hosted output layers for intermediate steps. By default, each tool generates only temporary, intermediate outputs — just to serve as inputs for the next tool in the workflow. These datasets are not meant for long-term storage and are typically deleted once the analysis session is disconnected, which improves performance by avoiding the creation of a hosted feature layer after every single tool.
For example, in a complex spatial analysis with multiple steps — say, a series of data management tasks or spatial joins — ModelBuilder reduces overhead by keeping intermediate results out of permanent storage. This can help speed up processing time.
Overwrite Instead of Rebuilding
When you need to preserve your model’s final results, selecting Create hosted layer saves the output to your organization for use in other maps and apps. However, if this is a recurring workflow—like updating weekly inspection zones or monthly sales territories—you don’t need to generate a brand-new layer every time.
Instead, set your tool in the model to overwrite an existing hosted feature layer. This keeps your content organized, reduces storage credits, and ensures any dashboards or web maps referencing that layer automatically display the latest data without breaking.
New: Overwrite Published Web Tools The latest ArcGIS Online release extends this exact same logic to the tools themselves. If you tweak or improve a model after it has already been published, you can now overwrite the existing web tool rather than publishing a new one.
This preserves the original item ID and URL. As a result, you can iterate and upgrade a workflow behind the scenes without disrupting the downstream apps, maps, or operational processes your team already relies on.
Filter to focus on relevant features
Many workflows don’t require processing every feature in a layer. By using Filter by Attributes in a model, you can limit analysis to only the features that meet certain criteria, allowing you to focus on the areas, feature types, or records that matter most without creating separate datasets beforehand.
Filtering data early in a workflow can also improve performance by reducing the number of features passed to downstream tools. For example, you might analyze only active projects, parcels within a particular zoning category, or incidents reported during a specific time period. Processing fewer features can shorten run times, reduce resource consumption, and make model results easier to interpret.
Because the filter is built directly into the model, users can easily adjust the selection criteria as needed while continuing to work from the same source data. This makes models more flexible and reusable across a variety of analysis scenarios.
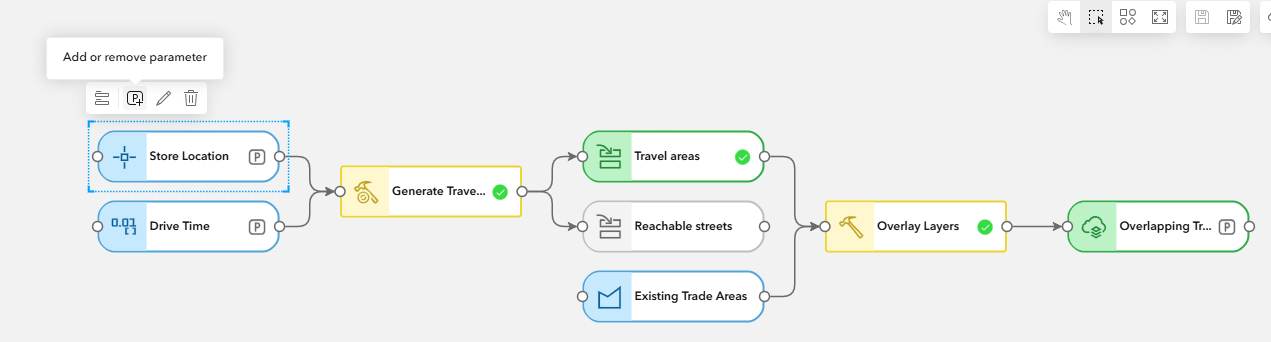
Control the Web Tool Experience with Variables and Parameters
Variables are elements in a model that store values or references to data and help connect different steps in a model. When preparing a model to be shared as a web tool, variables also determine which elements become available for users to interact with.
By carefully choosing which variables to expose as model parameters, you dictate the user experience of the custom web tool. A well-designed tool asks for exactly what it needs and nothing more. To build an intuitive experience, follow these configuration best practices:
-
Curate your inputs: Only expose the options users absolutely need to change to complete their workflow.
-
Set data guardrails: Restrict input parameters to specific, supported feature layer types. This guides users toward providing valid data and prevents failed analysis runs.
-
Write clear descriptions: Explain exactly what the tool expects for its inputs, and clearly define what the final output result will represent.
-
Before you publish, always click Preview web tool. This lets you test-drive the layout in the Analysis pane so you can catch confusing phrasing and refine the parameters before your team ever sees it.
New: Dynamic Field Variables Recent ArcGIS Online enhancements introduced single value field variables. You can now connect these to tools that accept field parameters, such as Buffer or Aggregate Points. Instead of hard-coding a specific attribute field into your model, end users can now dynamically select the field they want to analyze, making your published tools vastly more flexible.
Skip Analysis Sessions When You Don’t Need Them
Not every ModelBuilder task requires an active analysis session. While an analysis session is needed when creating, editing or running a model, you can view, share, and even publish existing models without connecting to one.
This can save both time and credits, especially when you are reviewing models, managing content, or preparing tools for others to use. Models that already meet publishing requirements can be published directly from view-only mode, eliminating the need to start an analysis session solely for publishing. If you only need to inspect a workflow, update sharing settings, or publish a model as a web tool, you can often complete those tasks without establishing a new session.
Understanding when an analysis session is actually required helps streamline your workflow and avoid unnecessary resource consumption.
Save Time with Copy and Paste
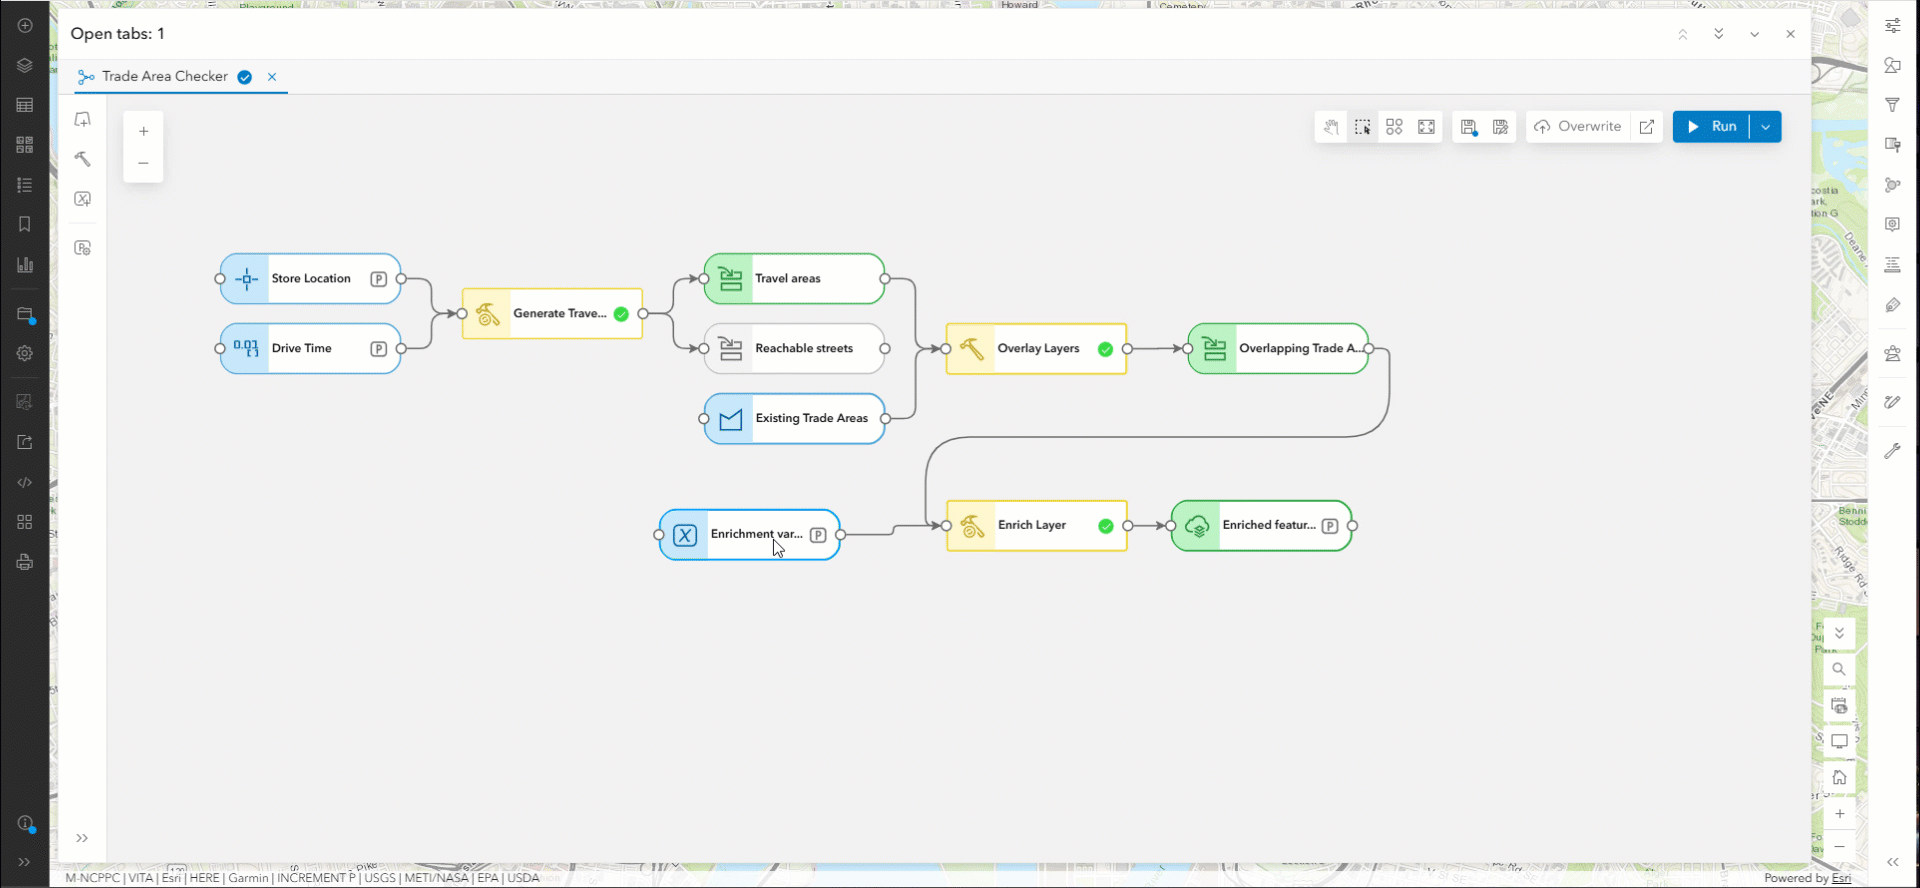
Building complex models often involves repeating common patterns, such as connecting the same tools, configuring similar analysis steps, or reusing parts of an existing workflow. With the latest ArcGIS Online update, you can now copy and paste elements directly within ModelBuilder, including copying elements from one model and pasting them into another.
This makes it easier to reuse existing workflows, reduce repetitive setup, and build new models more efficiently. Instead of recreating commonly used tool sequences from scratch, you can copy existing components and adapt them to new analysis requirements.
Additional Resources
You can get started with ModelBuilder in Map Viewer today! We will continue to add more tools and functionality in the upcoming ArcGIS Online updates.
Explore the ModelBuilder resource page in the ArcGIS Online Help documentation to learn more, including a step-by-step tutorial to help you get started.
Have questions or feedback? Join the conversation on the Esri Community site to connect with others, share your thoughts, and stay informed on the latest updates.
Whether you are building your first model or maintaining a list of custom web tools, these techniques can help you reduce maintenance, improve performance, and create a better experience for the people who rely on your analysis. As ModelBuilder continues to evolve, we will keep adding new capabilities to make spatial analysis more accessible across your organization.
Happy analysis!

Article Discussion: