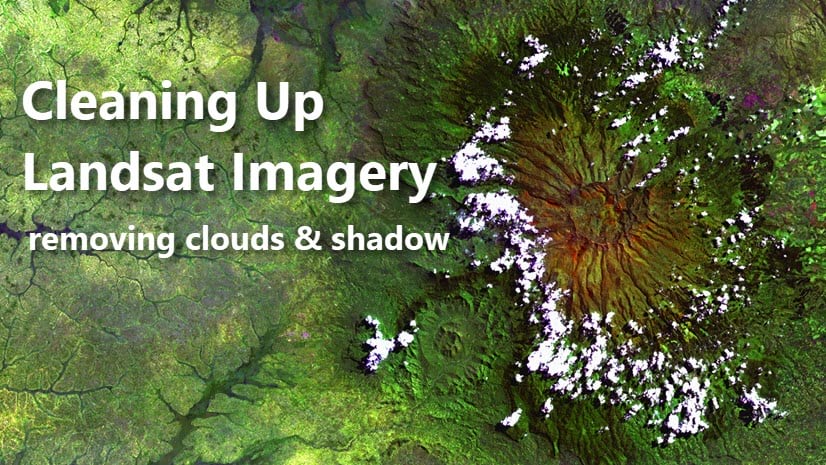
Clouds happen. If you’re a skier or growing vegetables, that’s a good thing. If you’re using imagery as a backdrop for your GIS landbase layers, clouds are a bad thing. Use the Pixel Editor to create cloud-free imagery for your many applications.
Clouds and thick haze obscure ground features important for inventory and management of assets, decision support, and other applications relying on imagery, and generally affect imagery collected from satellite platforms. Clouds, haze and resulting shadows can be replaced with unaffected imagery collected at a different time using the Pixel Editor. The Pixel Editor is available in the ArcGIS Pro Image Analyst extension.

The process to replace cloudy regions in your imagery is as easy as one-two-three:
1) Start a Pixel Editor session
2) Replace a cloudy area with clear imagery
3) Save your edits
Prerequisites
In order for the cloud-free region to fit seamlessly into your image basemap, the reference imagery and replacement imagery need to be registered to avoid spatial offsets, and have the same spatial resolution and band widths. They also need to have the same map projection. Use the georeferencing or ortho mapping tools to register the replacement imagery to the reference imagery basemap.
One: Start a Pixel Editor session
1) Open ArcGIS Pro and load both the reference image containing clouds, and the image you want to use to replace the cloudy areas.
2) In the Contents pane, highlight the cloudy reference image.
3) Click the Imagery tab, then click the Pixel Editor button.
Two: Replace the cloudy region
1) Zoom in to the image where you want to replace a cloudy area.
2) On the Pixel Editor tab, click the drop-down arrow below Region Mode, and choose New.
3) Click the drop-down arrow below Region, and choose Polygon.
4) Draw a polygon around the cloudy area. I recommend that you digitize along linear features such as streets to help facilitate a seamless replacement.

5) Click the drop-down arrow under Source Layer and select the layer without clouds.
6) Click the drop-down arrow below Capture, and choose Replace.
Voila! The cloudy area in your reference image is replaced with the imagery without clouds. A small yellow circle appears in the center of the replaced cloud free area which indicates that the replacement edit is still active. While the region is active, you can move or apply additional enhancements to the replacement region.
7) Click anywhere on the map display to accept the update.

If the radiometry of your replaced area is very different from your reference image and it stands out like a sore thumb, you can use Color Match and Blend Width to make the edit look more seamless. This is done by matching the color of your replacement imagery with the color from the reference imagery. Color matching and blending are only available for multispectral and panchromatic imagery.
There are three options for color matching:
- None—No color matching will be performed.
- Standard—All the pixels in the region will be used to compute the color match.
- Only along edges—Only the pixels along the perimeter of the region will be used to compute the color match.
The Blend Width check box turns on the blend feature. The text box allows you to choose how many pixels along the perimeter of the region to use.
When the preview is acceptable, you can double-click anywhere on the map to update the region.

Save your edits
To persist your edits, you must explicitly save your results.
1) In the Save group, click the Save button. This will save your reference image with the new edits to disk.
2) To save your edits without affecting the reference image, save to a new file. In the Save group, click the Save As button, and specify a location and file name for the new file.
3) If you are finished editing the reference image, click Close Pixel Editor in the Close group.
Using the Pixel Editor, you possess super powers to replace clouds and shadows in your imagery with useful data. This capability improves your image base maps, as well as supports many applications in operational and decision support environments.
This article was originally published on Dec 4, 2019, and has been updated.


Hello, thank you for the cool tutorial. So, what will be the process, if I have more than one regions? Should I draw a single polygon region then click replace and then under Mode click Add to then draw another polygon region then click replace and so on? Is there another to do this? I have the cloud masks in a polygon feature class already, 19 cloud mask features in that polygon feature class. Can I use layer to region under Region to click inside any one of those polygons? Will Pro automatically detect those 19 polygon cloud masks as 19 regions?