You may have asked yourself, “How do I get started editing my raster datasets?” I’d like to share some insights to help you get a jump start with the new Pixel Editor in ArcGIS Pro 2.4. Before you start editing rasters you’ll want to check that you are licensed for the ArcGIS Image Analyst extension and that the data you want to edit is a raster dataset on disk, such as a Tiff, CRF, JPEG, etc.
Start an edit session
Starting a pixel editing session is super easy. Add the data you want to edit as a layer in a map. Select the raster layer in the Contents Pane. Go to the Imagery tab and click the Pixel Editor button found in the Tools group.

When you start an edit session you will get a new Pixel Editor tab containing all the tools to edit your data. There are 3 unique experiences for editing raster data. One for multispectral and single-band imagery, one for thematic data, and one for elevation data.


Making simple edits
The main difference between the 3 ribbons is the Edit group. These set of tools are targeted to the common types of edits for the data source. I like to call them the simple and quick tools because they require little to no configuration, allowing you to jump right in making edits. The edit will take place as soon as you finish your sketch, and the sketch will go away. Of course, if you mess up you can undo it using Ctrl-Z.
The edit will take place as soon as you finish your sketch, then the sketch disappears, ready for your new sketch.
Making advanced edits
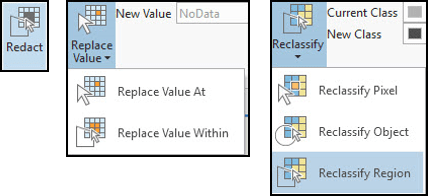
When you want to make more advanced edits you’ll need to select the pixels with the Region group sketch tools. These selection tools provide many options for selecting pixels to edit. The Mode is set to New by default. If you accidentally don’t select all the pixels you needed to, just switch the Mode to Add To, and continue making your selection. Other modes allow for removal of pixel selections or finding the intersection to two regions of interest allowing you to fine tune your pixel selection.
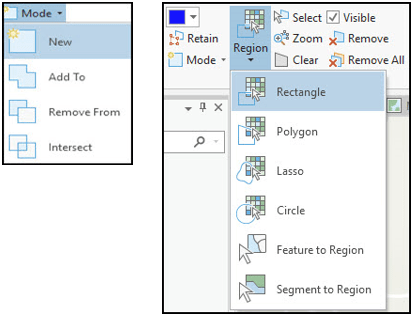
The selections you make with the Region sketch tools work directly with the Operations gallery, which ultimately leads you the Pixel Editor Operations pane. The pane is for more advanced edits requiring some input parameters. Selections made using the Region sketch tools are sticky. They stay selected so you can apply one or more operations on the selection. When you make a new selection with these tools the previous sketch will be hidden from view, unless you click on the Retain button. The Retain button is also handy when you need to handle edits where two regions of interest overlap each other.

Copying and replacing pixel selections
The Capture selection tools containing Copy and Replace are very useful tools. You make a sketch and move the sketch around in the image to copy or replace pixels. The Capture tools are for copying and replacing pixels within the same image or from another image over the same area; perhaps at a different time. You can choose the Source Layer in the drop-down menu.
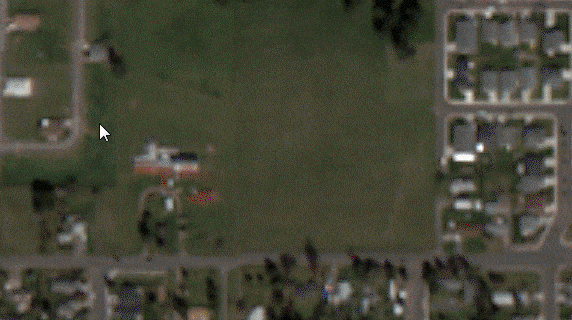
The animation below is showing a Replace in action.
Review and save edits
You can review all of your edits by clicking the Edit Logs button on the Pixel Editor tab or by switching the active tab on the Pixel Editor Operations pane to the Edits Log tab. The entries in the Edit Log are sorted by the most recent edit. You can review the time of the edit, the parameters that were input, and the ability to quickly zoom to the edited area.
If you encounter a situation where the Save button is disabled, it just means you’re editing a raster format that ArcGIS Pro reads, but doesn’t support writing to. You can still edit these datasets and use Save as New to persist the changes. Save as New will open the Export Raster pane and you can select an output format that is write capable.

Summary
There is a lot of functionality that comes with the Pixel Editor. Hopefully this information makes getting started simple and fun! Happy pixel editing and stay tuned for more examples of the Pixel Editor in action in future blogs.


Commenting is not enabled for this article.