Sometimes I find myself trolling Etsy for gift ideas, and I inevitably end up seeing hosts of amazing minimalist stacked paper-cut maps. Just lovely. If you don’t know what I’m talking about, then feast your eyes.
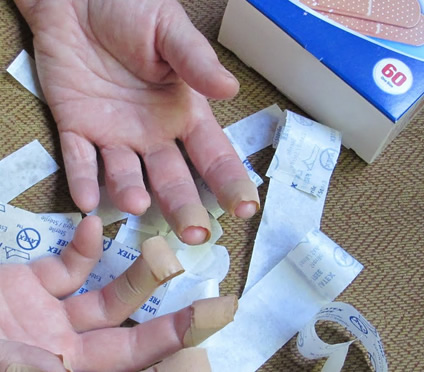
Naturally, being the human being that I am, I want to avoid this…
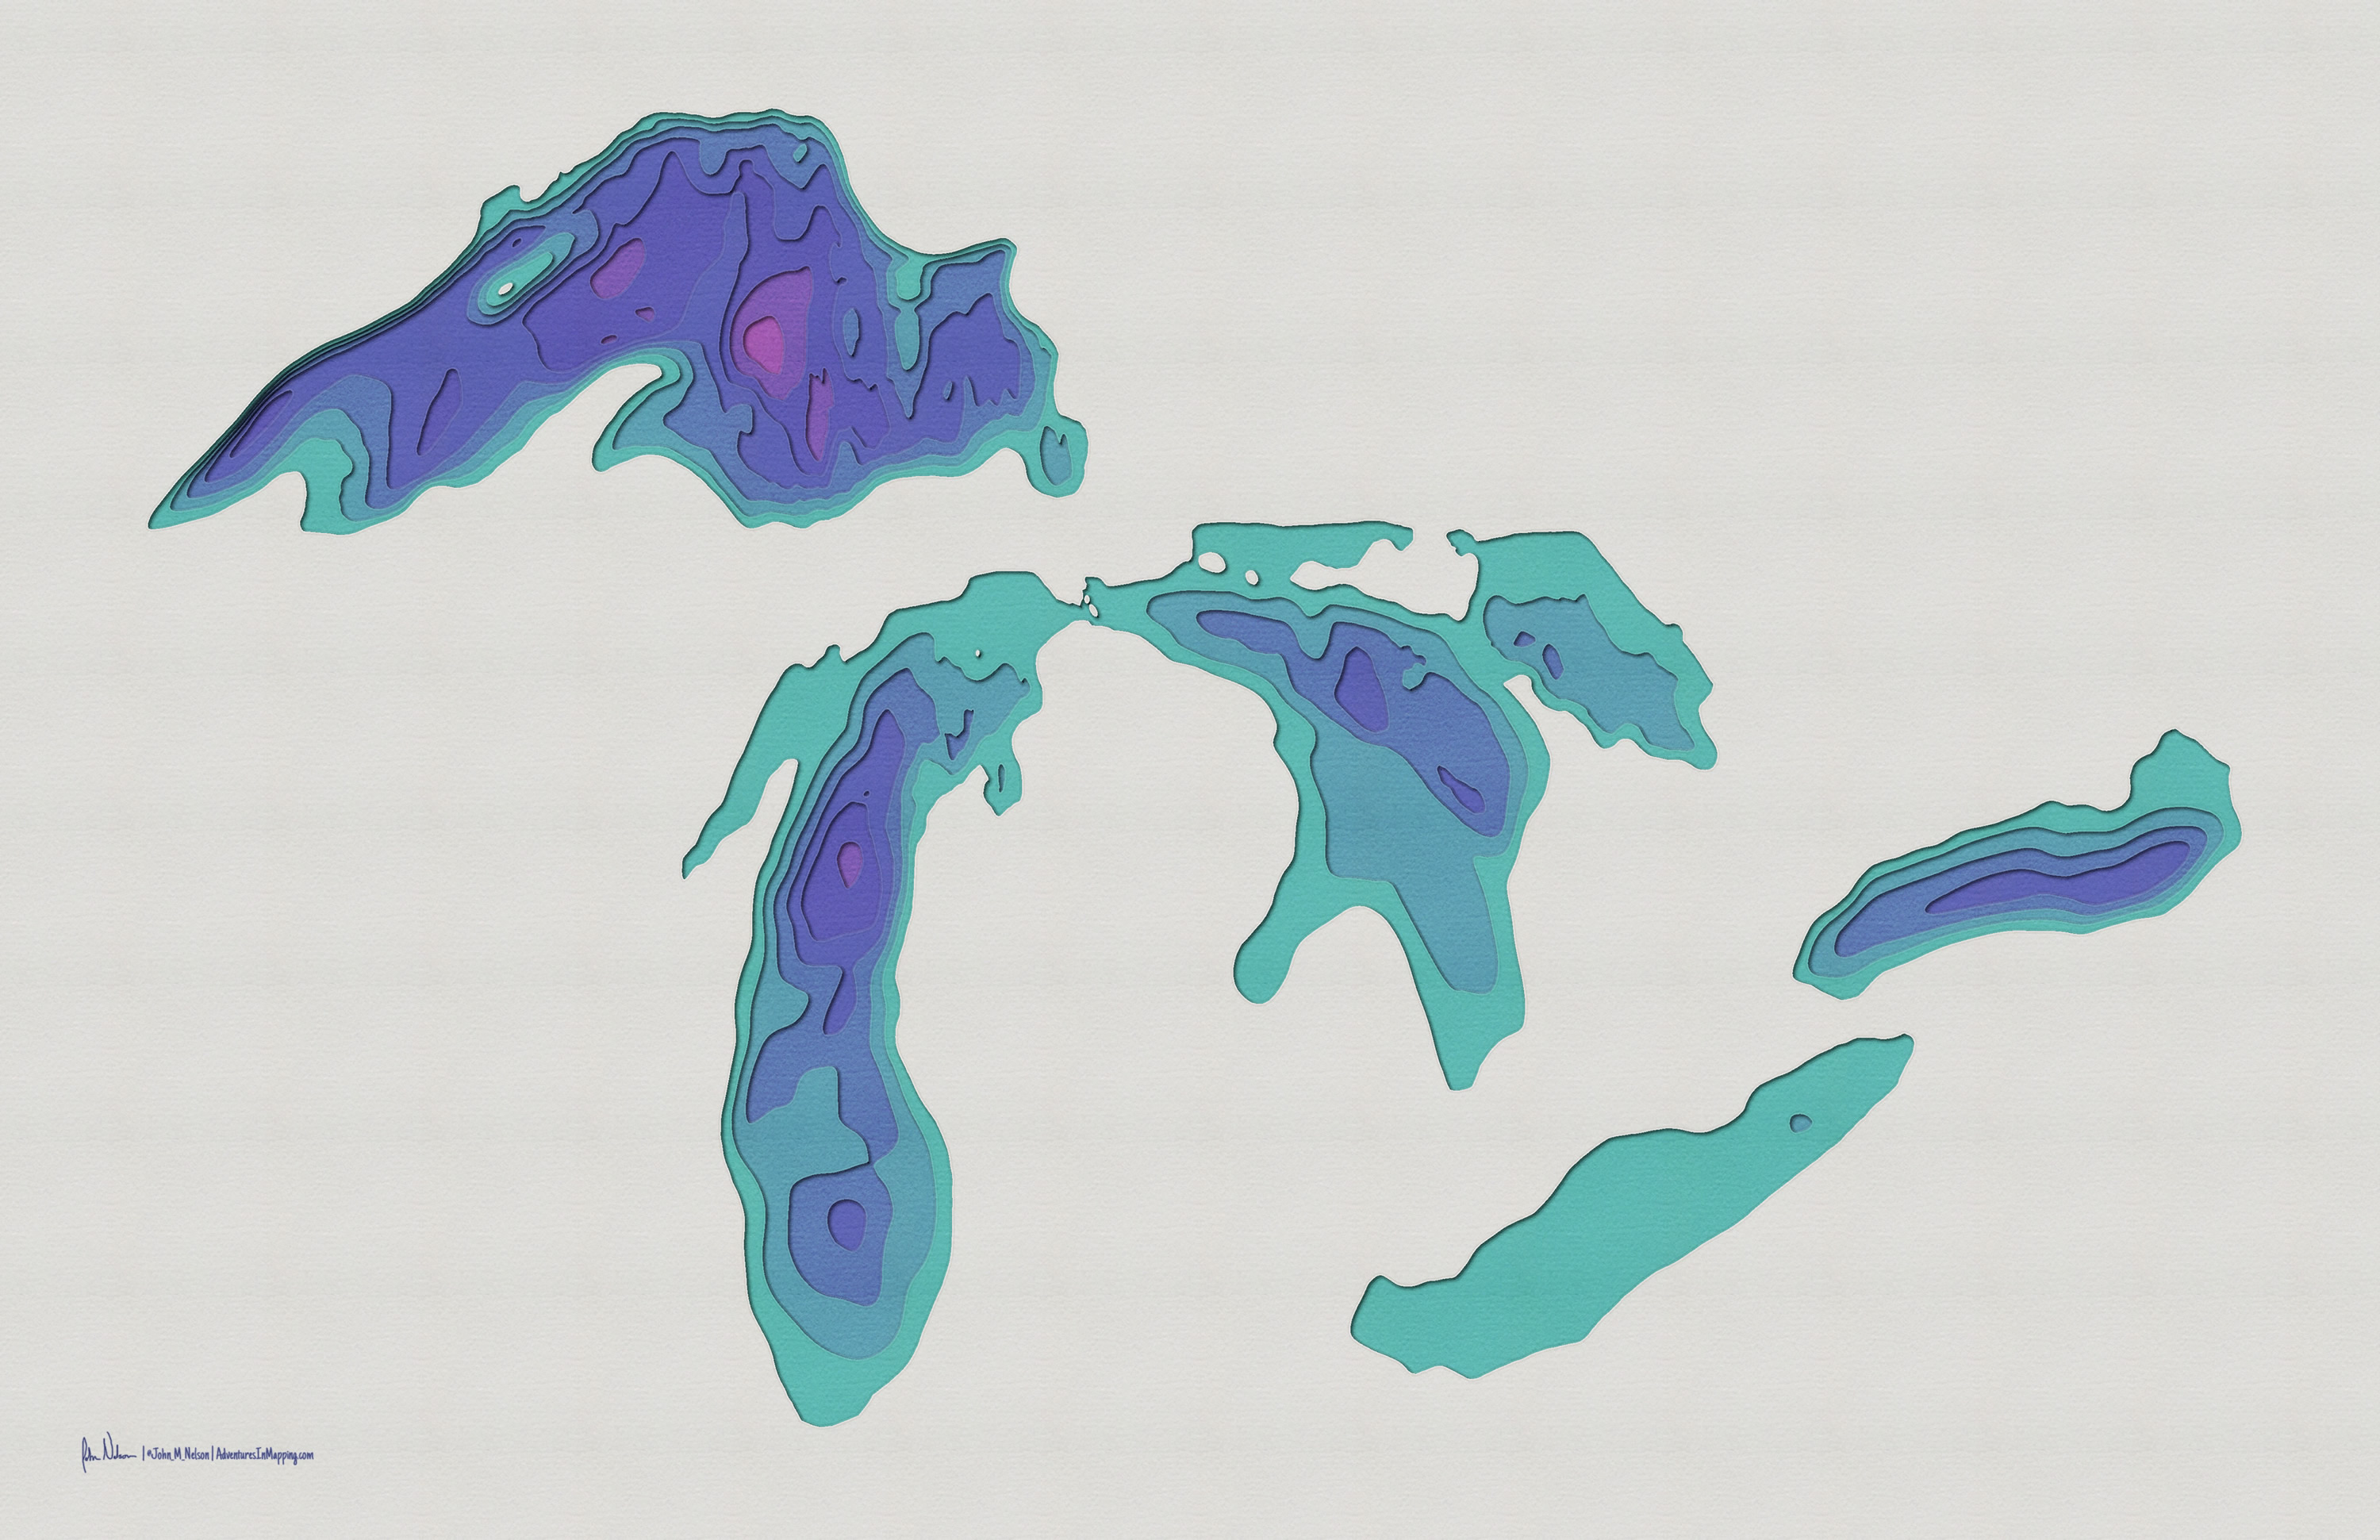
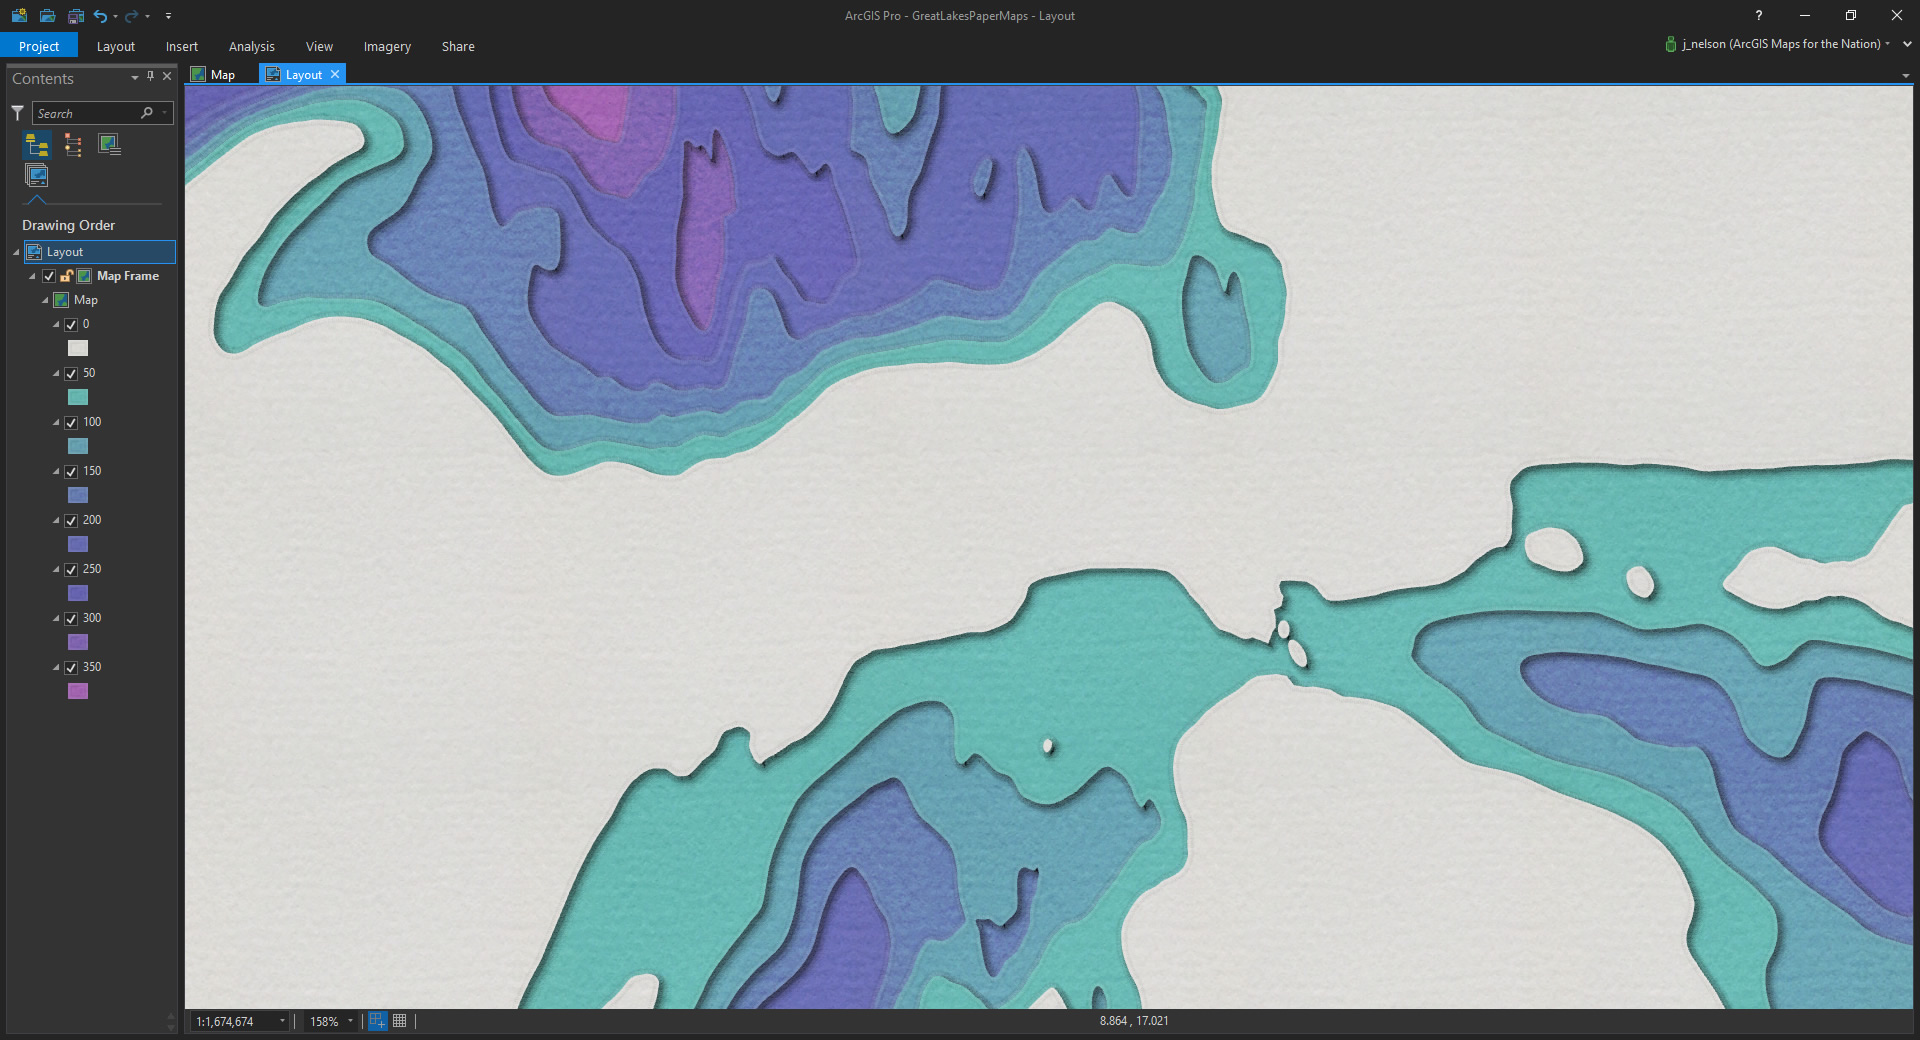
In favor of this…
Turns out, the Symbol Layers feature in ArcGIS Pro makes it mega-easy. You just need a ton of Symbol Layers. That’s a challenge that I readily accept. Before we get rolling, here is the result…
HOW
I find the best way of learning a process or program is to crack open something someone else has made, and walk it backwards to see how it was accomplished. If you are like me, then, you may want to just stop reading right now and download my Pro project.
You’re still here?
Ok, as is my way, I gathered some handy texture images, since there’s no better way to get a realistic looking map than to use real objects.
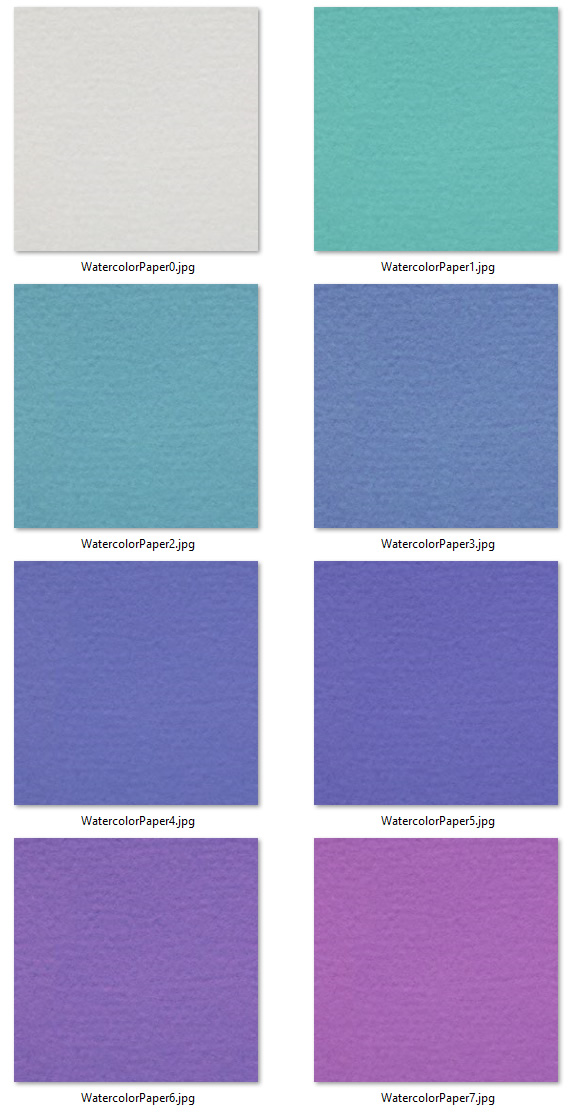
I took a photo of some watercolor paper I have laying around. Then I made a handful of colorized repeatable textures in a gradient that looked pretty watery to me.
And I grabbed my favorite little image that I use all over the place for adding texture to map fills and lines.
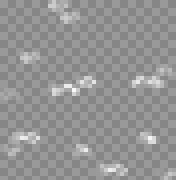
Here is a zip file you can download with all these images in it. Feel free to use them all over the place for your maps. Go bananas.
And I applied these images to this set of bathymetric filled contours I made from Great Lakes DEMS.
Alright, let’s roll up those sleeves and start cramming in a bunch of symbol layers.
SYMBOL LAYERS
In ArcGIS Pro, you can stack up all manner of symbol layers to represent your point, line, or polygon. For these fake paper maps, I’ve made 11 symbol layers to represent one shapefile. Yes, 11. When it comes to feathering reality, go big or go home.
By default, the symbol layers for a polygon are a solid fill and a solid stroke. Like this…
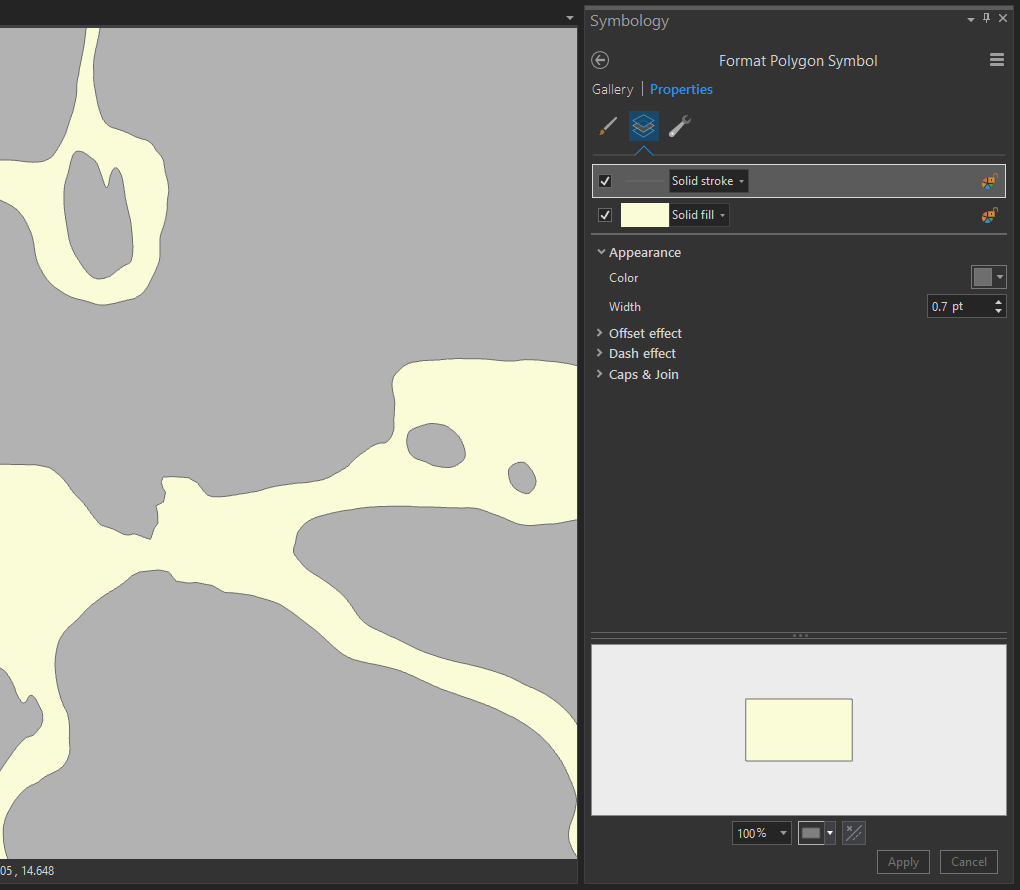
But if you are adventurous, and wonder what that little wrench is up there in the Symbology panel, give it a click. Unspeakable pleasures await you.
That’s the structure tab. You can add (“Add symbol layer” button) or duplicate (the clipboard icon) all sorts of graphical layers to represent one single map layer. That’s how people handle road casing, and stuff, but I prefer to do less practical things.
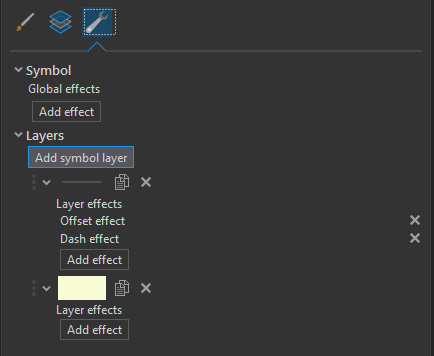
I added what turned out to be 11 symbol layers. The topmost layers replicate the slight raised edge of cut paper, then there is the colored watercolor paper layer, then a bunch of layers to replicate a cast shadow. Let’s dive in…
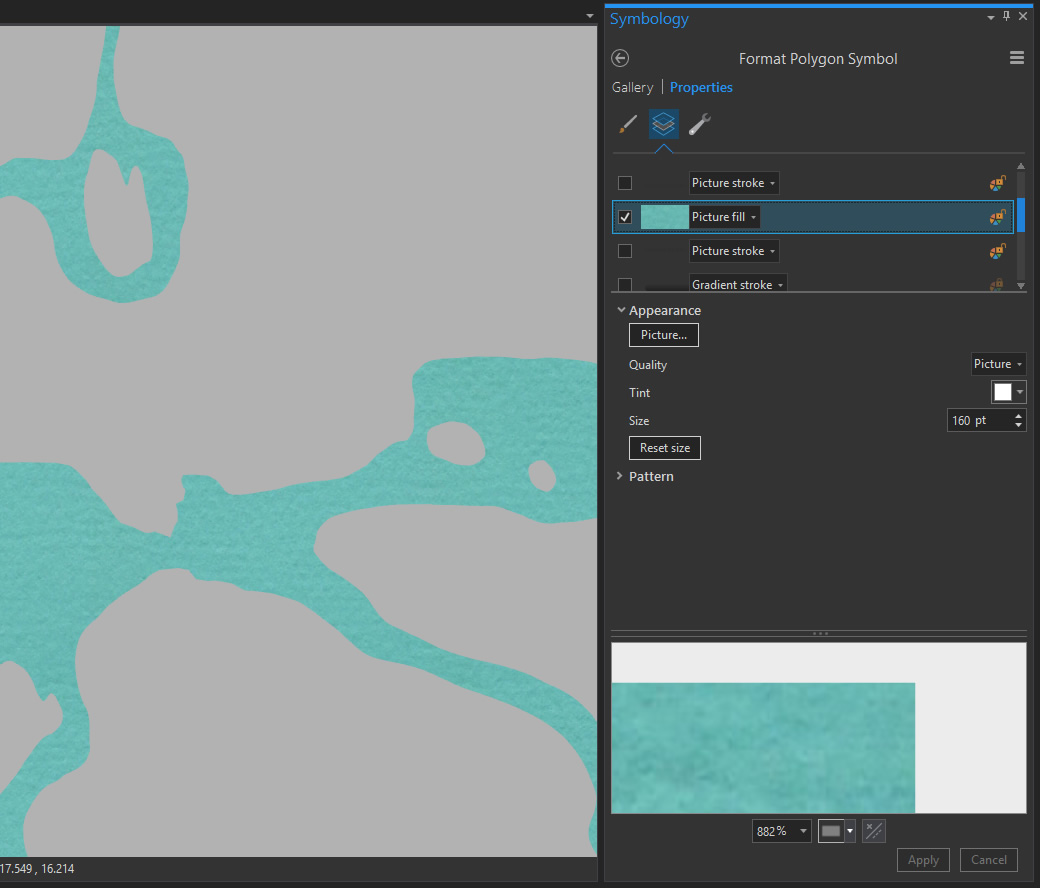
Here is the baseline symbol layer. It’s the paper. This is a “fill layer” and I linked to one of my watercolor paper swatches, made it “picture” quality, and gave it a size of 160pt (because it looked best to me at that size)…
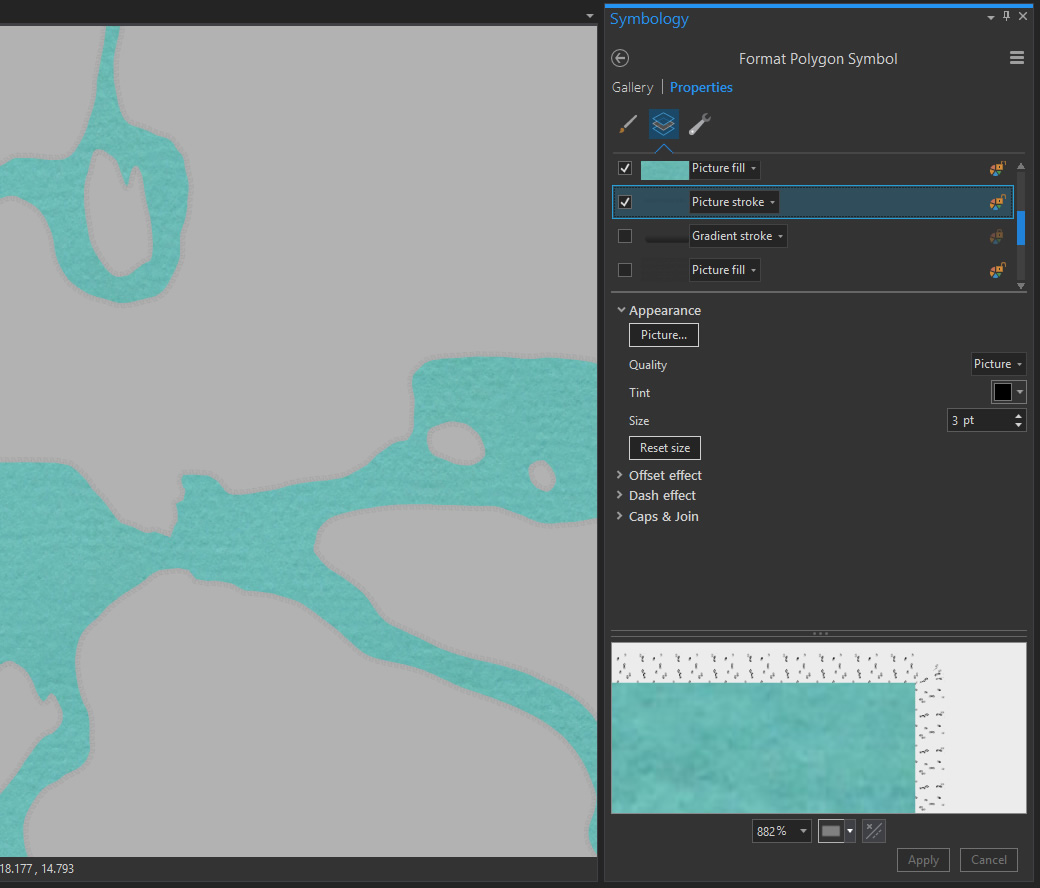
Then I set to work making this thing look like it was casting a shadow. I added a “stroke layer” and used a speckly image (tinted black) to surround the paper with a textury shadow…
That was ok, but the heavy lifting comes into play when I added a “stroke layer” and gave it a gradient stroke. Did you know you could do that? You can, and it rules! If you give the inner color an semi-transparent black and the outer color a fully-transparent black, you get a decent drop shadow, especially if you add a “move” option and nudge it over and down…

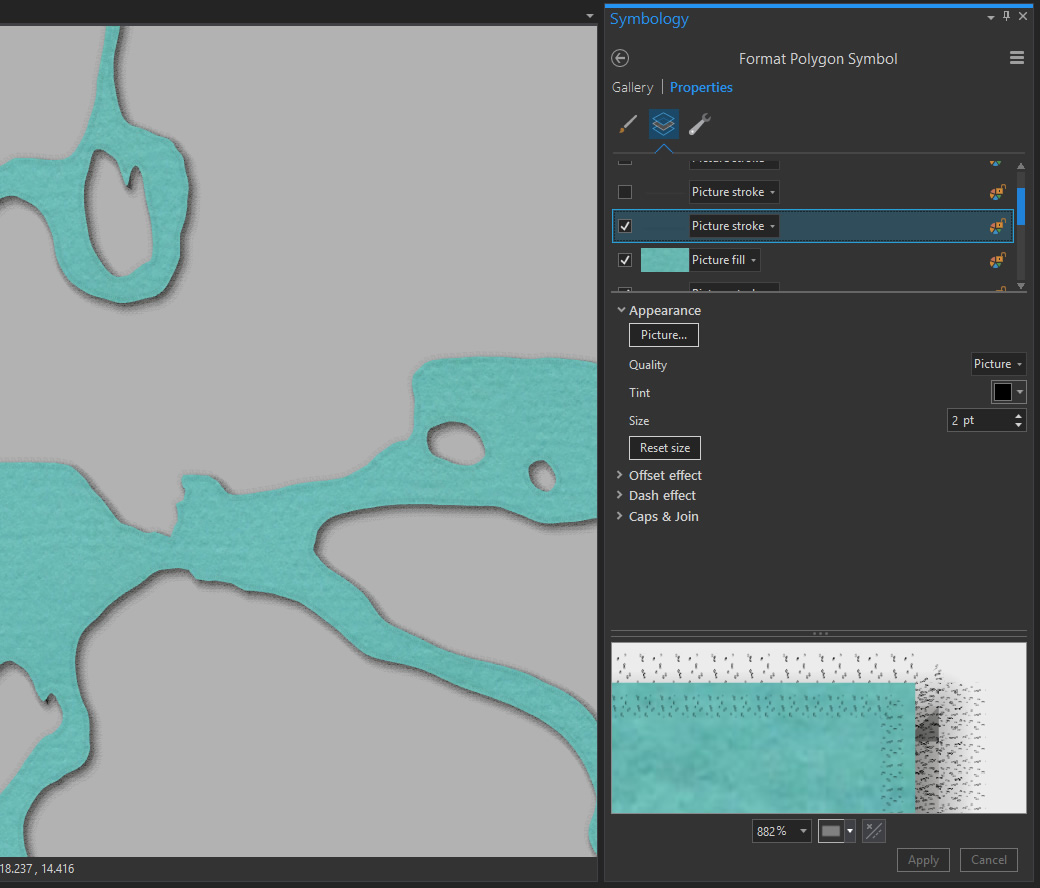
Then I added another “stroke layer” using the speckly image again, but this time I moved it to the lower right, like I did the gradient stroke, above. Now we’re getting into some workable dropshadow territory…

Then I did it again, “moved” down and over by a greater distance…

And again, by an even greater distance…

Then to really punch it home, I gave it another “fill layer” and set the color to 90% transparent black, nudged down and over by 3 pts. You should know, I’m tirelessly committed to realistic drop shadows…

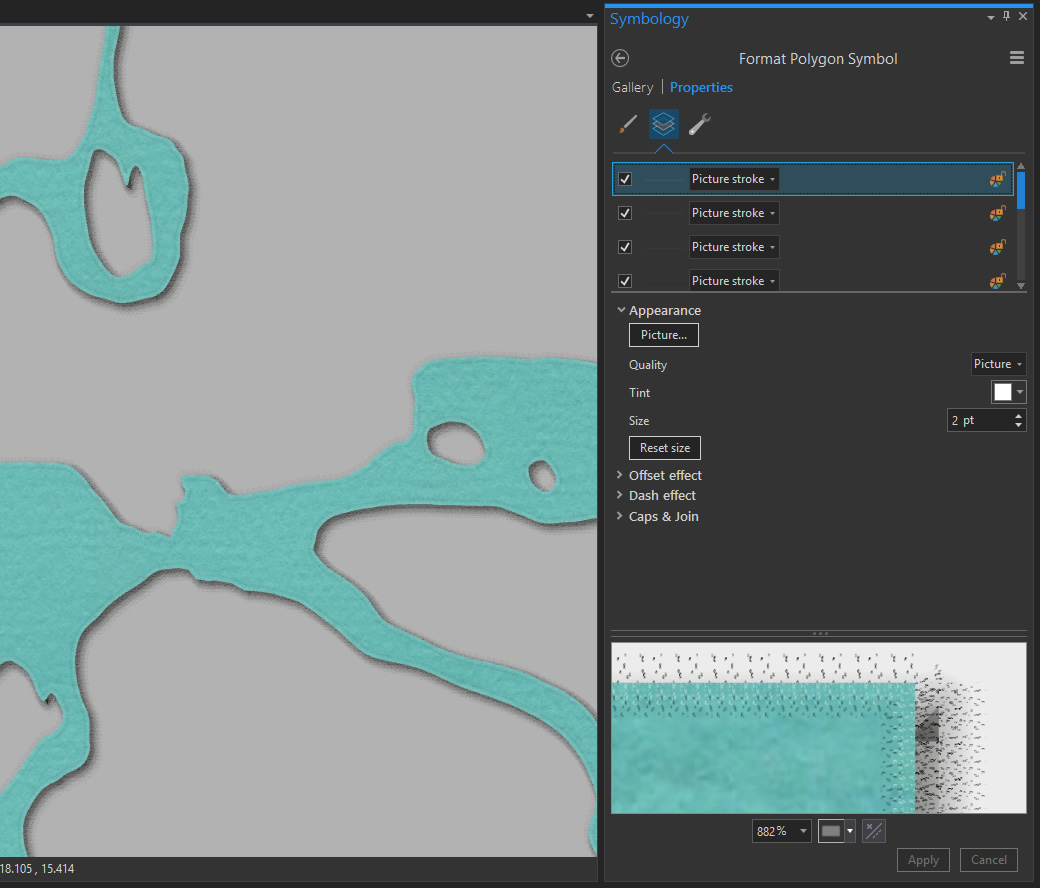
Ok, that’s enough for the dropshadow. After all these layers, my machine was running pretty hot. Let’s focus on creating a little raised lip effect around the edge of the paper. When I look at cut/stacked cardstock like this, it has a little emboss around the edge, where the press cut down and slightly frayed the fibers. Yes, things are getting pretty serious. Here’s a “stroke layer” of the trusty speckly image, given a dark tint, with an inset of a few pixels…
And then a few more “stroke layers” with a light speckly image right at the lip of the paper…
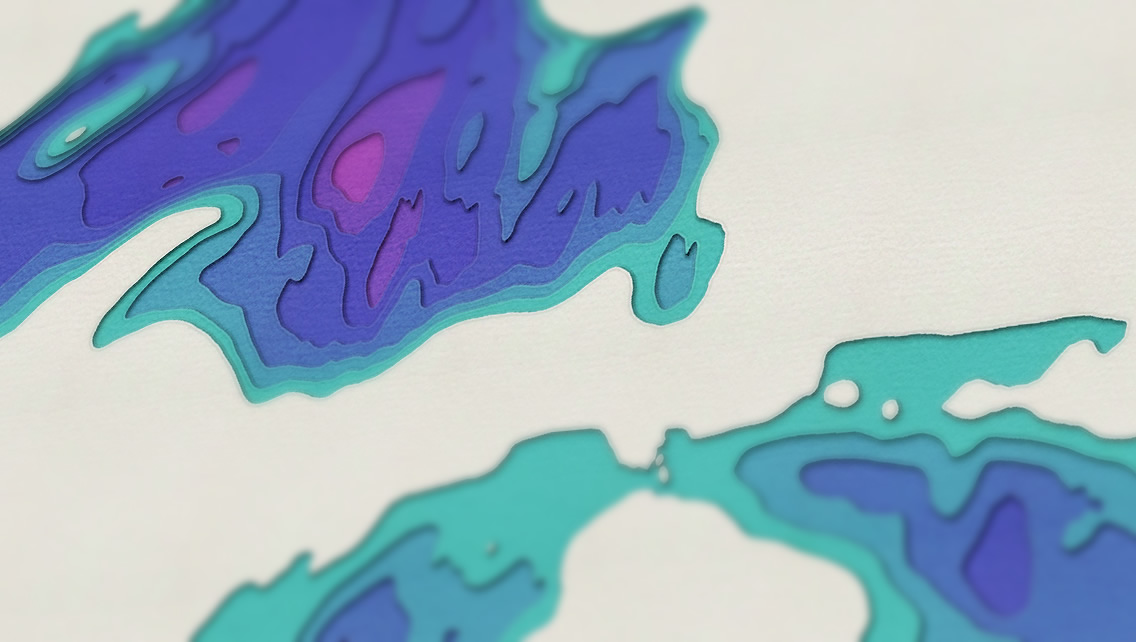
Trust me, it’s more exhausting to type/read this than it is to actually make it. So take heart. Because when you apply this symbology to the other bathymetric layers, and just give each one a darker colored paper image, commensurate with depth, then tactile magic washes before your eyes!
Looks pretty convincing, right? Especially when I hack a little tilt shift on it to make it look like a photograph…
Anyway, give image textures and symbol layers a shot. Again, here’s a link if you want to download this Pro project. If you wield these terrible cartographic powers, I’d be honored and excited if you shared the results here in the comments. Making maps is fun, sharing maps you made is funner.
Happy Mapping! John


Article Discussion: