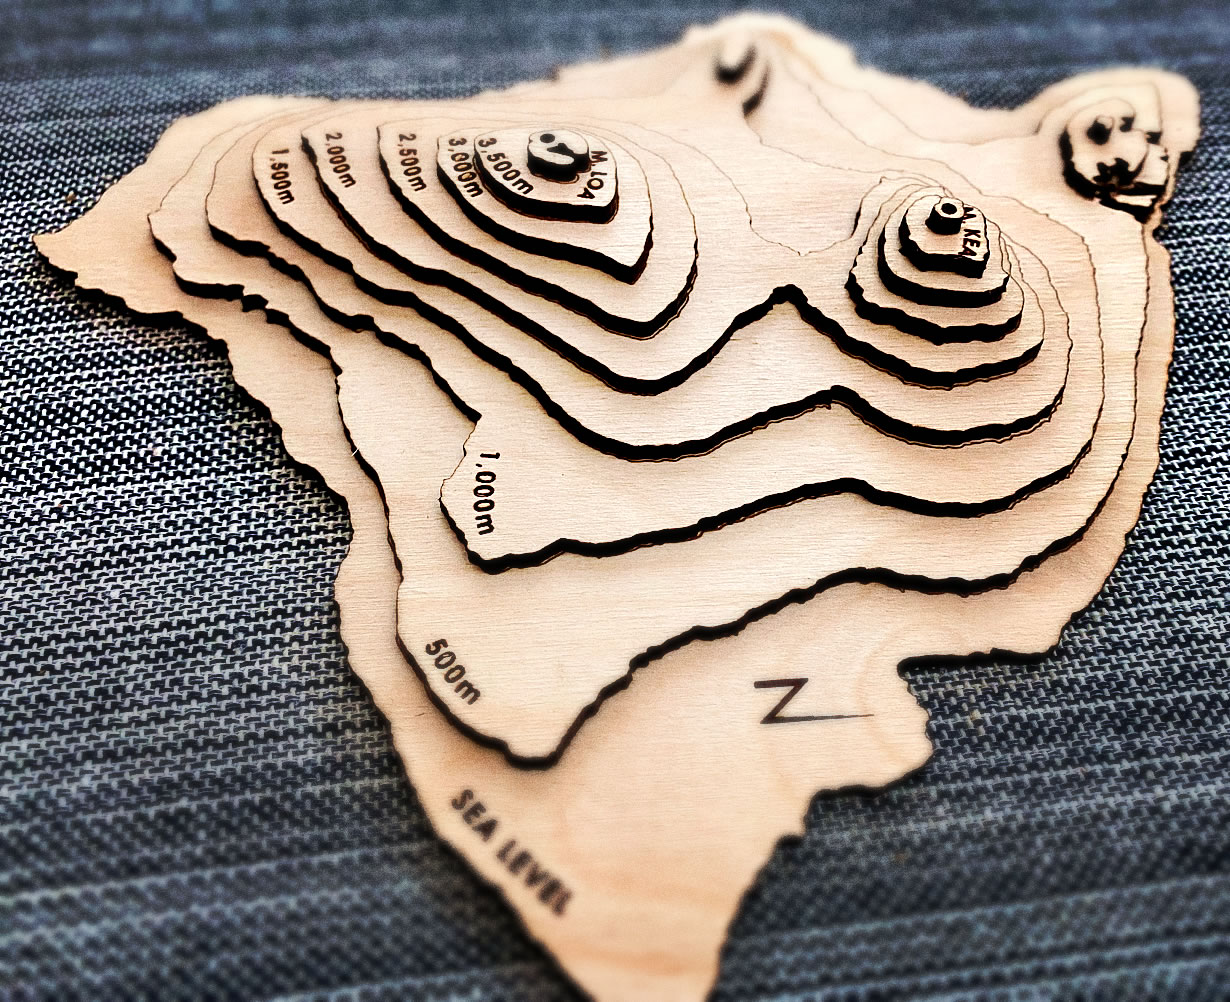
What a time to be alive. Humans have harnessed the laser. Without question the single greatest application of this profound new technology is its incorporation into consumer grade arts and crafts laser cutters. Naturally, geographers have a thing or two to add to this wave of glorious maker energy. Here is a wood-cut model of the Island of Hawai’i.

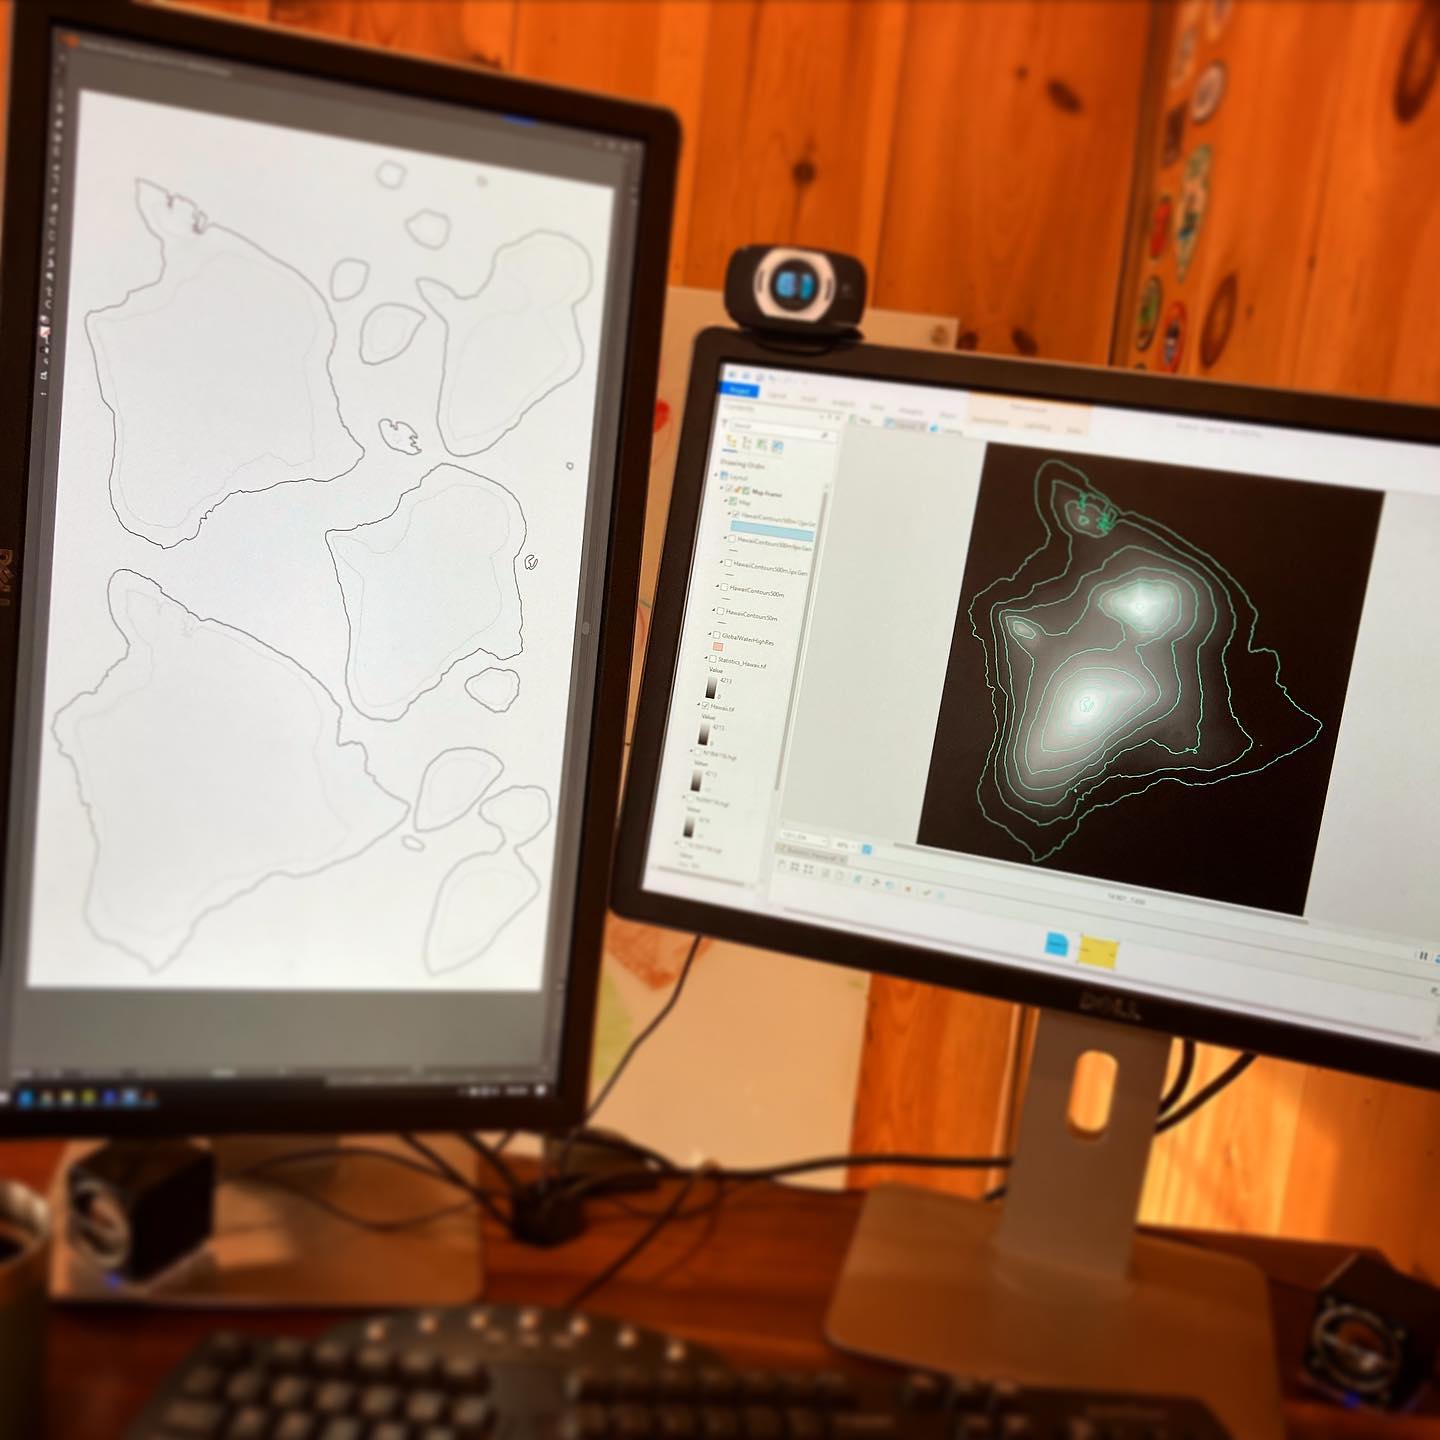
But how? Here’s a snapshot of the work in process. Just a bit of fun in ArcGIS Pro with contours, some rearranging in your graphic design tool of choice (optional).

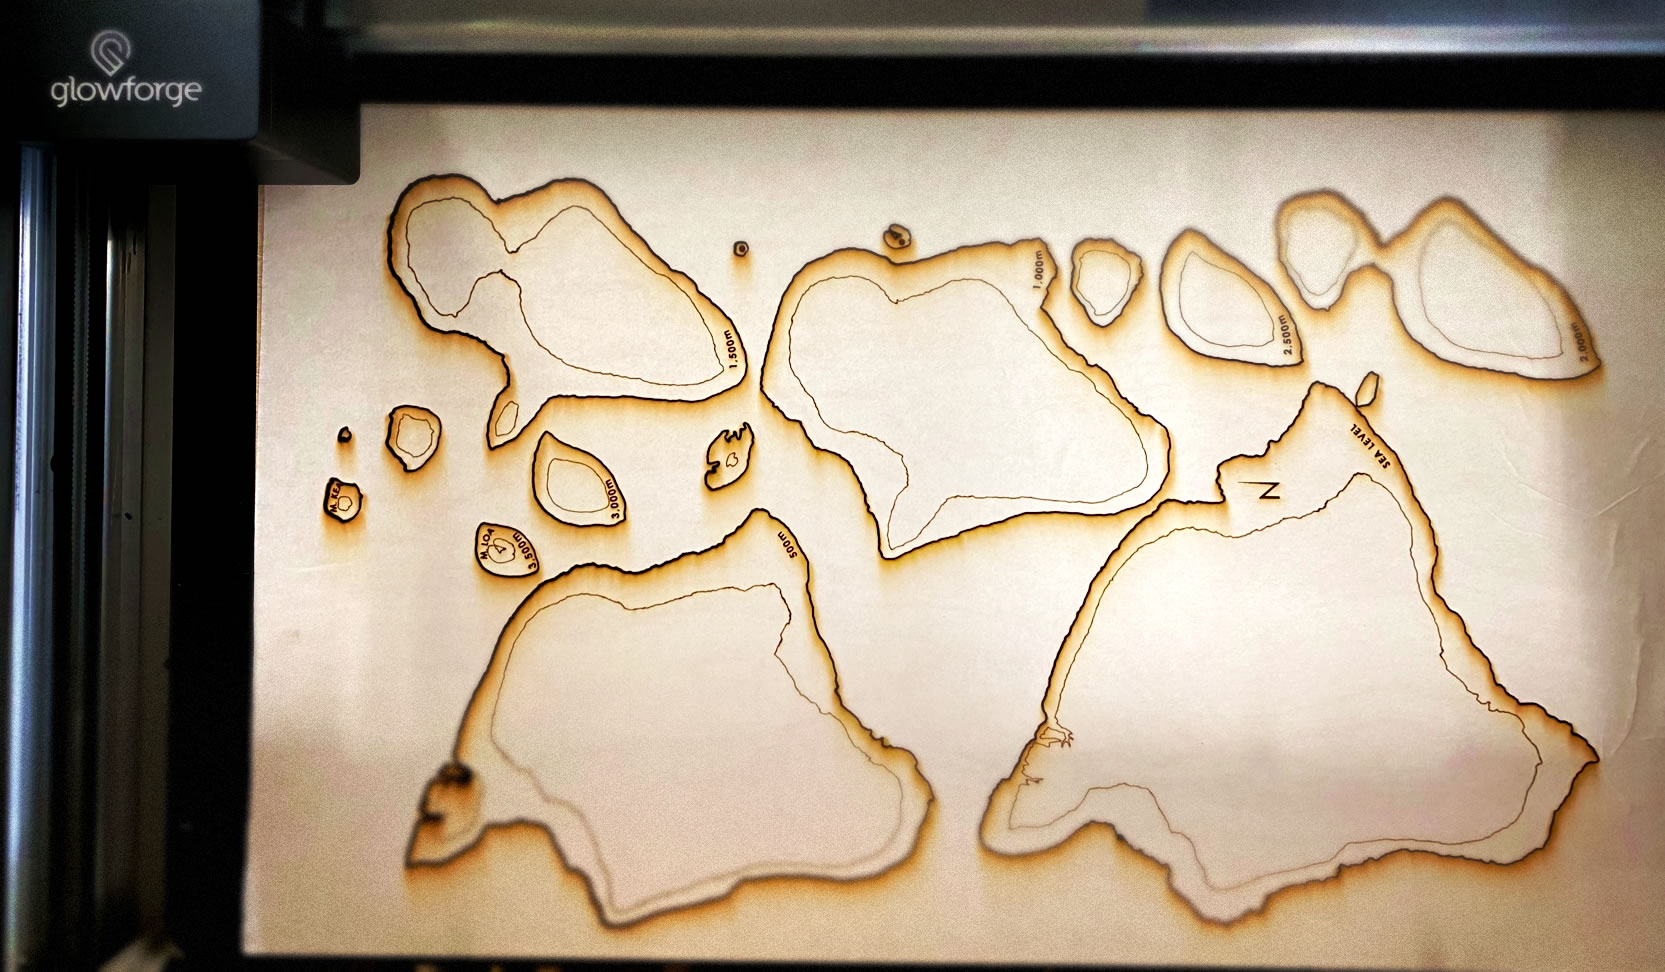
Then it’s just a matter of feeding the SVG file into a laser cutter. In this example we’ve used a Glowforge but there are lots of options out there. Please comment if you have a laser cutter and what kind you have, we’d love to hear about it and if you try this out.
Here’s how it looks before human fingers and super glue come into play. The darker lines are cut through and the fainter lines are etched as an assembly reference for stacking these little wooden pancakes up.

If you have a laser cutter and want to try this template out, you can download it here (both SVG and Illustrator formats): HawaiiLaserCutterTemplate.zip.
How To
Here’s the gist of a workflow to take a Digital Elevation Model and generate files ready for a laser cutter…
• ArcGIS Pro
o Get your Digital Elevation Model (DEM) image all set.
o Blur DEM to generalize (statistics raster function).
o Create contours (spatial analyst).
o Turn off all layers except the contours and export to SVG (or AIX).
• Illustrator (or whatevs)
o Simplify paths, remove tiny islands.
o Group paths of equal elevation, name them.
o Duplicate contour paths to new layer for assembly reference (Glowforge calls this “etch”).
o Delete lowest contour reference path.
o Arrange contour (and upper reference contour) to fit with no overlap. Rotating is ok as long as the contour and reference are rotated together. Scaling is ok as long as all paths are scaled equally.
o Save as SVG file and feed it to the laser cutter (in the SVG save dialog, make sure the “decimal” value is set to 3 or more. Illustrator does weird things otherwise).
You should be all set to send the file to your laser cutter. Set the contours to cut and the reference layers to etch (or similar). We only tried this on a Glowforge though, so it might be different depending on the machine.
Here is a video walking through all these steps in detail…
Have fun, geo friends! If you start cranking these things out we hope you share the results in the comments or show us on social media. That would be unreasonably rewarding.
Happy Lasering! John and Chris

Article Discussion: