Note: This blog covers the classic Esri Story Maps. Story authors are encouraged to use the new ArcGIS StoryMaps to create stories; however, Esri will continue to maintain the classic templates for your use. For more information, see the Product road map.
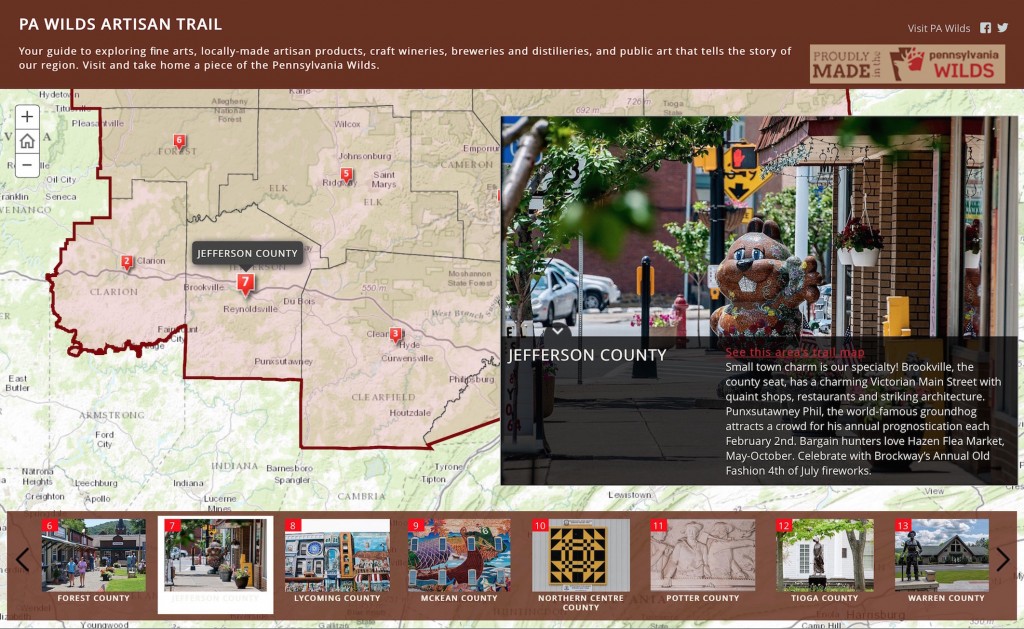
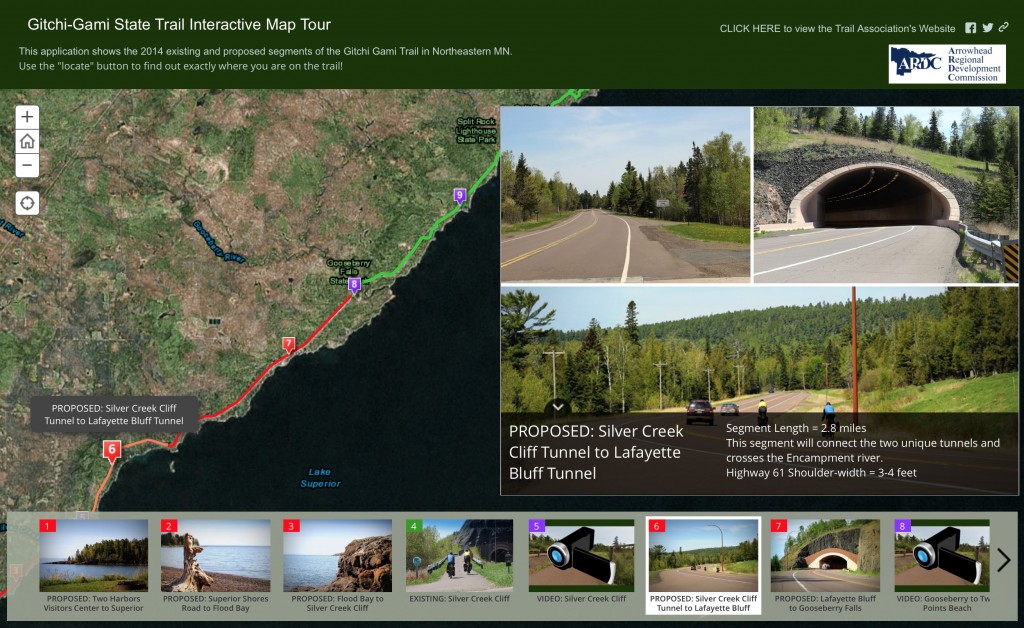
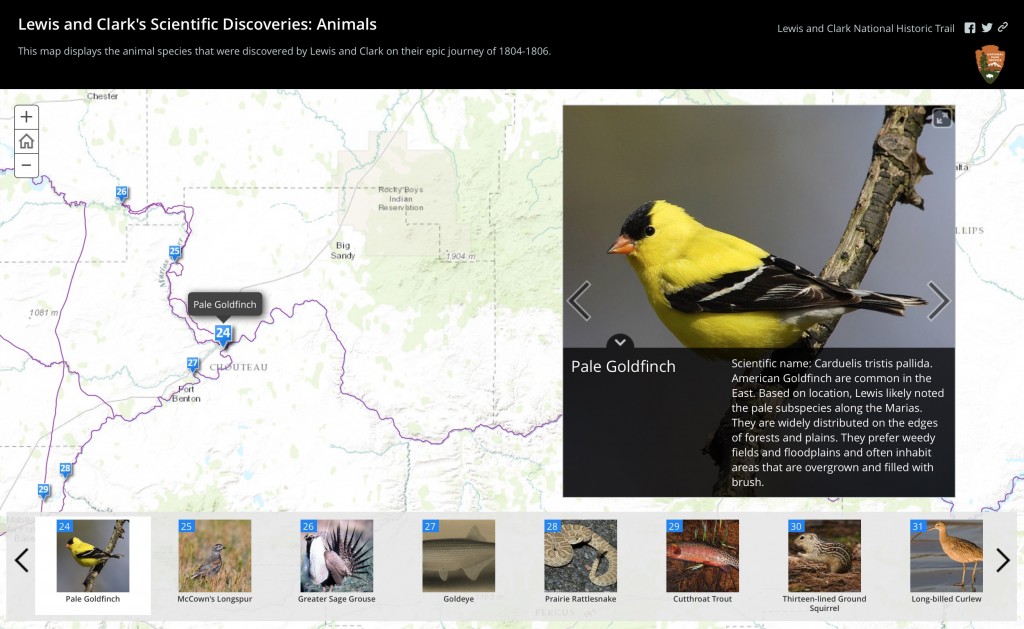
People often ask if they can add layers to a Story Map Tour, and the answer is “Absolutely!” Here are a few nice examples of this from Pennsylvannia Wilds, the Arrowhead Regional Development Commission, and the National Parks Service.
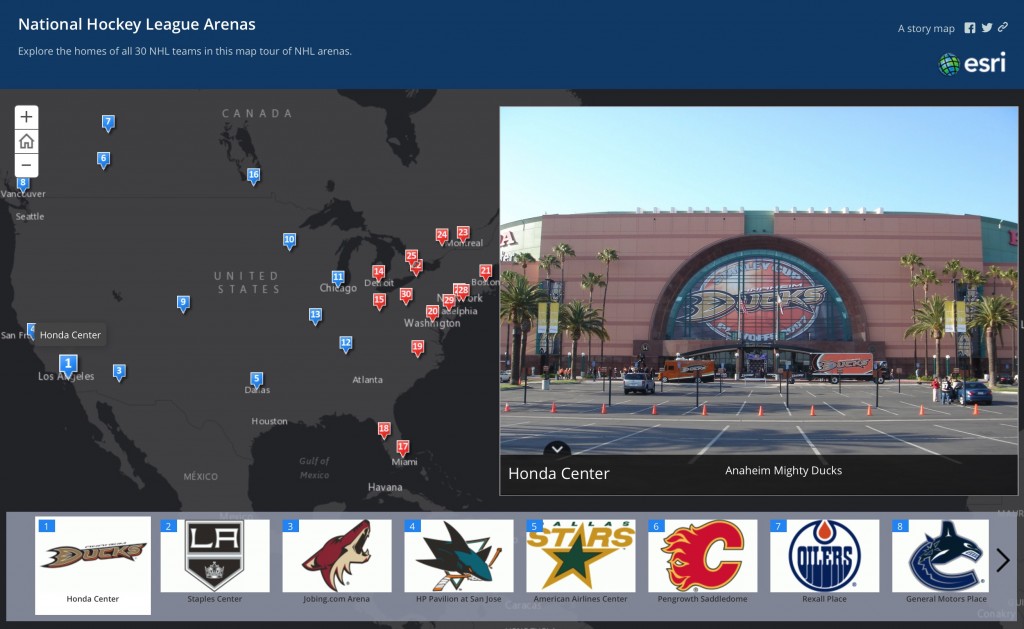
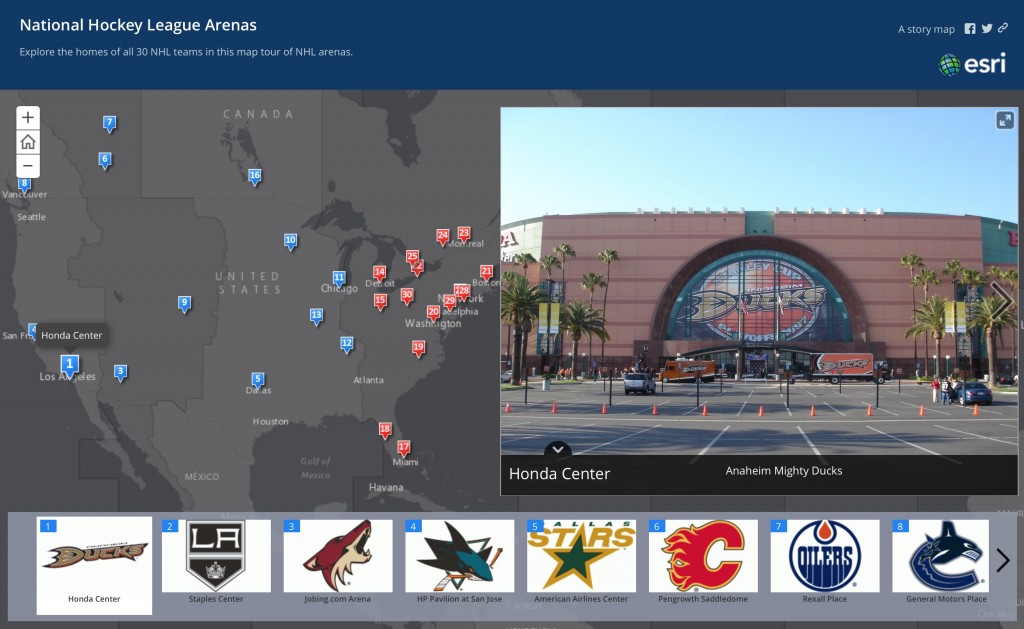
This next example began as a standard map tour of NHL arenas, but a layer was added to show time zones to provide more context about the arena locations. With the added layer you immediately notice all the Eastern Conference teams (red pins) play at arenas in the Eastern Time Zone.
How to add layers
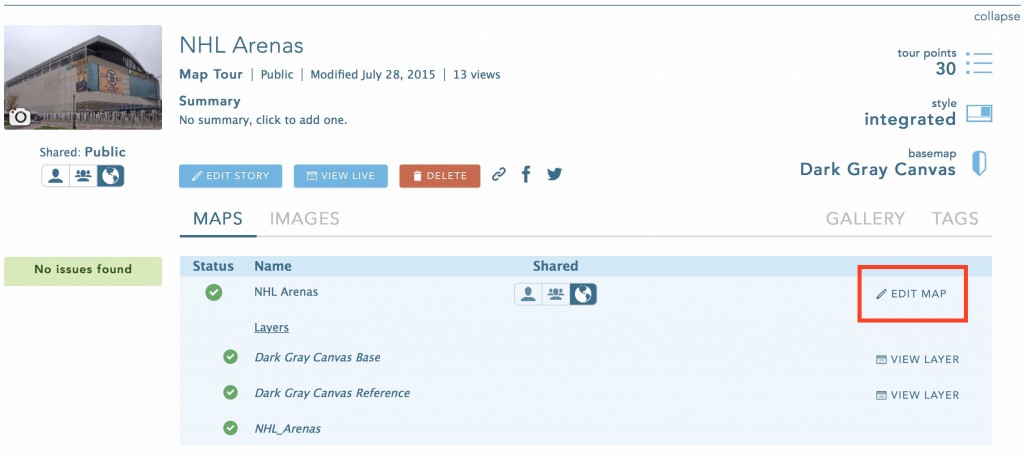
The easiest way to add layers to your map tour is to use My Stories. Log in to My Stories on the Story Maps website, click to expand the listing for your Map Tour, and click Edit Map to open the web map you need. Add your layer(s), save your map, and then reload the Map Tour app to view the changes.
You can always open and modify the web map from your My Content page on ArcGIS.com, but My Stories makes it easy to find the right web map.
This method can also be used to change the basemap in a Map Tour to one that doesn’t appear in the Map Tour basemap picker (see examples here and here). Just open up the Map Tour’s web map as shown above, add a custom basemap, and save the map.
For more information
Arena photos: Wikipedia, NHL logos: SportsLogos.net


Article Discussion: