Note: This blog covers the classic Esri Story Maps. Story authors are encouraged to use the new ArcGIS StoryMaps to create stories; however, Esri will continue to maintain the classic templates for your use. For more information, see the Product road map.
In this installment in the series about using the Story Map Cascade builder you’ll see how to create an engaging immersive section.
Immersive sections lock into place as readers scroll through a Cascade story, and as they continue to scroll narrative panels slide over a series of full-page media. This story from the Bureau of Land Management makes great use of immersive sections to showcase a collection of breathtaking photos of public lands, but immersive sections can also show videos, maps, scenes, or other web content.

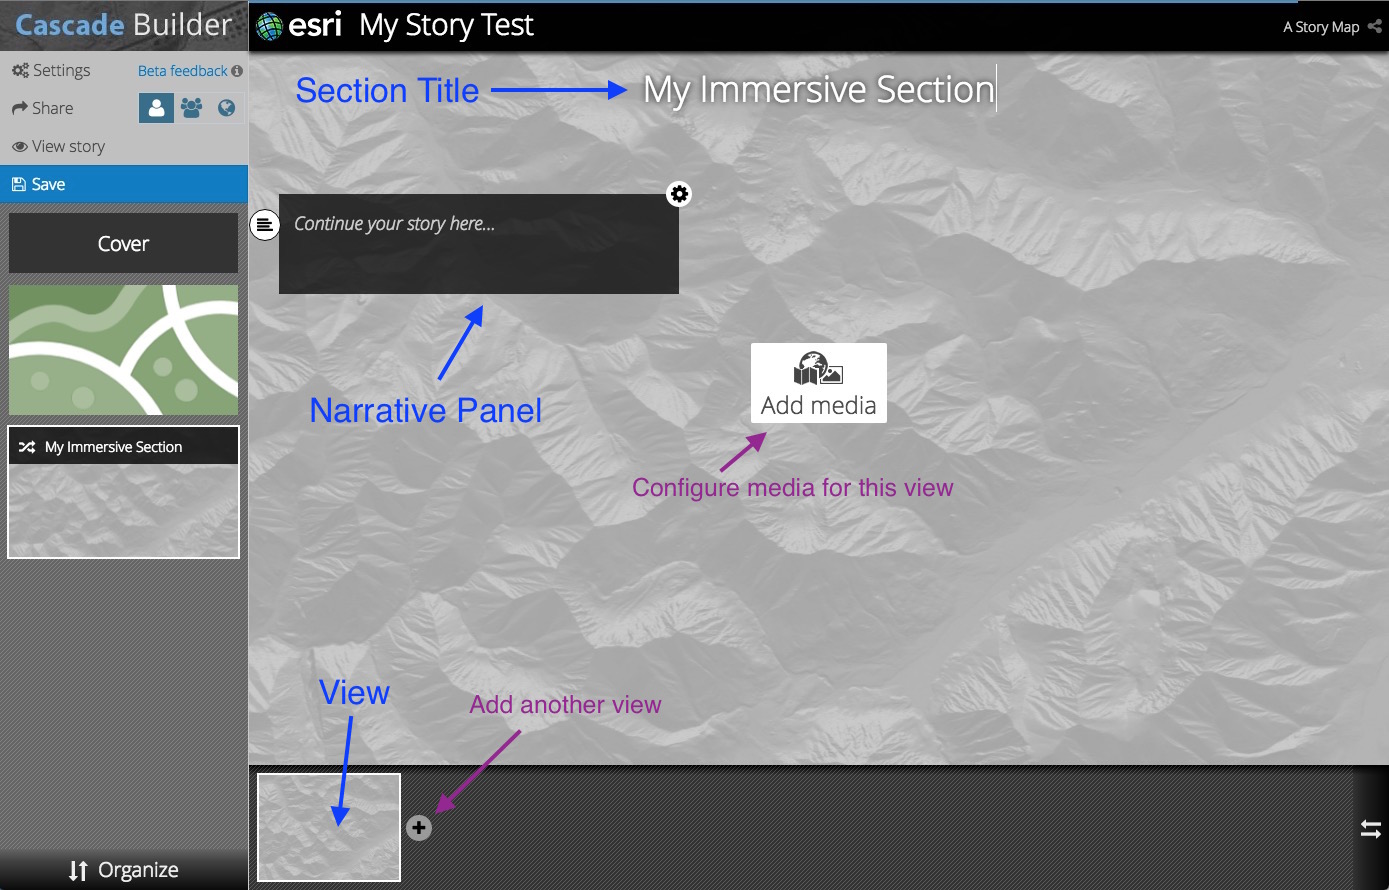
Adding an Immersive Section
To add an immersive section, hover between two paragraphs in a narrative section and click the (+) button, or click the (+) that is visible between two sections. From either menu choose Immersive.
Views
An immersive section is composed of one or more views. The title shown at the top of the window will be visible across all views in the immersive section. The media and narrative panel can be different, but the same media may appear in more than one view if you have more to say about it.
The first thing you will usually do after adding a new view is Add Media to the view. This will replace the grey media placeholder with your photo, video, map, etc. Any type of media can be added to your view by using the Media Picker. Once added, you can configure the media by clicking the gear in the lower left corner.
To add another view click the (+) to the right of the first view or between views.
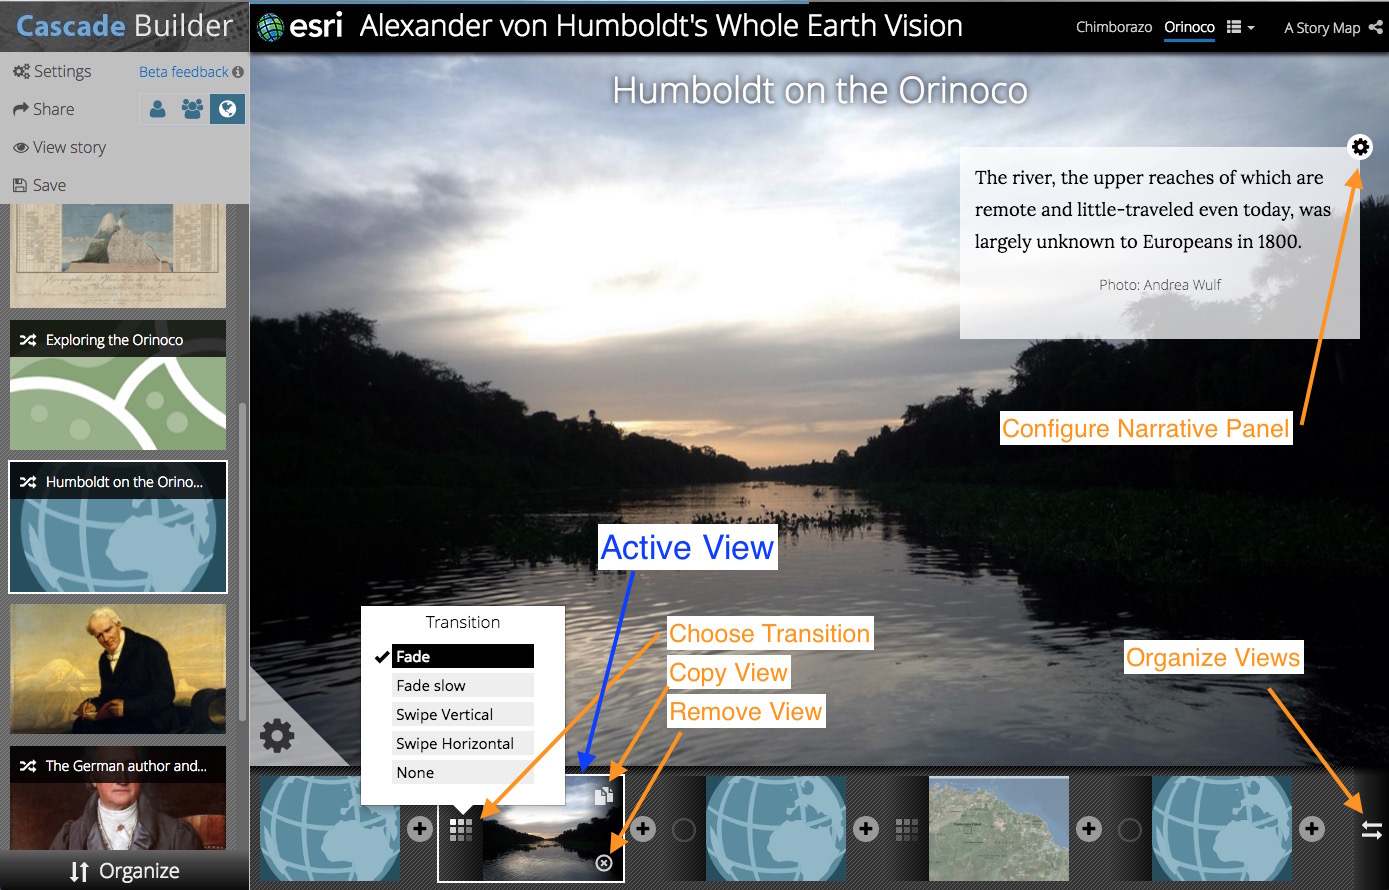
Tools to copy or remove a view appear when you hover over one of the view thumbnails along the bottom.
Copying a view creates another view with the same media, media configuration (e.g., map location and layers, scene slide view, interaction setting, etc.), and transition. The narrative panel’s appearance settings are also copied, but the content of the panel is not.
If you remove the only view in an immersive section, the entire section will be removed.
Transitions
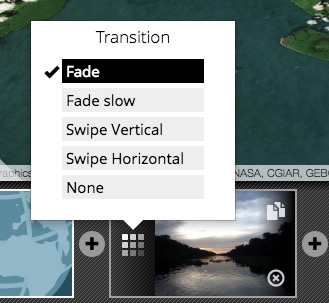
The icon to the left of each view thumbnail indicates what transition is applied to each view as it appears. The transitions are Fade, Fade Slow, Swipe Horizontal, and Swipe Vertical. You can also set the transition to None, which is useful when you have two consecutive views with the same media.
New views are added with a subtle Fade effect. If you copy a view, the transition effect of the original view is transferred to its copy, but you can always change it.
If you use Swipe transitions between views with the same map, the basemap will continue to show and the map layers will be swiped.
If you want to zoom to one or more different locations in a scene, save slides in the scene viewer and set them in the media configuration for a series of views. If you want a more disconnected way to transition use two different scenes and a swipe or fade transition between them.
Narrative Panels
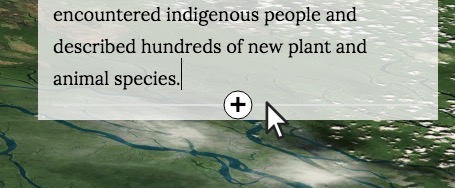
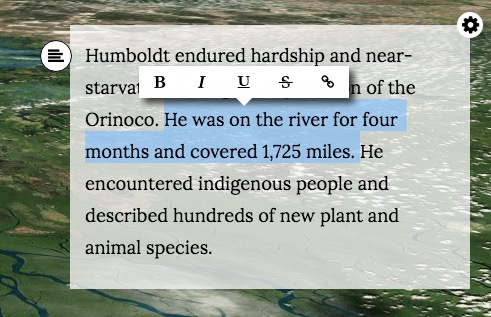
You can add formatted text, images, and video to a narrative panel in the same ways you add them to a narrative section — hover over the space between or after paragraphs and click (+) to add in-line media and highlight text to format it or add a link.
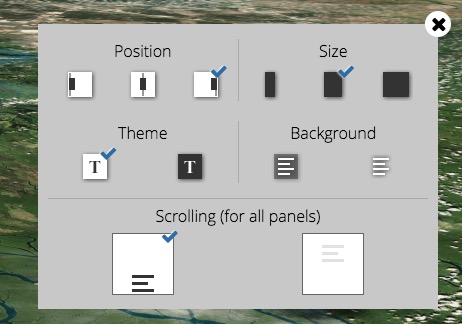
You can also configure the appearance and behavior of narrative panels. Click the gear in the upper right corner of the narrative panel to show its configuration settings. You can set the position of the panel, its width, theme, and whether it has a background. You can also choose whether the panels scroll through the entire height of the view or if it fades in and out (this option applies to all views in the current section).
If you don’t enter anything into the narrative panel it won’t appear in your story.
Organize
To rearrange views in an immersive section, click Organize Views (the double arrows) at the far right of the view preview strip. You can drag the views into the order you want, and then click Done. Tools to delete, copy, or add views are not available in Organize mode.




Commenting is not enabled for this article.