Oriented Imagery makes it straightforward to manage, explore, and view images that aren’t pointing straight down at the ground, like street-side photos, panoramas, or inspection images (aka oriented imagery).
Oriented Imagery 2.2
The 2.2 release includes updates to the ArcGIS Pro add-in, web apps, Oriented Imagery API, and Oriented Imagery management tools. Highlights include:
- A lightweight add-in installation for ArcGIS Pro 2.5+
- Support for creating OICs using a feature service with attachments as your data source
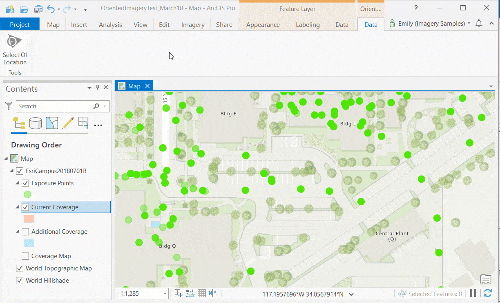
- An improved user experience for digitizing features in the web and Pro viewers
- Improved user experience for the Add Images to Oriented Imagery Catalog GP tool
How does the Oriented Imagery viewer work?
Using the Oriented Imagery add-in for ArcGIS Pro or a web app built with an Oriented Imagery widget to view oriented imagery is simple:
- Load an oriented imagery catalog (OIC).
- Click a location on your map.
- An imagery viewer will show you any available oriented images depicting that point.
- As you pan and zoom, see the camera’s field of view dynamically illustrated on the map.
Oriented Imagery supports standard frame, panoramic, or omnidirectional cameras, meaning it’s ideal for working with drone, bubble, or street-facing imagery.
To see the viewer in action, take the latest version of Oriented Imagery for a test drive with either a 2D or a 3D demo app.
Oriented Imagery features
The Oriented Imagery interface (for ArcGIS Pro or the web) includes the following features:
- A 2D or 3D viewing experience
- A viewer for oriented images (or the option to integrate a custom imagery viewer)
- The ability to see exactly where the image is on the map—as you pan or zoom in the image, the view extent is illustrated dynamically on the map
- Spatial navigation tools designed to work specifically with oriented imagery
- Querying based on current view and filters (including time)
- Built-in image enhancement tools
- Linear and height measurement tools (when the imagery supports it)
- The ability to create and edit features in the imagery viewer (and view them on the map)
- The option to display extents and images similar to your current selection
Uses of Oriented Imagery
Oriented Imagery has a range of possible applications. A construction company might use it to review asset inventory photos taken by field workers at a construction site. An insurance company might use it to quickly review photos capturing property damage after a natural disaster, like a fire. Or a utility company might examine close-range inspection images showing electrical towers from many different angles.
In all these cases, viewing the images in the context of a map magnifies their informational value and makes them easier to use.
Tools to manage your own oriented imagery collections
In addition to a user-friendly viewing experience, Oriented Imagery also includes a solution for managing and sharing your own imagery—oriented imagery catalogs (OICs), a data model designed specifically for non-nadir imagery.
To use Oriented Imagery with your own oriented imagery collections, create and publish an OIC using the Oriented Imagery Management Tools. Once you have the tools installed, this tutorial will walk you through how to create an OIC.
Share your OIC using our web app
You can use the demo web apps to share your OICs with anyone. Once your OIC is published in ArcGIS Online or ArcGIS Enterprise, do the following:
- Record your OIC’s item ID—the numbers and letters at the end of the item URL. (For example, the demo OIC item URL is https://arcgis.com/home/item.html?id=4c66d26fc1e4457fa0717d45a8dafddc, which means the item ID is 4c66d26fc1e4457fa0717d45a8dafddc.)
- Paste your OIC’s item ID in the place of the item ID at the end of the example app URL (http://oi.geocloud.com/app/index.html?oic=4c66d26fc1e4457fa0717d45a8dafddc).
Voila! You have a ready-made, shareable app for viewing your own OIC.
Develop custom oriented imagery apps and solutions
To build your own custom app, start by downloading the 2D or 3D version of the Oriented Imagery widget from the Oriented Imagery GitHub repo, designed to work with Web AppBuilder for ArcGIS Developer Edition. Use the widget to create your own app for viewing oriented imagery, no coding required. The GitHub repo also has more details about the Oriented Imagery API and oriented imagery catalog schema, enabling developers to create a fully customized solution for viewing oriented imagery.
Learn more
Visit the Managing and Visualizing Oriented Imagery workflow to learn more, or download the free Oriented Imagery add-in for ArcGIS Pro from the ArcGIS Marketplace to get started. To see what’s going on with Oriented Imagery or ask questions, visit us at GeoNet.

I noticed the sample OIC is accessible without credentials. When I add my own OIC, credentials are required even though it is publicly shared. Is it possible to give my OIC the same type of access as the sample OICs?
Solved: I needed to share the exposure points as well…