Welcome to the Editor’s Corner, your go-to space for practical ArcGIS Online editing tips. In this edition, we’ll break down the basics of true curve drawing tools. Whether you’re mapping winding roads, updating boundaries, or digitizing cul-de-sacs, these tools enable you to draw true curves on the web. We’ll walk through the ABCs of each one so you can get started using them right away.

The backdrop
Previously, drawing and editing true curves was mostly done in ArcGIS Pro. In ArcGIS Online, you could safely view curved geometries, but editing them caused densification. That’s when curves get converted into several short, straight line segments. Now, you can draw and edit curved features without densifying them…. well, mostly. At the time of writing, features drawn with the Bézier curve segment tool will be densified.
Meet the tools
You’ll find these tools on the draw toolbar in apps like Map Viewer, Instant Apps, Experience Builder, and on the editing toolbar in Web Editor and the new Web editor template in Instant Apps (yep, that’s a thing. Check out this article to learn more).
The ABCs of true curve drawing tools
In this section, we’ll cover the basics of the true curve drawing tools. This is not meant to be the encyclopedia of true curves, but if you’re looking for that, see this article for the latest about editing true curves in the SDK.
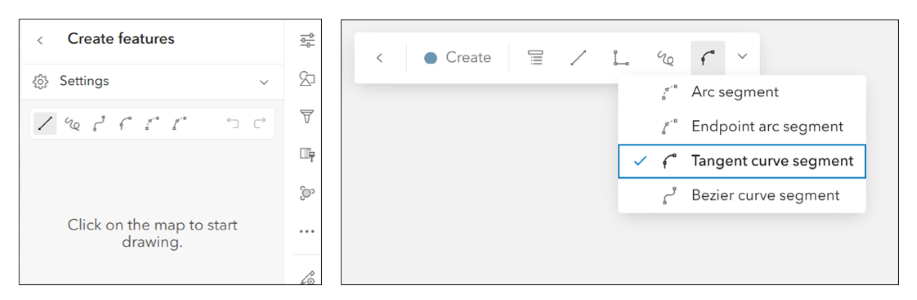
To get started using these tools, you can either create a new feature, or update an existing one. When you’re ready to draw, choose one of the following tools:
Arc segment
Use this tool to draw an arc between two points:
- A — Click to place the first point
- B — Click to place the arc’s interior point
- C — Click to place the endpoint

Pro Tip: You can switch drawing tools at any time while editing the same feature.
Endpoint arc segment
With this tool, you set the start and end points first, then set the radius last:
- A — Click to place the start point
- B — Click to place the endpoint
- C — Move the cursor to set the radius of the arc

Bézier curve segment
Use this tool to create smooth curves using anchor points and direction handles:
- A — Place the first anchor point
- B — Place the second anchor point
- C — Drag the direction handle to adjust the shape
- Repeat for the next curve

Note: As of this article’s publication, Bézier curves are densified in ArcGIS Online.
Tangent curve segment
Use this tool to create flowing curves tangent to a previous segment:
- A — Draw a segment
- B — Select the tangent curve segment tool
- C — Drag the handle to adjust the direction, size, and radius of the curve

Pro moves
Speed up your workflow with these two keyboard shortcuts:
- Convert any line segment to a curve: While editing vertices, hold Shift, then click and drag to convert a straight segment into a curve.

- Pause and Perfect: Press V while drawing to pause, go back, and adjust the previous vertex.

That’s a wrap
In this article, we covered the ABCs of ArcGIS Online’s true curve drawing tools, plus a couple of handy shortcuts. We hope you’ll put this information to use right away. Keep an eye out for future editions of Editor’s Corner, and don’t forget to share your ideas and feedback with us over at Esri Community.


Commenting is not enabled for this article.