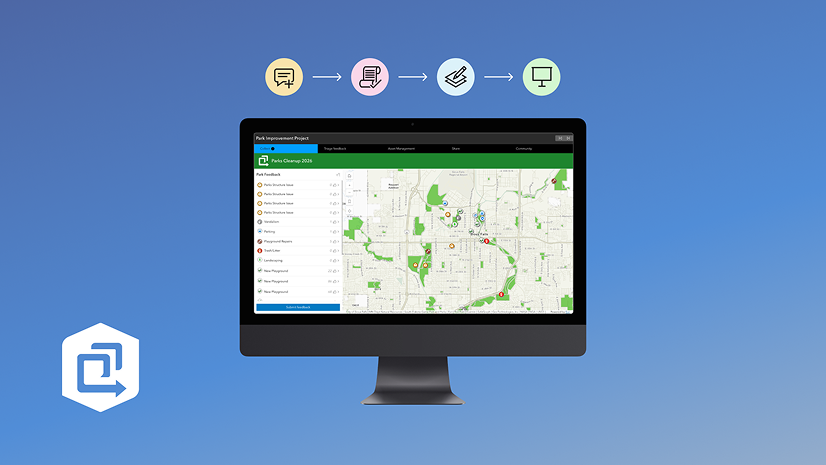
The Web Editor template blends the configurable Instant Apps interface you know and love with ArcGIS Web Editor, making web-based editing a breeze. In this article, we’ll explore some tips, tricks, and examples to show how you can cook up custom apps for a smoother editing experience using this new template.

The web editor template
The Web Editor template lets you serve up made-to-order editing apps in minutes. Start with a solid base, choose the right tools, and adjust the options so editors can focus on what matters most- editing. In the following sections, we’ll explore some key features and look at practical examples to show how you can tailor the app for specific editing needs. For the full menu of configurable options, check out this previous article.
Choose Your entrée- the map
Setting up a great editing experience starts with the web map. This is where you can add editable layers and configure essentials, like forms and editing templates. All downstream apps consume this map, so setting it up for easy editing at the start goes a long way.
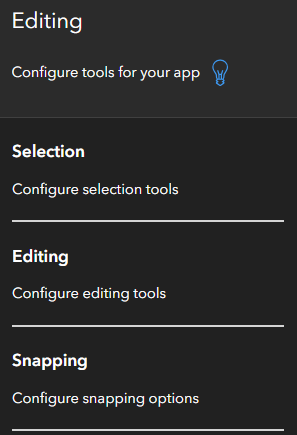
Editing
The Editing section is the heart of this template. In this section you can choose which tools to display and configure the options that best fit your project. Let’s take a closer look.
Choose your sauce- selection
To prime the app for editing, you can decide which layers are selectable by default. This is kind of a big deal because… If all the layers are selectable, making a selection on the map can grab loads of features across different layers. Then you have to take the time to pick out the features you need.
Setting selectable layers in advance can speed up that process. For example, if you use the app to update hydrants, you can set the Hydrants layer as the only selectable layer. Then when you make a selection, hydrants are the only features that get selected.

Choose your toppings- editing tools
Choose which tools display on the editing toolbar to best fit your workflow. Choose from tools including Split, Merge, Move, Reshape, Copy/Paste, and Undo/Redo, and hide the rest. This makes for a cleaner UI where editors can easily find the tools they use most.

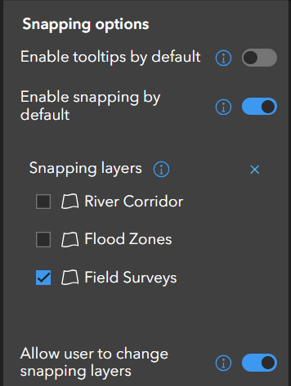
Choose your sides- snapping options
In the snapping section, select the layers you want to snap to. Setting snappable layers from the start allows editors to jump straight into their workflows without the need to configure snapping options themselves.
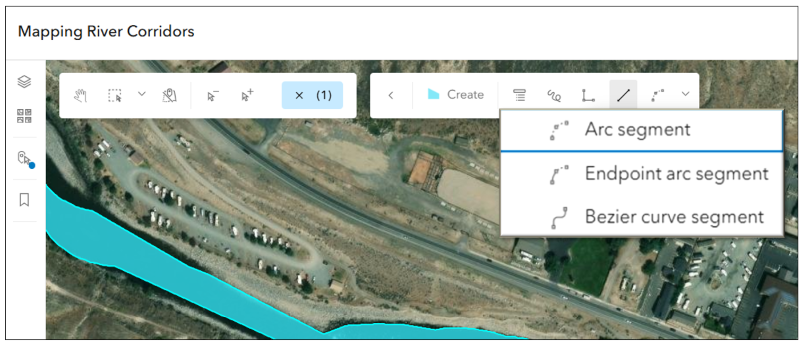
Add ons- true curves
With the latest update to ArcGIS Online, you can now create and update true curves. Enable True curves on the editing toolbar to reveal new drawing tools like Arc segment, Endpoint arc segment, and Bezier curve segment*. These are great for mapping features like winding roads, river banks, or cul-de-sacs. Check out this article for an introduction to true curve drawing tools.
*At the time of writing, Bezier curves will be densified.
The secret menu- settings
The template includes a variety of settings that give you more control- choose whether to show the Select by Attributes tool, display shortcut keys, or prompt users before deleting a feature. You’ll find most of these in the Settings section of the Sidebar tab.
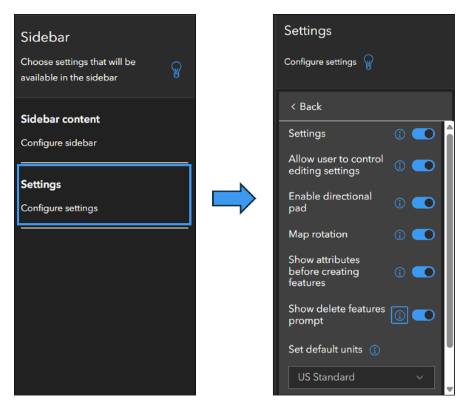
Other settings are sprinkled throughout the app in the section where they fit best. For example, when you enable the Layer List, additional settings for layers appear. You can choose to allow editors to zoom to the layer, show the attribute table, or even add temporary layers to the map.

Finishers- make it yours
As with any Instant App, you can customize the look and feel to match your brand. Choose between light and dark themes, add a header and logo, and choose where to position tools in the layout.
Members only
Keep in mind that authoring and using the Web Editor template requires the same privileges as the Web Editor app. To use the app, editors must sign in and have a Creator, Professional, or Professional Plus user type, along with a role that includes Edit privileges (such as Data Editor, User, Publisher, Facilitator, Administrator, or a custom role).
Real world examples
Next, let’s look at some examples to see how you can configure the Web Editor template to meet specific project needs.
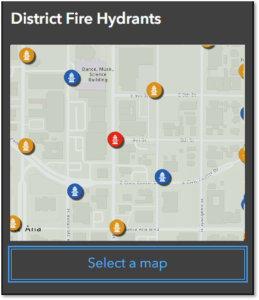
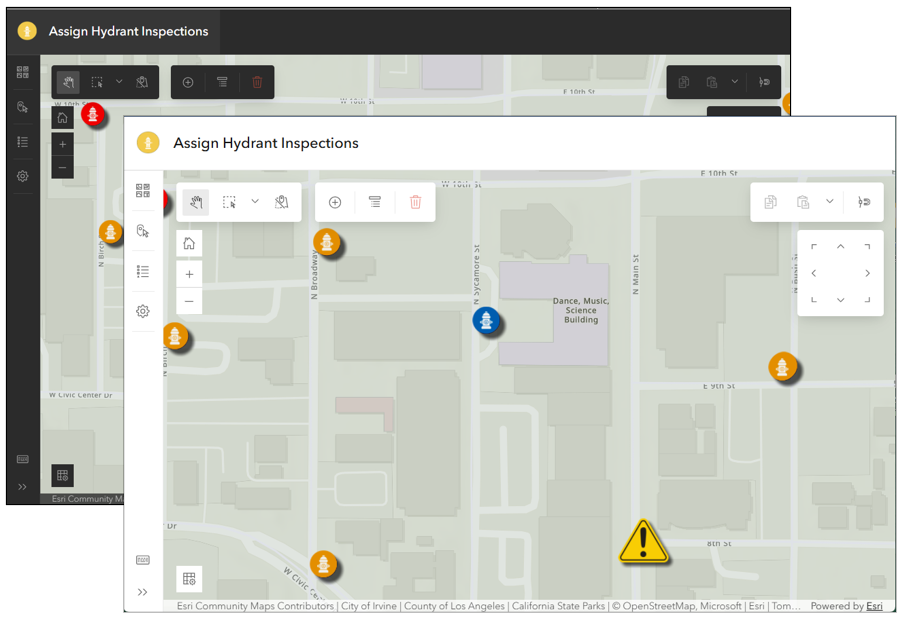
Example 1: Assign Hydrant Inspections
Let’s say our team needs an app for quickly updating the status of fire hydrants. We’ll configure the toolbar to show only the tools they need, and set the Hydrants layer as the only selectable layer. That way editors can jump right in and make quick updates.

Example 2: Update a Map with External Data
Suppose our team keeps a map up to date with data from other agencies. We’ll configure the app like so:
- enable add temporary layers to the map
- toggle on the Copy/Paste editing tool
That way editors can copy data from temporary layers and paste it into their own layers.

Example 3: Map River Corridors using True Curves
Let’s say we’re creating an app to update river corridors based on recent events like flooding or erosion. For this app we’ll:
- include the Edit Vertices and Reshape tools so editors can update boundaries to match the riverbank
- enable True curves on the editing toolbar
- set the River Corridor as the only selectable layer

Wrap-Up
With the Web Editor Instant App template, you can quickly build made-to-order editing apps to meet your team’s needs. In this article, we explored real-world examples to show how you can build custom apps to streamline workflows. We walked through key features like selectable layers, editing tools, and configurable settings that let you tailor apps for specific editing needs. We hope this inspires you to take this new template for a spin. We’re excited to see the apps that you design for your projects. As always, stay tuned for more updates and let us know what you think over at Esri Community.


Commenting is not enabled for this article.