The advent of online community engagement improves how the public gets involved and stays connected in the decisions that shape their communities. As the coronavirus pandemic continues to impact in-person discussions, smart cities have recognized the value of having an online community engagement strategy for creating and sustaining public dialogue.
These strategies often start with web content designed to share information and open data. That’s why all ArcGIS Online subscriptions include ArcGIS Hub Basic, a fast way to build trusted, branded websites for sharing your organization’s public content. With community accounts, an ArcGIS Hub Premium feature, you can elevate your sites to digital spaces where people can participate and engage on local projects, initiatives, and events. In this article, we’ll show you some simple tricks for encouraging people to join your Hub community.
1. Choose the right call-to-action
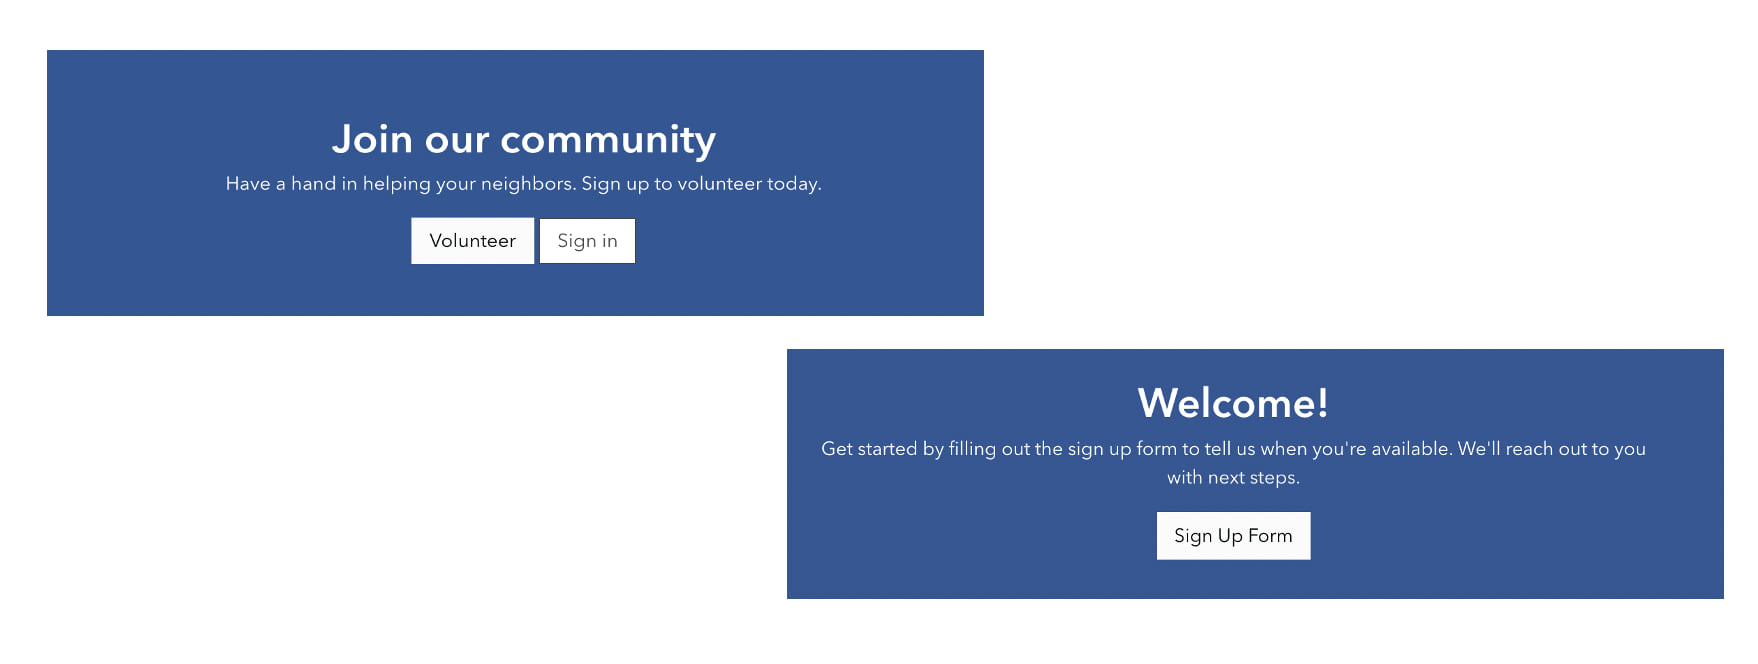
First, start with an initiative and design its default website as a public landing page for a project or goal, such as local coronavirus response efforts. As part of your design, add a Sign-up card to your site’s layout with a unique call-to-action. Think of your initiative’s intent, then match that goal with a phrase or keyword that encourages action, such as “Volunteer”, “Be heard”, or “Stay informed”.
2. Add a secondary action
Couple the call-to-action with a next step, such as filling out a form or navigating to a StoryMap for more information. A Survey123 form, for example, that includes fields for contact information and availability can supplement a call-to-action to volunteer.
3. Customize the sign-up prompt
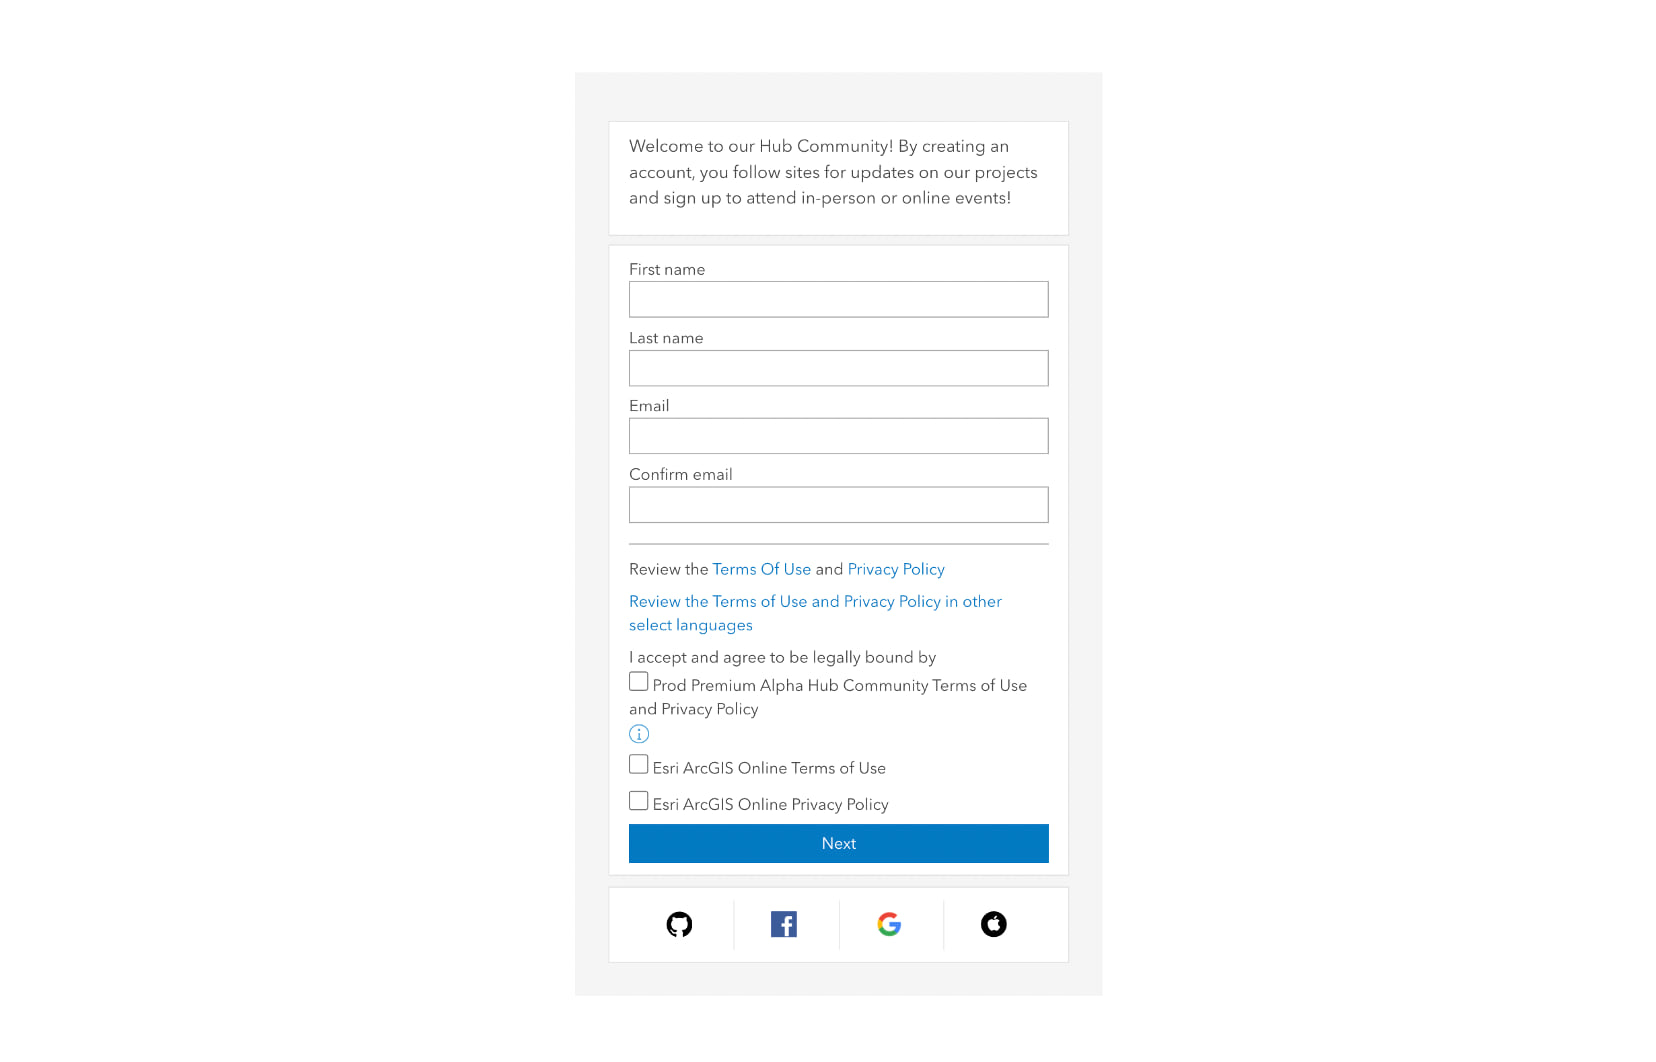
The sign-up prompt adopts your organization’s official logo to show visitors that they’re signing into a secure and trusted site. You can optionally add a personalized welcome message and your organization’s terms and conditions.
4. Add social media and single sign-in options
New community members can use their email address to sign up, or you can provide the option for them to use their existing sign-in credentials for Facebook, Google, Apple, or GitHub. The sign-in prompt can also be configured to use a third-party provider for single sign-on.
5. Think location
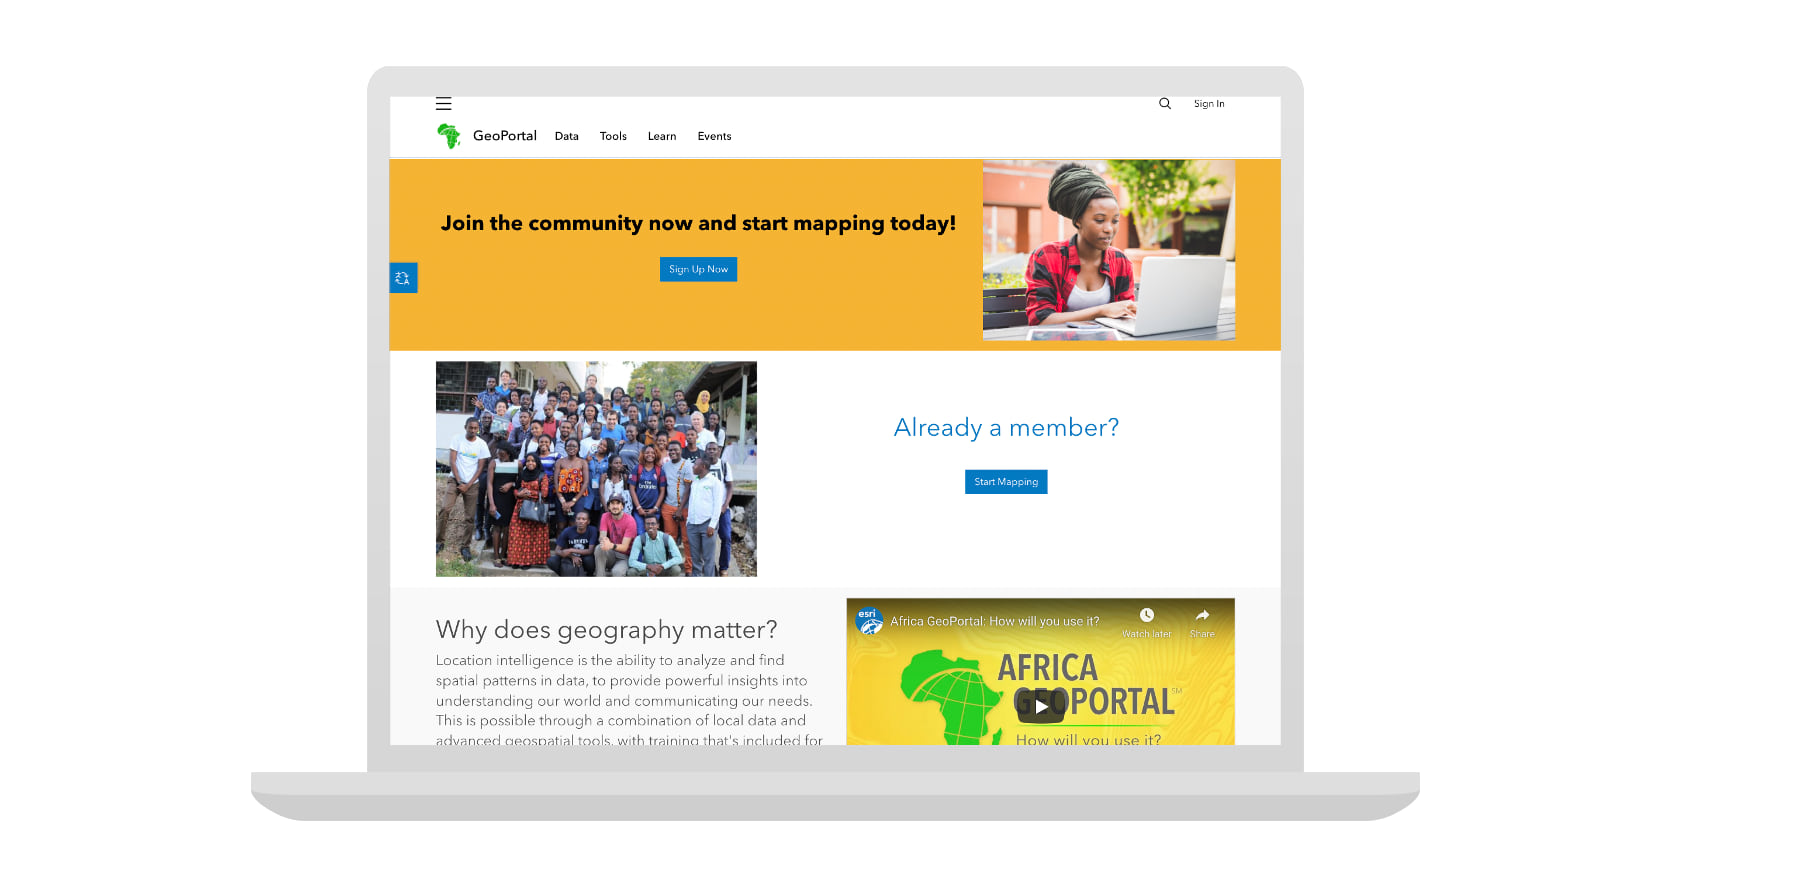
Make sure the sign-up button stands out alongside contextual language. People should have a clear understanding of your initiative and its goals before being prompted to sign up. You aren’t limited to just one sign-up button. Include a sign-up button in other relevant places including pages attached to your site.
6. Promote engagement opportunities
Once they have an account, people can follow your initiative for subscription-based updates and to access exclusive content, such as pages and group surveys. They can also sign up to attend events and open data provided through your initiative’s site to create their own web maps and stories.
7. Be helpful and transparent
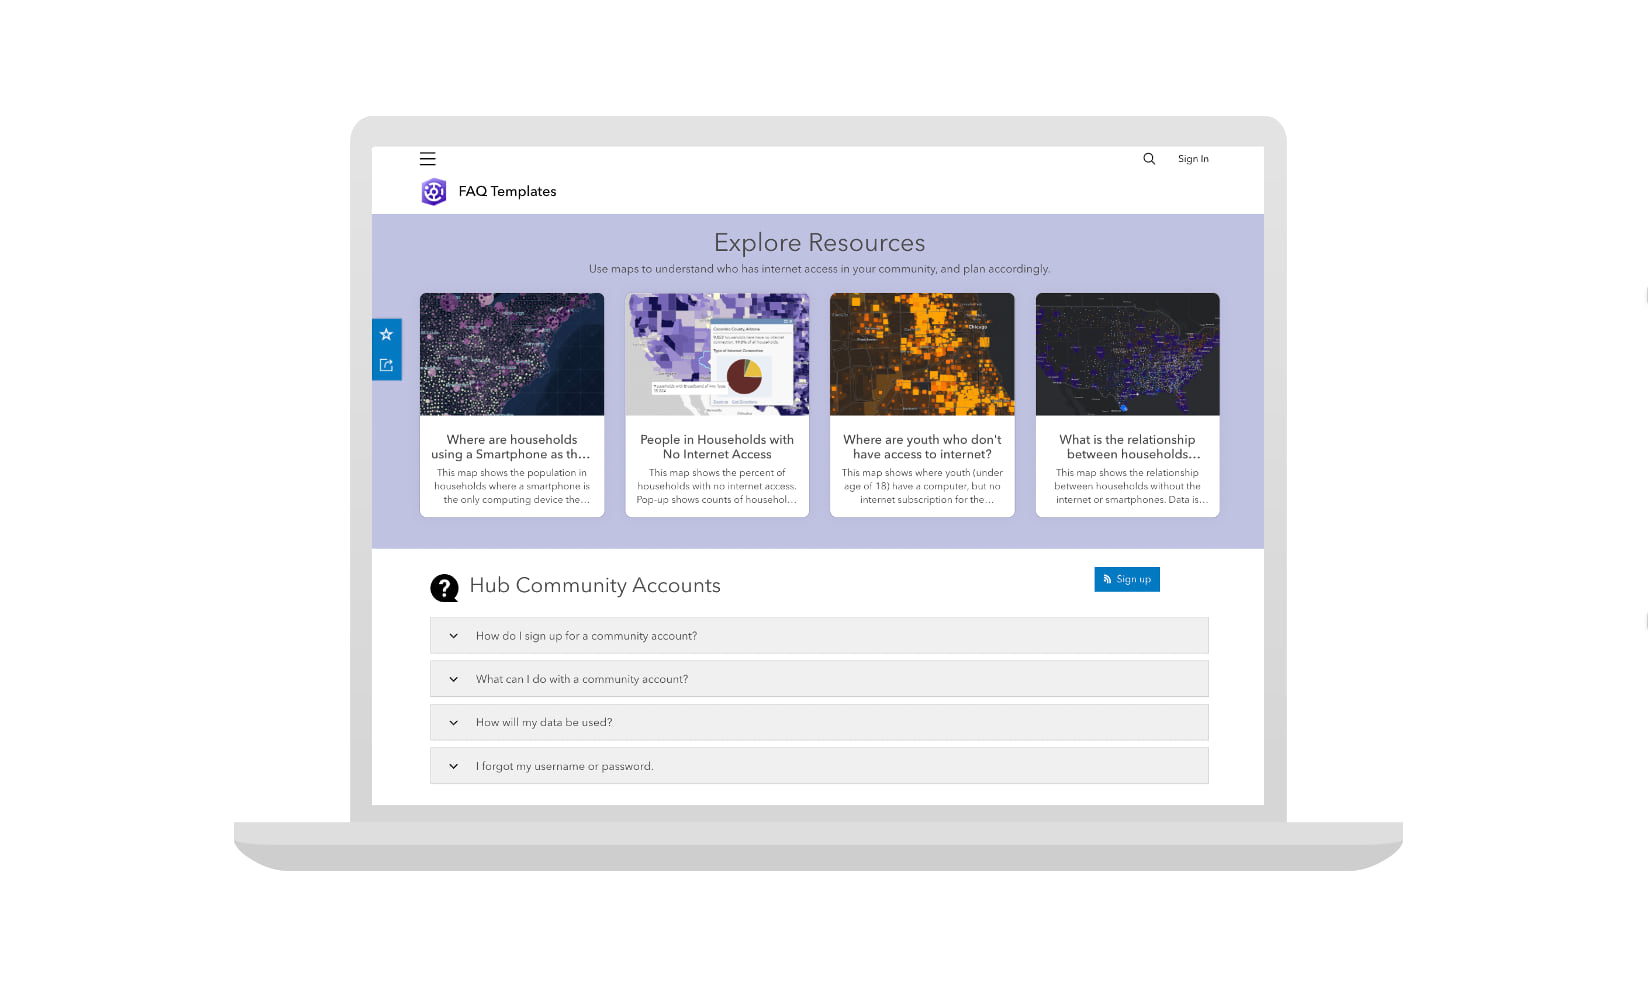
Provide visitors with information on what a community account is and why having one is useful. To get started, use this FAQ Page template by modifying it with your own information and including it as a link in the helper text around the sign-up button.
8. Name a community support contact
Anyone who has an administrator account with your organization’s Hub community can be listed as a community support contact on the sign-up prompt. People can contact this person at the email address provided with any snags they may run into when creating or signing in to an account.
9. Have a follow up plan
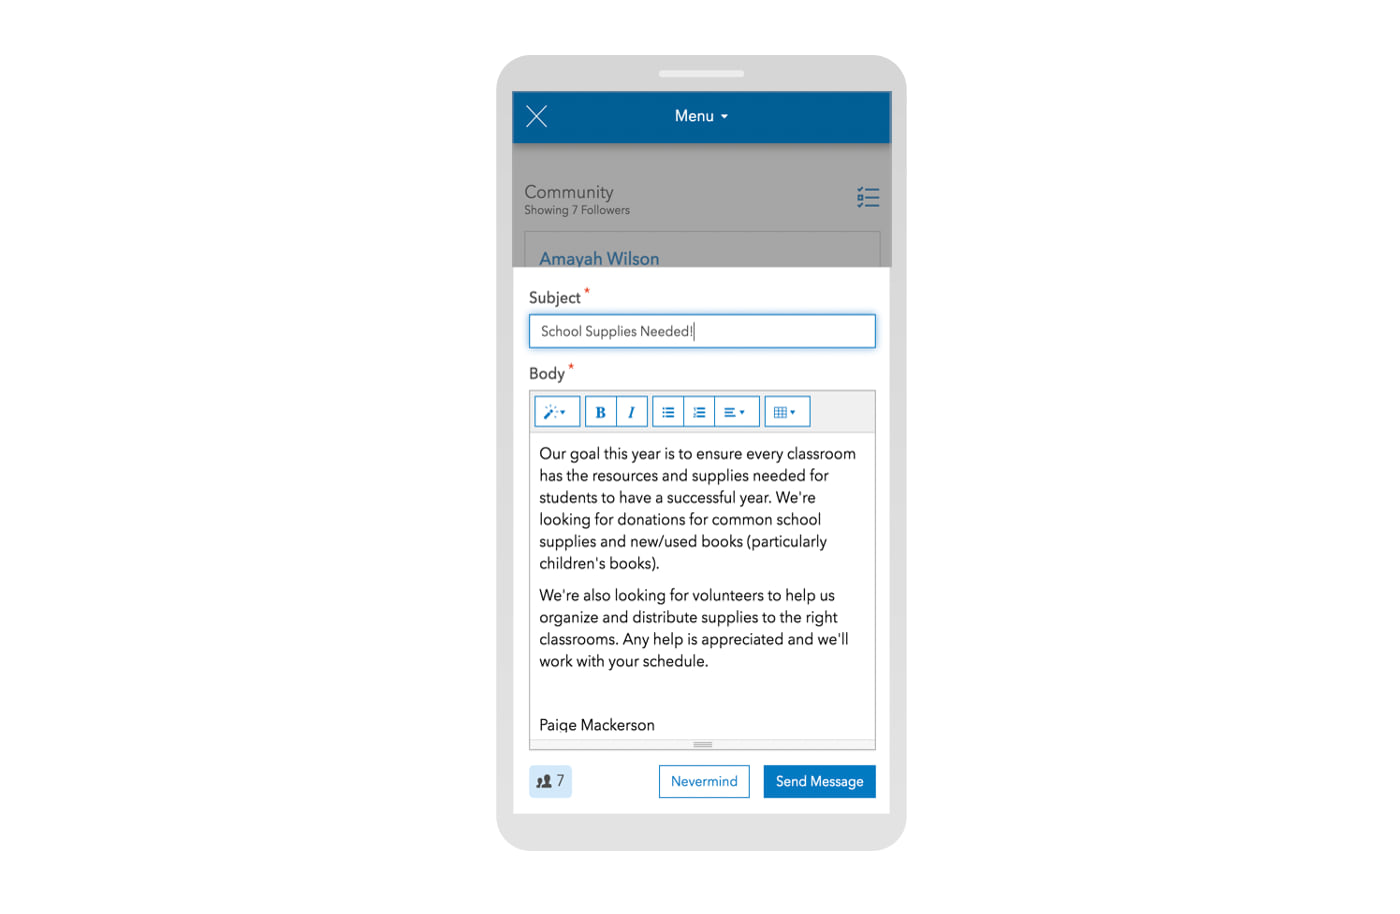
Once members have signed up, your initiative’s core team should have a plan for following-up with new members, especially if your call-to-action doesn’t include a secondary action (see tip #2) or a follow button. You might consider partnering with a community administrator to send monthly or quarterly emails from ArcGIS Hub with status updates on your initiatives and links to new content and events.
10. Monitor site views and accounts created
To track your site’s views and the number of community accounts created over time, use your site’s dashboard. You can also work with a community administrator to use the community dashboard, an administrative-level chart of new community accounts created across all of your organization’s sites. Compare these metrics to where and when you promote your site, such as through your official social media channels and other websites, and adjust your outreach strategy accordingly. You can also use your own tracking ID to monitor your site’s activity in Google Analytics.
For more information, visit the ArcGIS Hub Resources page and reach out to us on GeoNet with questions.
Banner image from Unsplash.


Article Discussion: