A recent customer call reminded me that there is always value in refreshing some of the basics. Moving 2D vector and point data from ArcGIS Pro to Rhino is not a complex task, but if steps are missed things can “land” in the wrong place.
Attention to Coordinate Systems
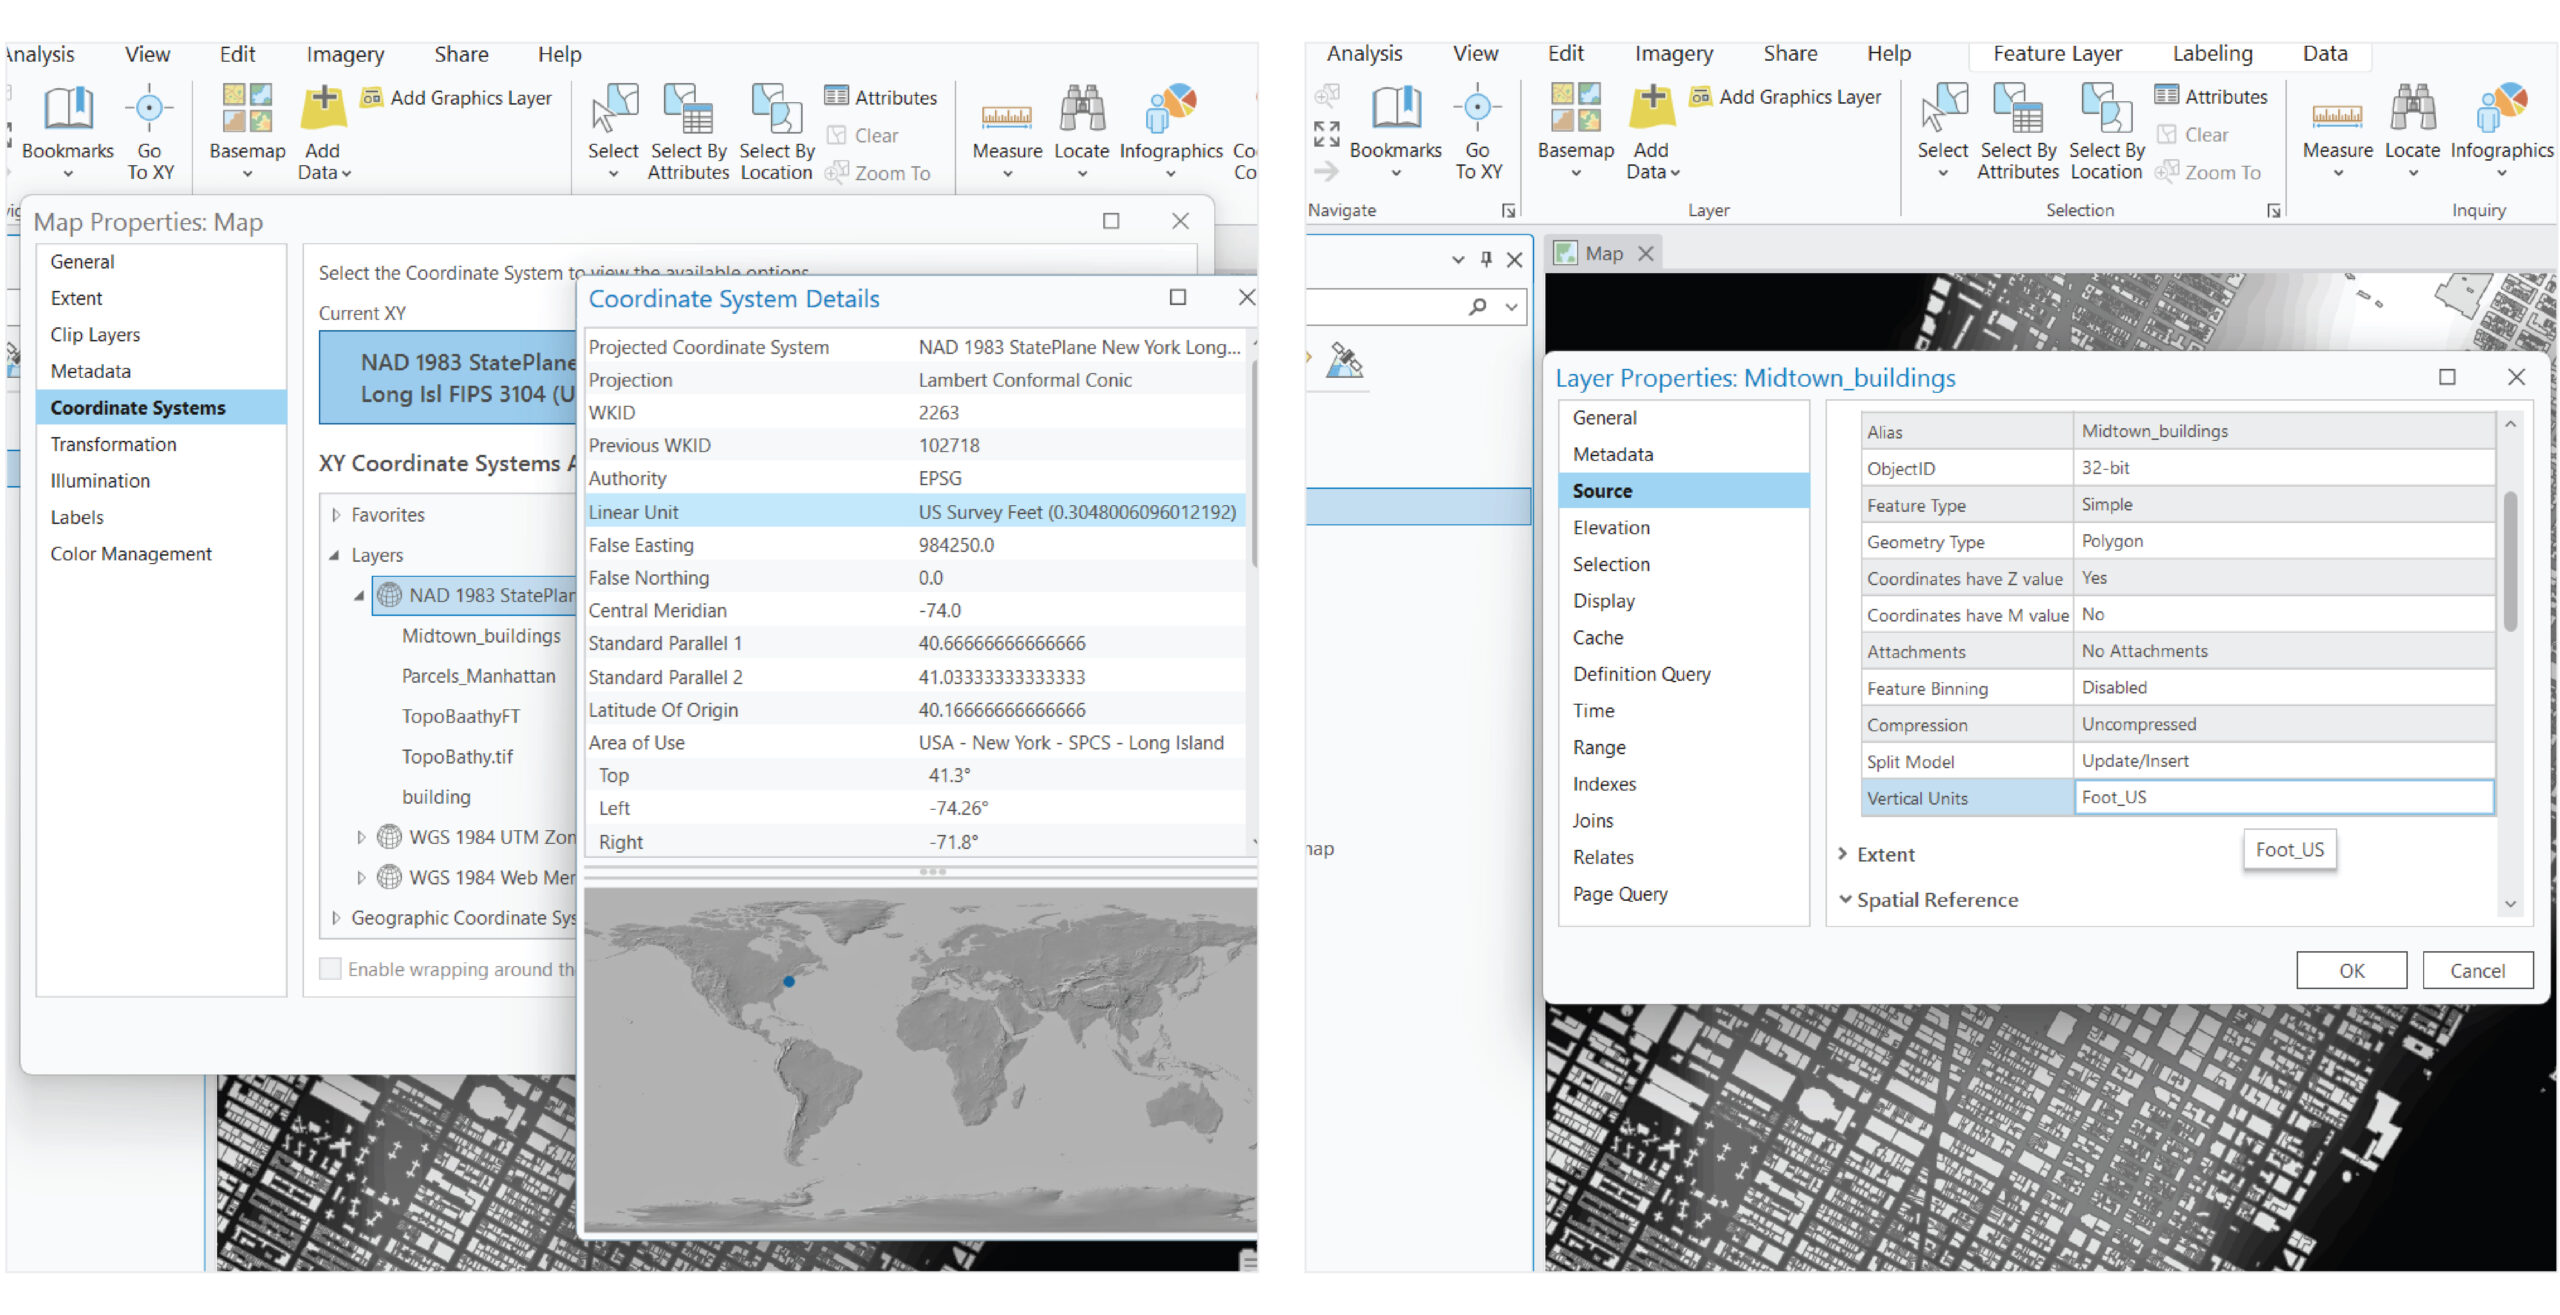
First, there is the coordinate system your ArcGIS Pro Map is set to. Second, each Data Layer in your Map has its own coordinate system.
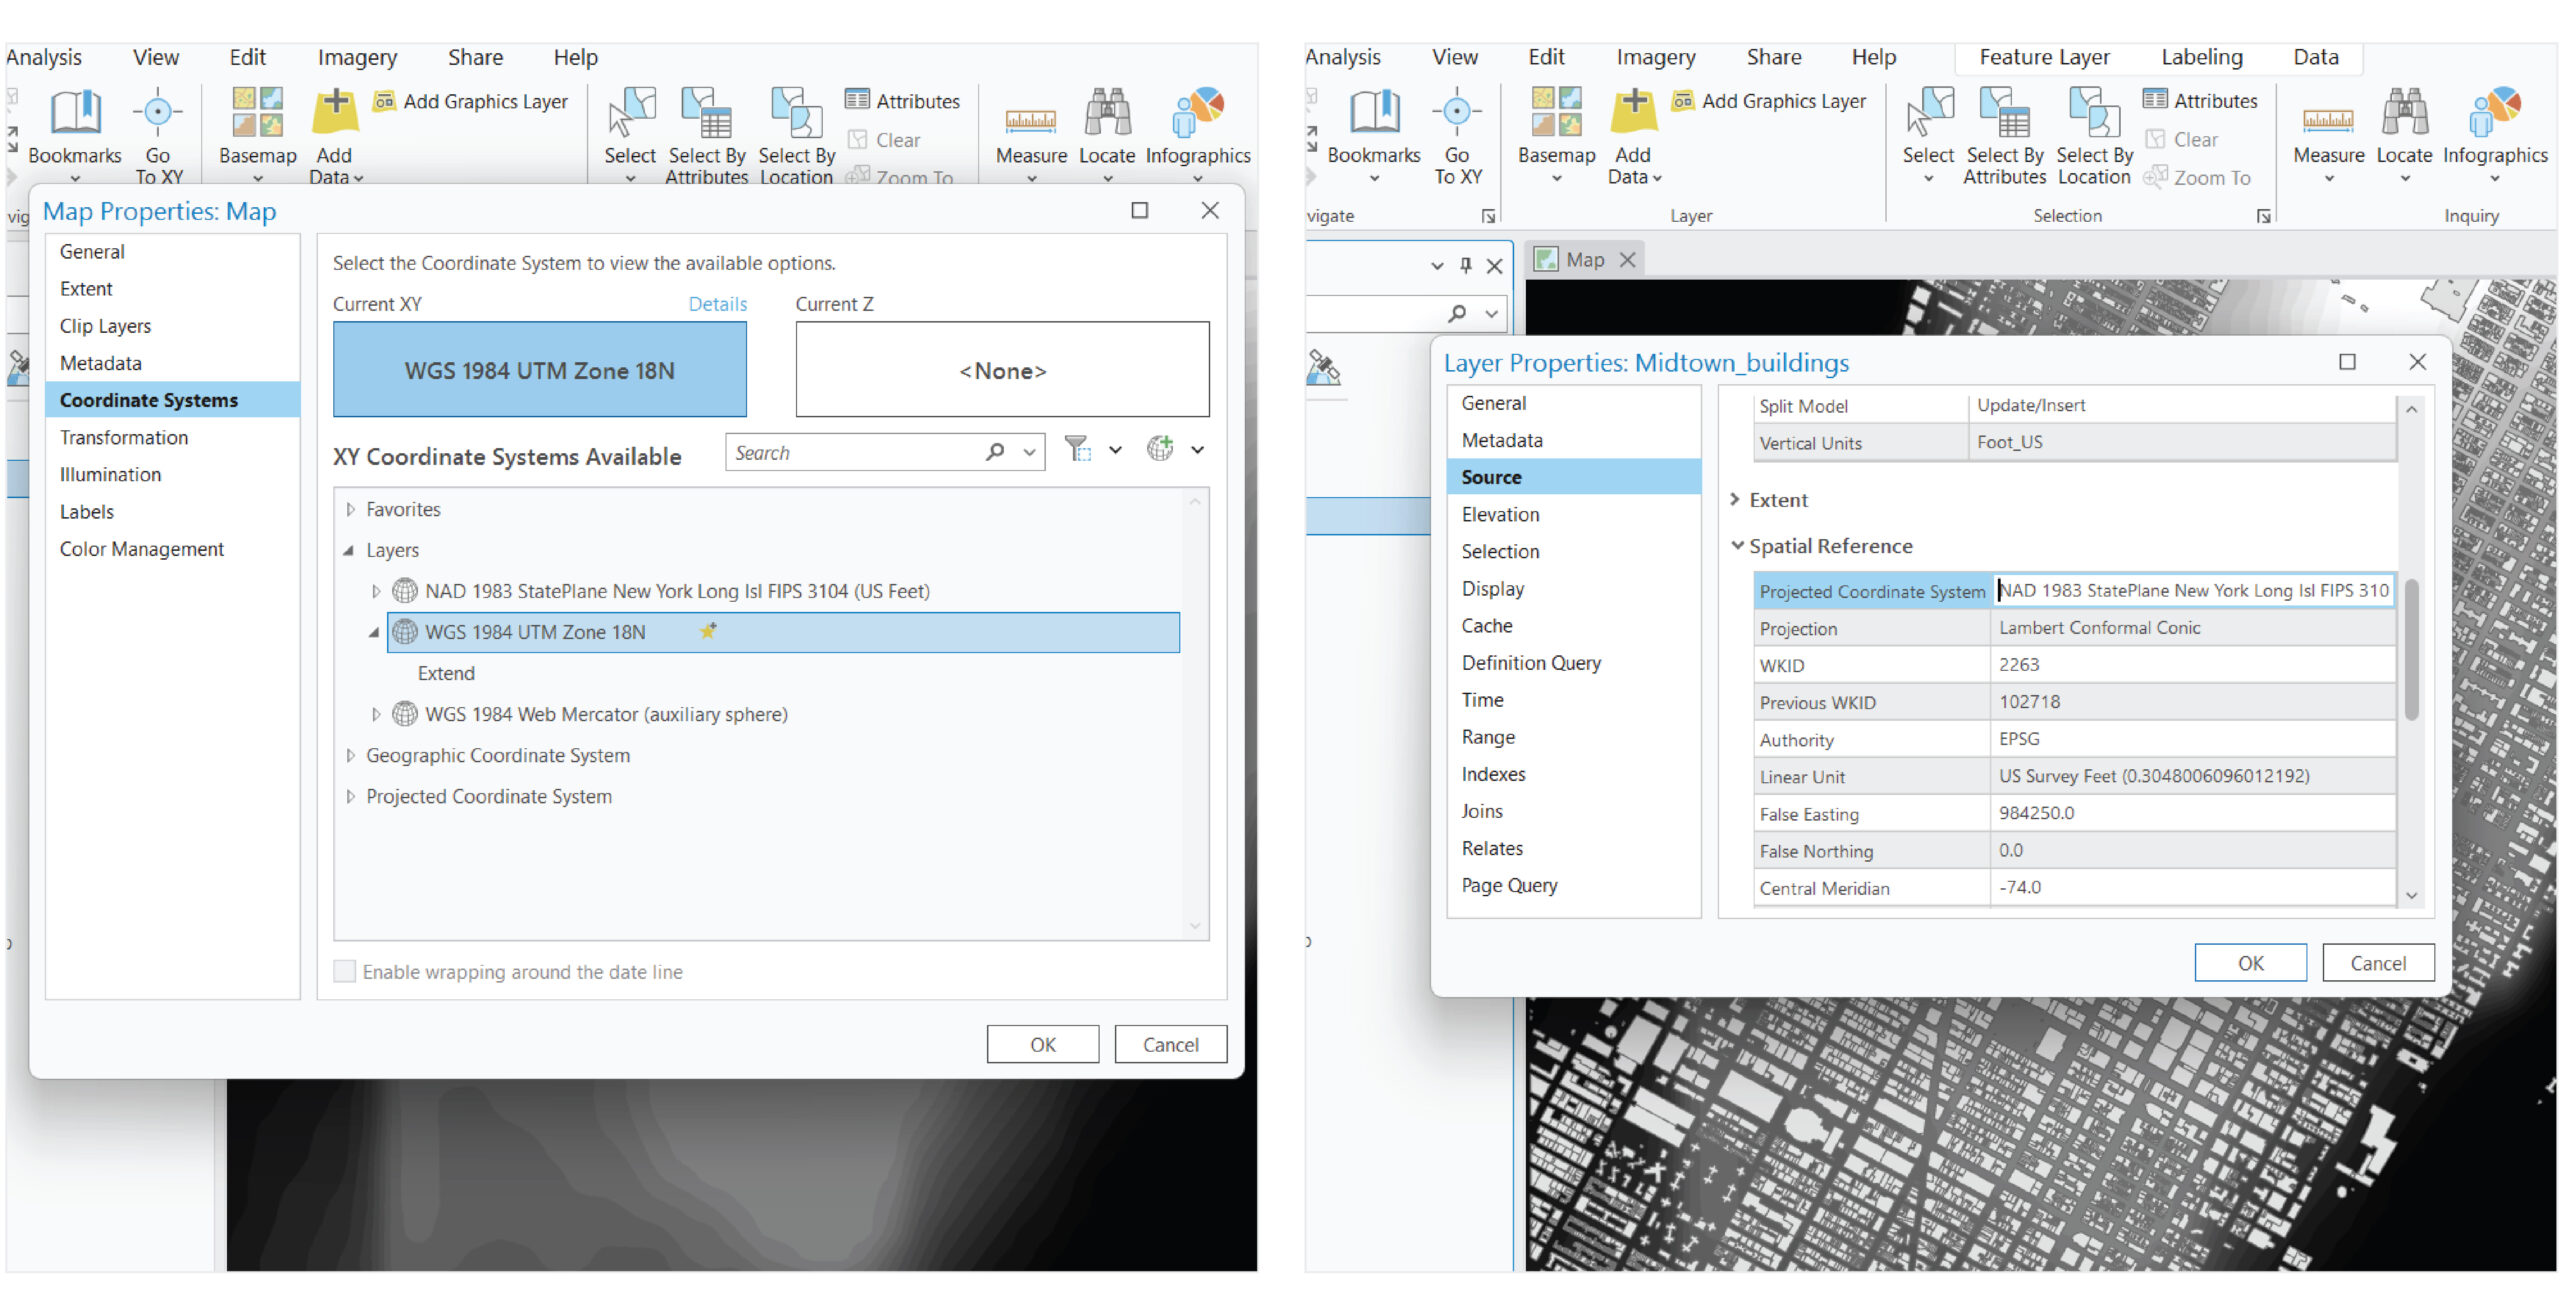
When you Export to CAD data from ArcGIS Pro make sure to set under Environments a consistent Output Coordinate System for all your exports. If the coordinate systems do not match, the data will not align or have the same scale in Rhino.
It is important to document the Output Coordinate System you used for exporting your data from ArcGIS Pro. This will be a crucial piece of information for future collaborators who might want to work on the same design files and add additional data.
Matching Measurement Units
Make sure the units of your Rhino model match the units of the Coordinate System you used for exporting your data from ArcGIS Pro.
If the geometry you imported into Rhino appears distorted, it is placed too far from Rhino’s XYZ Zero origin. For a workaround, set your Rhino layout units to a larger class. For example, if you export from ArcGIS Pro with a Coordinate System that uses meters, set your model to kilometers.
Attention to measurement units is also important for the attributes of your data. If your design model is set in Meters make sure you are not exporting contours with elevation information set in Feet.
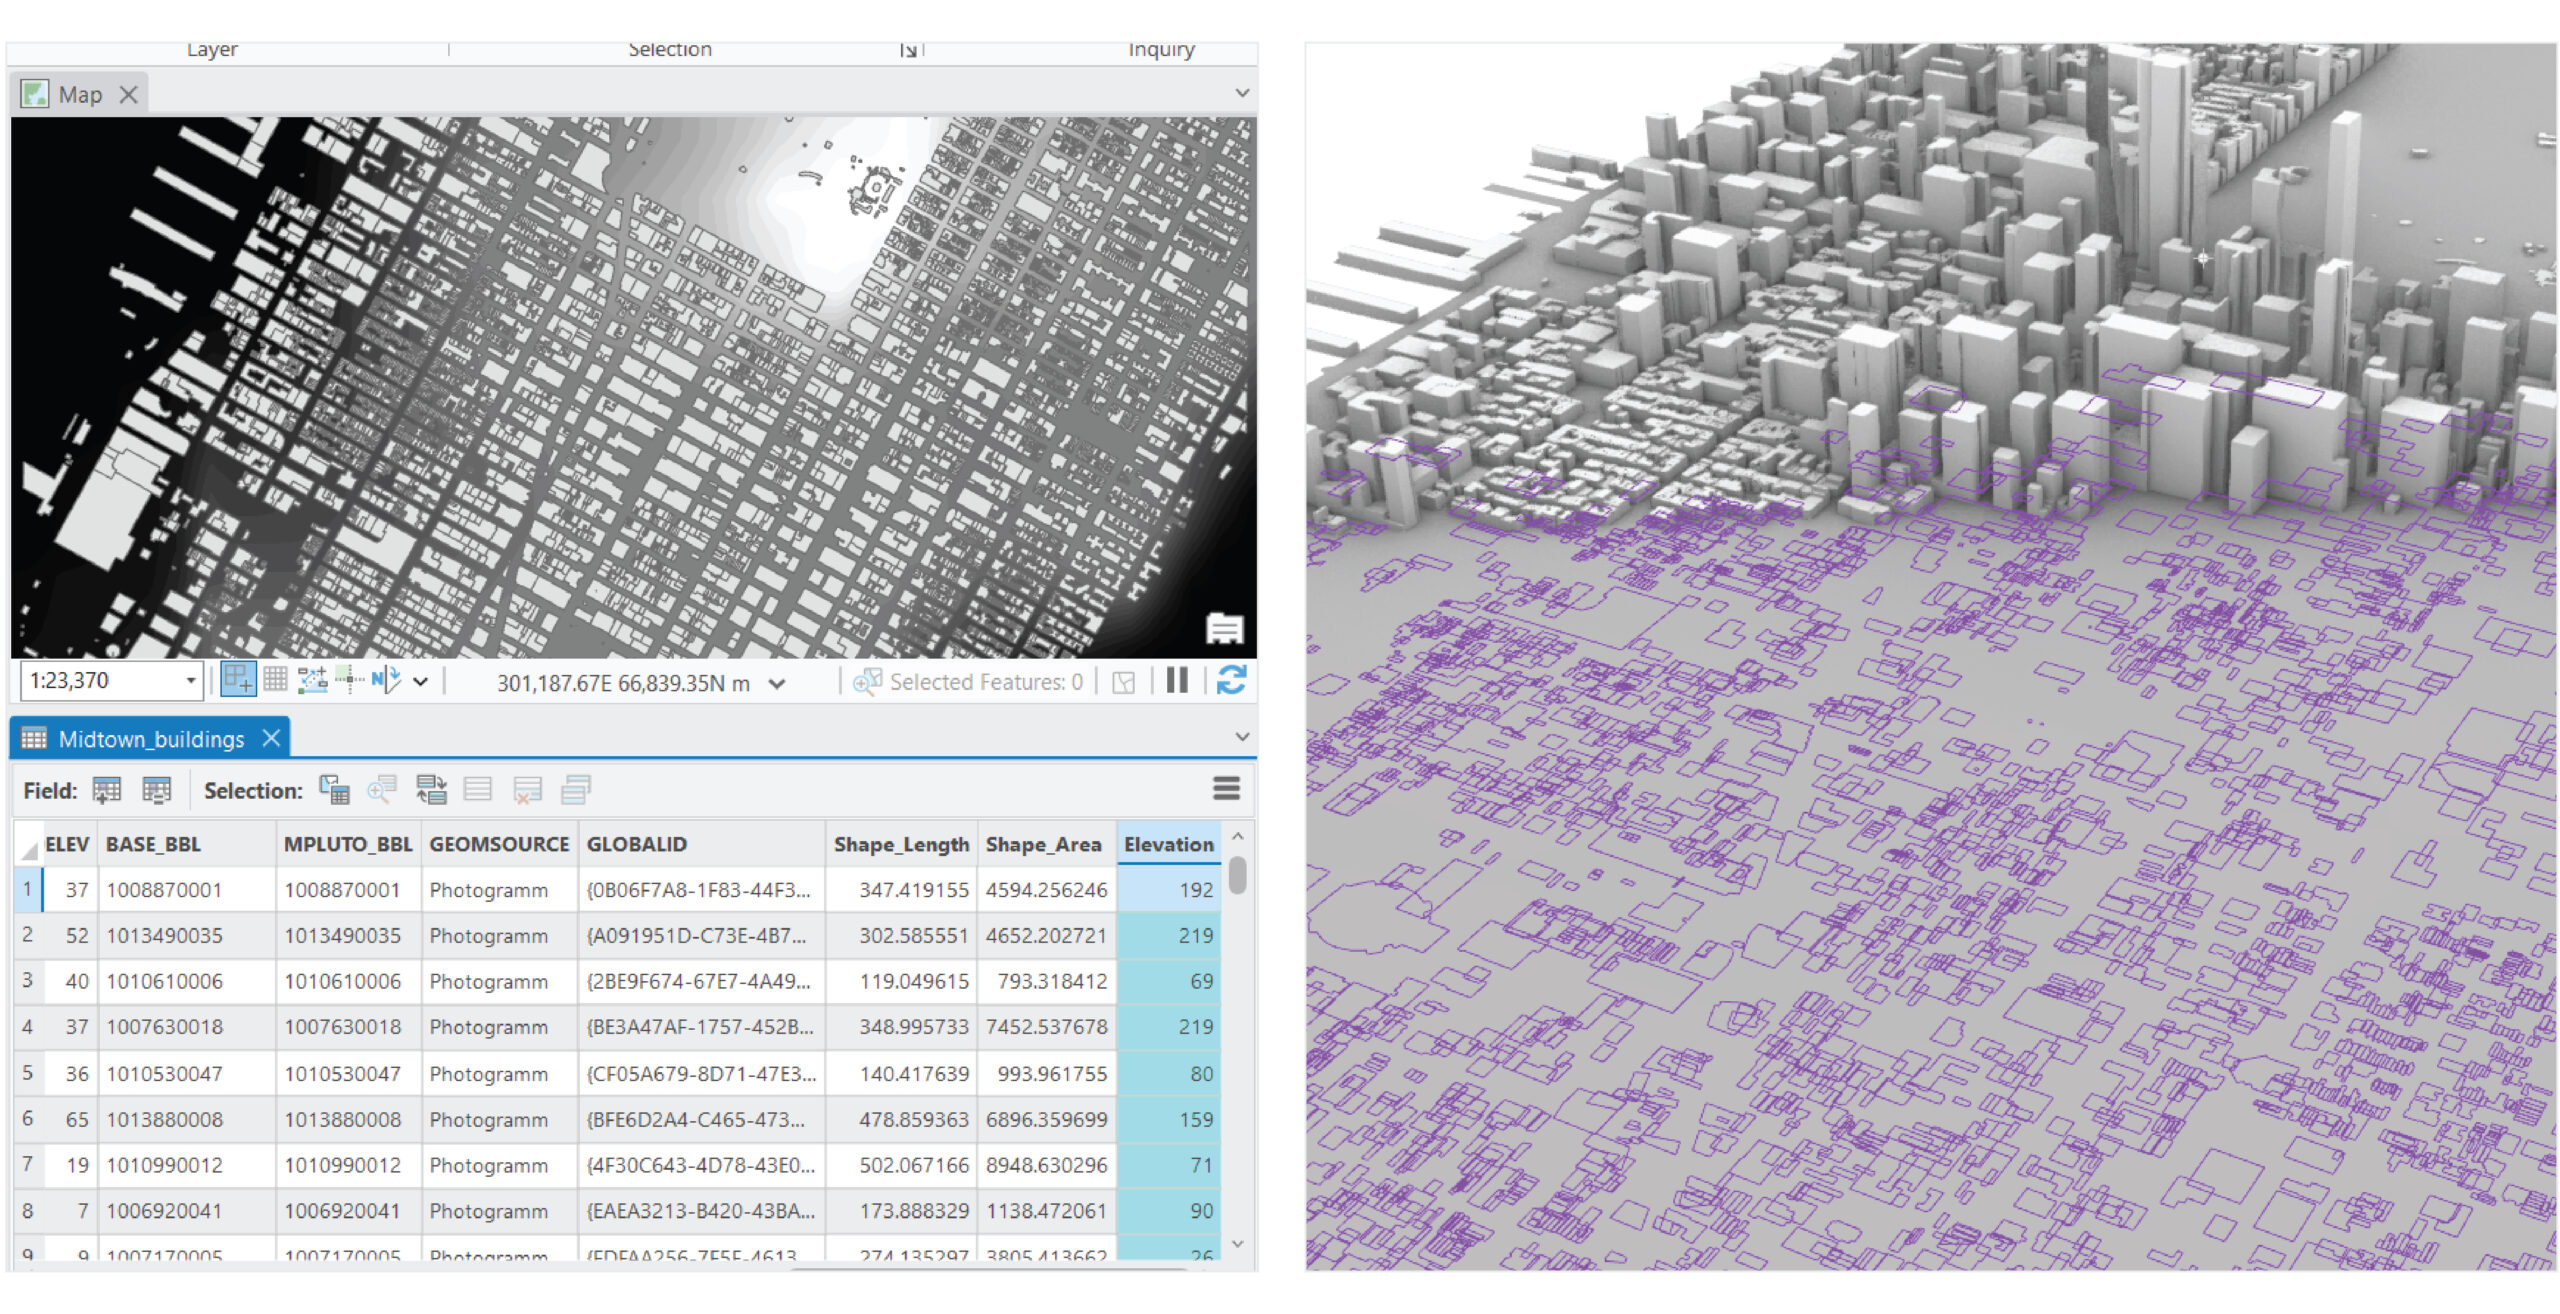
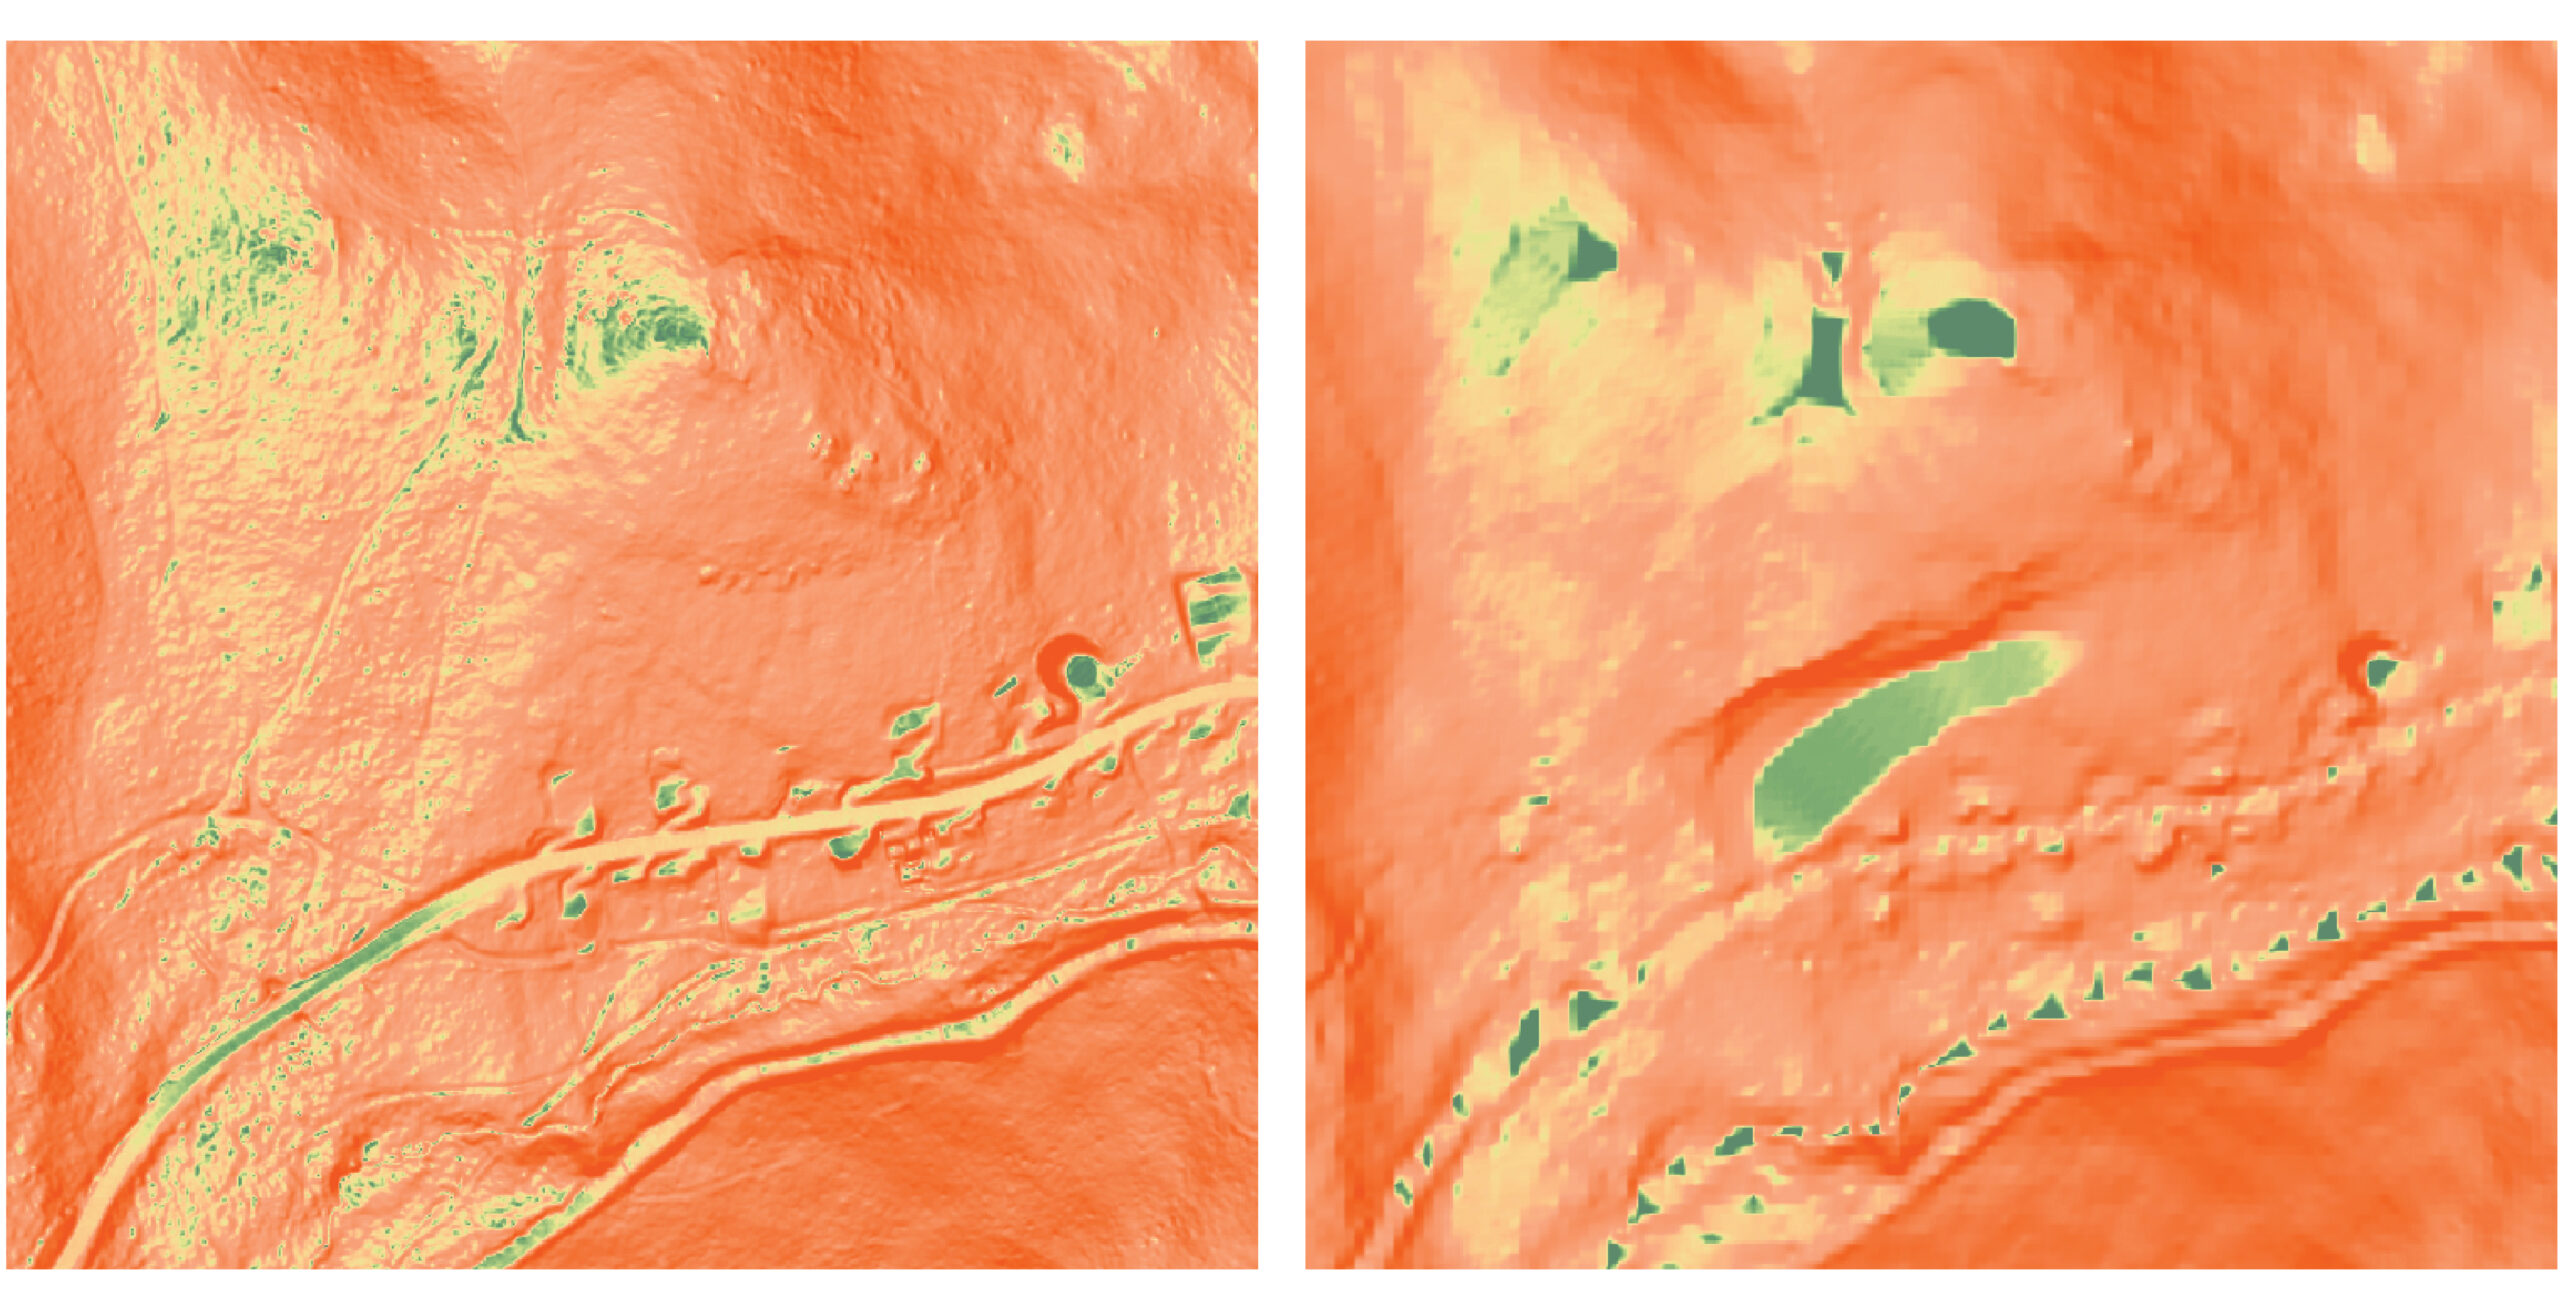
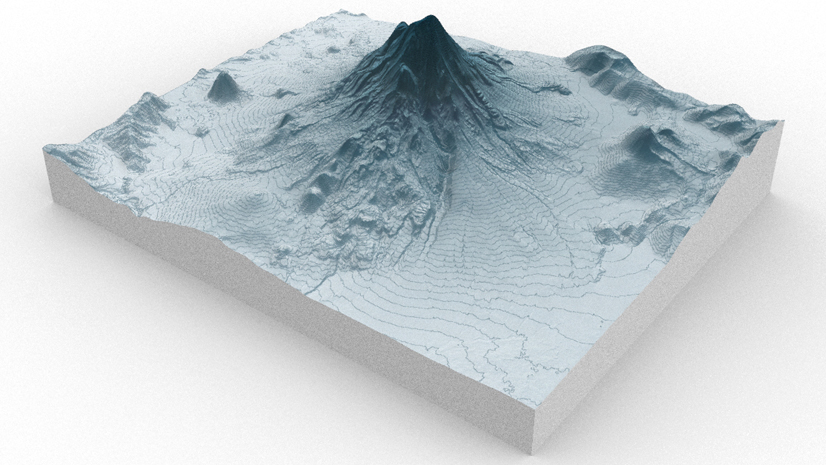
Data Attributes can be Visualized on the Z Axis
You are probably familiar with this functionality when exporting contours. Contours from ArcGIS Pro into Rhino will be automatically “placed” on the Z axis at the elevation of each contour. But what happens when you want to represent other information such as buildings with heights or even median income values?
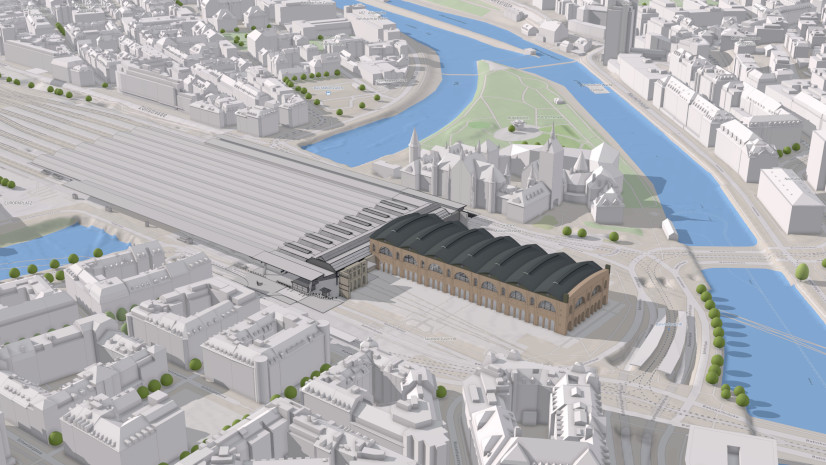
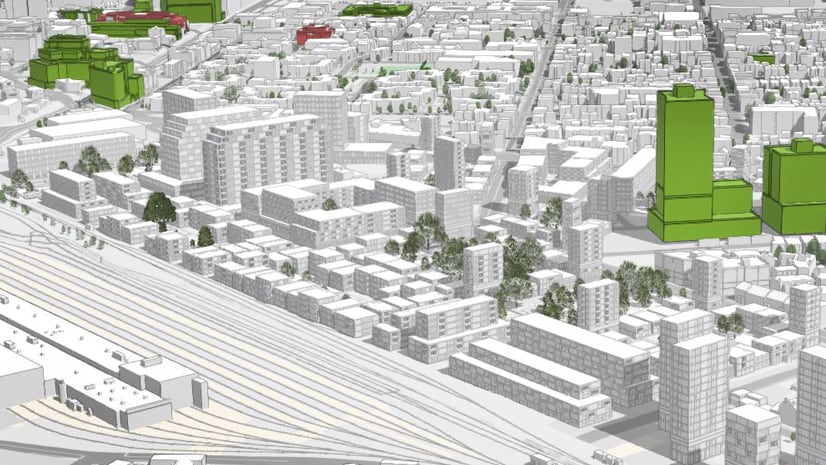
Those datasets can be configured in ArcGIS Pro to have a Z value position in Rhino. You will need to create in ArcGIS Pro a new Attribute field named “Elevation” and calculate for that field the value you want to represent on Rhino’s Z axis. For example, you can set building footprints to be placed in Rhino on the appropriate building height of each building.
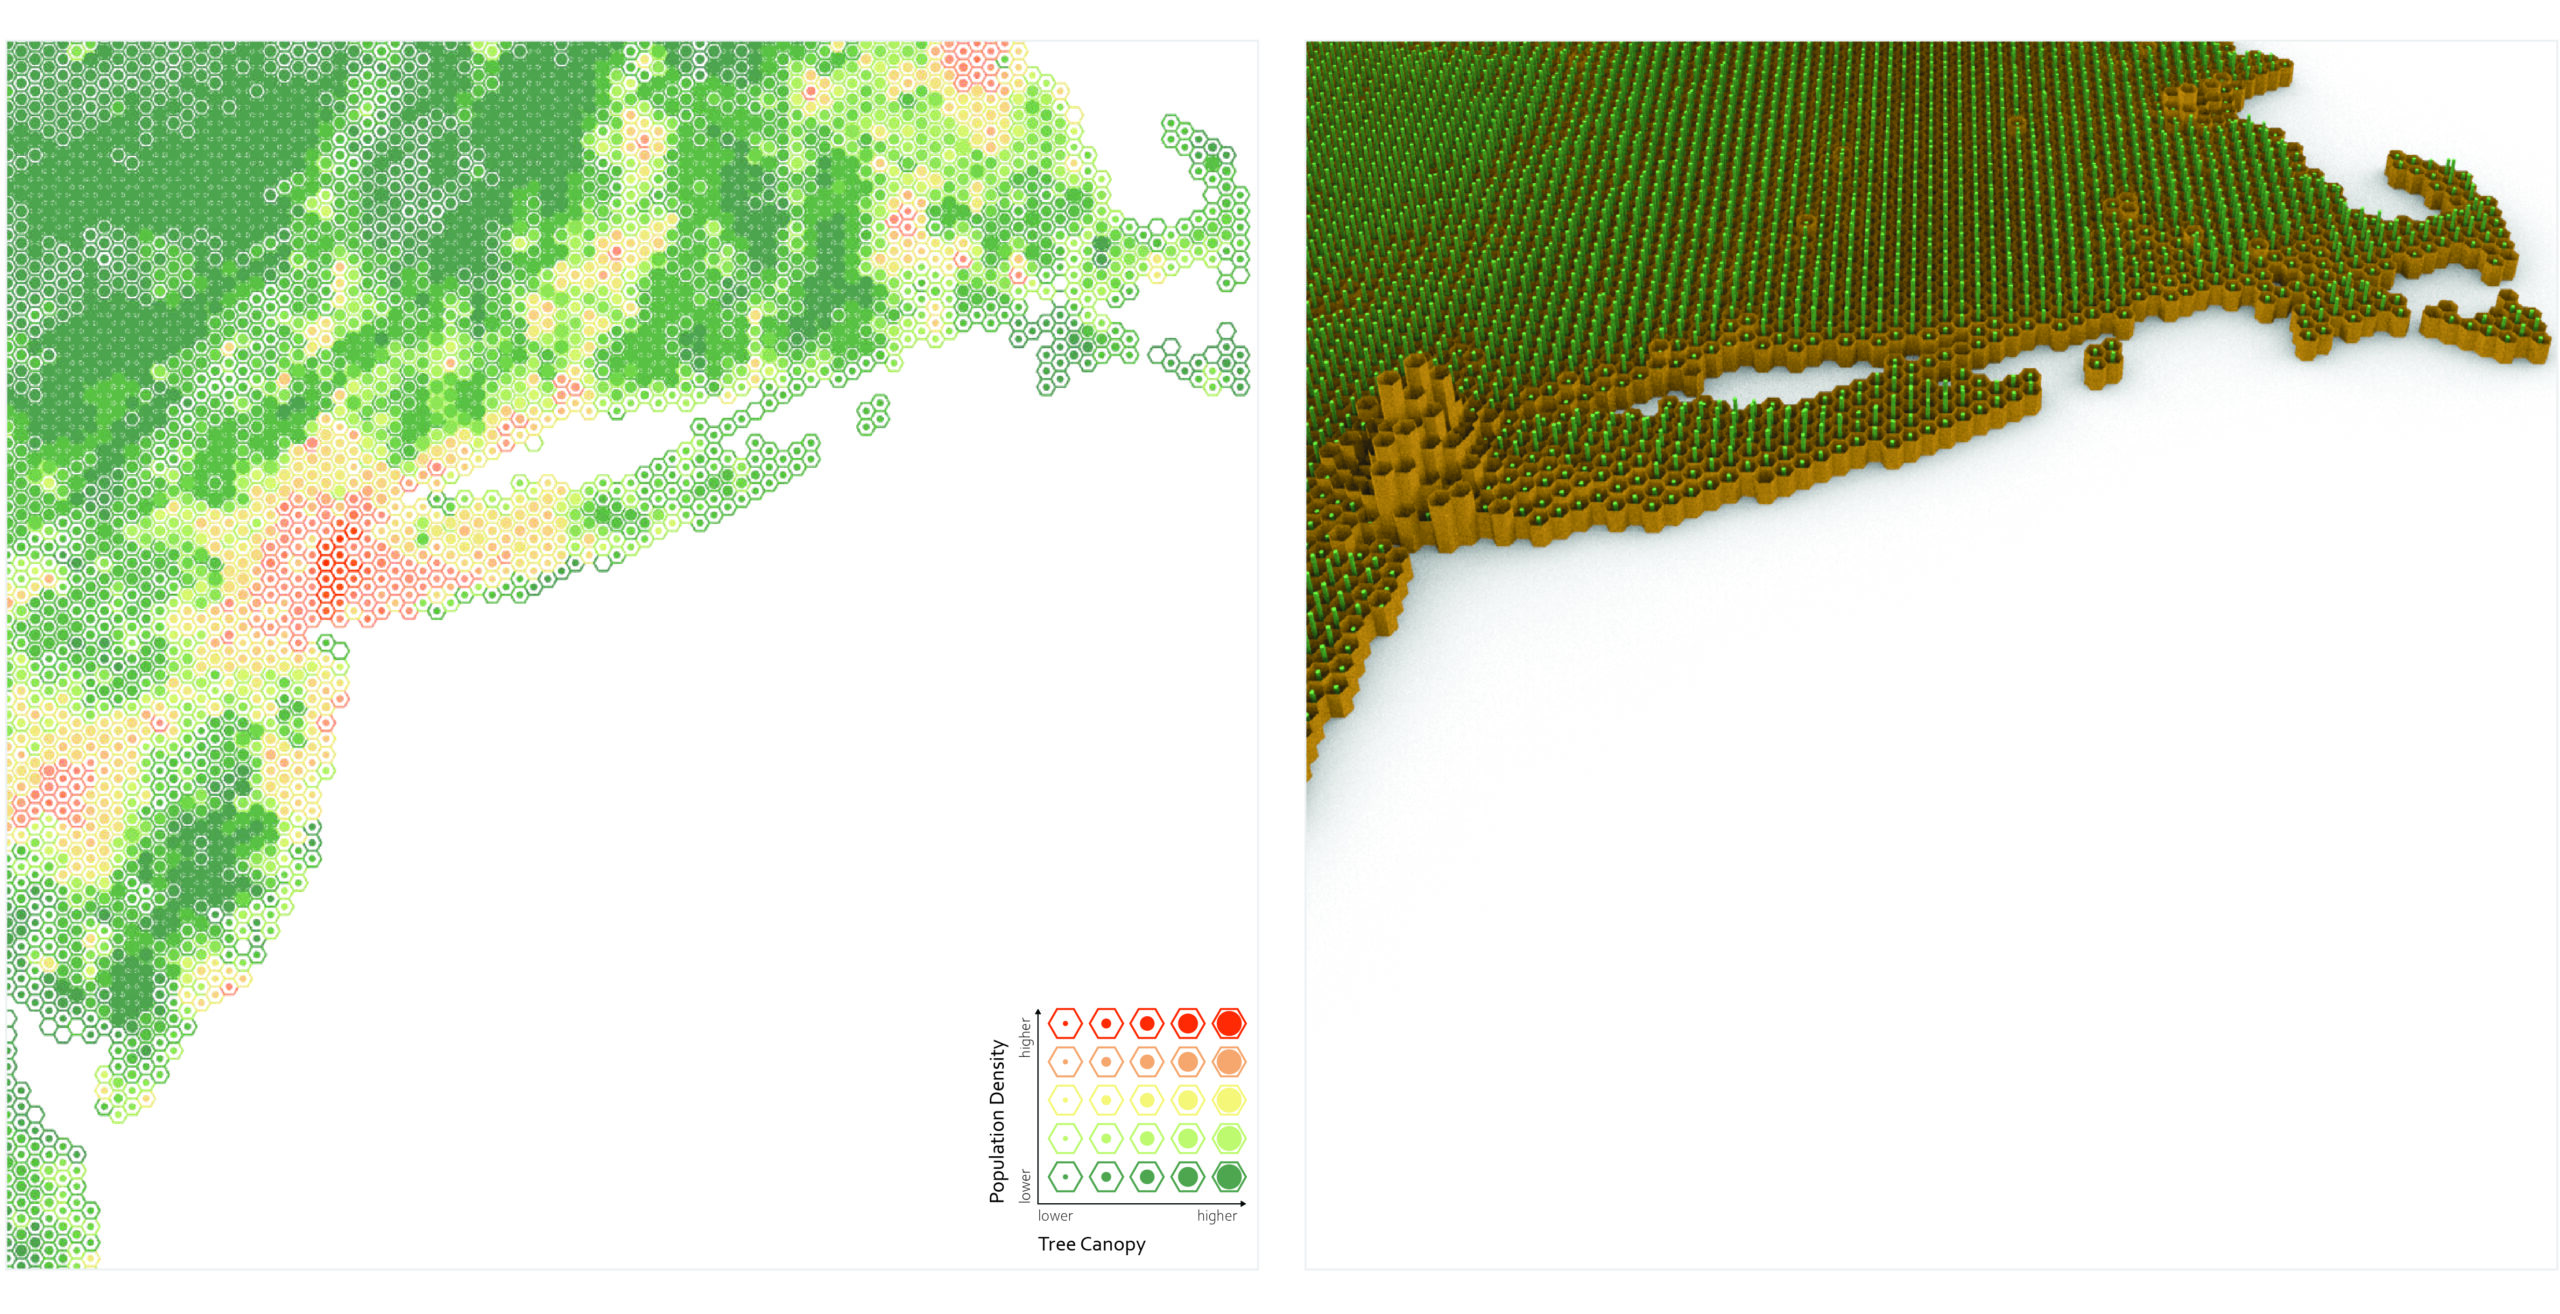
You can even experiment with other datasets too. For example, use a Reference Size Map of population density and tree canopy coverage.
The workflow can make a full loop
You can import design edits back into ArcGIS Pro. Edits in 2D vectors can be exported as a .dwg file from Rhino and imported into ArcGIS Pro. For example, you can leverage surface points or contours to bring landscape edits into ArcGIS Pro and analyze the proposed interventions.
If you follow these tips you shouldn’t come across any geolocation issues when moving data between ArcGIS Pro and Rhino.
– Renia


For those of us who have never heard of Rhino before, could you provide an explanation or a link?
Hi Brian, Rhino 3D or Rhinoceros 3D is a non-BIM 3D modeling tool urban/landscape designers and architects use. Similar tools are SketchUp and Blender.