Really realistic shading for a 3D-looking surface is hard. There are rigorous and awesome methods like ray shading and ambient occlusion and curvature. But those can be pretty slow and intensive. Let’s just see what we can get away with by making a few blurred versions of our input elevation surface and start hacking away at some scaled hillshades, slopes, and…hillshaded slopes. Yes. Get ready to live.
Here is the video, and I’ll follow that with a summary of the major steps.
Cliff’s Notes version
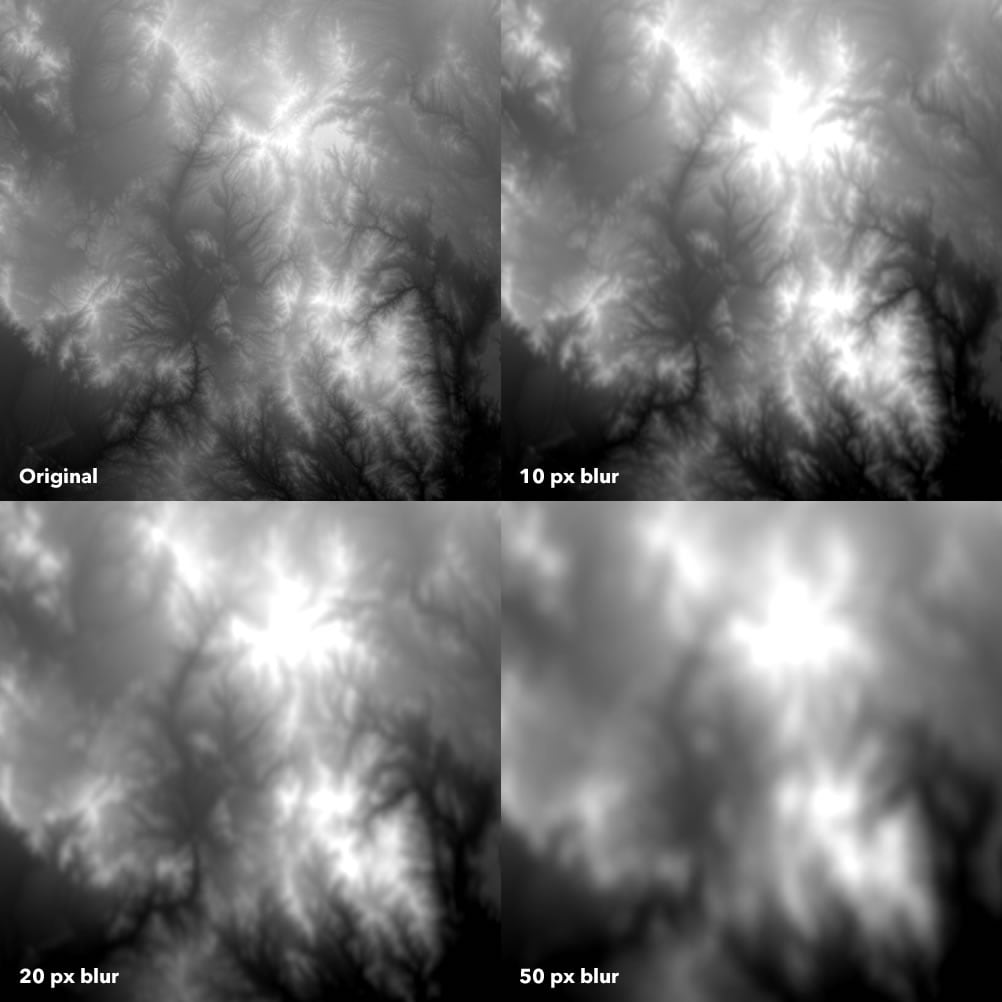
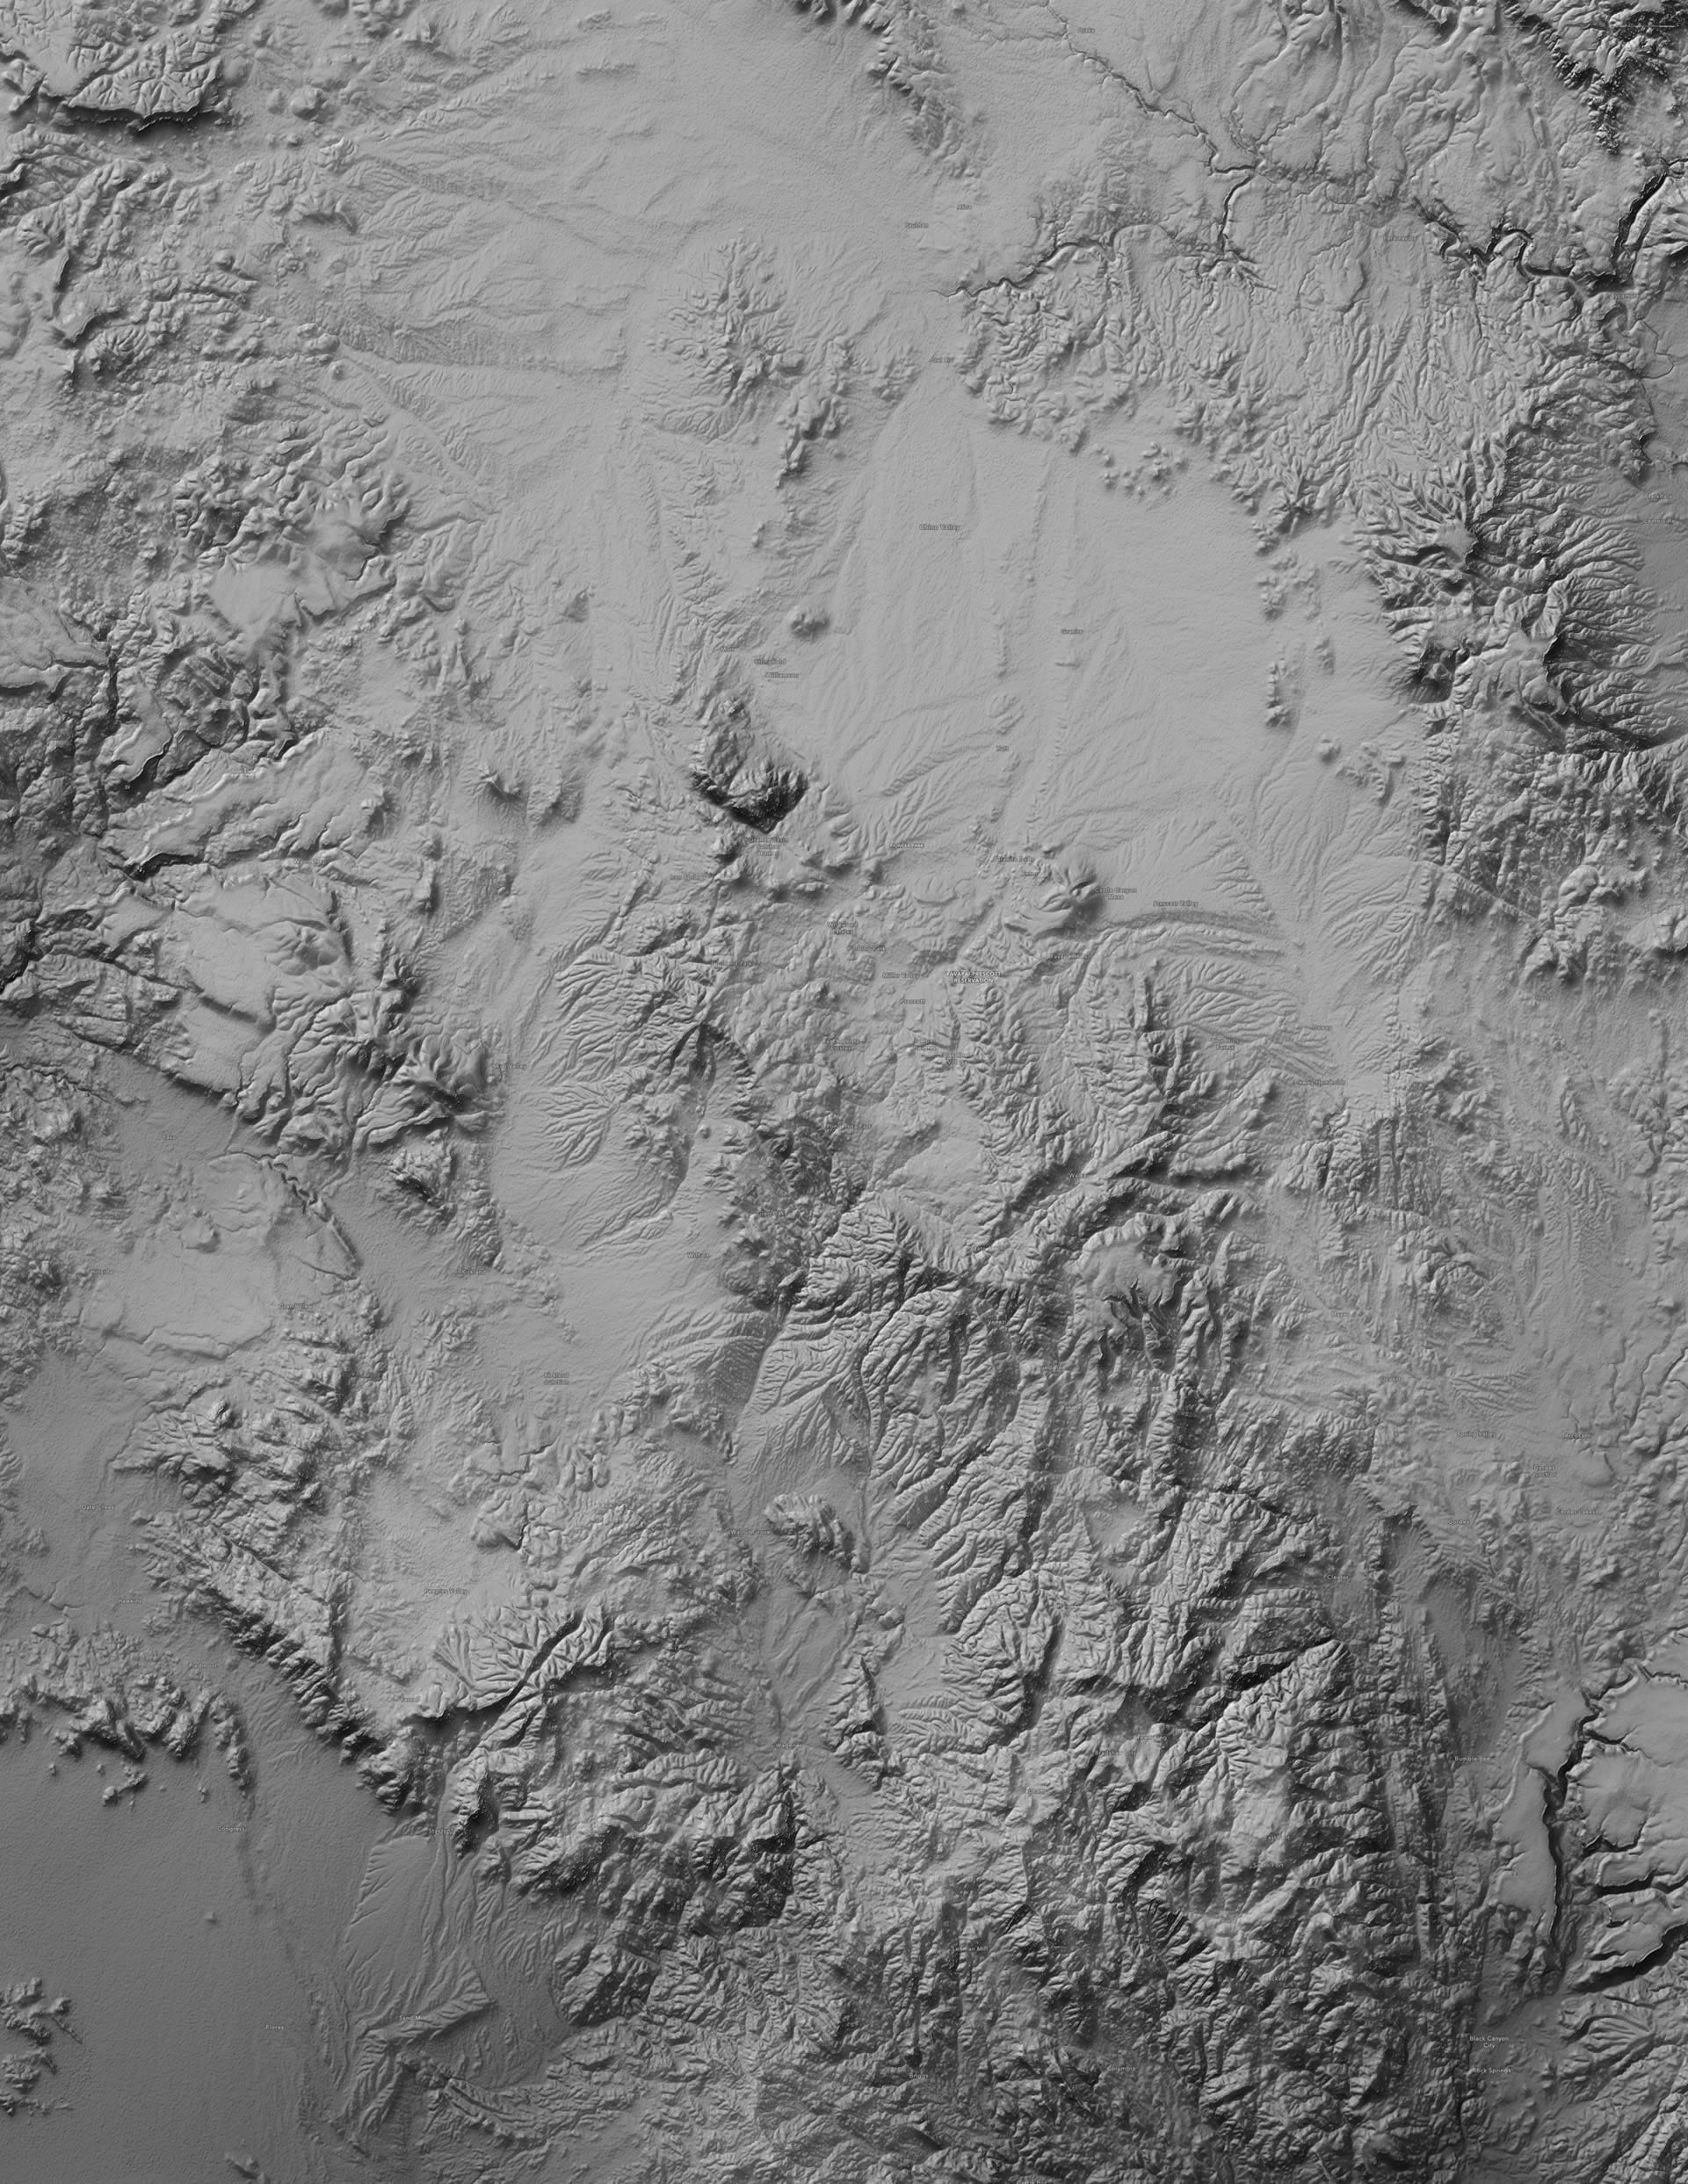
This terrain surface is made from just one regular 30 meter NASA SRTM elevation model of the Prescott, Arizona, area. Using the Focal Statistics tool (requires Spatial Analyst extension) in ArcGIS Pro I made three progressively blurrier (which is generalization as far as a DEM is concerned) versions…
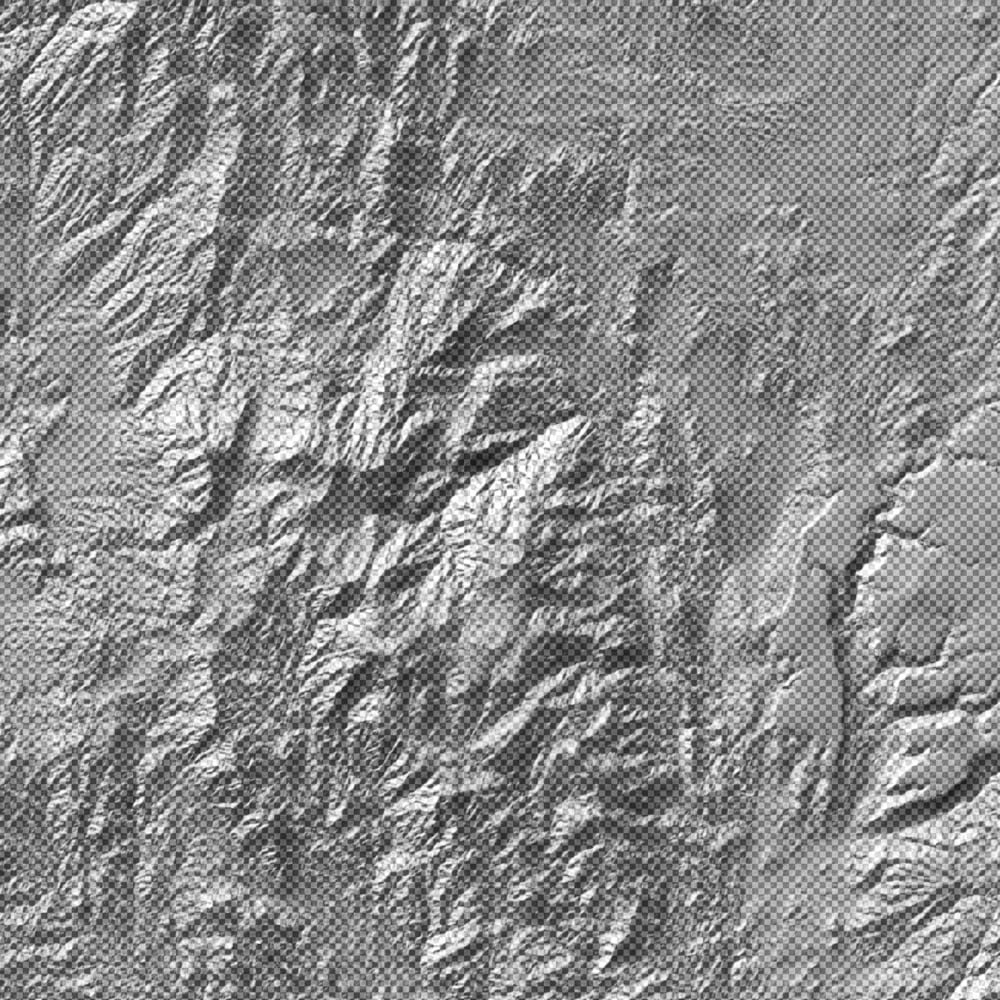
Then I created a traditional hillshade from each, progressively blurry, DEM. I gave them a color scheme of semi-transparent black for full-shade and fully transparent black for not-shade, and just stacked up all the layers on top of each other. The result is a combination of hillshade scales so that fine topographic details are visible, but they have the benefit of a more atmospheric darkening in the shaded areas of the large-order structures. A bit closer to real life than an impossibly crisp omniscient single-light-source hillshade.
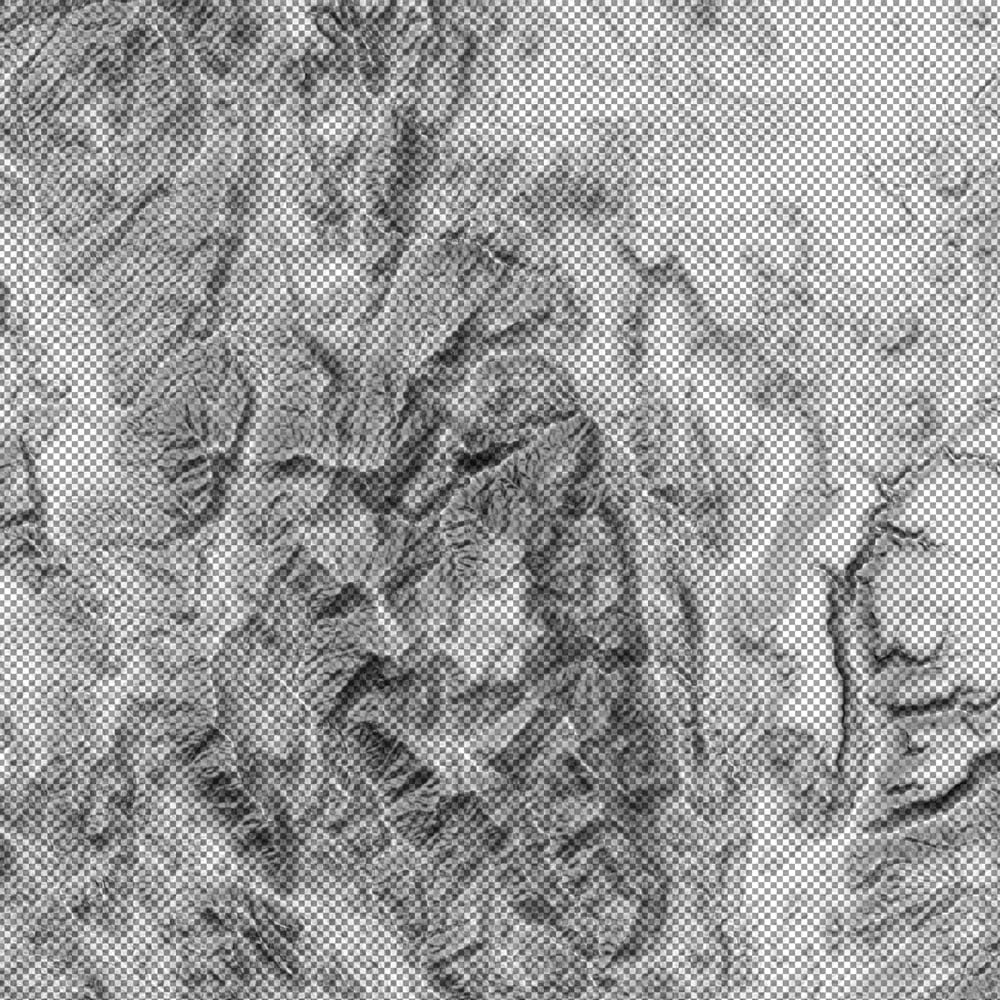
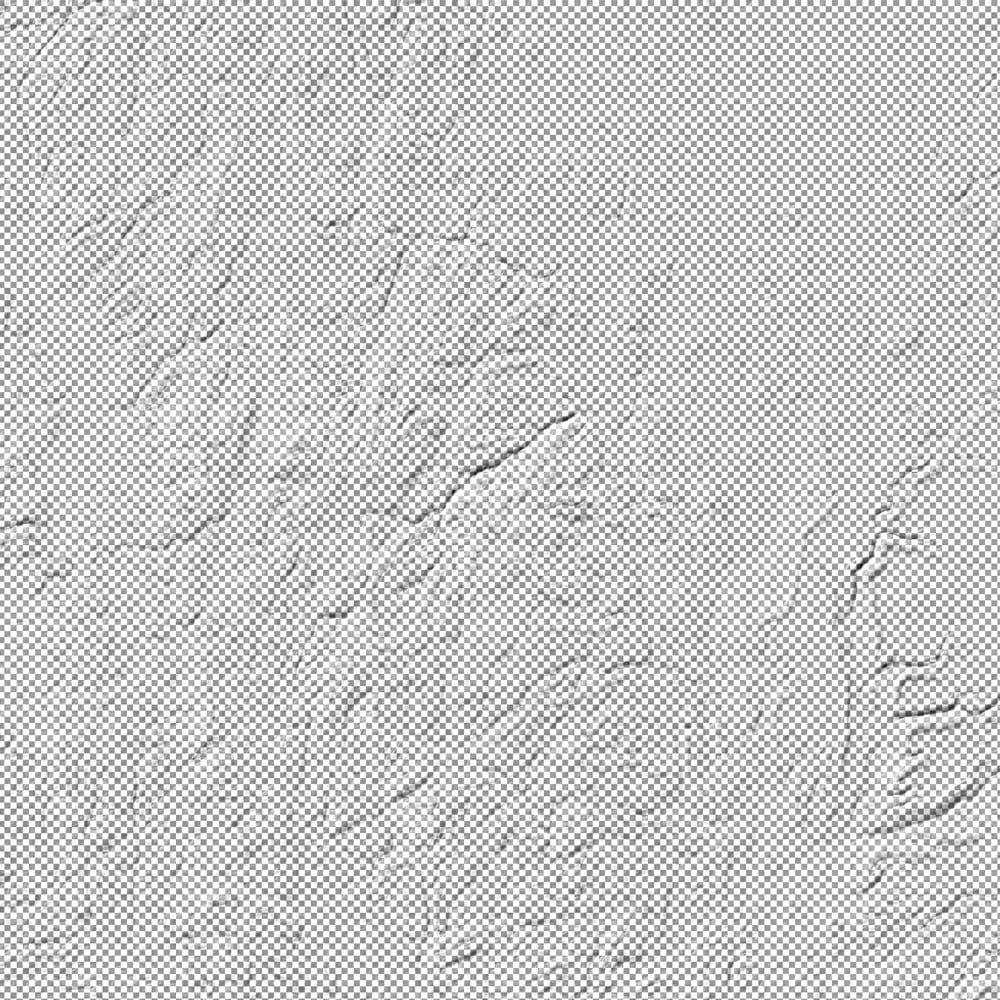
Next I applied a slope function to the DEMs and colored them so that the steep areas were dark and the flat areas were transparent. It’s a really nice sort of ghostly effect. This is like hillshade when there is zero direct light and sort of reminds me of what a fully ambiently-lit undersea terrain would look like.
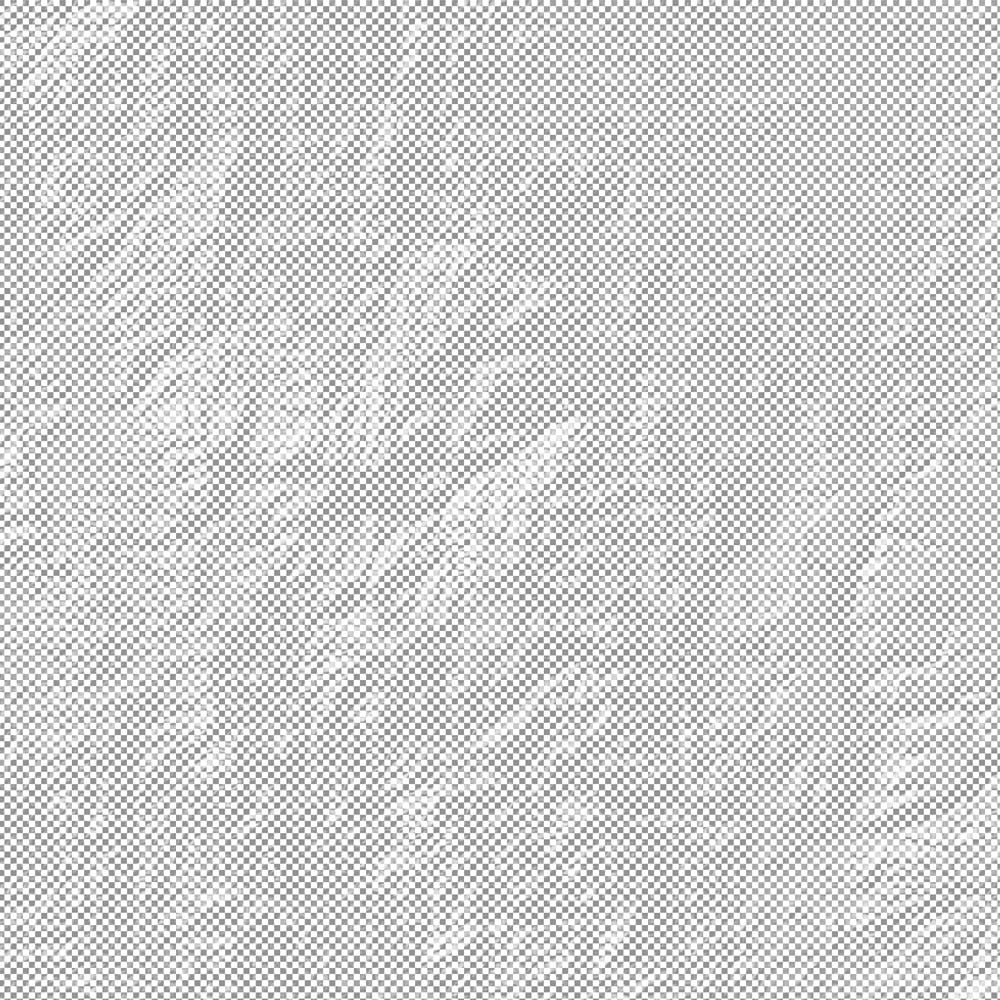
So to bring back a little bit of that direct-sunlight effect, I created a traditional hillshade and only painted the brightest areas in white then quickly faded to fully-transparent white. This re-introduces a sense of a directional light source. Like in real life.
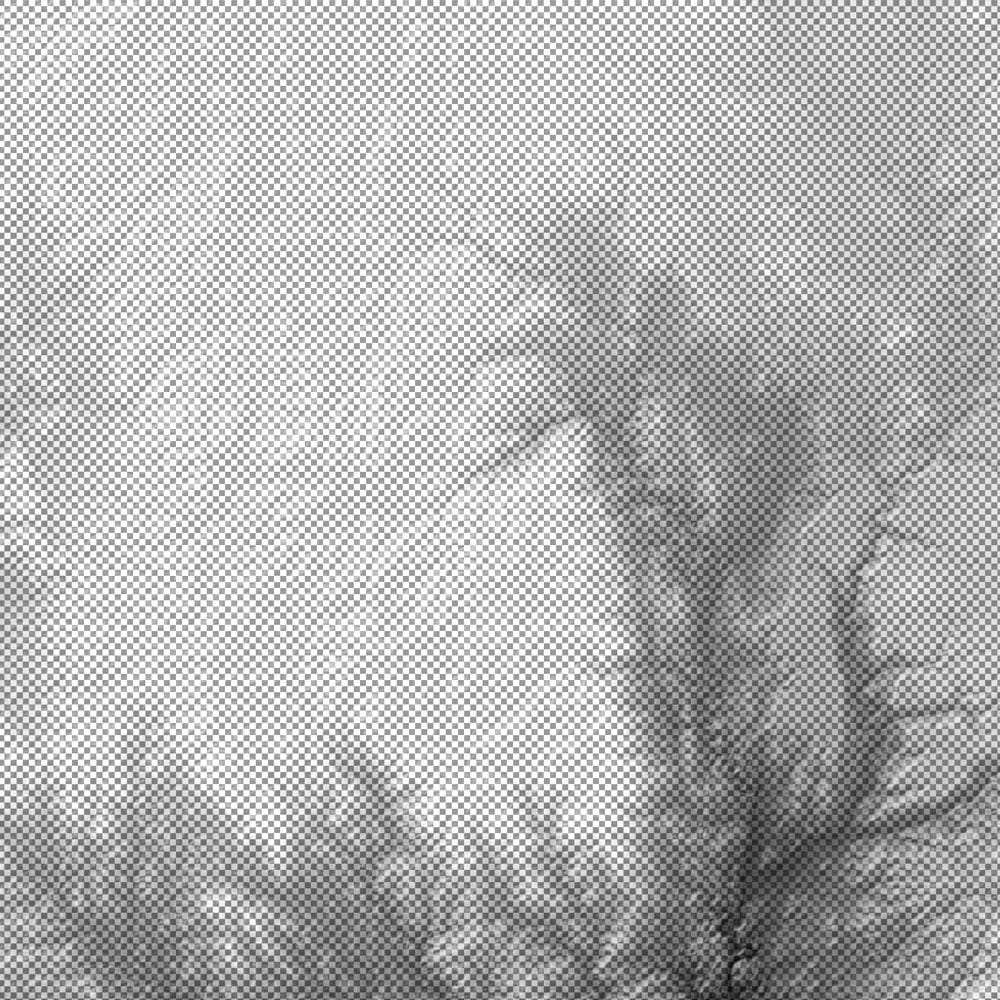
One of the drawbacks of stacking up hillshades and slope-shades generated for different scales is that you get an inadvertent rounding-off of the terrain. Like the earth was scrubbed with sandpaper. The crisp edges or plateaus and river channels and terraced structures have lost their sharpness. By applying a…wait for it…hillshade to the slope (yes) you can re-introduce some crispness to the terrain. It is a bit like an edge detection or a curvature function. And I get to choose in which direction I highlight curves because hillshade has an inherent direction. That group of layers looks like this…
Lastly, to create a sense of scattered shade in lower elevations and river valleys, I drag the original DEM up to the top and apply a gradient so that lower elevations are semi-transparent black and quickly fade into fully transparent black. Low-lying areas now have a true-to-life ambient darkening.
When everything is stacked up together, they combine to create a topographic surface that sort of mimics ambient light and shadow. Which also looks pretty cool.
Happy Hillshading! John


Article Discussion: