Ever since my children started playing Minecraft, I have been fascinated by the game. My conclusion – it is fantastic! I think it is this generations Lego. The amount of creativity it unlocks is astounding. Naturally, I wanted to make a map styled as a Minecraft world. Follow along with the steps below, just don’t blame me if you begin having dreams of creepers, wardens, zombies, skeletons, endermen, witches, spiders, blazes, llamas…
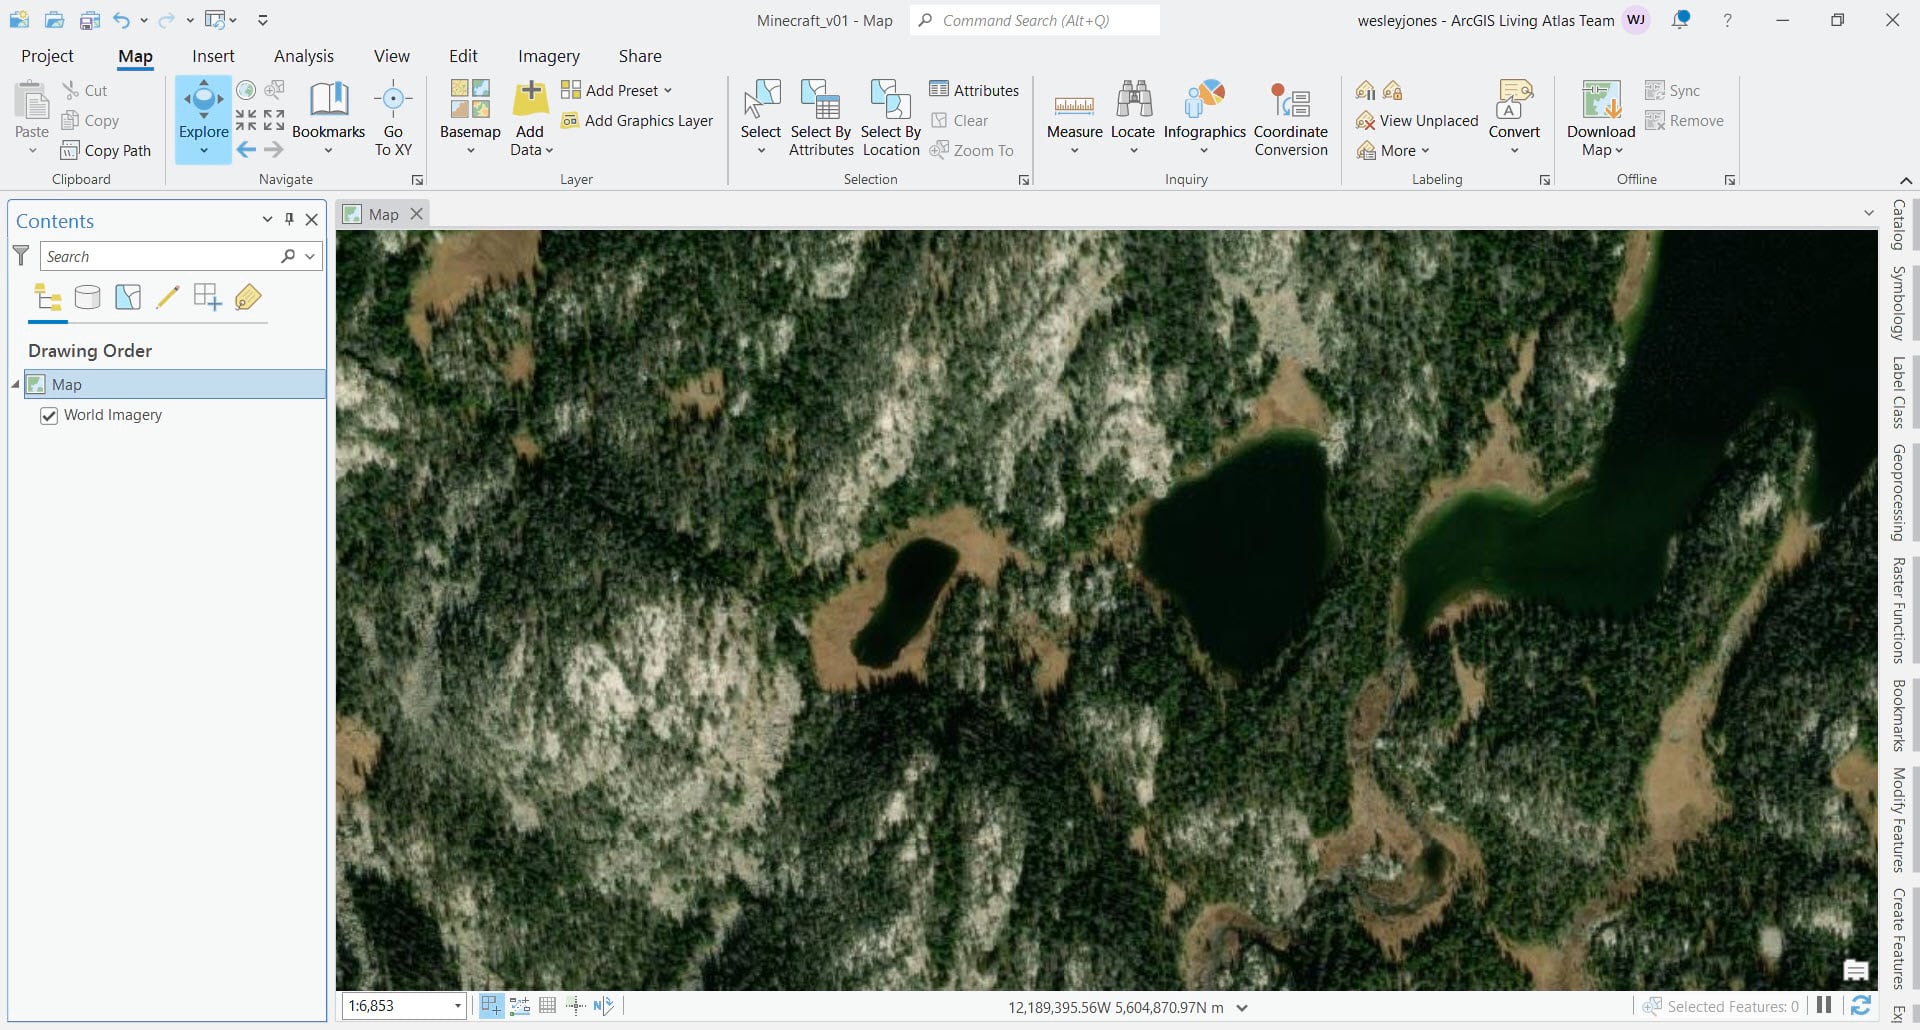
Find a great spawn point
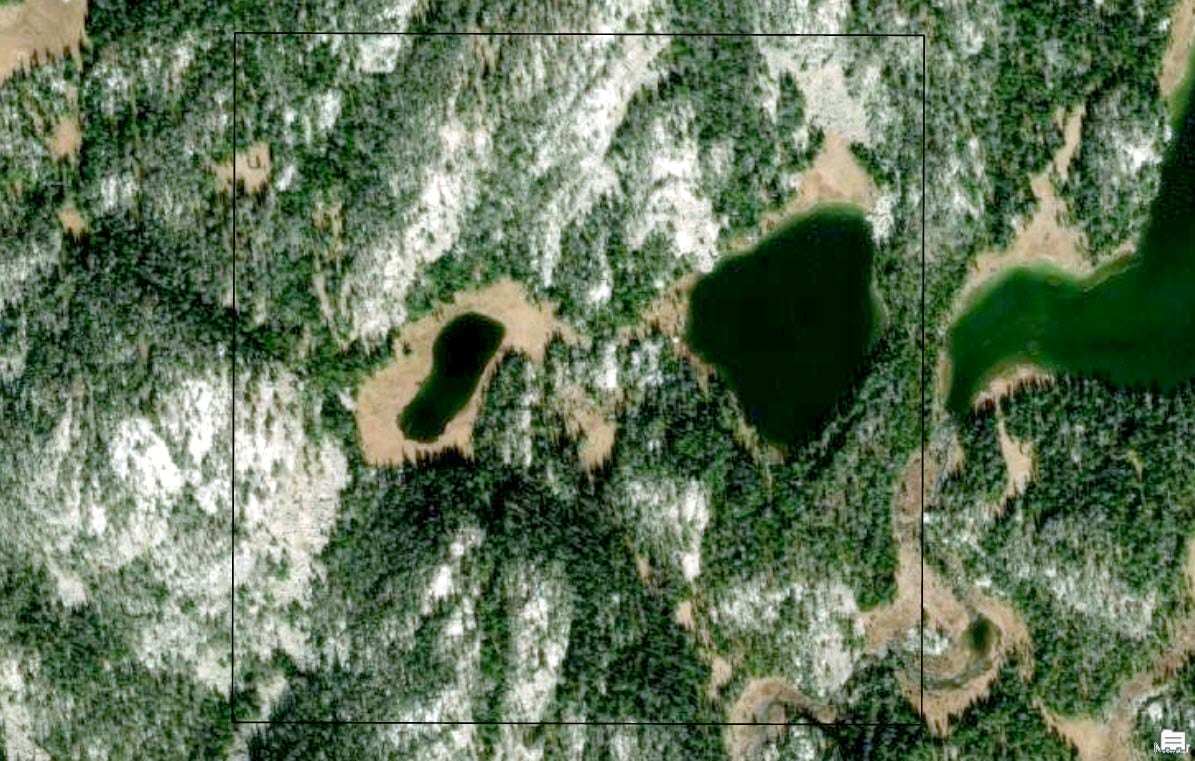
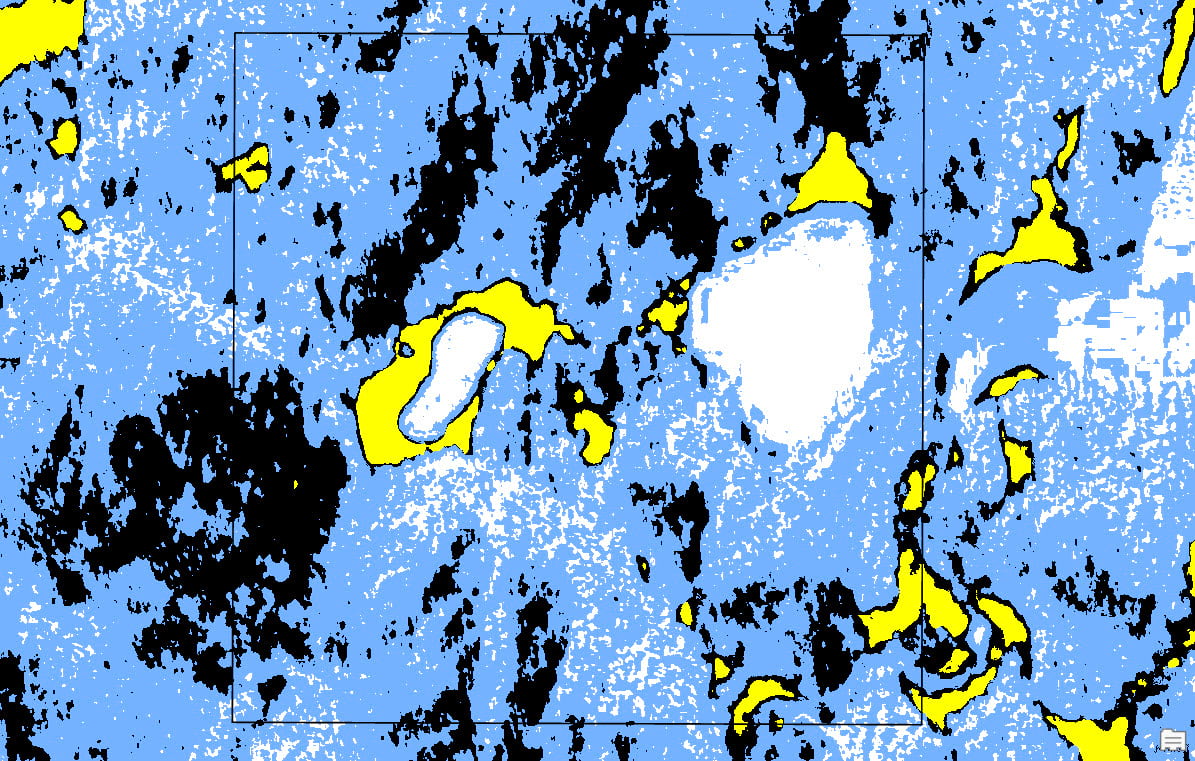
I used the World Imagery to find a location.
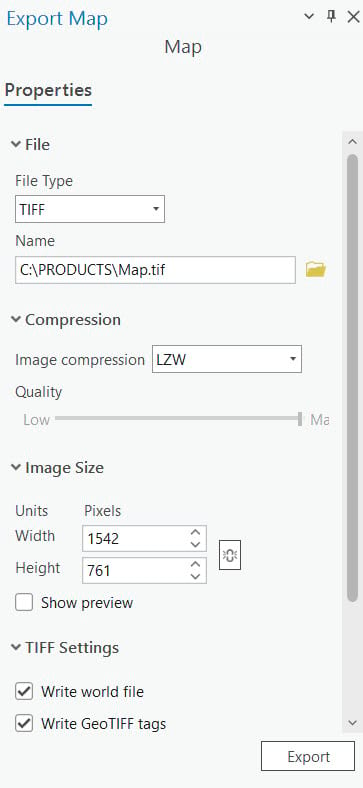
Export the map
Create an image that can be used to make some classifications.
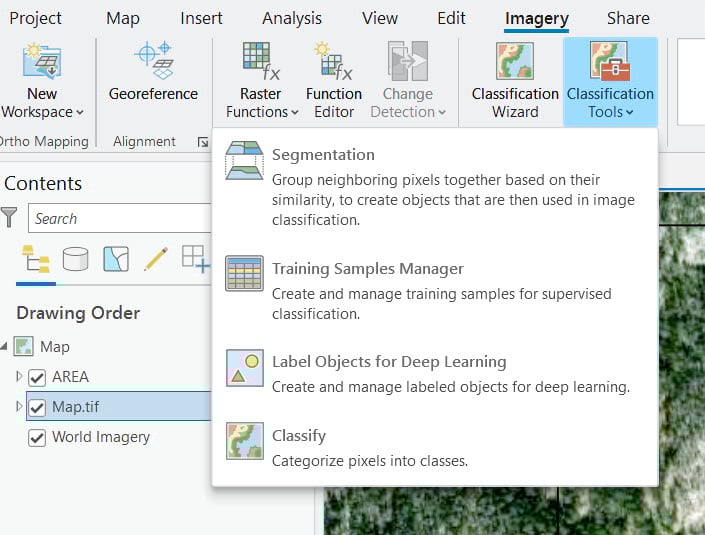
Classify the area
Use the classification tools to create your biomes.
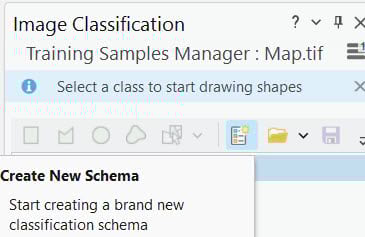
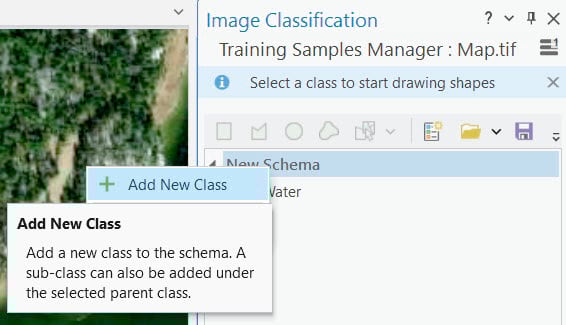
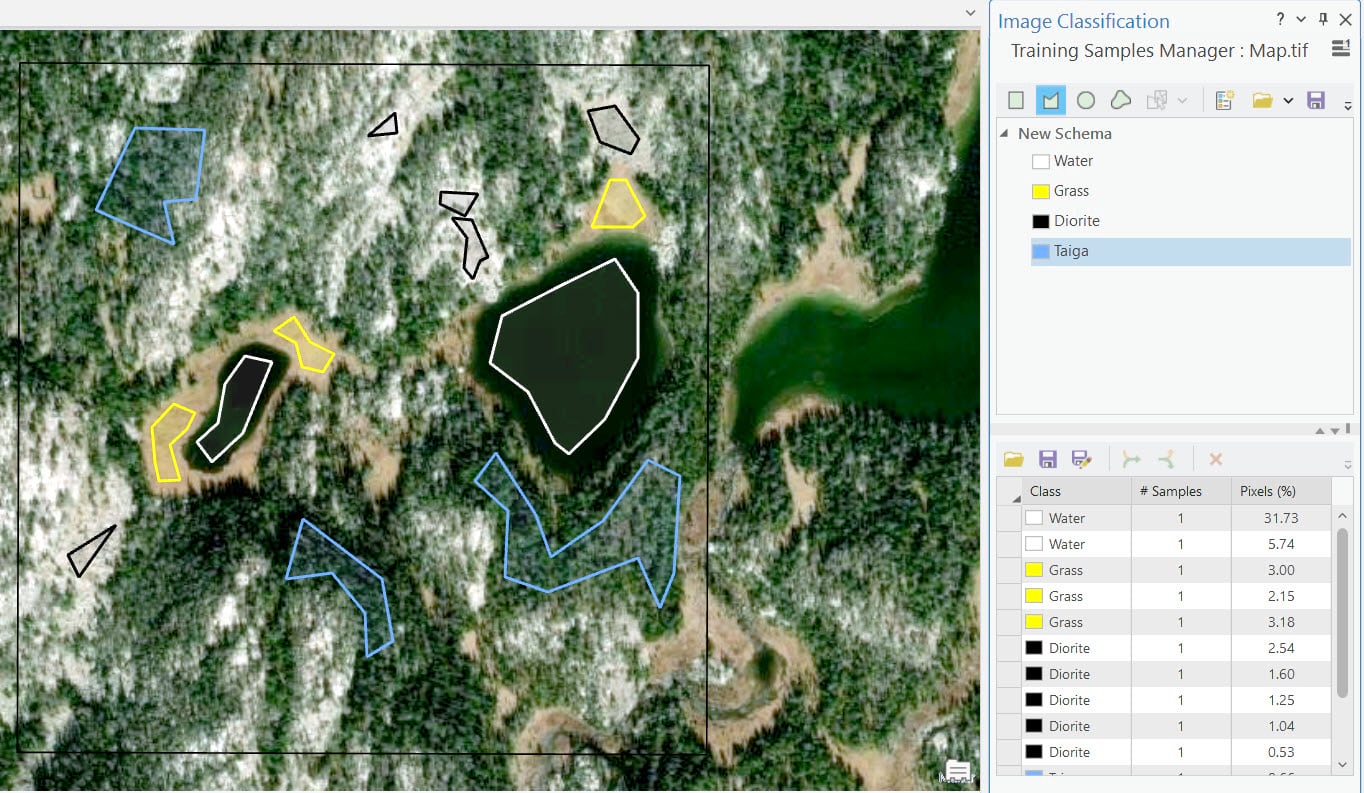
Train samples manager
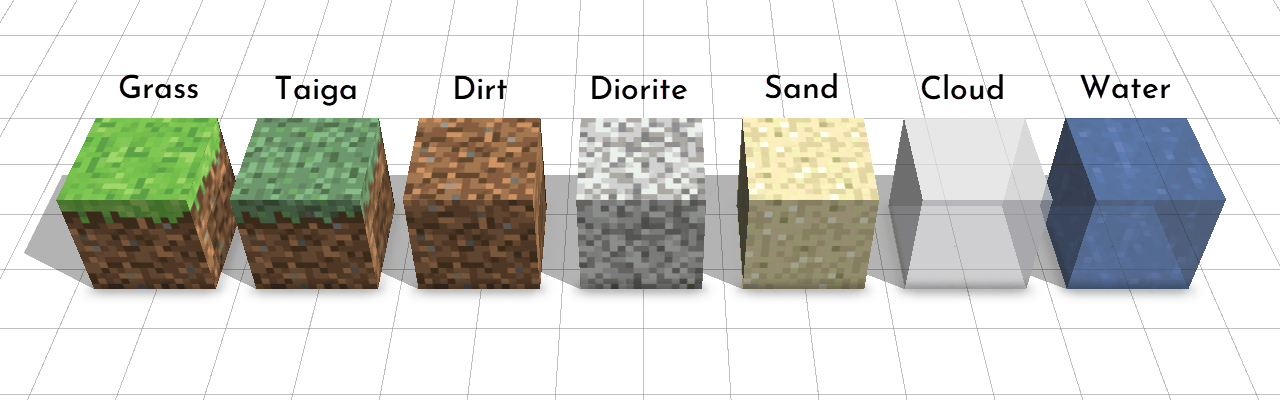
Make training samples for a supervised classification. Create a new schema with new classes and save. In this case we have water, grass, diorite, and taiga.
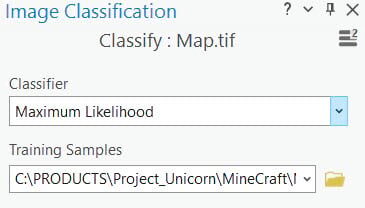
Classify
Create the classified map using the training samples.
Check classification results
See if you need to adjust your classification. Shadows are always tricky. I was happy enough and knew I would clean it up in subsequent steps.
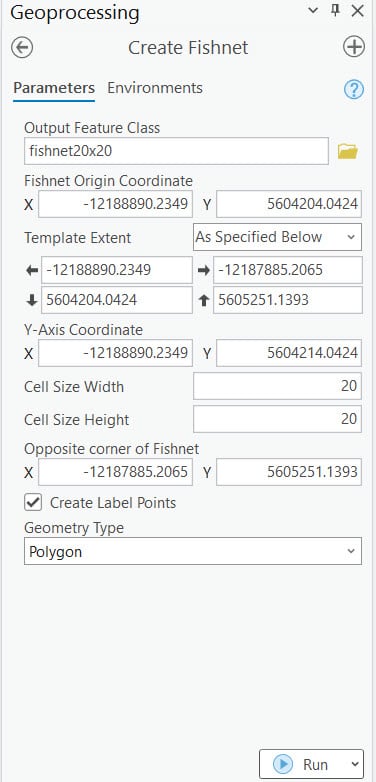
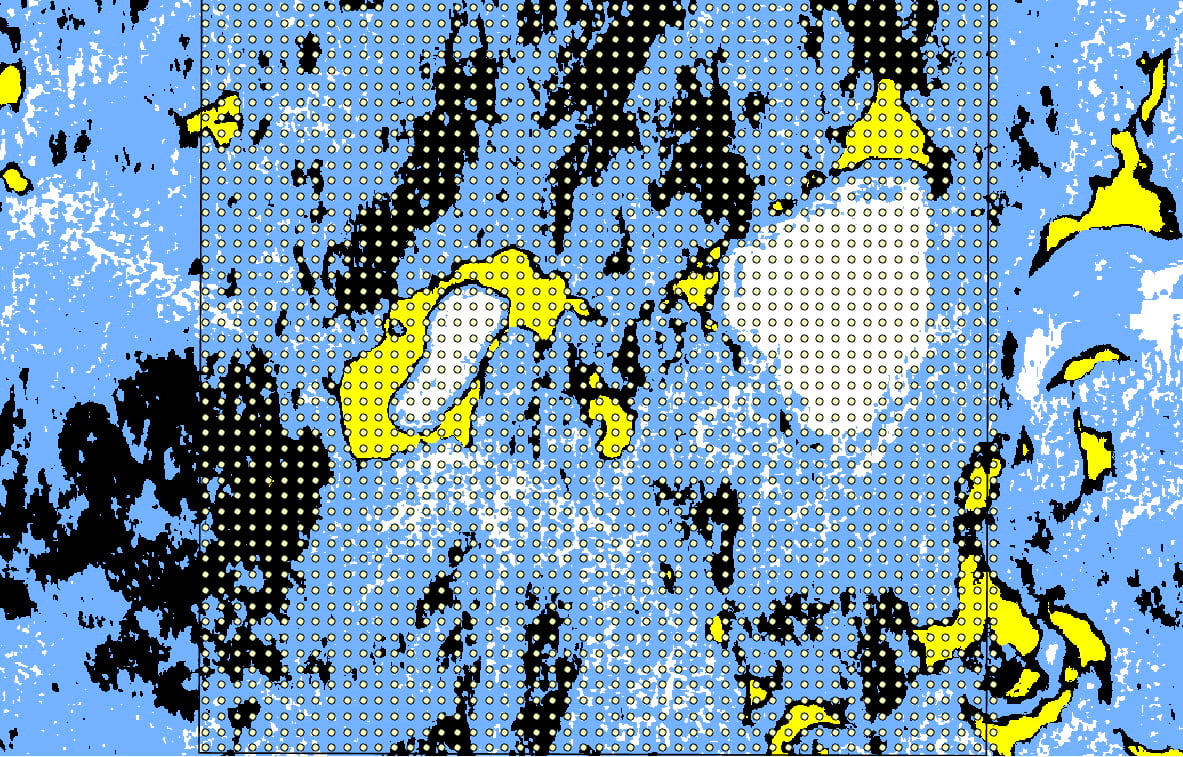
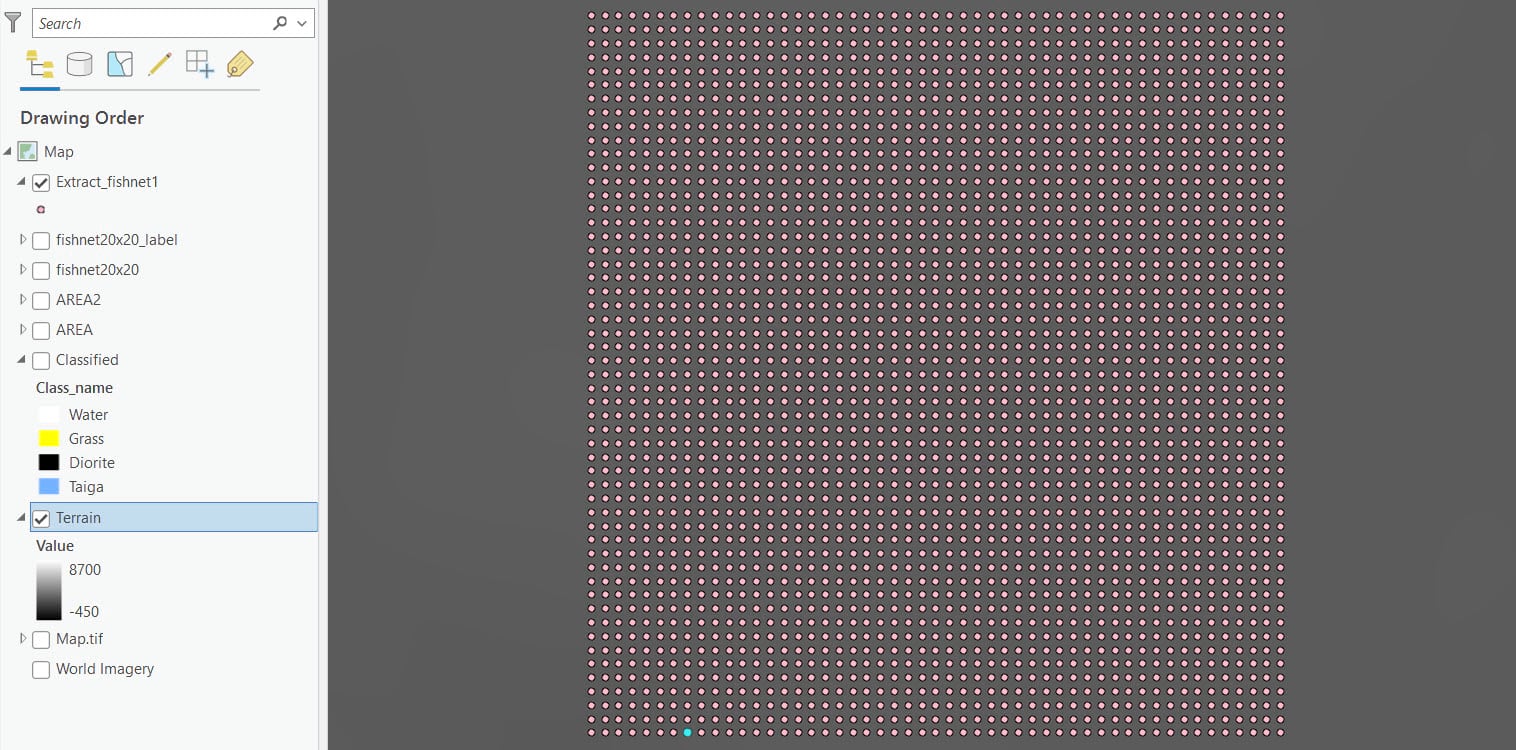
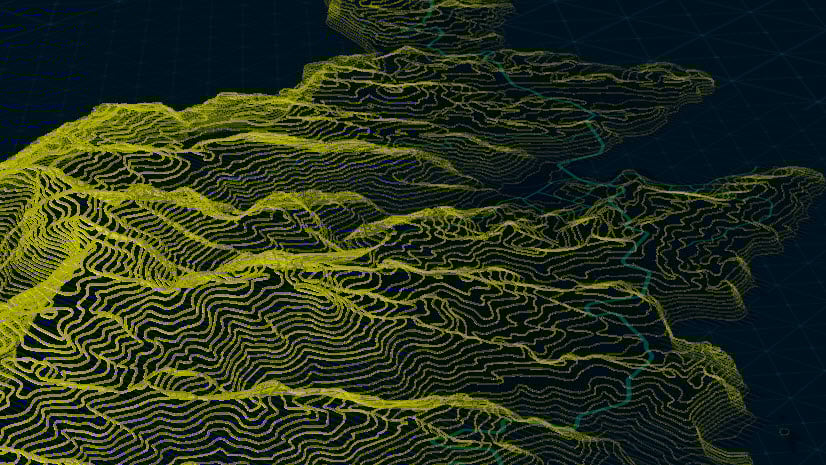
Create a fishnet
Now you need to create the grid to make the Minecraft blocks. In Minecraft each block is 1m. I decided to make mine 20m.
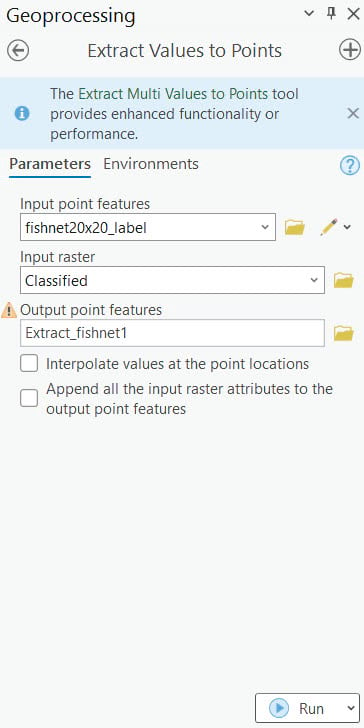
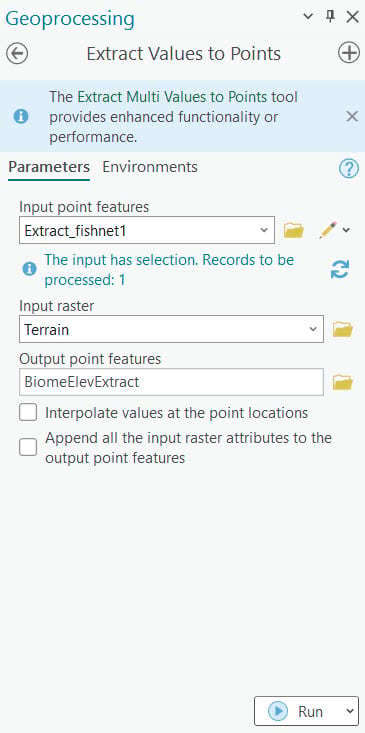
Extract values to points
Append the biome classifications to the points.

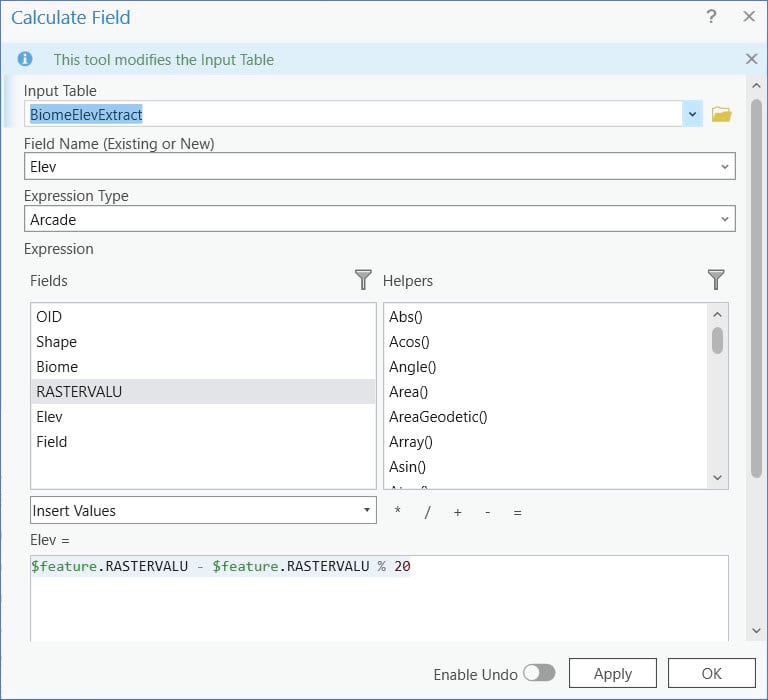
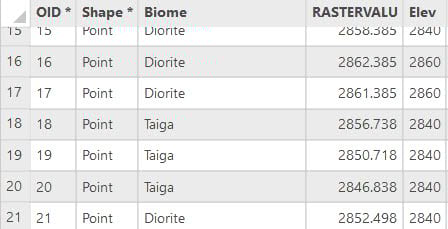
Calculate Field
Take the RasterValu units and make a new field with your biome names. Then remove the RasterValu field as you will be adding elevation from a raster to these points and need that field again.
Elevation
Add the world terrain. Again run the extract values to points to add the elevation data.
Standardize the elevation
Because each block is 20m apart the elevation needs to be in 20m increments. Make a new field and run an arcade function similar to this:
$feature.RASTERVALU – $feature.RASTERVALU % 20
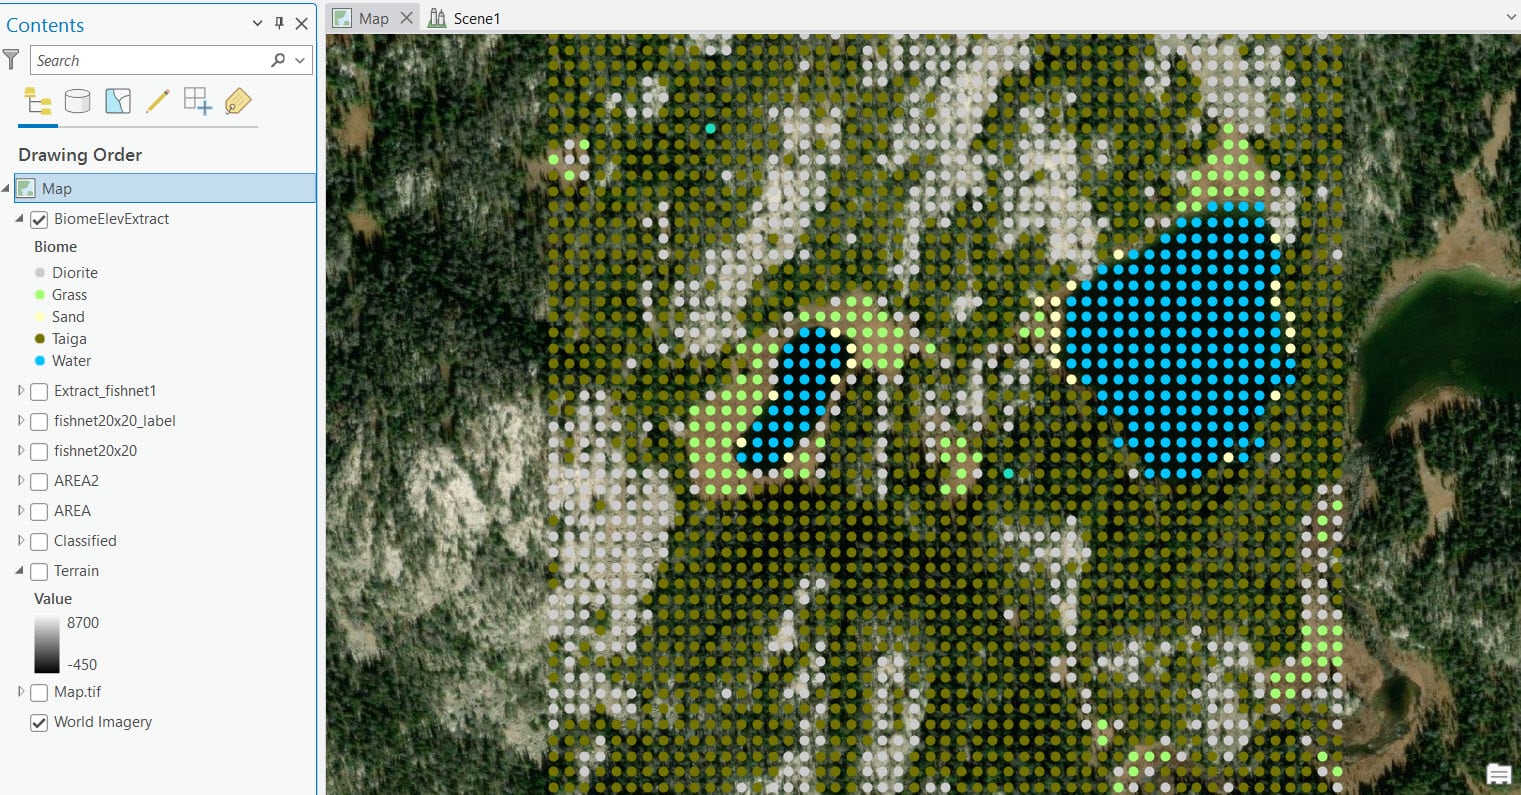
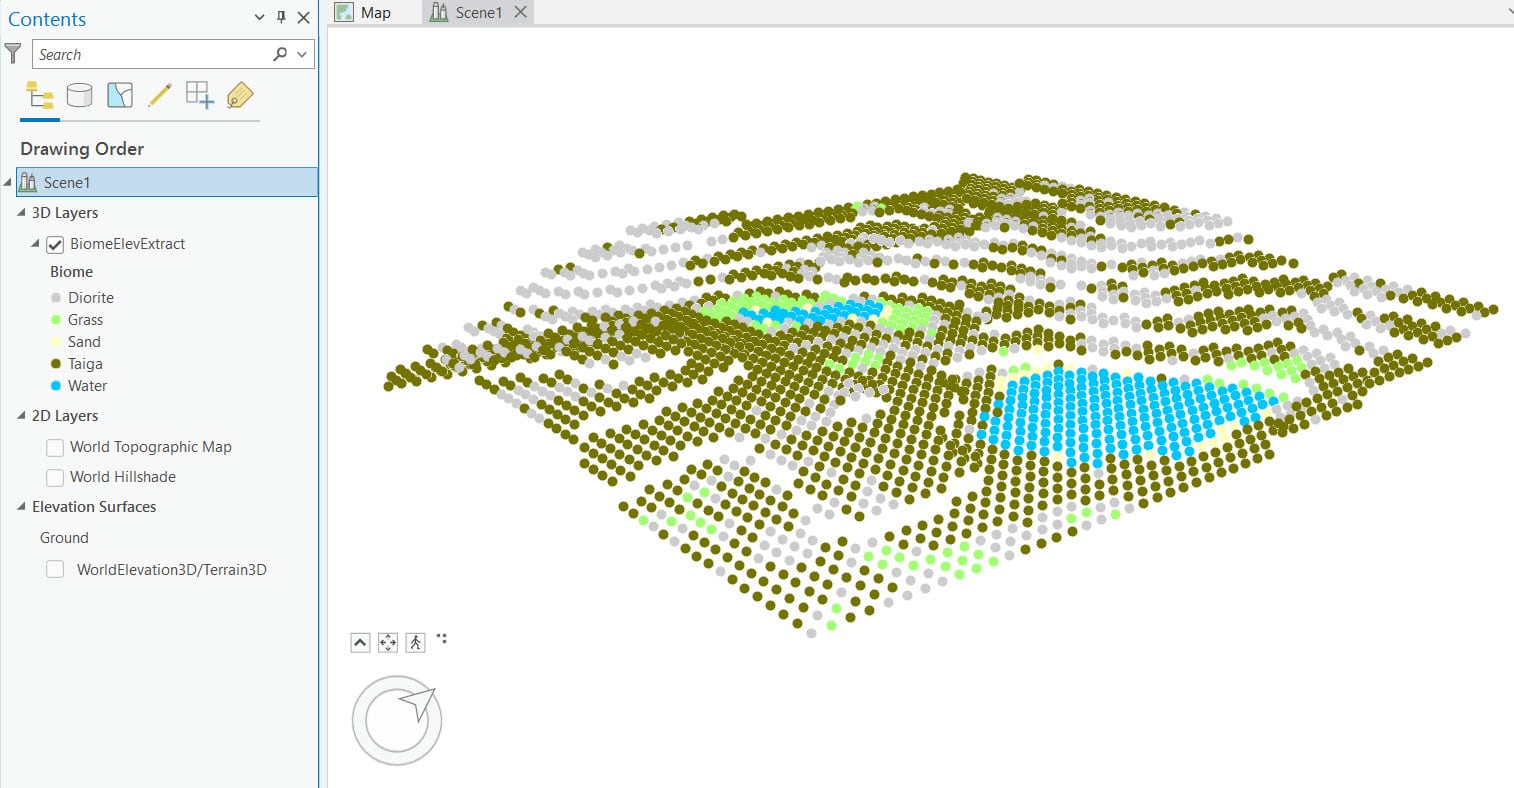
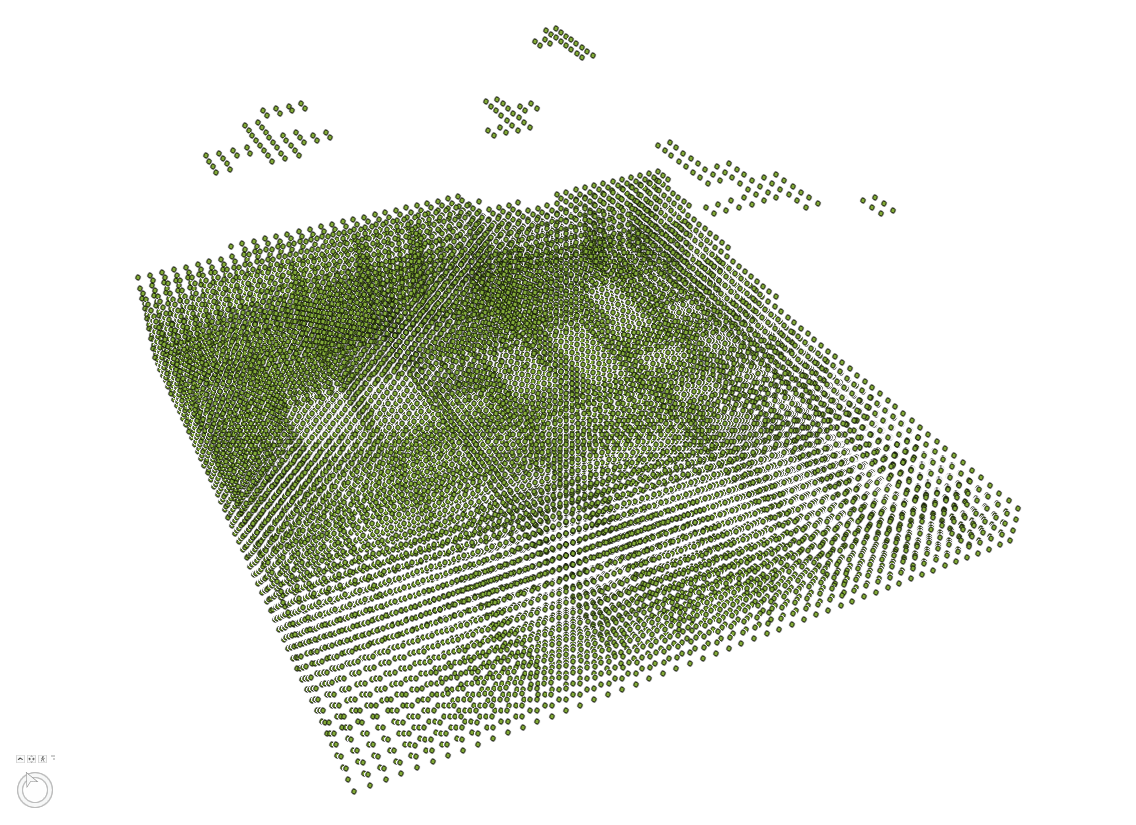
Data check
At this point it might be worth symbolizing in a temporary way. I used colour-coded circles which helped me clean the data. Then I brought it into scene to see how the elevation looked.
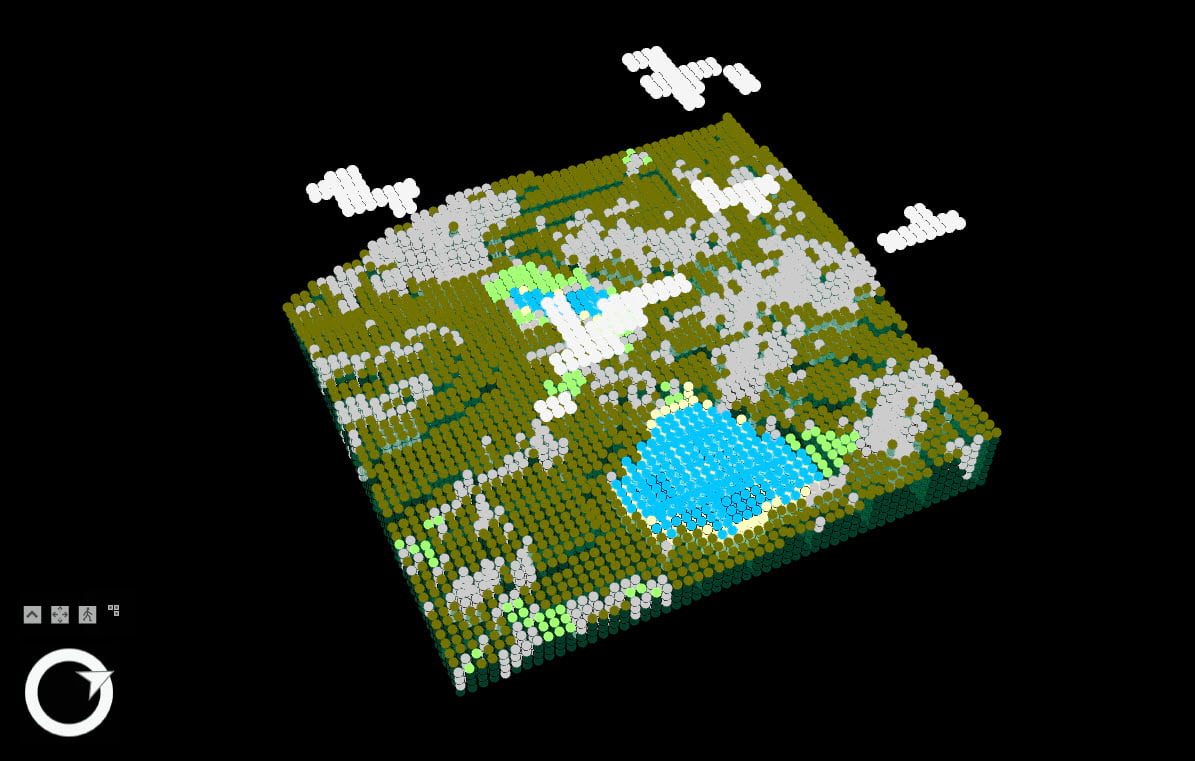
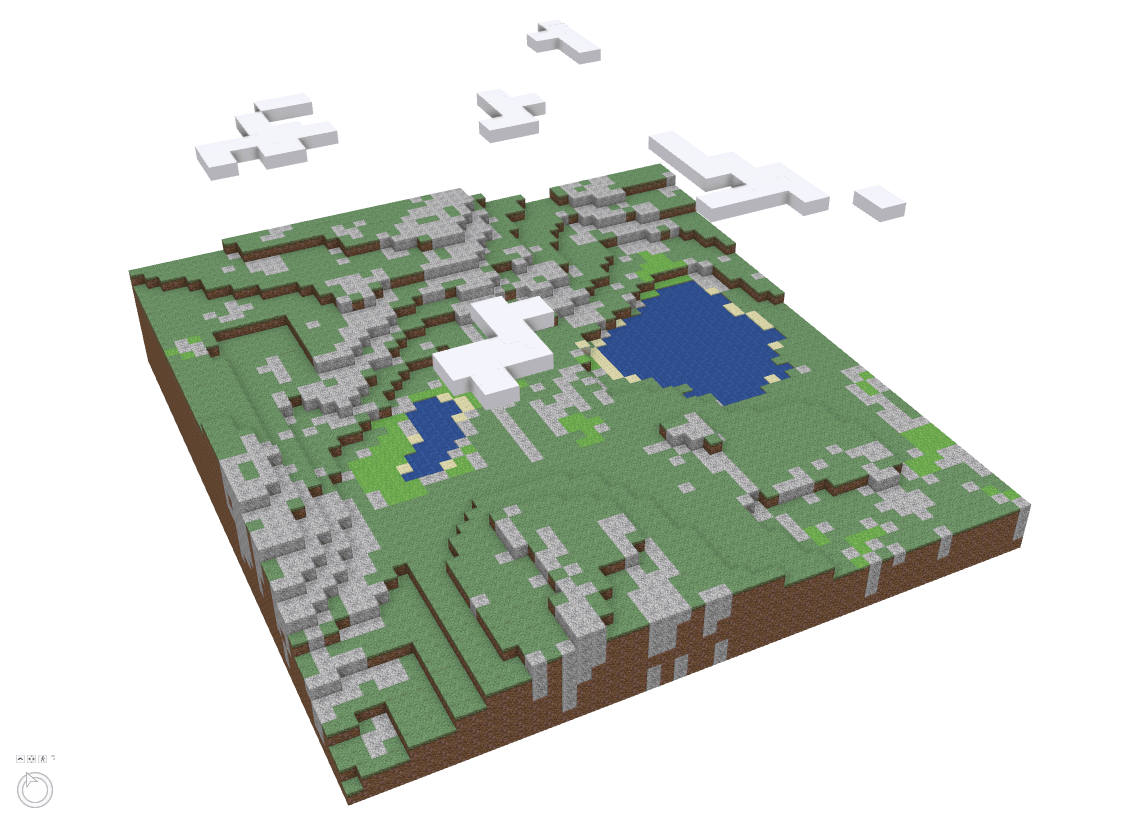
Data Enhancement
I added a sand biome, some clouds, adjusted the water and decided to extend the blocks down to create a whole slice of a Minecraft world. At this point I handed it off to Craig McCabe to add the Minecraft blocks with rules made in CityEngine.
Texturing with CityEngine
While it would be possible to manually texture a bunch of multipatch biome cubes in ArcGIS Pro, the process scales much better using CityEngine. Just think of the cubes as small buildings of different types, and the CityEngine rule logic is simple – it’s also a good entry point into learning how to create procedural 3D objects using Computer Generated Architecture (CGA)!
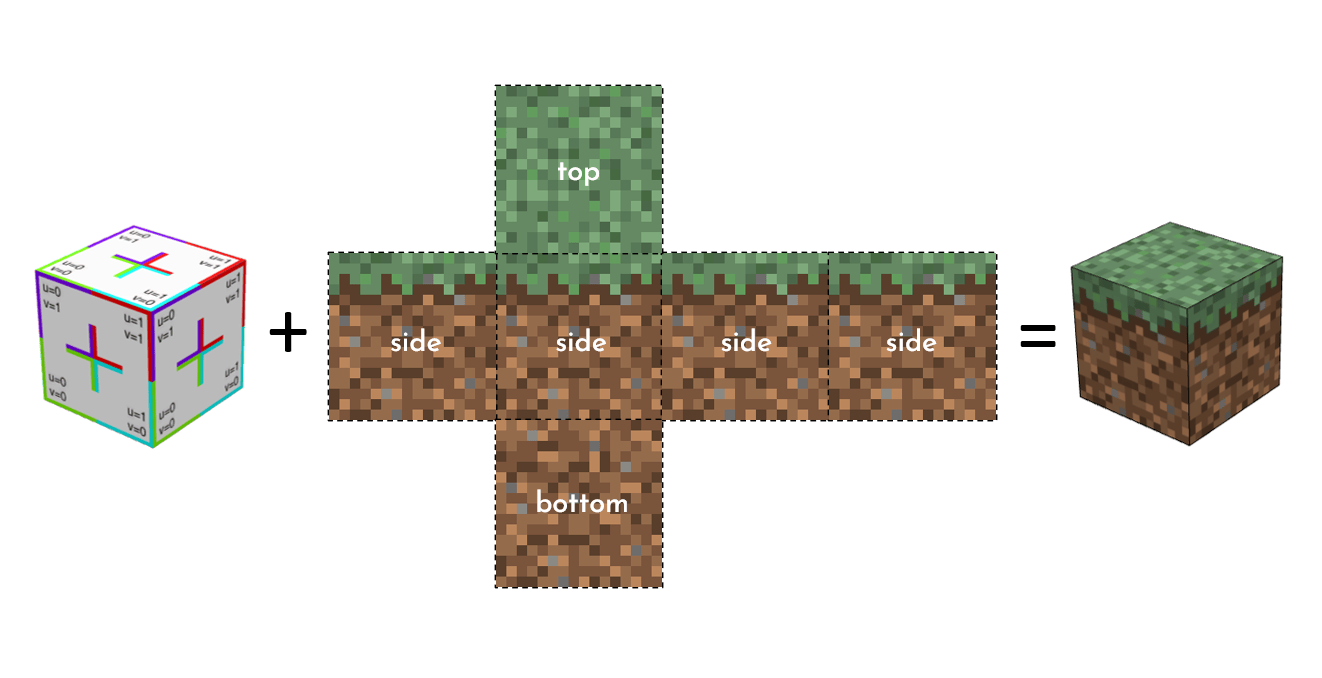
The CityEngine-authored Rule Package is just a .zip file that contains the procedural modeling logic (CGA, the “code”), plus any associated assets (e.g., biome texture PNG files). In fact, you can unzip it, make changes to the CGA in a text editor, replace the textures with your own, zip it back up, and use your modified RPK in Pro! Go here to download the RPK and for more information on the rule logic (and how to alter it).
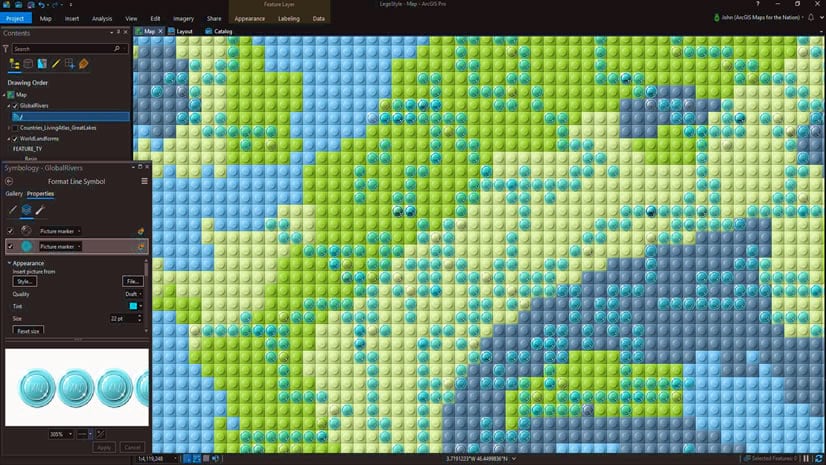
Apply the rule package in Pro
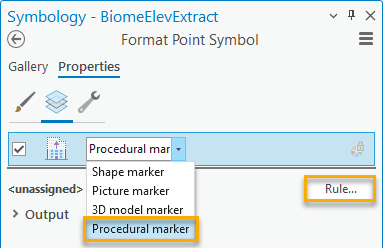
Points can be symbolized as a Shape marker, Picture marker, 3D Model marker, or Procedural marker in ArcGIS Pro. The Procedural marker option requires the *.rpk file linked above.
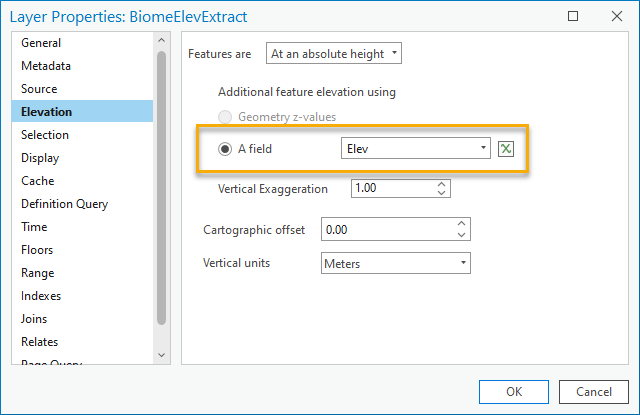
Open a Local Scene within a Pro project. Add the biome points to the scene and place them in the 3D layers group. Change the Layer Properties to display the points At an absolute height, using the Elev attribute.
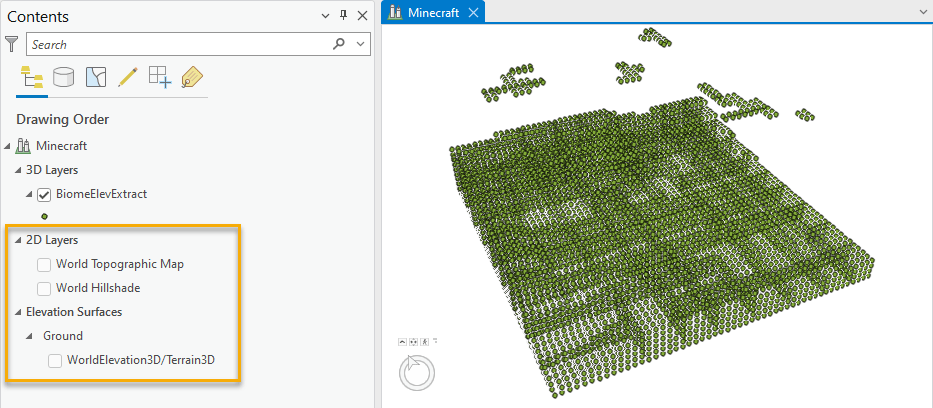
Turn off the 2D basemap and elevation layers.
Select the biome points, open the Format Point Symbol Properties tab and change the marker type to Procedural marker. Use the Rule… button to navigate to the rpk rule package. The list of rule parameters will appear. Click Apply to apply the symbology.
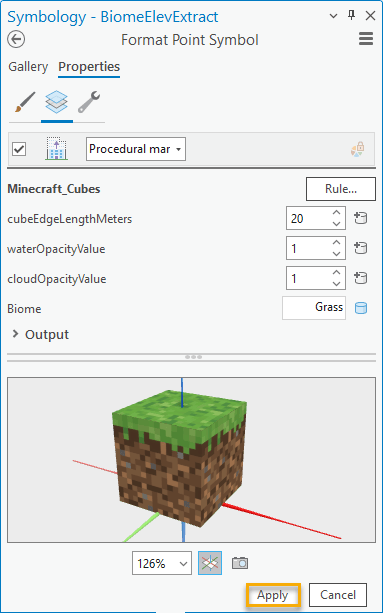
Note that the default cube size parameter is set to 20m, with water and clouds both opaque (0 = 100% transparent, 1 = 100% opaque). Feel free to change these values depending on your preference or point spacing.
Before and After
All your hard work should get you from points to a pretty wicked looking world.
Publishing the web scene
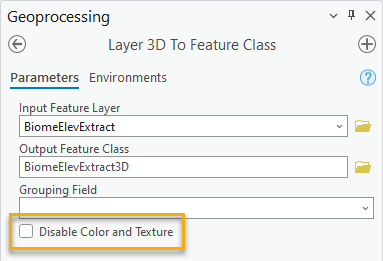
If you want to share this as a web scene, the dynamic procedural symbols need to be converted to multipatches using the Layer 3D to Feature Class GP tool (keep the disable textures/colors option unchecked). This will effectively “burn in” the textures on each cube so they can be published.
Remove the original Procedural symbols in the local scene, keep the multipatches that were just created, and Share As as a Web Scene.
Now go forth, spawn, and make your very own Minecraft world.
Minecraft + GIS = MAGIC
AND if you really want to take it to the next level make it a virtual reality experience. Go HERE and you can turn your scene into a 360 VR Experience.


Commenting is not enabled for this article.