The Building Blocks for Staging Public Engagement With Arcgis Urban
ArcGIS Urban is a foundational building block for creating content for collaboration. With Urban, planners can generate 2D and 3D scenarios and share these scenes with the public as part of a larger planning initiative. These scenes can be used in conjunction with ArcGIS Hub and ArcGIS StoryMaps to create a richer engagement with your community.
While each of these products can work independently to support various parts of the planning process, together they can create a complete experience that informs, visualizes, and generates feedback as part of one coordinated effort.
In what follows, we provide a brief overview of these different tools and how they can be used together.
Create a landing page with ArcGIS Hub
Planners can kickstart their plan’s digital engagement strategy by sharing their Urban scenes for feedback using an ArcGIS Hub initiative. Every initiative includes a configurable mobile-responsive website template that enables you to bring on collaborators and make your content discoverable to a public audience.
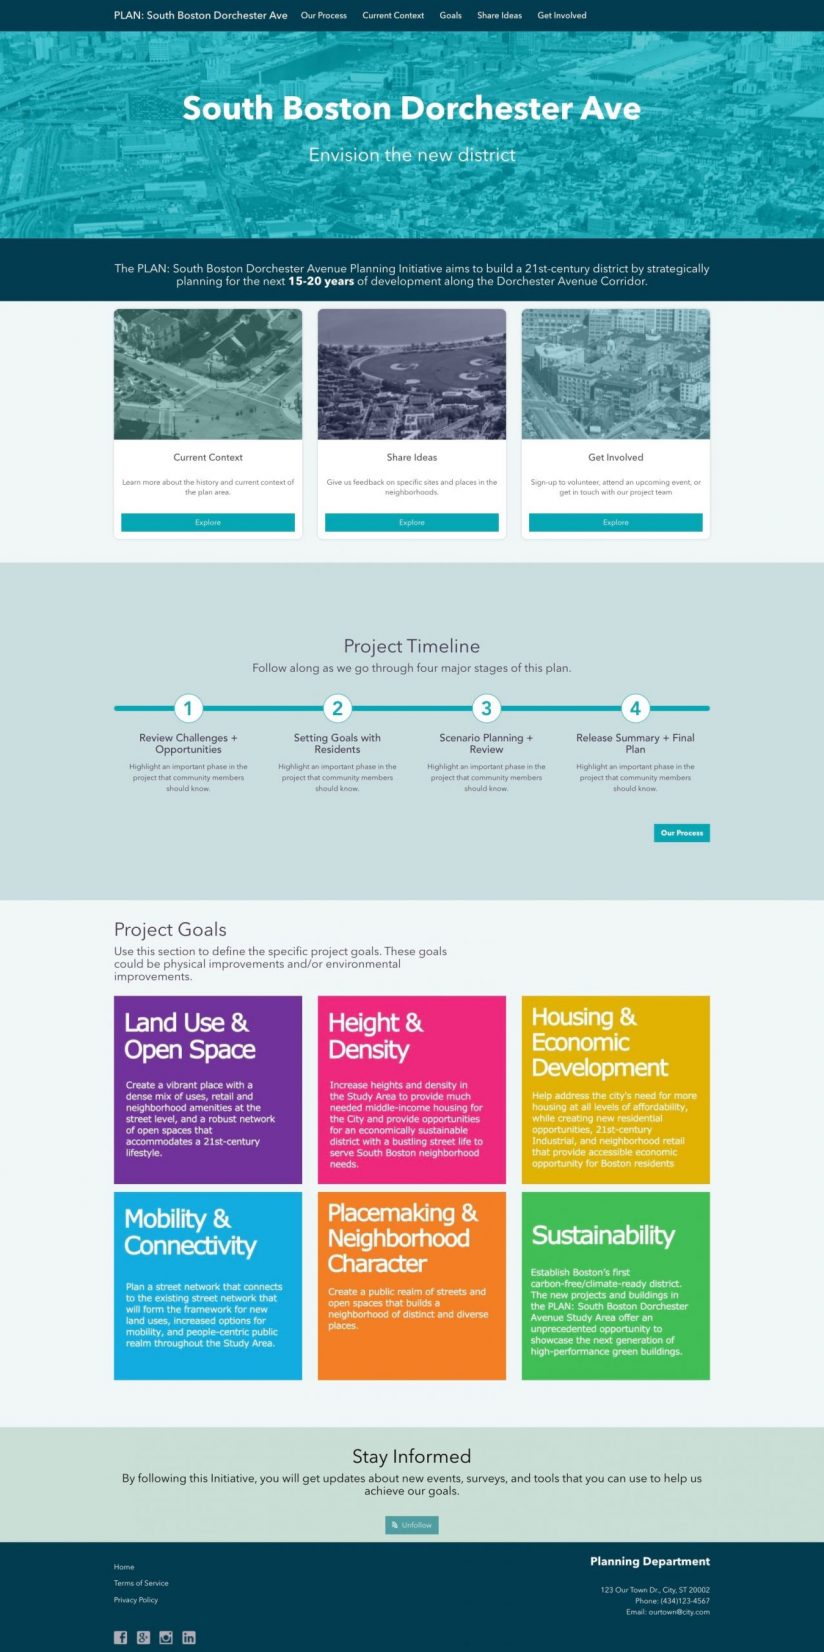
You can get started by creating your own initiative like the one we created in the example above. Or you can select a template, such as the Encourage Project Feedback initiative template which includes a pre-designed site to help you get started.
Using the initiative’s site, you can create a landing site for your plan that outlines its purpose and schedule. By setting the stage for a public audience, you are providing them with the context they need to give meaningful feedback on your scenes.
Note: All content is automatically shared privately with your initiative’s core team which is just you until you have added another collaborator to the group. This means that you can keep your site and its content private until you are ready to share it with a larger audience.
Separate plan elements into pages
As you move through the initial phases of your planning process, you can update your landing site with added pages.
Pages are useful for providing people with a place to learn more about key elements of the plan, without affecting the design and flow of the home site.
In our example landing site for the Dorchester Ave Plan, we’ve added menu links in the site’s header that correspond to each step of the plan: Our Process, Current Context, Goals, Share Ideas and Get Involved. Most of these menu links point to a Hub page, so that people can easily peruse topics of interest without having to scroll the length of the home site.
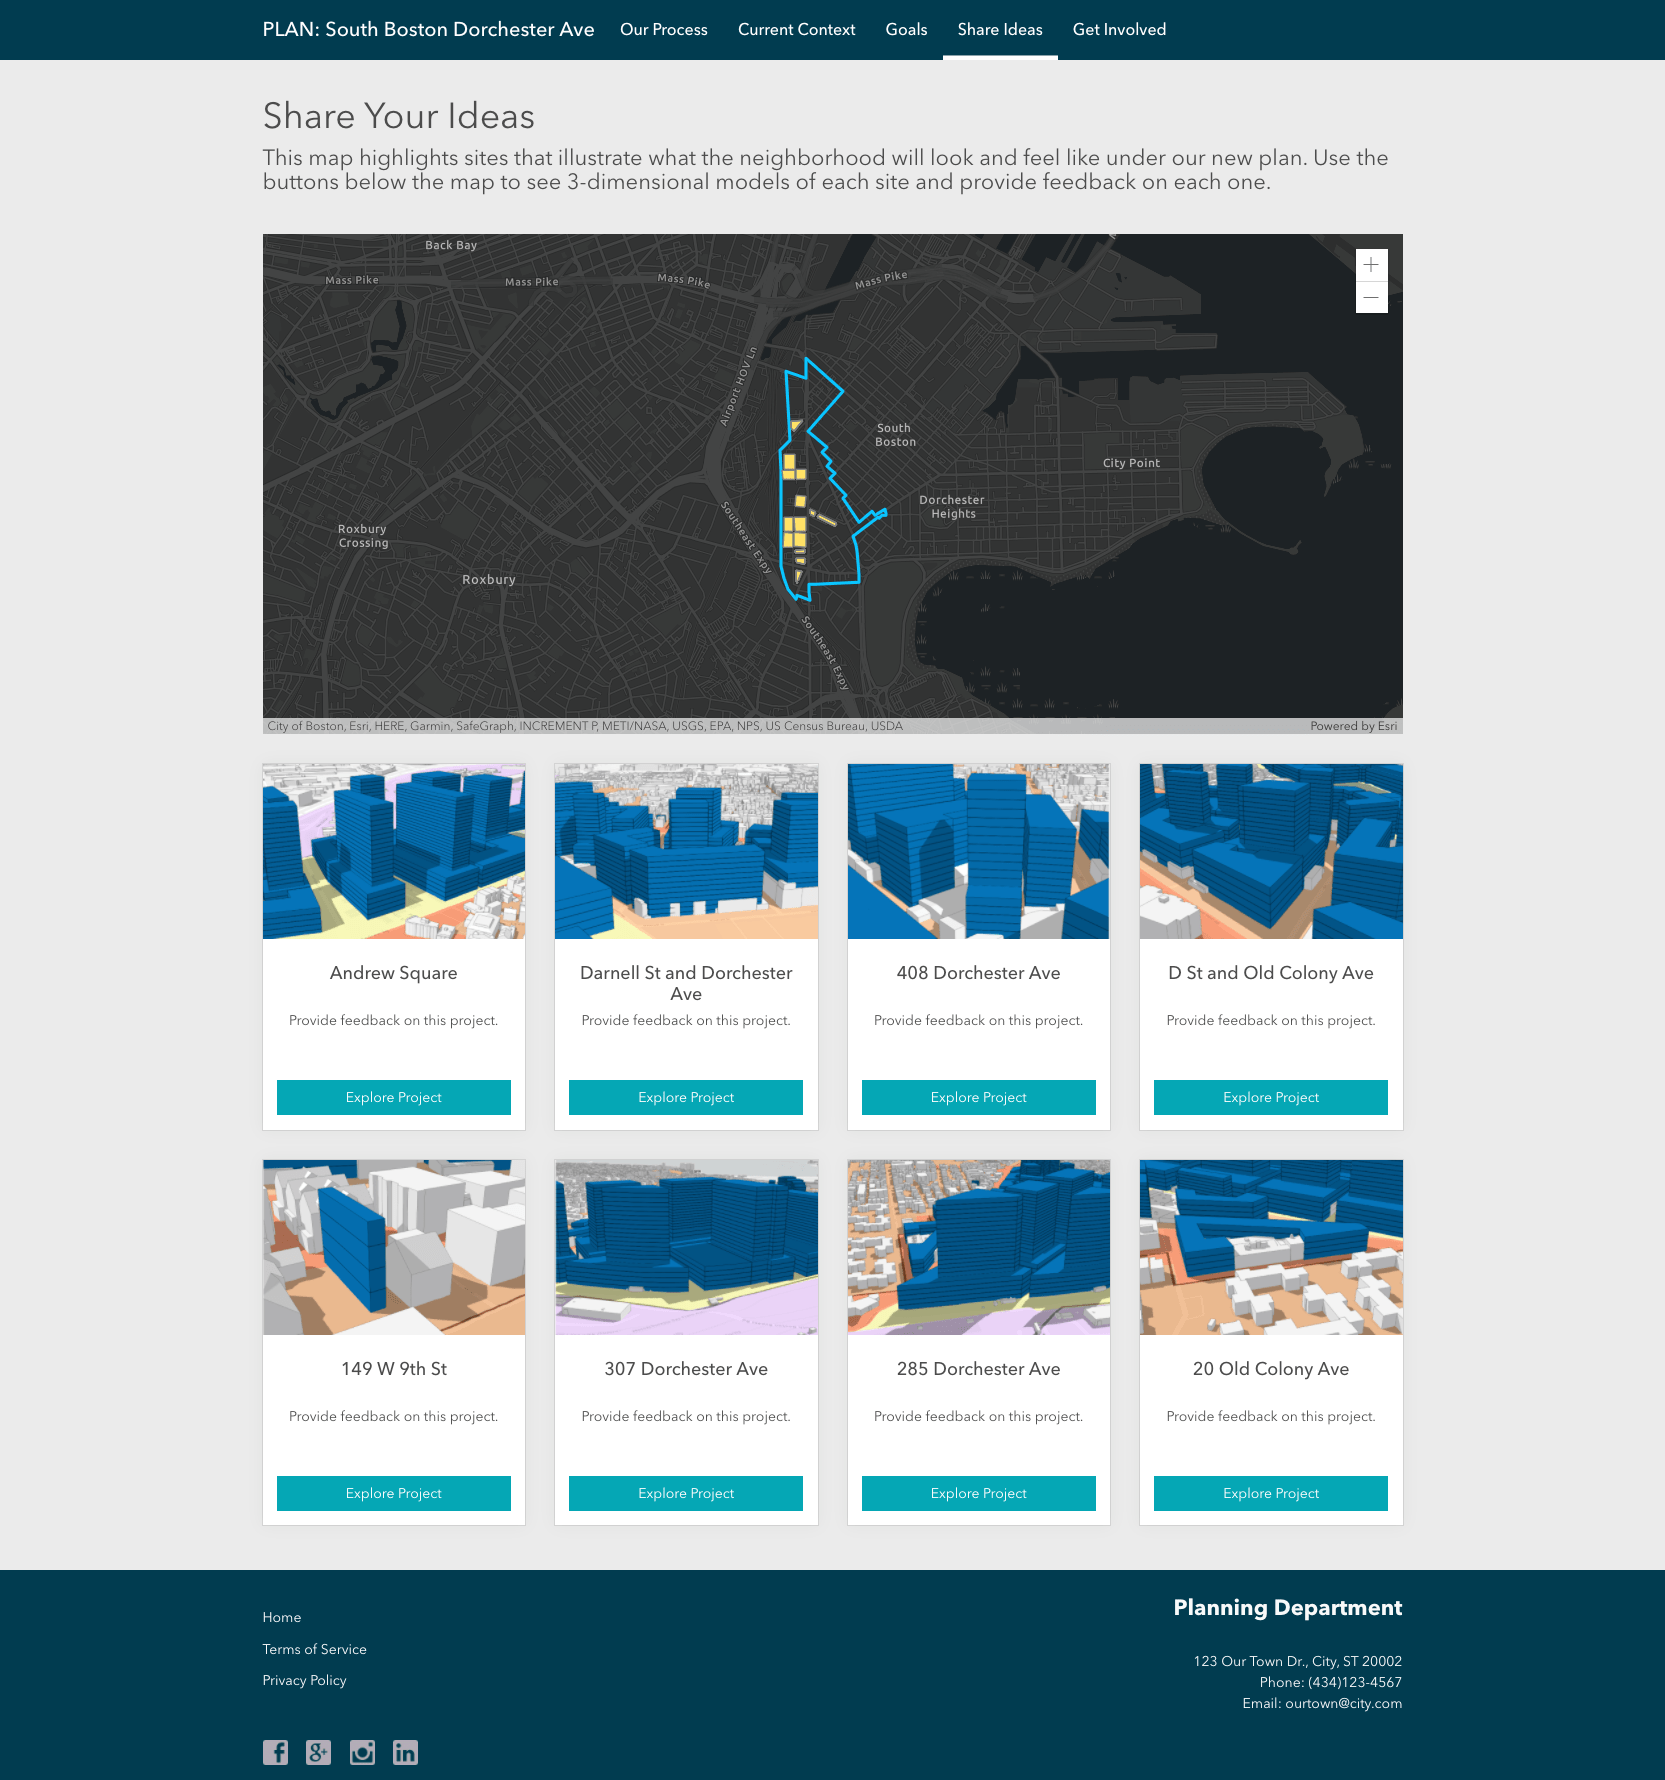
By separating project goals and topic areas into pages, we’ve kept the essentials on the landing site and made it easier for people to navigate our content.
Make complex analyses and data easier to understand with StoryMaps
In addition to pages, you can add menu links to other ArcGIS items and external resources. ArcGIS StoryMaps, in particular, provides planners with a unique way to display complex information, such as research findings and analyses, in a more user-friendly format.
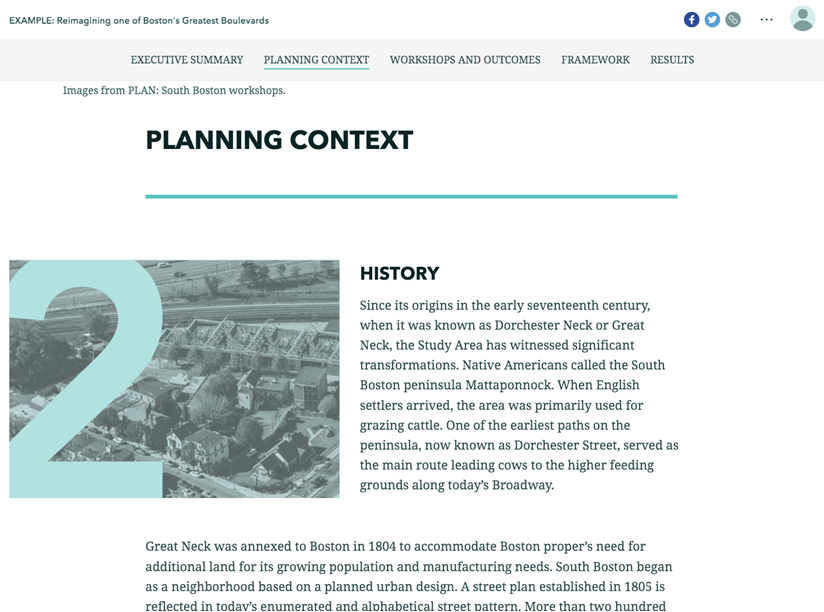
In the Dorchester Ave Plan example, baseline research and analysis are captured as Current Context. This step of the process is an ideal use case for this medium because we can show the study area, define methodology, and explain findings alongside comparative maps, illustrations, and 3D scenes.
You can also use a StoryMap to create a digital version of your plan’s executive summary to support its traditional PDF (Portable Document Format) or static document version.
For example, this StoryMap outlines the executive summary for the South Boston Dorchester Avenue Plan. You can create something similar by taking this ArcGIS Learn Lesson.
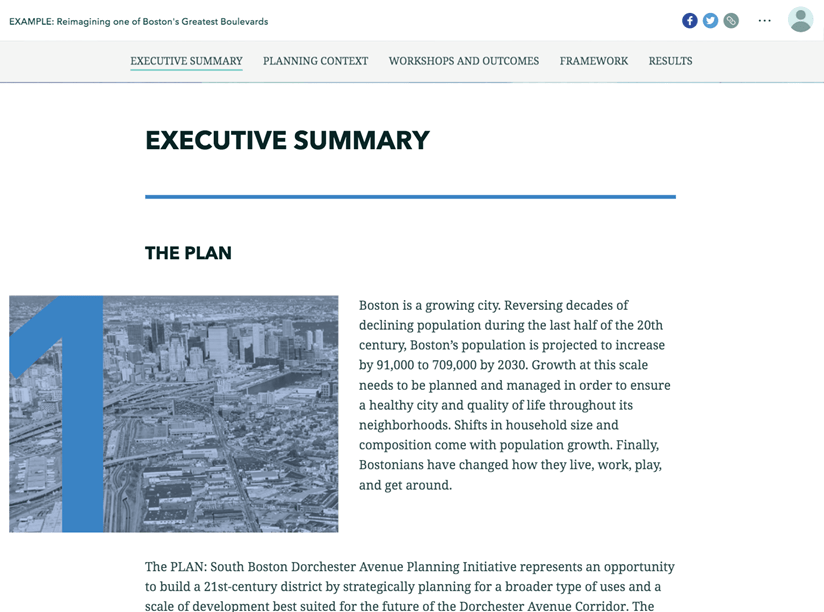
This brief and mobile-responsive StoryMap neatly introduces the public to the visions, goals, and outcomes of the plan using bookmarks and a side-car layout structure.
Create a call to action
When you’re ready to share your initiative’s site publicly, you can encourage your new audience to engage with your content by adding a call-to-action.
This simple button prompts people to sign up for a community account which is free to them and included in your organization’s subscription to ArcGIS Hub Premium. A community account enables anyone to take part in targeted surveys, sign up to attend events, and subscribe for email updates from your team.
Tip: Updates from your team can include announcements for a new event, scene, or survey.
Using Web App Builder
Using Web App Builder, you can quickly create an app that enables people to click and move through a scene’s slides.
First, create a web app of your scene.
- Sign in to your organization’s ArcGIS Online home page using the same credentials you use to sign in to ArcGIS Urban.
- Find the scene item and click to open its items details page.
- Click Share and choose Create a web app. You can use the Simple Scene Viewer template or create your own.
The web app will generate your scene with a row of slides at the bottom which people can click through. Recreate this process for each of your scenes before adding a feedback page.
Using ArcGIS StoryMaps
Alternatively, you can create a StoryMap instead of using Web App Builder.
To get started, generate an embeddable link for your Urban model. Then, sign in to ArcGIS StoryMaps and click New Story.
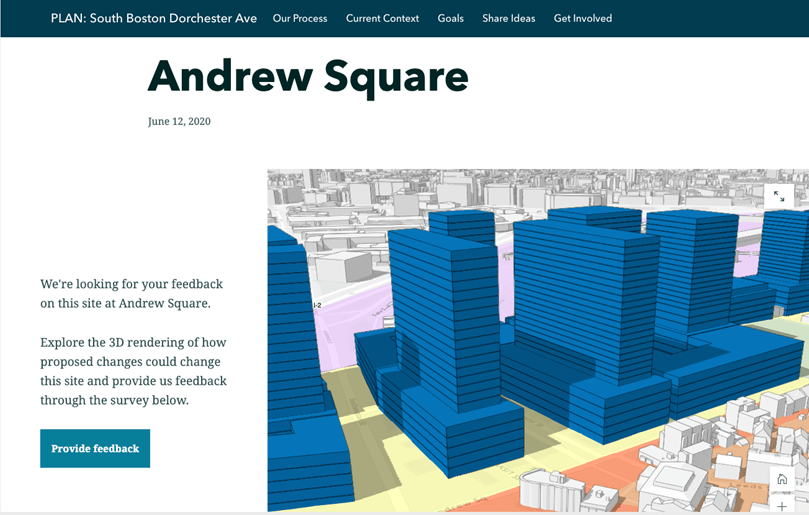
Next, embed the scene and select a slide to highlight. Using a StoryMap component of your choice, add a link to the survey. When you’re ready, follow steps provided in the next section to create a feedback page.
Add a feedback page
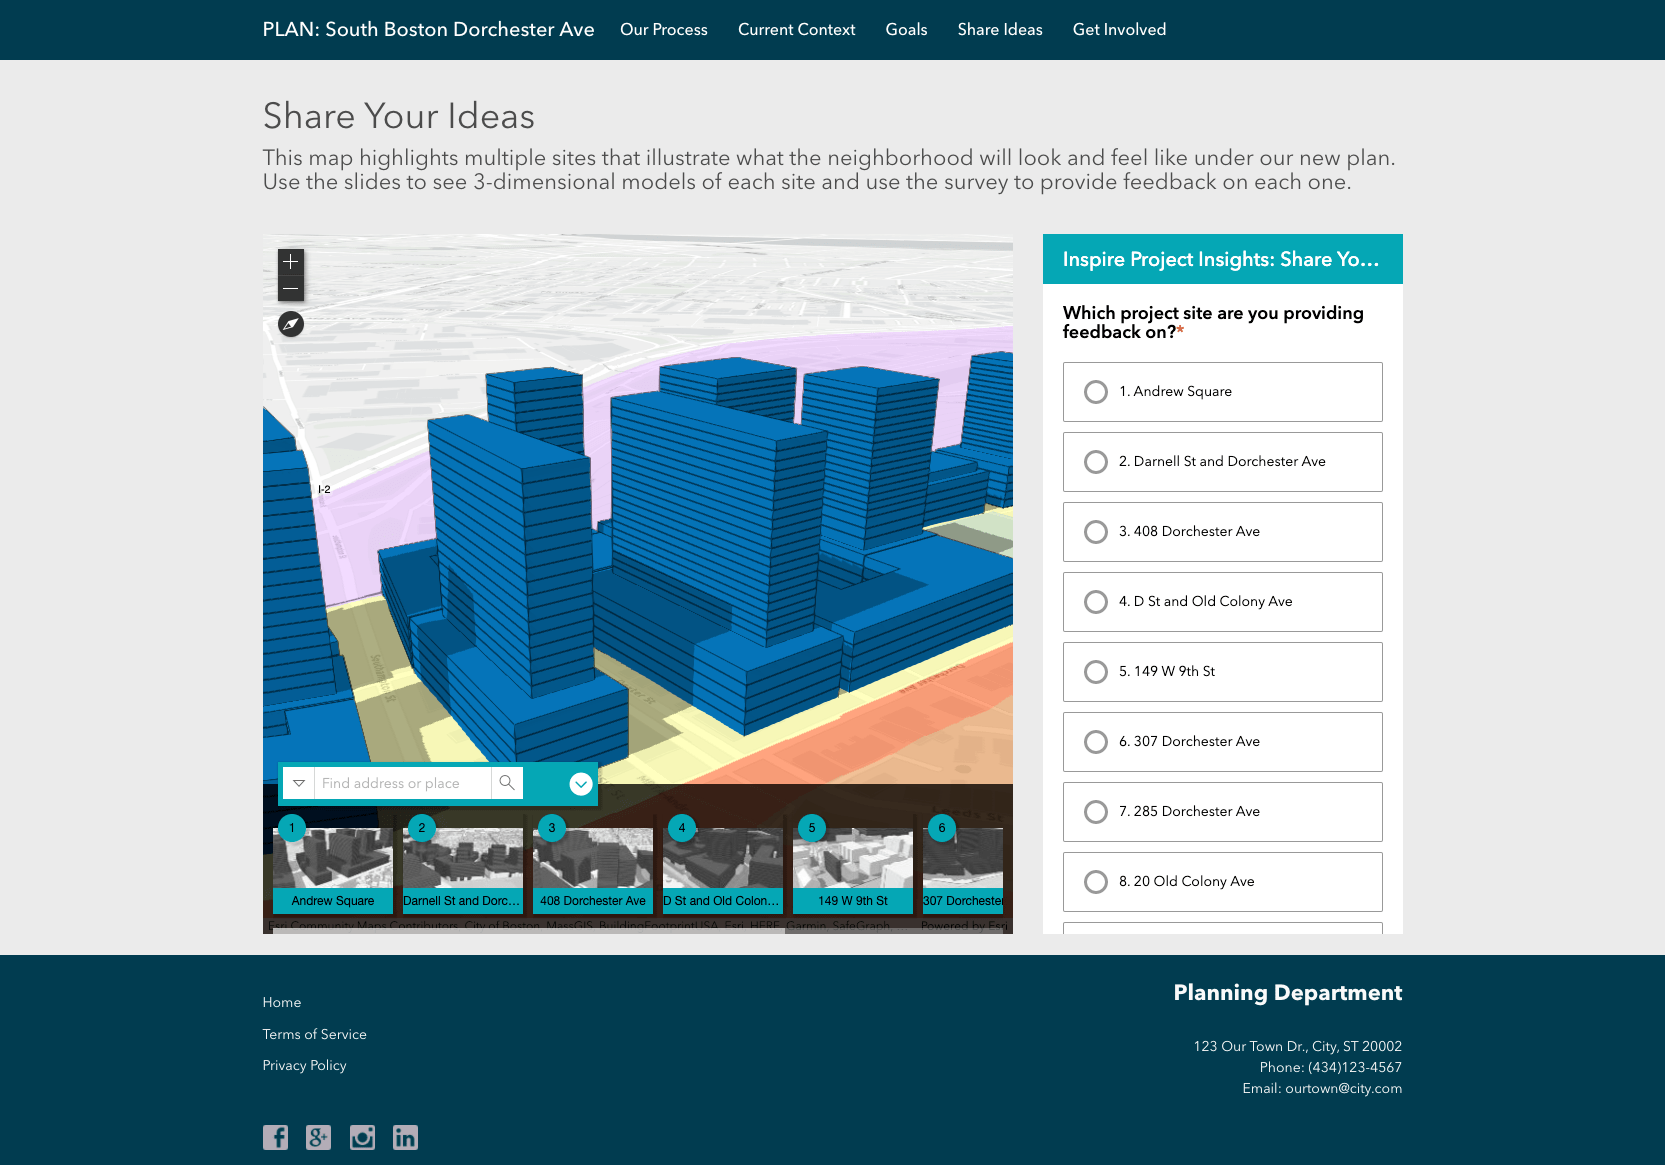
After you’ve created apps or StoryMaps, create a new page for each of these items. You can use the App card to embed the web app and story map you just created next to a configured Survey card as shown in the example below.
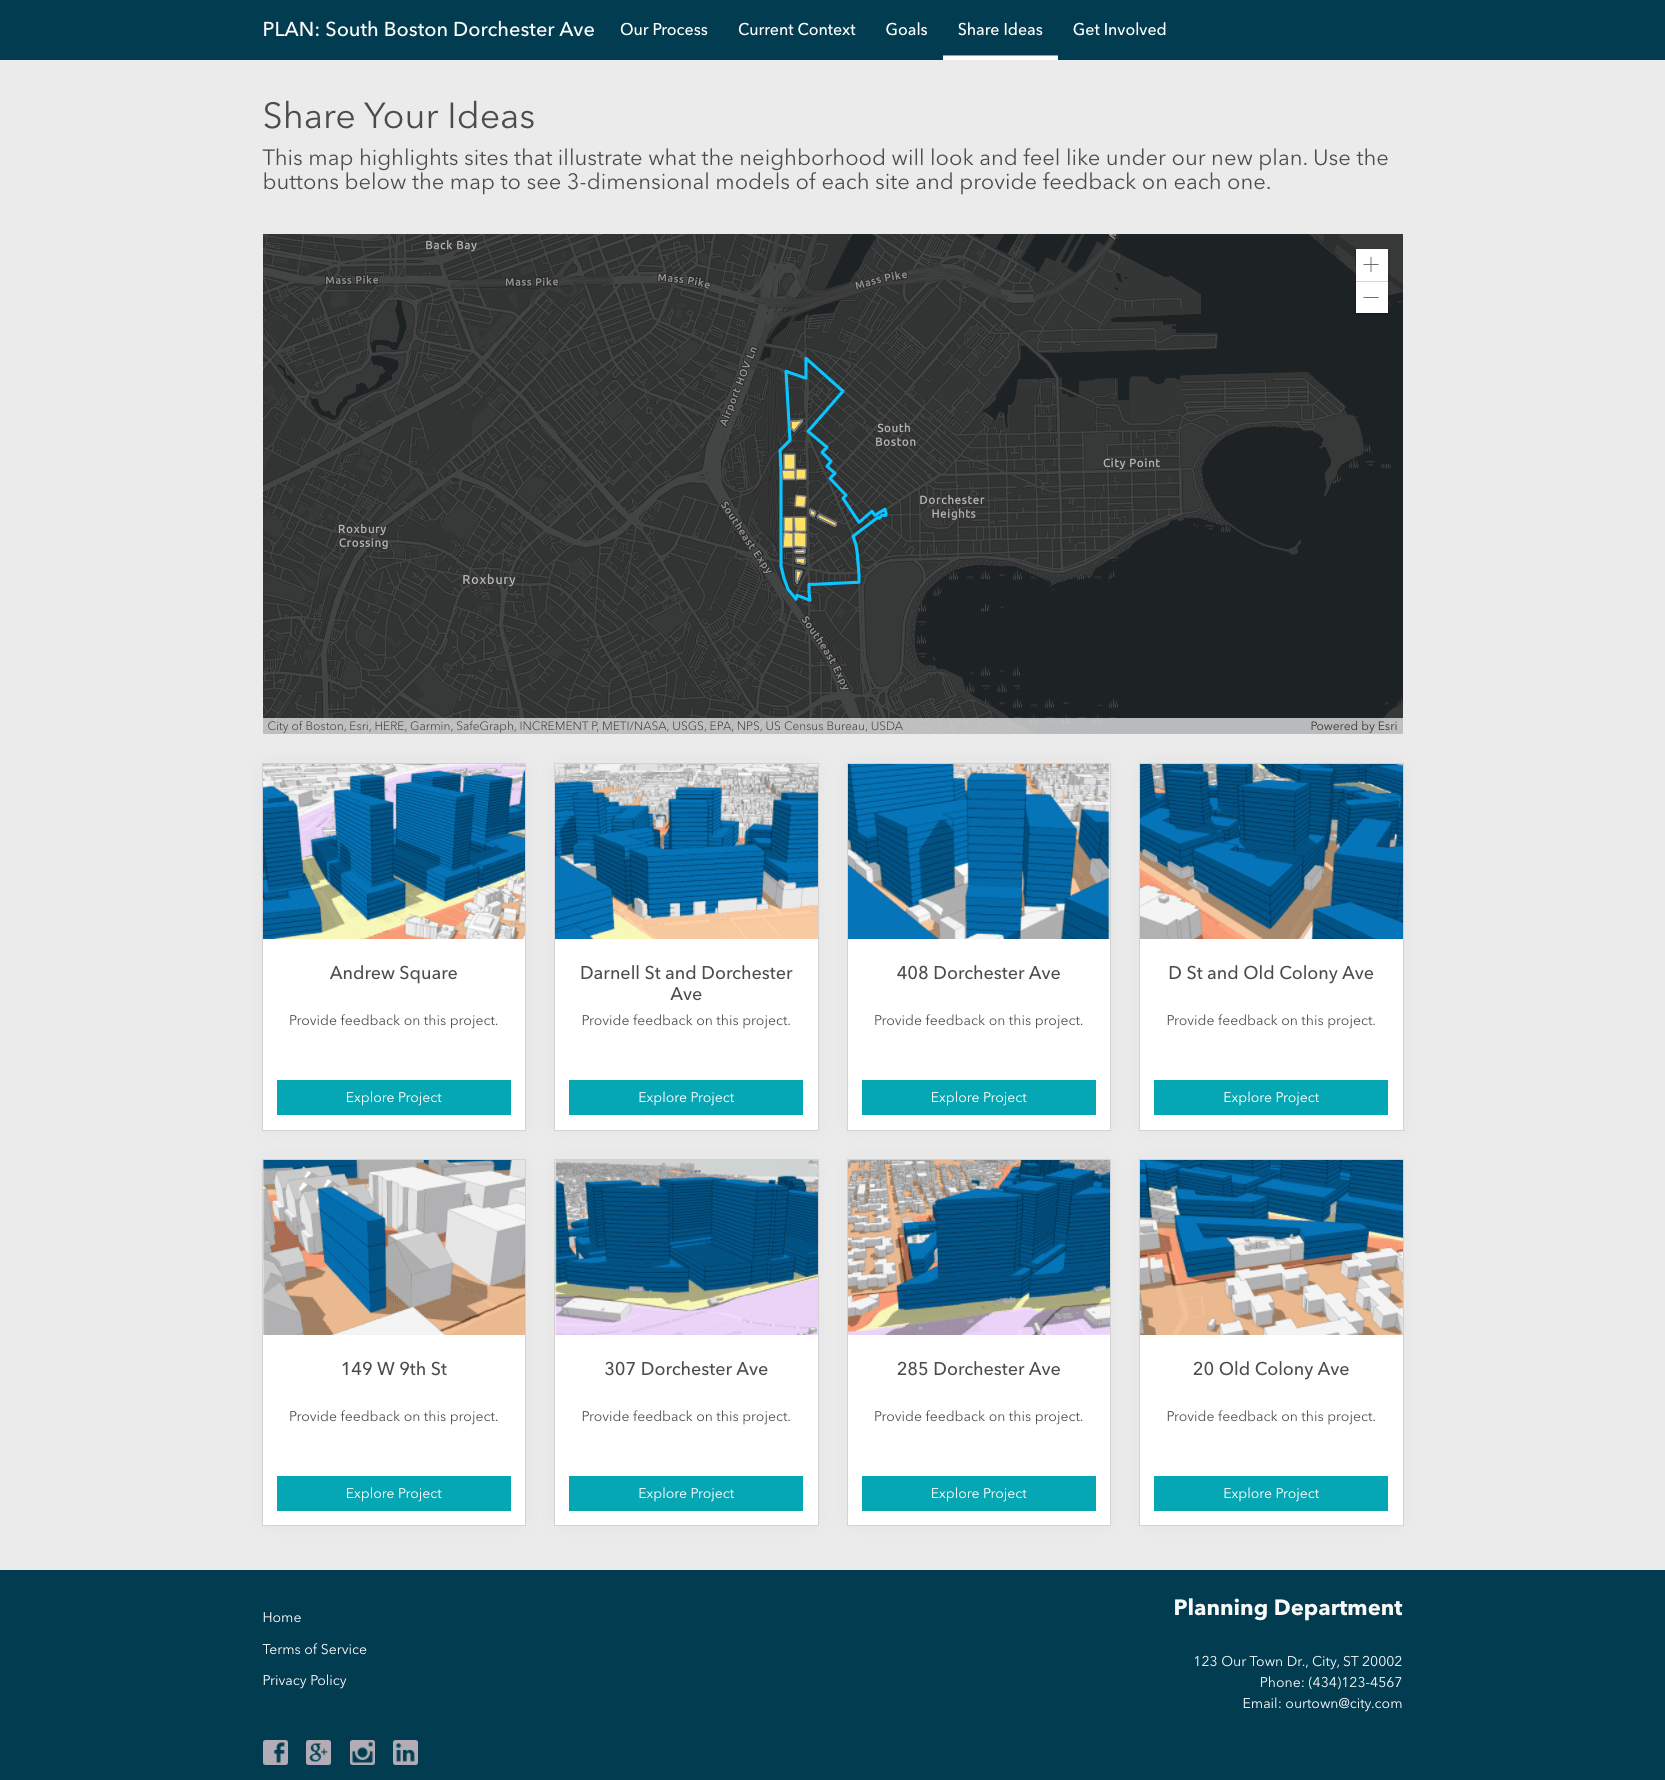
Once you’ve finished designing the layout of each page, you can add it to your Share Ideas page using a Gallery card.
Additional considerations
Your ArcGIS content, including your sites and pages, can be edited at any time, giving you the flexibility to make updates and enhancements as your project grows.
As your plan is finalized, for example, you may decide to modify the call-to-action from your homepage. You can also update content geared towards generating feedback with data visualizations showing how public comments impacted decisions about the plan.
To learn more, see the following resources:


Article Discussion: