Using multiple choice in forms allows editors to select multiple answers for a single question, opening up new possibilities for data collection in ArcGIS Online. While the questions are easy enough to add to a form, there are some important nuances to keep in mind. Understanding how this new input type stores, displays, and even ‘counts’ data can help you avoid surprises later. In this article, we’ll share 5 tips to help you get the most out of multiple choice.
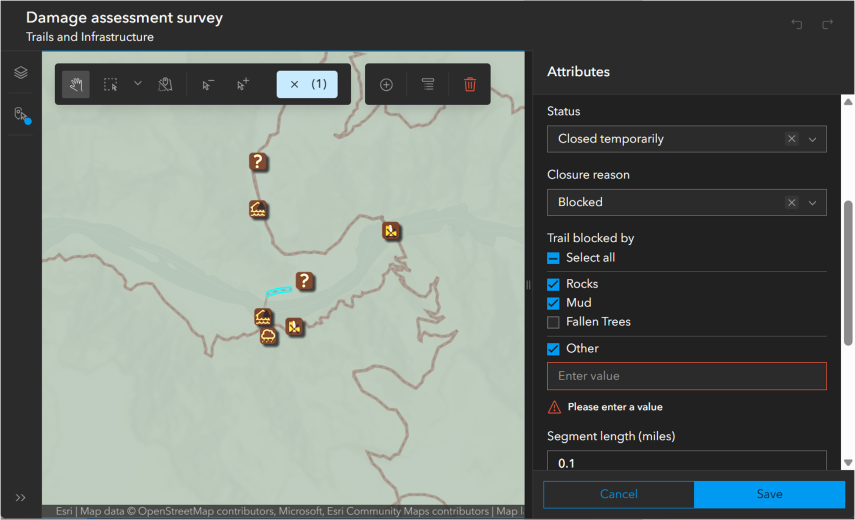
- Labels vs Codes: How Data is Displayed
- Reuse Multiple Choice Across Maps
- How Choices Drive Field Length
- Include Other: Custom Responses Made Easy
- Min, Max, and Required: How Validation Works
Take it further: DIY Other for Combo Boxes and Radio Buttons
1. Labels vs Codes: How Data is Displayed
Before you start building forms with multiple choice, it helps to understand how the values are stored behind the scenes. When an editor selects one or more choices, those are saved together in a single text (string) field.

Here are a few important details to keep in mind:
- Label: This appears in the choice list on the form.
- Code: Choices are stored using the coded value.
- Comma-separated values: When more than one choice is selected, they’re stored as a comma-separated list with no spaces (for example: 1,2,3).
- Why it matters: The way things display differs from what we may be use to seeing with other questionsm like ones that use a combo box for instance. With multiple choice, the labels appear on the form, while coded values are displayed in other places like tables and pop-ups.
- Example: A damage assessment form includes the choices Rocks, Mud, and Fallen Trees, represented by codes 1, 2, and 3. If an editor selects the first two choices, they’re saved as 1,2. When exploring data in the table, we see 1,2.
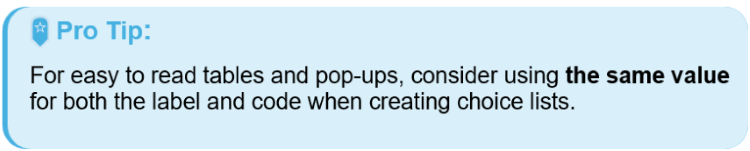
For an even more user-friendly pop-up, follow the steps in this article to transform comma-separated values into a clean list.
2. Reuse Multiple Choice Questions Across Maps
Unlike a combo box or radio buttons, the choices you configure for a multiple choice question aren’t saved to the layer as a domain. The choices appear only in the form in the map where you created it. Let’s look at how the field appears across the platform:
- Layer: Fields used in multiple choice questions appear as standard string fields with no associated domain or coded value list.
- Item details page: When you view the field properties on the Data tab, it looks like any other string field without a predefined list of choices. You’ll see the same thing in places like the table, or when configuring filters.
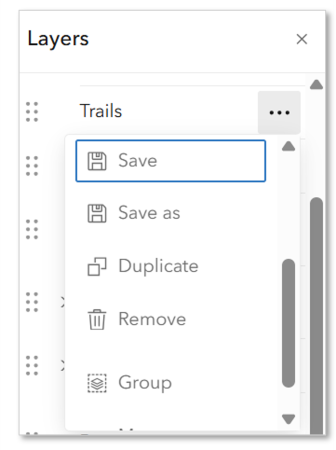
- Why it matters: While other choice-based questions store choices as a domain, multiple choice questions work differently. The list of choices is displayed the form, while the underlying field remains a standard string field. As a result, the field appears to have no predefined choices except inside the form. To re-use the same choices in other maps, save the form to the layer.
- Example: You create a form with a new field and configure it as a multiple choice question. When editing, editors see a list of available choices. However, when you view the same field on the item’s Data tab, it appears as a standard string field with no domain or coded value list.

3. How Choices Drive Field Length
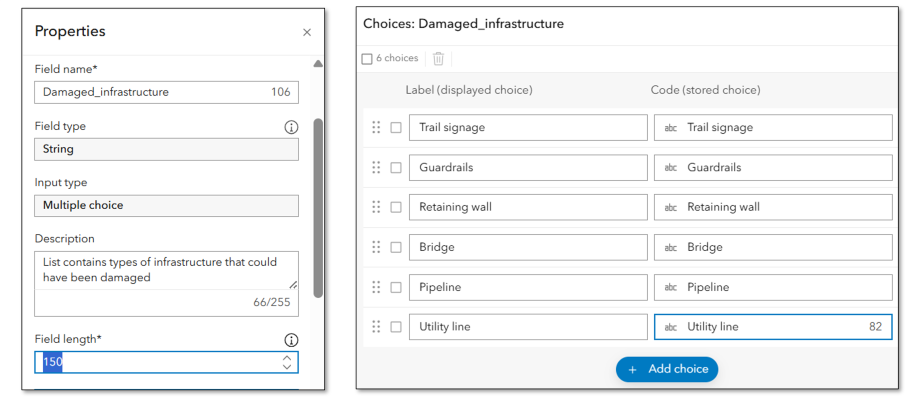
When configuring a multiple choice field, it’s important remember how the selected values are stored. Since multiple answers are saved in a single field, the field needs to be long enough to hold every possible selection at the same time. By default, the field length is 1000 characters. If you want to change the length, keep these things in mind:
- Field length: The field must be long enough to store all possible choices, plus commas.
- Character countdown: The character counter behaves a little differently here than it does for other choice lists. It adds up the length of the entire choice list, plus commas, rather than just the choice you’re currently entering.
- Why it matters: If the field length is too short to accommodate all possible selections, you’ll encounter errors when creating or updating the choice list.
- Example: With inputs like combo box, the field stores one value at a time. If the longest choice is five characters, a field length of 5 is sufficient. Multiple choice works differently because several values can be stored together in the same field.

4. Include “Other” option: Custom Responses Made Easy
Multiple choice is the only input type that offers a built-in ‘other’ option:
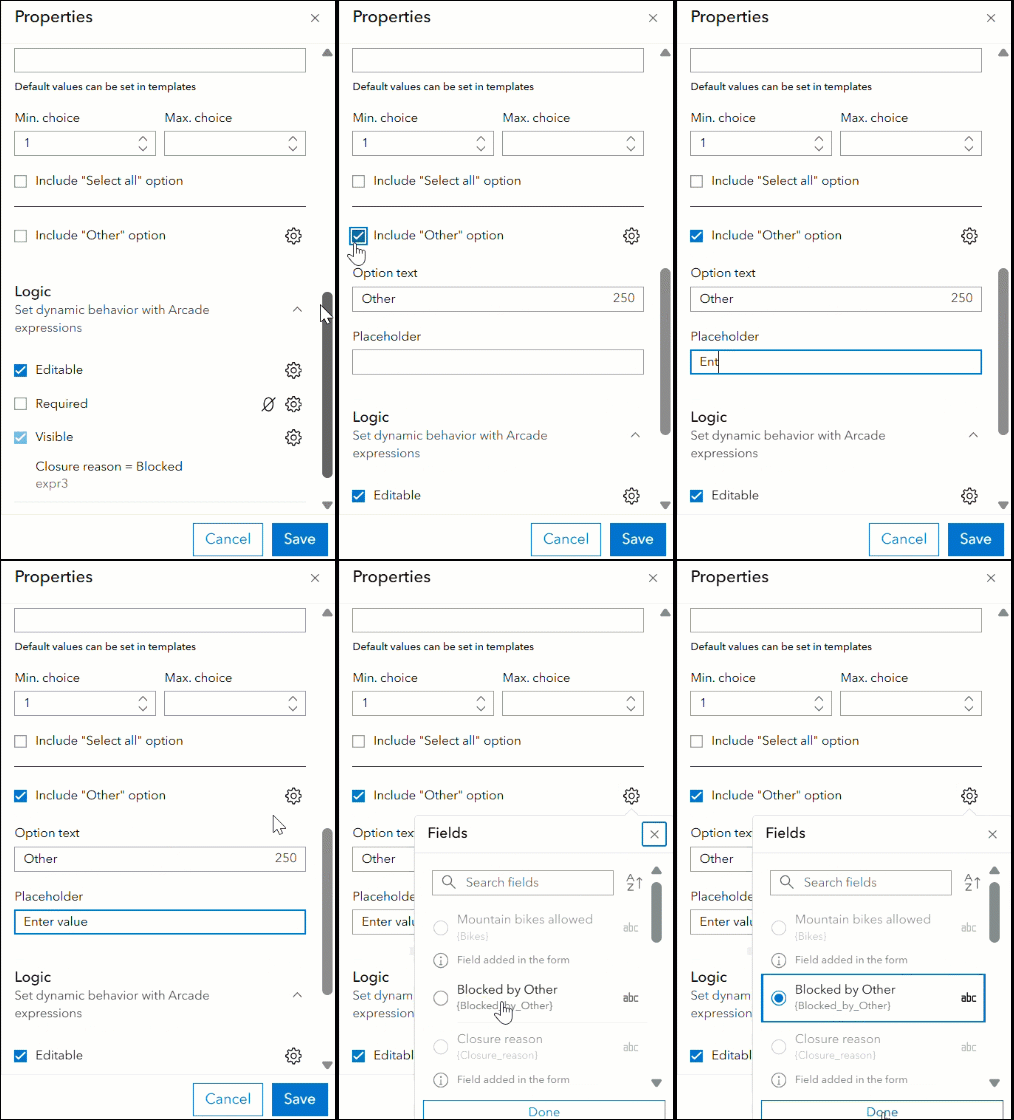
- How it works: Check a box to add ‘other’ to the list of choices. When selected, editors are prompted to enter a custom value.
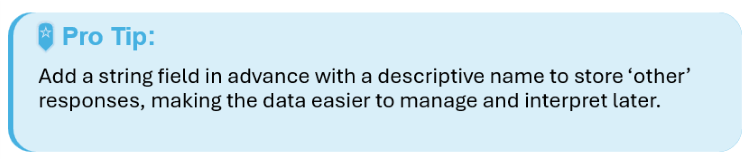
- Where it goes: The custom value is stored in a separate field. You can pick an existing field (from a list of existing string fields with no domains) or let ArcGIS Online create a new one.
- Required input: when they select ‘other’, editors must enter a value. It can’t be left blank.
- Why it matters: The built-in ‘other’ option provides flexibility without requiring additional form logic or conditional visibility settings.
- Example: Data collectors can choose what type of debris they observed from a predefined list. If the list doesn’t contain all the applicable choices, they can select ‘other,’ and enter a custom response, like ‘construction materials’.
5. Min, Max, Required: How Validation Works
You can control how many choices editors must (or can) select using the following settings. However, these settings behave a little differently here than they do for different questions. Let’s break it down:
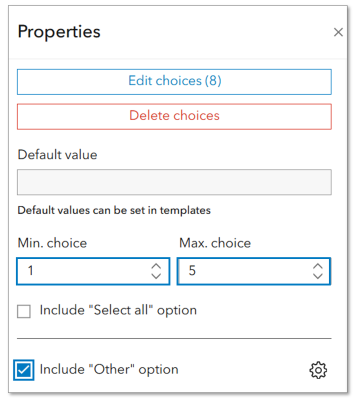
- Minimum: The fewest number of choices an editor must select.
- If the question is not required, the minimum only applies when the editor makes a selection. They can still leave the question blank and submit the form.
- If the question is required, editors must select at least the minimum number of choices before submitting the form.
- Maximum: The greatest number of choices an editor can select.
- Required: Makes the question mandatory. Editors must select at least one choice, or the minimum number of choices if a minimum value is specified.
- Why it matters: It’s important to understand how validation works so you can configure the form to match your intended workflow.
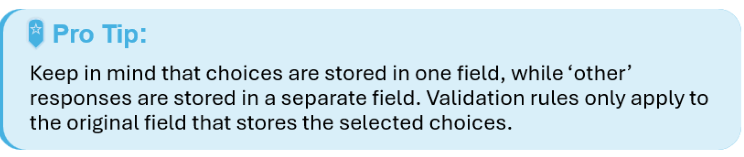
- Example: Suppose a question is required and includes the built-in ‘other’ option. An editor selects ‘other’ and enters a value, but leaves all listed choices unselected. The form will still require them to select at least one choice from the list before they can submit it. If that’s the behavior you want, make the field required. If not, then don’t.
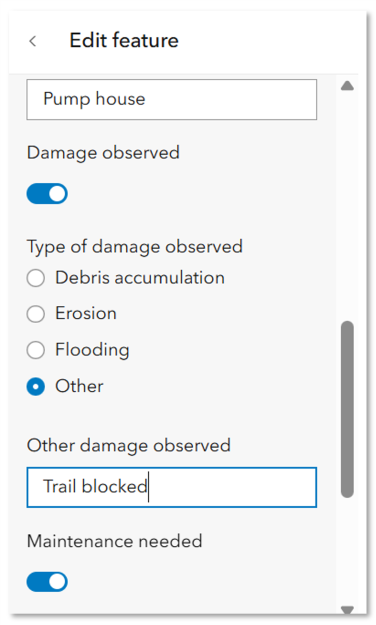
Take it Further: DIY ‘Other’ Values for Combo Box or Radio Buttons
While combo boxes and radio buttons don’t offer the built-in option we see with multiple choice, you can create a similar experience. Taking a few extra steps when you author the form will allow you to capture custom responses:
- Include ‘other’ in your list of choices: this will serve as the ‘other’ option.
- Create a custom field: Add a new text field to store custom values.
- Use conditional visibility: Set the new field to appear in the form only when ‘other’ is selected in the previous question.
- Make it required: By default, the field will only be required when visible. That way, when an editor checks the ‘other’ value, they’ll be prompted to enter a value in the input box that appears.
Summary
The multiple choice input type is a powerful addition to forms in ArcGIS Online. By understanding how the data is stored, putting some thought into choice lists, and leveraging the built-in ‘other’ option, you can create forms that are robust and user-friendly. And with a few extra steps, you can bring similar flexibility to different choice questions as well. We hope you gained some insights that will help you make the most of this new feature. As always, hop on over to Esri Community to share your feedback and ideas with us.







Commenting is not enabled for this article.