We all know that there isn’t always a data connection everywhere we go. However, there are assets to collect and observations to make everywhere. Collector understands this and enables you to get your work done independent of a reliable, or even any, data connection. Follow along, taking the steps below to try collecting data offline.
In this scenario, you are a gas company employee and you need to inspect service lines in Aurora, IL. No one needs to see your inspections immediately, so the protocol you follow is to work offline, syncing your changes once you are back in the office. You’ll take the area of the map offline, do your inspections, then sync your changes to make them available to others.
While you can go offline with Collector Classic, map areas created as part of the map in ArcGIS Online or ArcGIS Enterprise (such as the one taken offline in this blog) are only supported in the new version of Collector, available on iOS and Android.
- Open ArcGIS Collector and tap Try it.
If you’re already logged in, you’ll need to log out first to use the sample map shown in this blog. - Tap the Gas Network map.
You’ll see the areas available for download.
Note: While the images here were taken on an iPhone, these same steps can be followed on an iPad or an Android device.
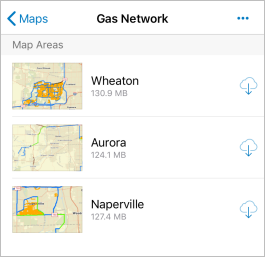
- Tap Aurora to download the map area.

- When the download completes, tap the map area again to open the map.
You can work with this map the same as you do any connected map in Collector. Being offline doesn’t change how you update the service lines.
(To see how this works when you’re offline, put your device in airplane mode before continuing.) - Tap Overflow
 , tap Bookmarks, and choose the Aurora bookmark.
You’ll see wellheads and pipes for the area. - Tap one of the sections of blue pipe.
(In reality you’d use your location and choose the pipe you were currently beside. However, since most of you won’t be in Aurora as you try this out, you can pick any section of the pipe you’d like.)
You’ll see some information about the pipe, including its status, material, and normal diameter. Since your organization associates the report on each inspection with the pipe, there is a Related section at the bottom of the details.
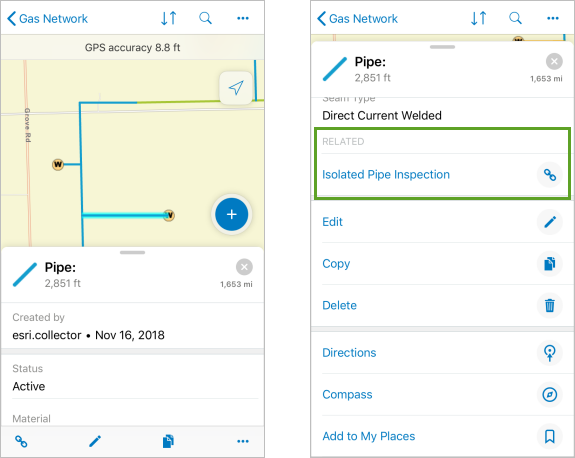
- In the Related section, tap Isolated Pipe Inspection to see the existing inspection reports, if any exist for the pipe you’ve chosen.
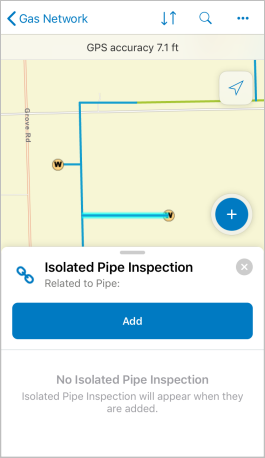
- Since you’re doing an inspection, tap Add to associate your own inspection with the pipe.
- Fill out your inspection report, including your name as the inspector, today’s date, and making sure to include any required maintenance.
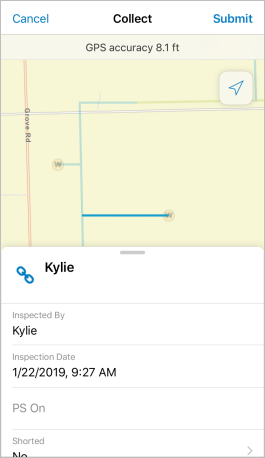
- Tap Submit (iOS) or the checkmark (Android) to save your report.
Although your report is now submitted, it is only on your device and is not yet available to those in the office. Continue with the rest of your inspections. - Tap Sync (
 on iOS,
  on Android) to review your inspections. You’ll see the list of inspections you have completed. Tap one of your pending edits to review it, then close the inspection form.
Tip: Use the X in the panel to close the form on iOS. On Android, use the hardware back button or, if no hardware back button, swipe right on the panel.
Once you are done with all your inspections, head back to the office and sync your inspections to share them with others. (If you put your device in airplane mode while following these steps, make sure to turn it off since syncing requires a data connection.)
- Still reviewing your inspections in the Sync panel, tap Sync to upload them.
(If you’d already closed the Sync panel, tap Sync again to reopen it.)
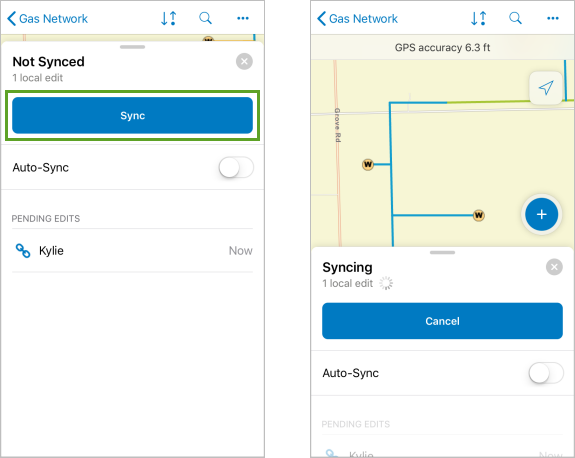
- Close the Sync panel.
Tomorrow you’ll be inspecting in Naperville and won’t need the pipes in Aurora to be on your device, so you can delete them.
- Tap Back < to return to the list of map areas.
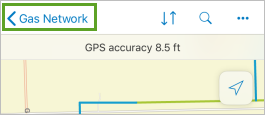
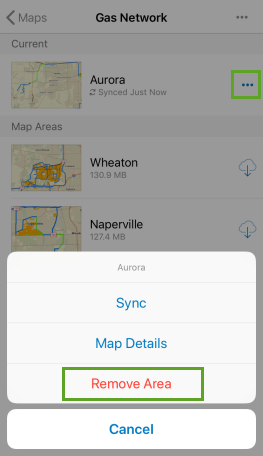
Since you synced your changes, you’ll see that the map is synced. If you had outstanding edits, you’d see that information on the card for Aurora.

- Tap Overflow
 for Aurora and choose Remove area. Confirm you are done working there and want to remove the downloaded area.
If you are working in both Naperville and Aurora the next day, just download Naperville. You can have multiple downloaded map areas on your device.
Ready to create your own map to take offline? Make sure your map meets the offline data requirements. For your users to see map areas to take offline in Collector, you (as the map owner) can create map areas as part of the map in ArcGIS Online or ArcGIS Enterprise.



Commenting is not enabled for this article.