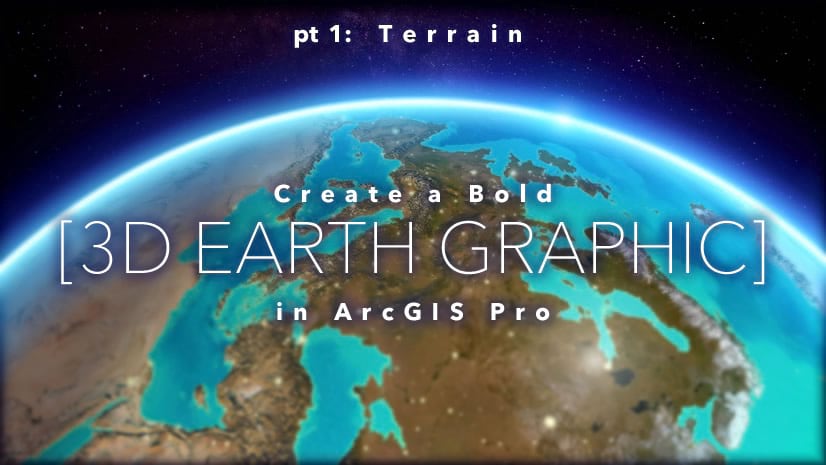
If you watched the 2023 User Conference plenary, you may have seen some gigantic globe animations in the video segments between each act. These were made in ArcGIS Pro using ArcGIS Living Atlas content. Here’s how to make an interesting looking globe and how to animate it.
Globe Assembly
There is a host of geographic content awaiting you in ArcGIS Living Atlas, begging to jump into your globe. In this example, we’ll pile up layers and adjust their appearance to suit our design goals.
Here we are in ArcGIS Pro with a global scene and a World Imagery basemap. We could stop right here and have a great animation. But we won’t stop here!

To boost the tactile charm of our globe, we will apply a generous vertical exaggeration. How much or little to exaggerate is up to you, but for a full-globe small-scale animation, consider cranking the exaggeration way up. In this case we’ll go with 40x. That’s right, 40!

Time for some handsome atmospheric perspective. In the Properties panel, we’ll activate the “atmospheric effects” option from within the Illumination tab. This gives our globe a sense of scale and reality by fading in a haze effect along the horizon and nestled within lower elevations.

Next we can boost the beautiful imagery basemap with some colorized land cover classes. We can search ArcGIS Living Atlas for the Sentinel-2 Land Use Land Cover imagery layer.


To retain a sense of realism for our globe, we can tweak the colors of some of these classes. We’ll lighten the blue of the water, change the red urban areas to a light gray, and give rangeland a deeper hue.

And then these land cover classes get blended into the imagery using the Soft Light blend mode.

Time to give the oceans some pop; we’ll add the Bathymetry Light vector tile layer from ArcGIS Living Atlas…

…and give it a Soft Light blend mode.

Globes can benefit from interesting and bold hillshading, so we’ll add the Generalized Terrain & Bathymetry Hillshade layer from ArcGIS Living Atlas…

…and give it a Color Burn blend mode, to deepen the textures and give our globe a sense of drama and contrast.

Lastly, it’s time to paint a small portrait of ourselves in this globe by adding a World Cities point layer from ArcGIS Online. To make them look like twinkling lights, we’ll give them a radial glow symbol and drag them into the 3D Layers section, so they float on the surface of the globe.

And there we have it! A fun and interesting globe ready for whatever animation adventures you throw its way. Of course your globe doesn’t have to look like this, it can have whatever appearance you prefer for your animation. But it’s fun to see what’s possible.
Animation
A slowly-spinning globe is one of the easiest types of animations you can create in ArcGIS Pro – they’re also fun and mesmerizing! Once you’ve compiled your globe’s layers and effects, there are only a few animation elements to configure: screen resolution, camera elevation/angle, rotation path, and rotation speed. We will use a standard 1080p HD output (1920 x 1080 pixels) for this animation, framing the spinning globe in the center. Here are the steps:
1. In the View tab of the top ribbon in ArcGIS Pro, select the Add button to start a new Animation.

2. The Animation Timeline will appear below the scene view. Click on the Create first keyframe button in the middle. (Don’t worry about how the globe is framed yet.)

3. A single keyframe will be added to the timeline. Right-click on the highlighted frame in the Keyframe Gallery and open the Animation Properties tab, then expand the Camera section, if necessary.

4. The Animation Properties tab on the right shows the current camera attributes at the moment the keyframe was added to the timeline. Type in new camera values so that the animation begins at 0 latitude and 0 longitude:
- X: 0
- Y: 0
- Z: 20000000
- Heading: 0
- Pitch: -90
After you have entered the new values in the Camera section, double-click on the active keyframe in the Keyframe Gallery to refresh the scene view and confirm the changes. The globe now starts centered on the equator and prime meridian.

5. Use the plus sign (+) in the Keyframe Gallery to add three additional keyframes, one at a time, then adjust their individual camera attributes as was done in the previous step. (Only the X values should need to be changed, as the Heading, Pitch, and other values will carry over.) You will now have 4 keyframes, with the following camera settings:
- Keyframe 1: [X: 0; Y:0; Z:20000000]
- Keyframe 2: [X:-120; Y:0; Z:20000000]
- Keyframe 3: [X: 120; Y:0; Z:20000000]
- Keyframe 4: [X:0; Y:0; Z:20000000]
When complete, double-click on each keyframe in the gallery to confirm it rotates west 120 degrees incrementally, finishing back at the 0-degrees prime meridian. Note that the minimum number of keyframes to rotate a globe the full 360 degrees is four: a start/finish, two intermediate keyframes to dictate the direction of the rotation (in our case, westward), and a final keyframe to return to the start/finish.

6. With the keyframes in place, the rotational speed of the globe is set by adjusting the duration of each keyframe, in seconds. Between 30 seconds and 60 seconds per rotation is a good range to be in. Do this by selecting all the keyframes in the Keyframe Gallery (hold the shift key, click on frame 1, then click on frame 4 to select all). In the Keyframe Properties window on the right, set the keyframe Length to 15 seconds, for a Total animation length of 45 seconds.

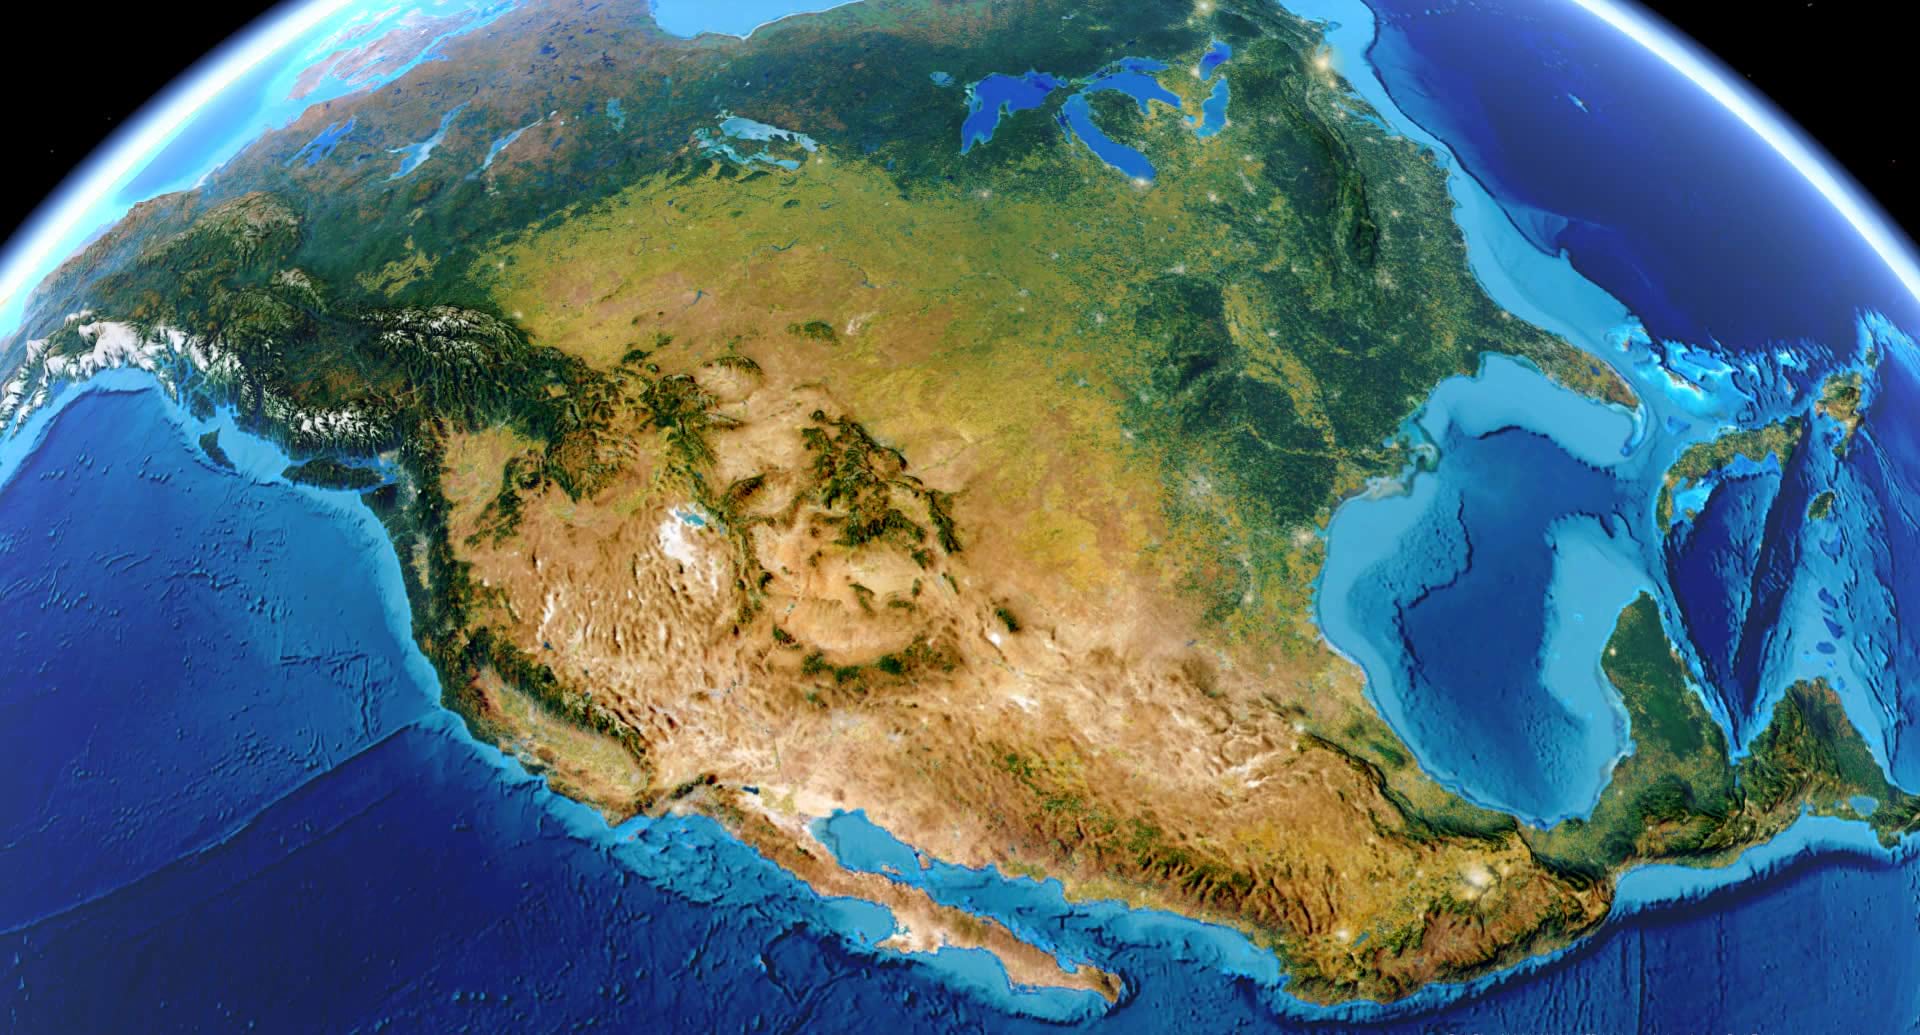
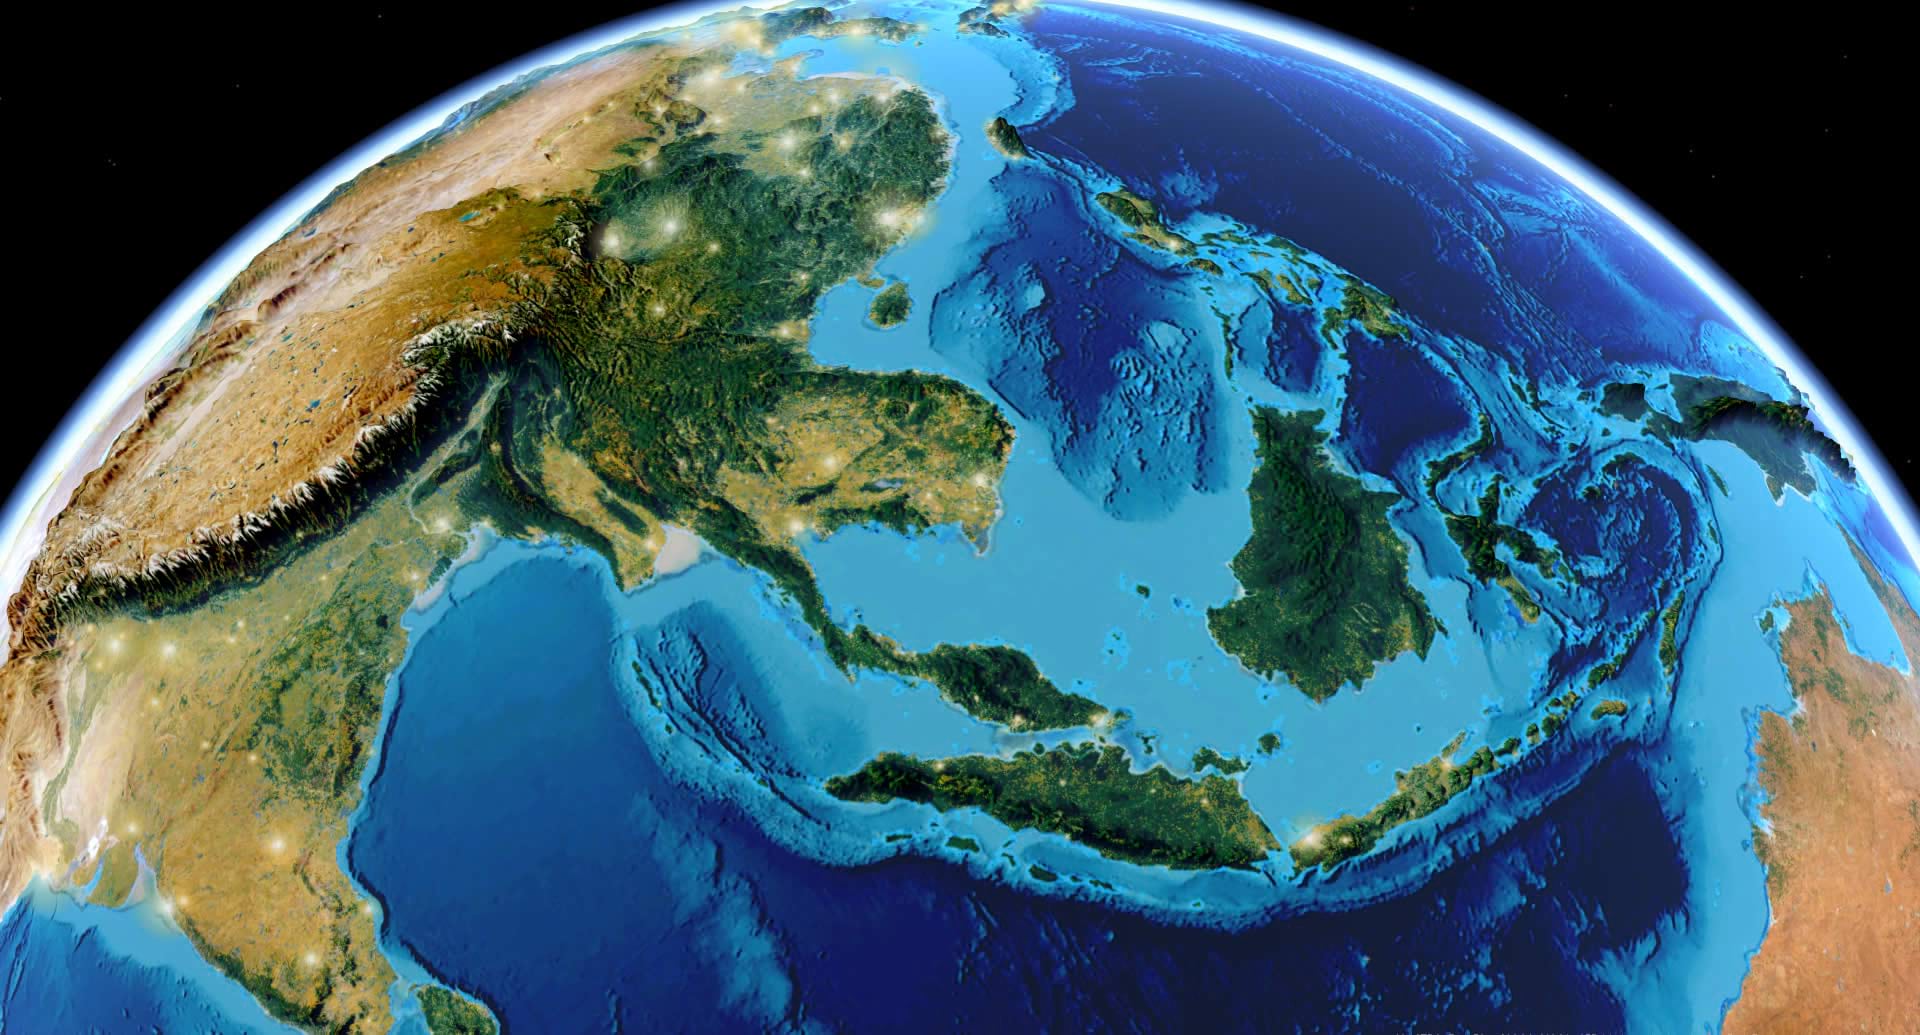
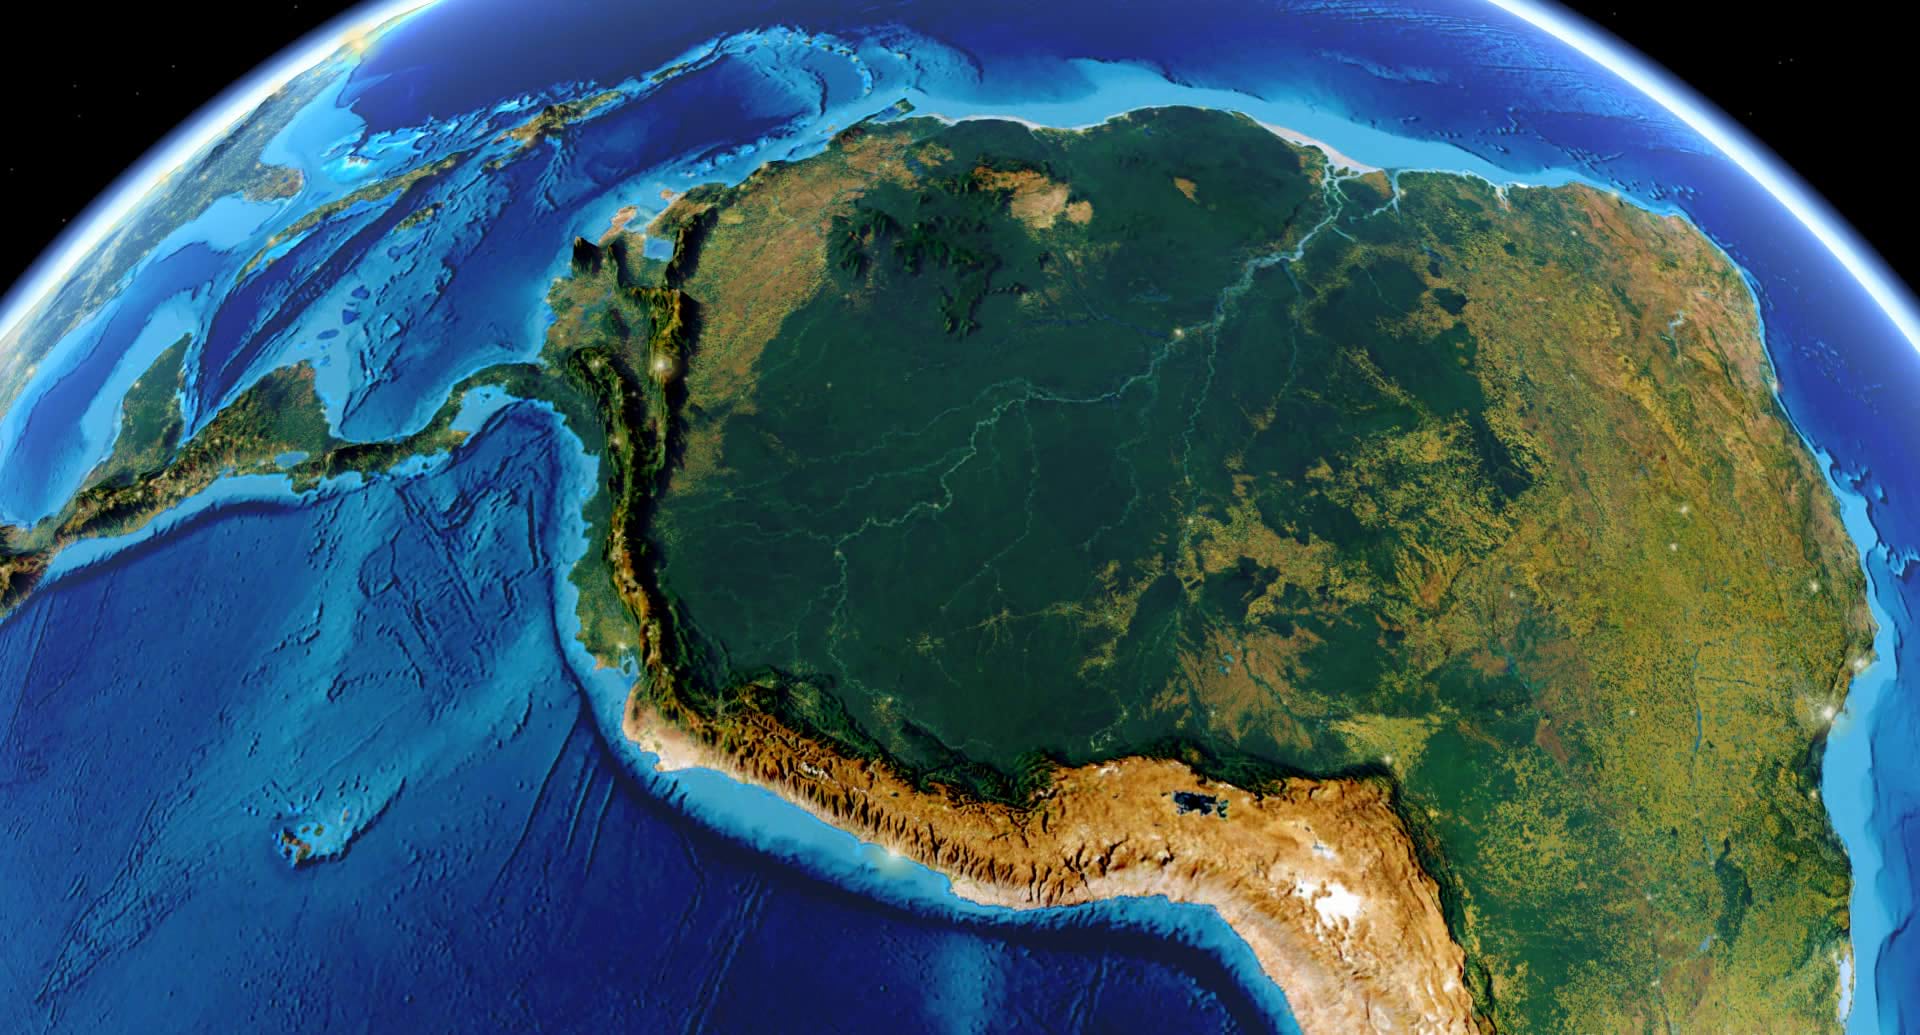
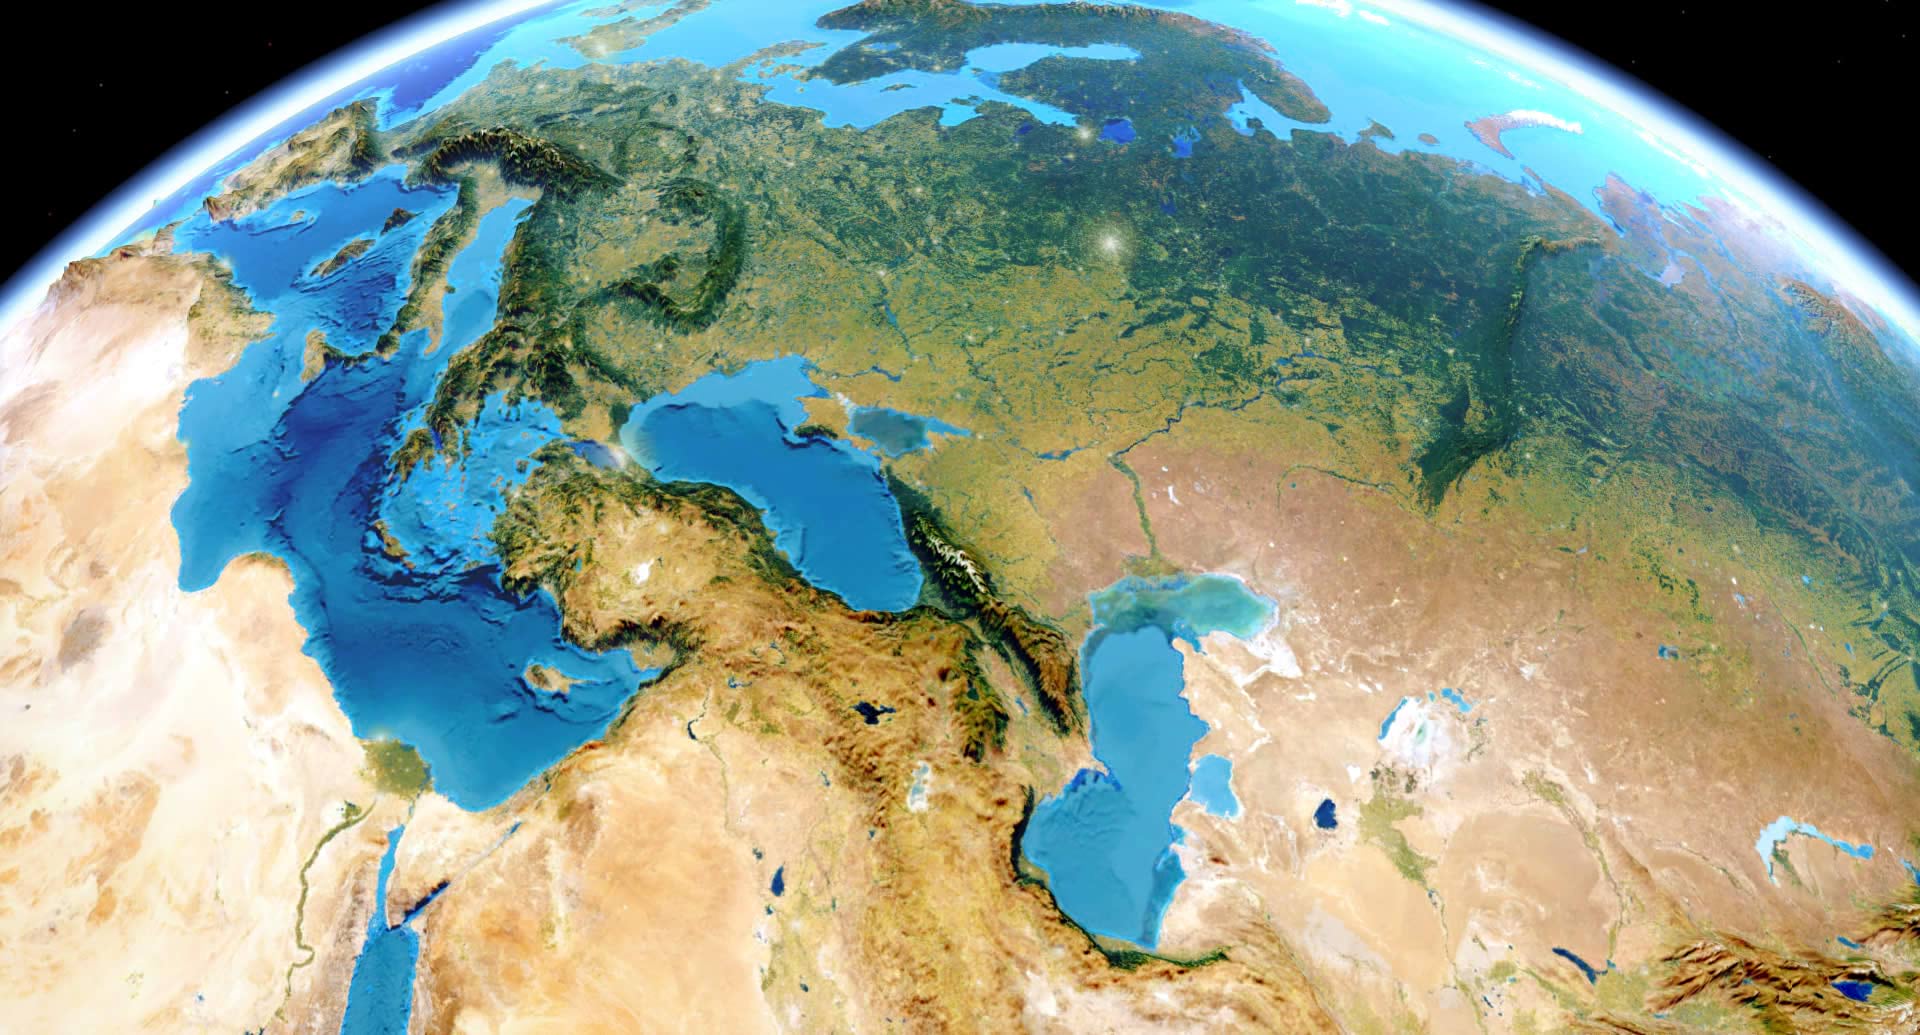
For reference, this is what four different globes look like when they complete a full revolution somewhere between 30 and 60 seconds. Pick your favorite!
7. The final step is to export the animation: click the Movie button in the Export section of the top Animation ribbon, then specify a File Name (your choice), Media Format (.MP4), and Resolution (1080p HD) in the Export Movie tab on the right. In a few minutes, you’ll have a rotating globe animation of your own!

For stage-ready, buttery-smooth animations, try using 60 frames-per-second, and 4K output resolution (3840 x 2160 pixels), which will look great on a large-format screen in front of thousands of users. (Note that the maximum export resolution is currently 4096 x 4096 pixels – anything larger than that will be clipped.)
Beyond the Basics
Once you have the fundamentals of a spinning globe figured out, you can start to play around with other perspectives, or highlight regional details in your global datasets that are lost in a high-altitude orbit. Try these variations on the basic rotating globe:
Equatorial Low-Orbit
Getting the camera position a little lower to the ground will help to show off the terrain and your data, and is a minor change to the default rotating globe parameters. Use the same four keyframes with the same X & Y values, but adjust the Elevation (Z), Heading, and Pitch slightly:
- Z: 5000000
- Heading: -90
- Pitch: -69
For any low-orbit flyover, you will want to slow the rotation speed by at least 2x or 3x to compensate for being at a lower altitude. Using 40 second keyframe duration (2 minutes for a full rotation) will keep the speed slow enough that you can see the surface details without feeling rushed as you fly over it.
The data shown in this animation comes from the Global Earthquake Archive in ArcGIS Living Atlas. This rich dataset of all earthquakes over magnitude 4.0 since 1900 was summarized by frequency within hexagonal bins, then extruded to show areas of extreme seismic activity.
Sunrise and Sunset
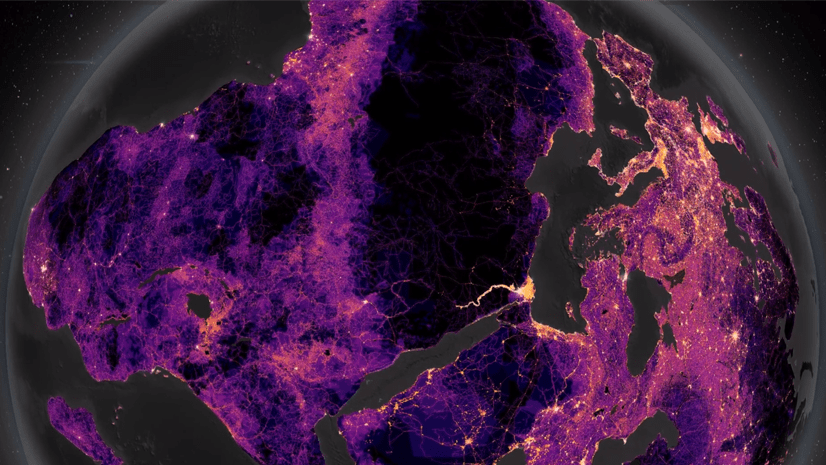
An under-utilized animation effect in ArcGIS Pro is to set the date and time of the scene to a specific time zone – by default, the sun follows the current camera location at noon. Embracing the diurnal day/night cycle can create a dramatic reveal of a continent or region as the sun rises above the horizon, then sets. In this example, we’re showing the World Terrestrial Ecosystems layer, which you can also find in ArcGIS Living Atlas.
Using a variation on the equatorial low-orbit approach, this animation hugs 45 degrees north latitude instead of the equator, and sets the current time to GMT, which plunges much of the Pacific Ocean into night, followed by a sunrise slowly unfolding as we arrive at Japan Asian continent. Adjust these keyframe values from the default rotating globe to achieve a 45 degree latitude rotation:
- Y: 45
- Z: 1600000
- Heading: -90
- Pitch: -50
To configure the scene’s time, open the Scene Properties, change the Illumination defined by settings to 12:00pm at GMT, and be sure the Show stars and halo option is enabled, so you can see the warm hues gradually takeover the sky at dawn.

Similar to the previous low-orbit animation, a keyframe duration of 40 seconds is used. The slow, lop-sided roll, in combination with a terrain exaggeration of 10x, adds to the visual drama.
Animating a Time-Series
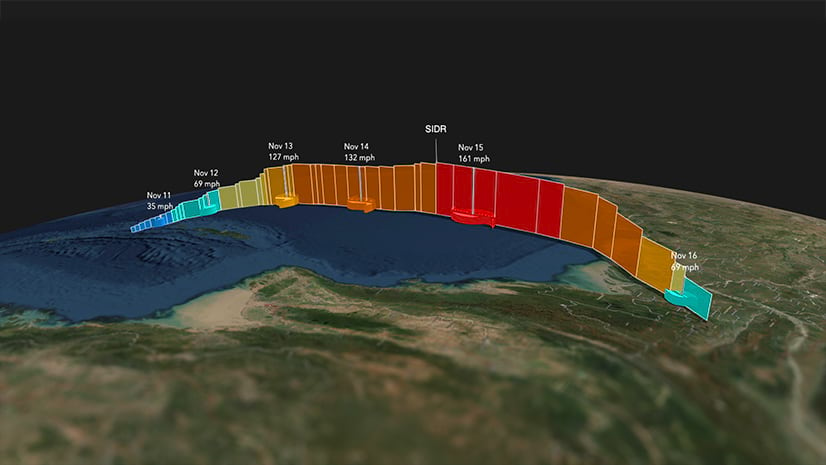
Spinning globes with static datasets are very soothing, but animating a time-series dataset on top of that ups the stakes. In this example, GEOS-FP hourly wind speed data from the NASA Center for Climate Simulation shows the extraordinary wind patterns of the Atlantic hurricane season in September 2022, culminating with the destructive Hurricane Ian at the end of the month.
This animation departs from the standard 4 keyframes and instead uses the temporal density of the wind speed data to define the number of keyframes. Also departing from an equatorial rotation, this animation uses a polar orbit, rotating from the South Atlantic (-45 latitude) to the North Atlantic Ocean (+45 latitude) over the course of a month.
Final Tips
Once you know how to make a simple animated globe, there are some additional techniques you can employ to take things to the next level – or just make your life a little bit easier along the way.
In the “make it easier” category is the ability to see the path of the camera as a 3D line in the scene view. On the left side of the Animation tab in the top ribbon, click on the Path drop-down and select Path and Keyframes. Zoom out a bit and you will see a line showing the orbital path of the camera, along with any manually-placed keyframes. As you click through the keyframes in the Keyframe Gallery, the corresponding keyframe and path segment will light up:

Complex animations can take many hours to export over 12 hours for some of the examples shown above at 4K resolution and 60fps. Doing a quick visual check to make sure the camera path and keyframe locations look right before exporting can save you a lot of time.
The next tip is handy if you want to bring your animation into a 3rd party video editing software to apply custom background effects – maybe a distant nebula, or the northern lights. To create a “green screen” background that can easily be keyed out, open the Scene Properties and change the Background Color to the color you want to remove. Green (#00b140) or blue (#0047bb) are common chroma key choices, but many of our globe layers just happen to be heavy in those two colors, so feel free to choose red, or another hue that isn’t found in your globe’s palette. After selecting the color, go to the Illumination tab and disable the Show stars and halo option.

Often times, you may find that using a plain white, black, or grey background is the best way to showcase your data without any star fields, halos, green screens or other distractions. Feel free to experiment!
Closing
From assembling to animating, making to moving, cartography to cinematography—whatever you like to call it—we hope to have piqued your curiosity, and maybe even given wings to your globe spinning gumption. Creating a custom animated globe can be a lot of fun and the results are revealing, and often stirring. Have fun breathing some kinetic energy into your next project!


Article Discussion: