In prior roles I worked on preparing maps for publishing and printing, becoming something of an expert. Since joining Esri however, my role has changed. These days my work is with online, multi-scale and interactive mapping, and it’s rare for me to work with any form of printed product.
It did happen recently though, when we were asked to build a set of USA State-based topographic and thematic maps in very short order. Because of our deadline, it made sense to try and leverage the assets we had on hand: Online maps in the Living Atlas. My focus was on the basemap components.
There is a hurdle. Printed maps are content-rich – They need to be! That one static view must carry all the relevant information. But our basemaps are multi-scale, which means that we clear the information out as much as possible because we can introduce it again at larger scales (In this blog I talk about the differences between the two environments, focusing on moving in the other direction – from print to online).
So how do we get around this?
(Note that reference scales in ArcGIS Pro do not work on basemaps).
Adjusting the build-scale
There is one easy way – build a bigger map! By constructing your map at twice size (or any other enlargement that makes sense), the basemap will come in at a higher zoom level. This will give you you that extra information
Here is the Human Geography basemap at size (left), and exported at twice-size, then reduced (right):

So now we have much more information, but there is a new problem – symbol size. When the map is reduced, the map symbols, and more importantly the map labels, are half of the size they were before. Fortunately, the Vector Tile Style Editor (VTSE) offers a solution, by allowing us to change some of these, including label sizes, quickly.
Adjusting Label Size
Open the basemap into the VTSE, and save a copy into your account (In the case of the Human Geography Basemap we are working on the ‘Label’ layer). We are going to increase the size of the labels, so that (at the selected scale) we have no labels smaller than 6pt.
There are three ways of achieving this:
The Quick Way
In the ‘Quick Edit’ option, use the Label size ‘Larger’ button to increase the size of all labels proportionally. You will need to hit it more than once (the tool is designed to make fractional changes). The number of times will depend on what you want the final result to be. It may take around 15 hits to double the size of the labels.
Don’t be concerned if the results in the VTSE look gross. It will adjust in the final layout. You may have to take a few passes at it before you are satisfied though.

Adjust by Group
This will give you a bit more control. Go to the ‘Layer Styles’ option, and you will find that the same ‘smaller’/’larger’ buttons are now available at all group/folder levels. So, for example, select the ‘Populated Places’ group to make proportional adjustments to just city names.

Adjust by layer
Ultimately you can control the whole process by adjusting each layer individually, but it’s a heavy lift! I tend to start out with the quick editor to establish the overall change. Then I’ll go to groups to make relative adjustment between different features. Lastly, I’ll go into some individual layers for fine tuning. The fine tuning may include removing some label layers to free up space or to avoid collisions.
The rest of the basemap.
The Quick Editor includes a ‘narrower/wider’ option for road widths (It is also available for any group folder that includes ‘cased’ (multiple line) roads). You may feel you need to make some changes to these as well (For the Human Geography basemap, make changes to the ‘Detail’ layer). Adjustments to other symbols will need to be applied to individual layers.
Exporting
If you export to a raster format keep the resolution high so that the labels maintain their form. For our project (built in ArcGIS Pro) we exported at 300dpi, giving a final resolution of 600dpi when reduced. Export to pdf if you want to maintain vector information. A warning though: If you use transparency or filters on your basemap it may rasterize anyway.
If you have access to ArcGIS for Adobe Creative Cloud you can export as AIX and do some editing afterwards in Adobe Illustrator.
Here is the result (before, left / after, right):

Finally…
Take a good look across your basemap to make sure that you haven’t introduced anything unexpected. You may find some label overlaps, and you will have to decide how important that is to you. Be careful if you adjust the ‘roads’ label group. It may include road shields, and you will need to adjust the shield backgrounds separately
Remember that you are adjusting a basemap for use at one scale (or across a small scale-range if you are creating more than one map). It may be that the adjustments you make will break down at other scales, so don’t assume that your final product can be used as a functioning multi-scale basemap.
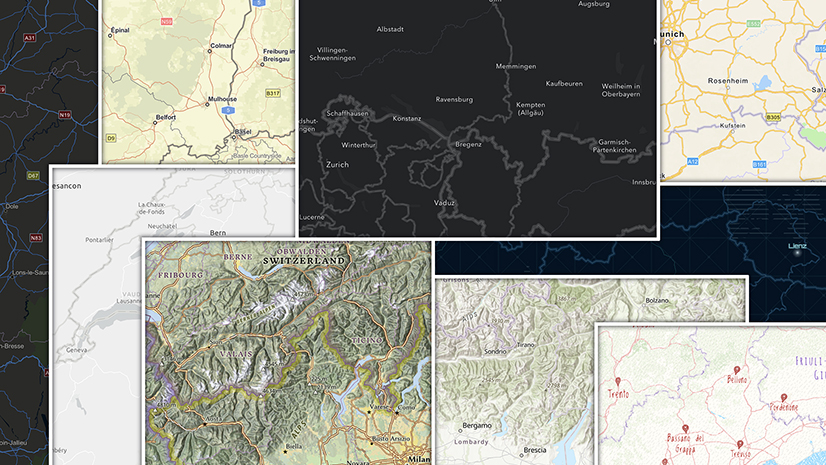
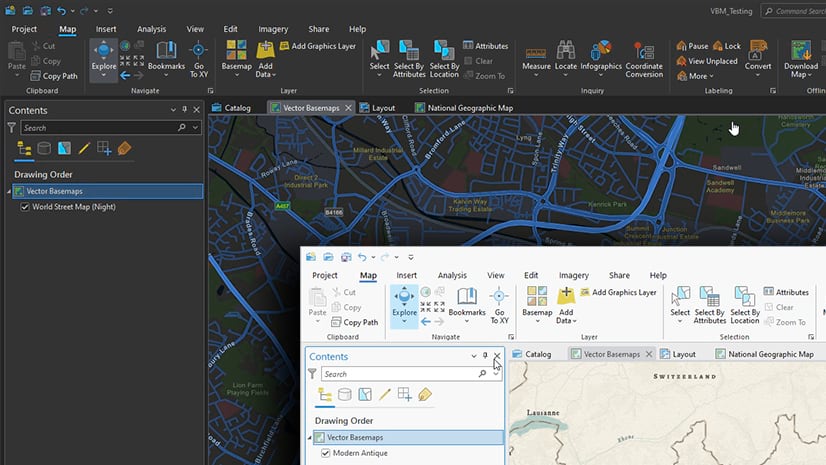
For our project, we used an adjusted version of the Human Geography Basemap as a background for thematic maps, with a masking layer for other States. As an introduction, we used an adjusted and masked version of the National Geographic Style basemap to create an attractive topographic map:


Article Discussion: