As we wrap up 2026, we’re taking a moment to look back and reflect on improvements to editing workflows in Map Viewer. In this article, we’re rounding up our top 10 tools that help you edit data faster and smarter, from time-saving shortcuts to game changing drawing tools. Whether you’re adding new features or updating existing data, these tools, tips, and tricks will help you start the next year strong. Keep reading to discover our top 10, and follow the links to learn more about each one.

Data Collection Essentials
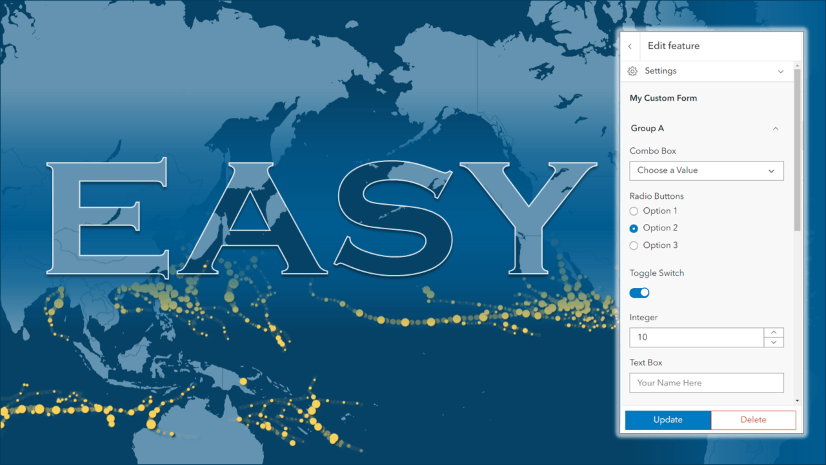
Let’s start with some essentials that work hand-in-hand to make data collection quick and painless: forms and templates.
Forms
Over the past year we’ve added some major enhancements to forms, including these three new features:
1. The Attachment Element: The new attachment element gives you more control over file uploads. Place the element anywhere on the form and set constraints such as file type, maximum size, or the number of attachments needed. You can add multiple attachment elements throughout the form and tailor each one for a different type of input, such as media or documents. This helps guide editors and ensures you receive the files you need in the format you need it.
2. Multiple Choice: Capture more data within a single field by allowing editors to select multiple choices from the list. A bonus feature is the built-in ‘Other’ option that stores custom responses in a separate field so editors can enter values that aren’t in the list.
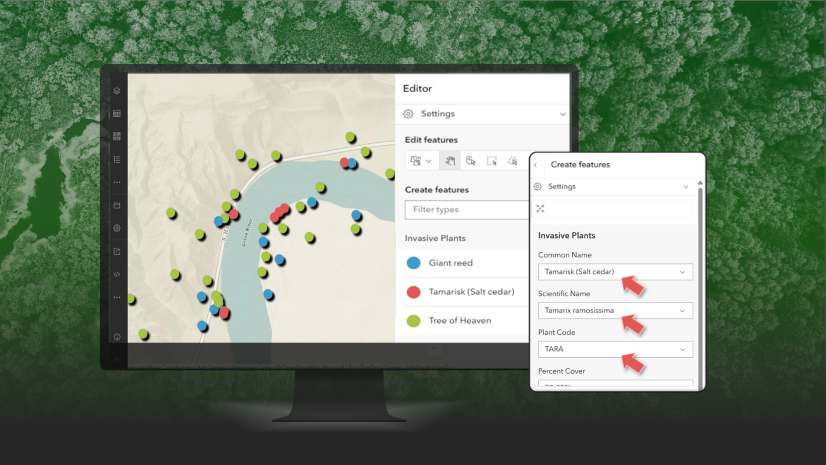
3. Dynamic Choice Lists: Dynamic choice lists use Arcade expressions to update choice lists on the fly based on conditions you define. Choices could be driven by previous answers, the editor’s location, nearby features, values from fields in other layers, and more. This helps editors see the most relevant options, such as tree species found in the survey area, addresses within a specified distance, or assets associated with a specific location.
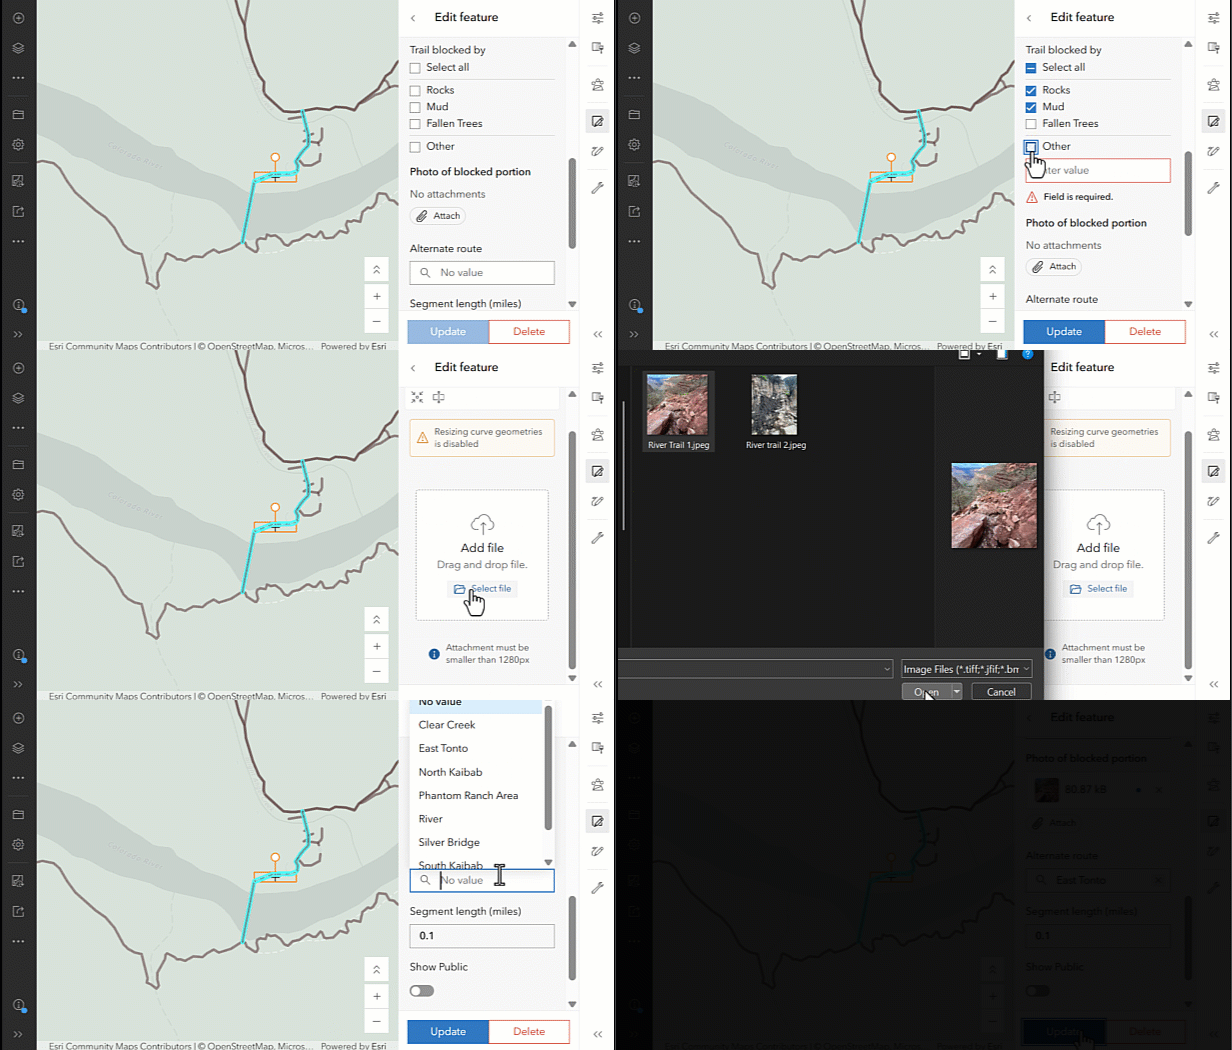
For a deeper dive into all things forms, check out this comprehensive guide.
Editing Templates
Take advantage of these time-saving features when creating and managing templates in Map Viewer:
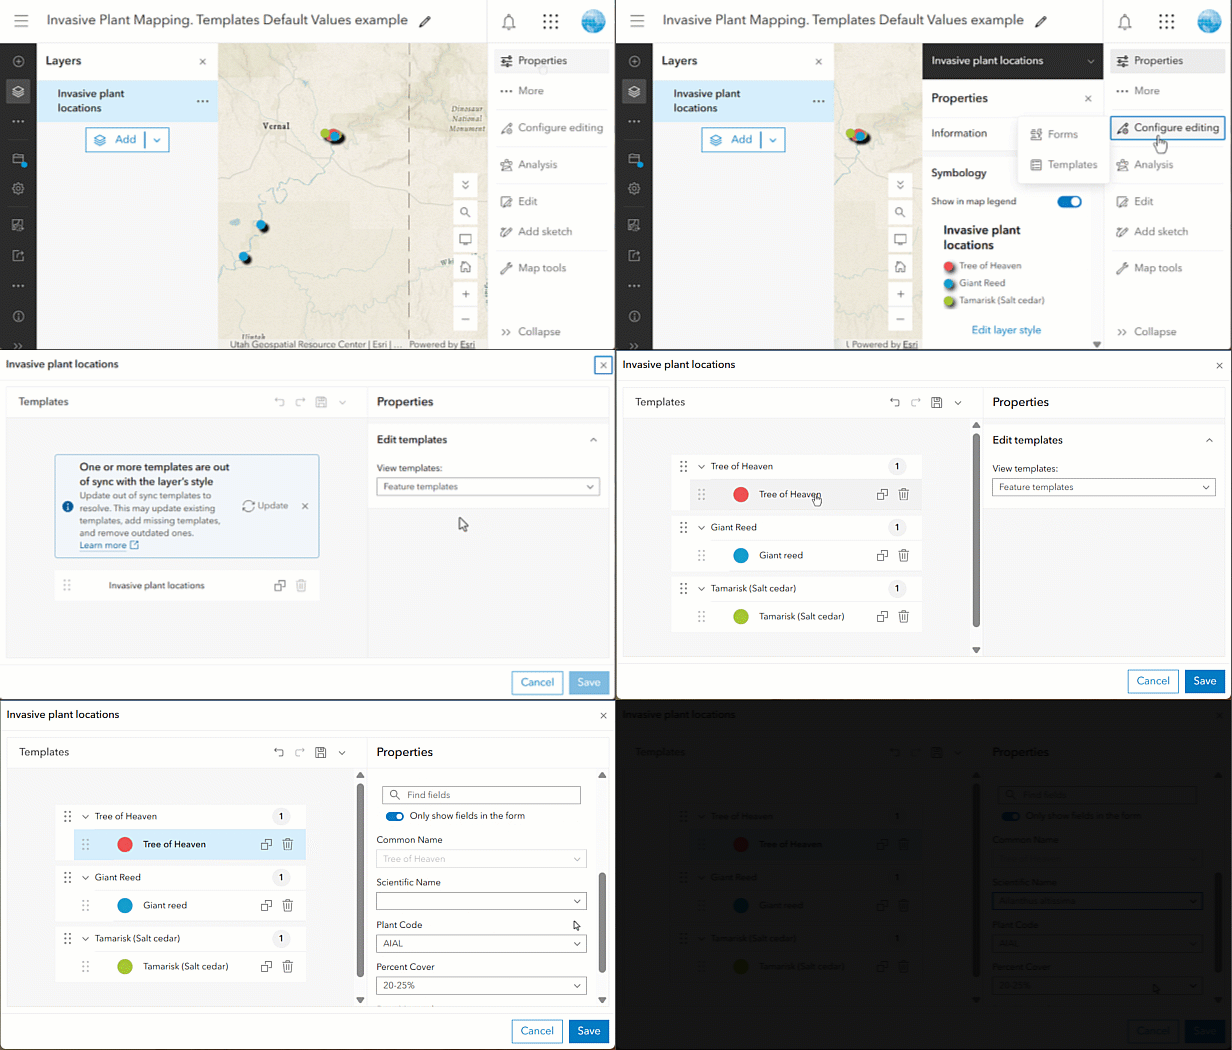
4. Default Values: Default values help ensure data quality and speed up data collection by automatically populating fields on the form based on the feature being mapped. For example, you could create set of tree templates with default values for the species name so data collectors don’t have to enter it each time.
5. Update Templates: After changing a layer’s style, use the Update button to automatically sync templates with the latest symbology. This is especially useful when setting up templates for different categories of features, like different species of trees. For a step-by-step guide, click here.
Handy Drawing Tools
These tools on the Draw toolbar can help you draw features faster and with fewer clicks:
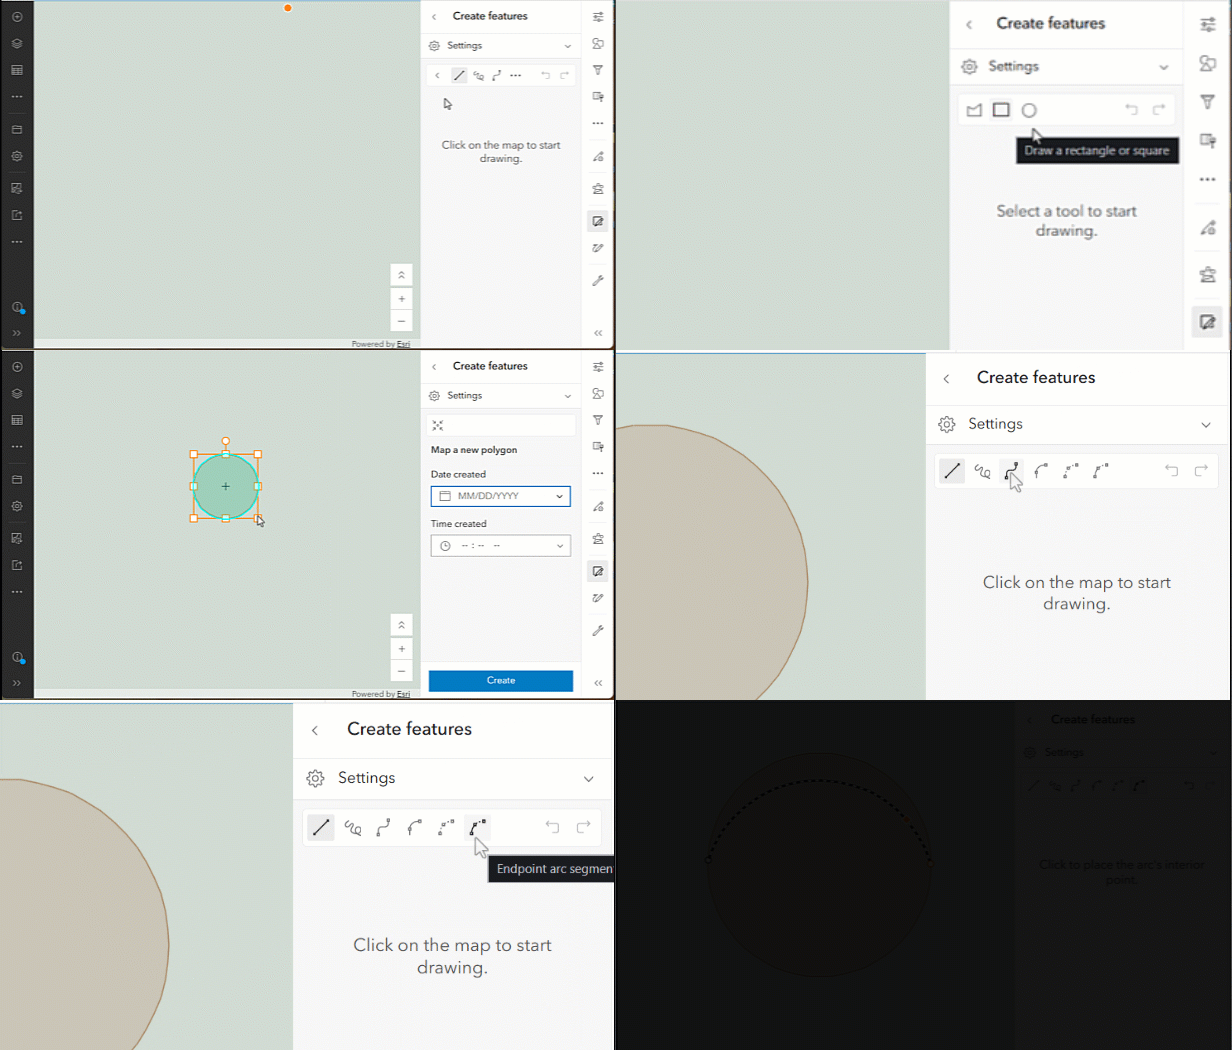
6. Draw Shapes: The Draw toolbar includes Circle and Rectangle tools for creating common shapes. Drag and drop handles or vertices to resize your shapes, or transform them into ellipses or squares, in just a few clicks.
7. Draw Curves: Create curves with any of these four built-in tools in the Draw toolbar: Arc segment, Endpoint arc segment, Bézier curve segment, Tangent curve segment. These tools let you create smooth bends for features like cul-de-sacs, rivers, and boundaries. See this guide to learn more about using each one.
💡 TIP: Hold Shift while resizing shapes to maintain the aspect ratio. View the full list of keyboard shortcuts here.
Smarter Feature Placement
Next we’ll look at some built-in tools that help you position features exactly where you want them on the map.
8. Snap to the Grid: Align new features with existing features or a custom grid using snapping. Configure snapping layers and geometry guides in Settings, toggle to add a customizable grid and customize the cell size, placement, and color to fit your workflow. Using a grid can help you place features at regular intervals, draw straight lines, and get cleaner edges.
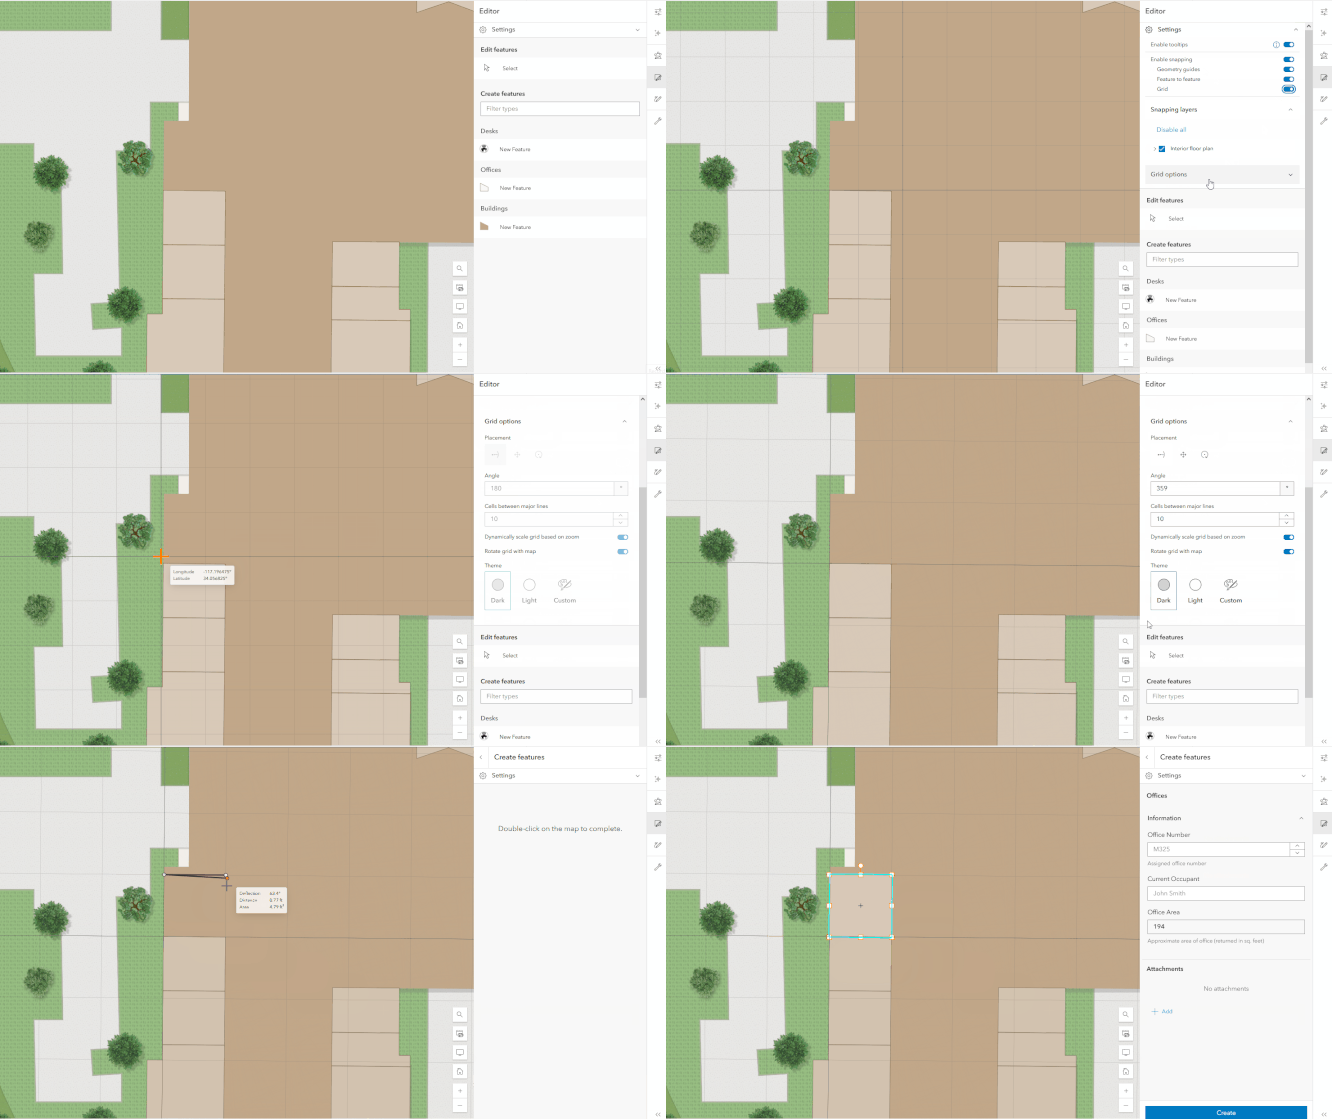
9. Edit Vertices: Fine-tune lines and polygons one vertex at a time. Select the feature and double-click to enter vertex editing mode, then select and drag a vertex to move it, use midpoint handles to add new ones, or right-click to remove one.
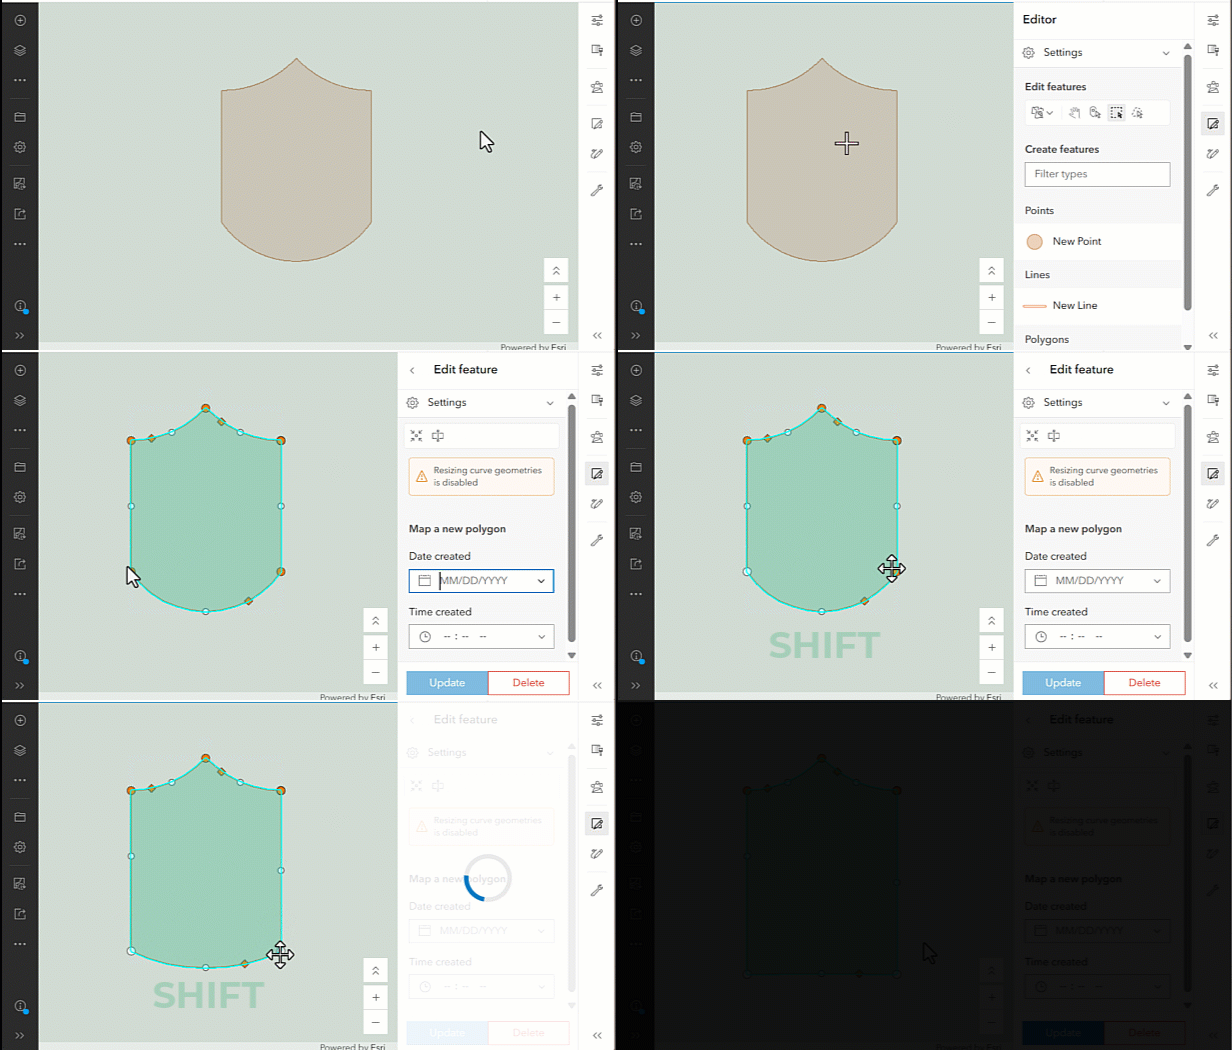
💡 TIP: Hold Shift + Click to select and move more than 1 vertex at the same time.
Faster Attribute Editing
Before we wrap up, we want to share one more way to supercharge your attribute edits.
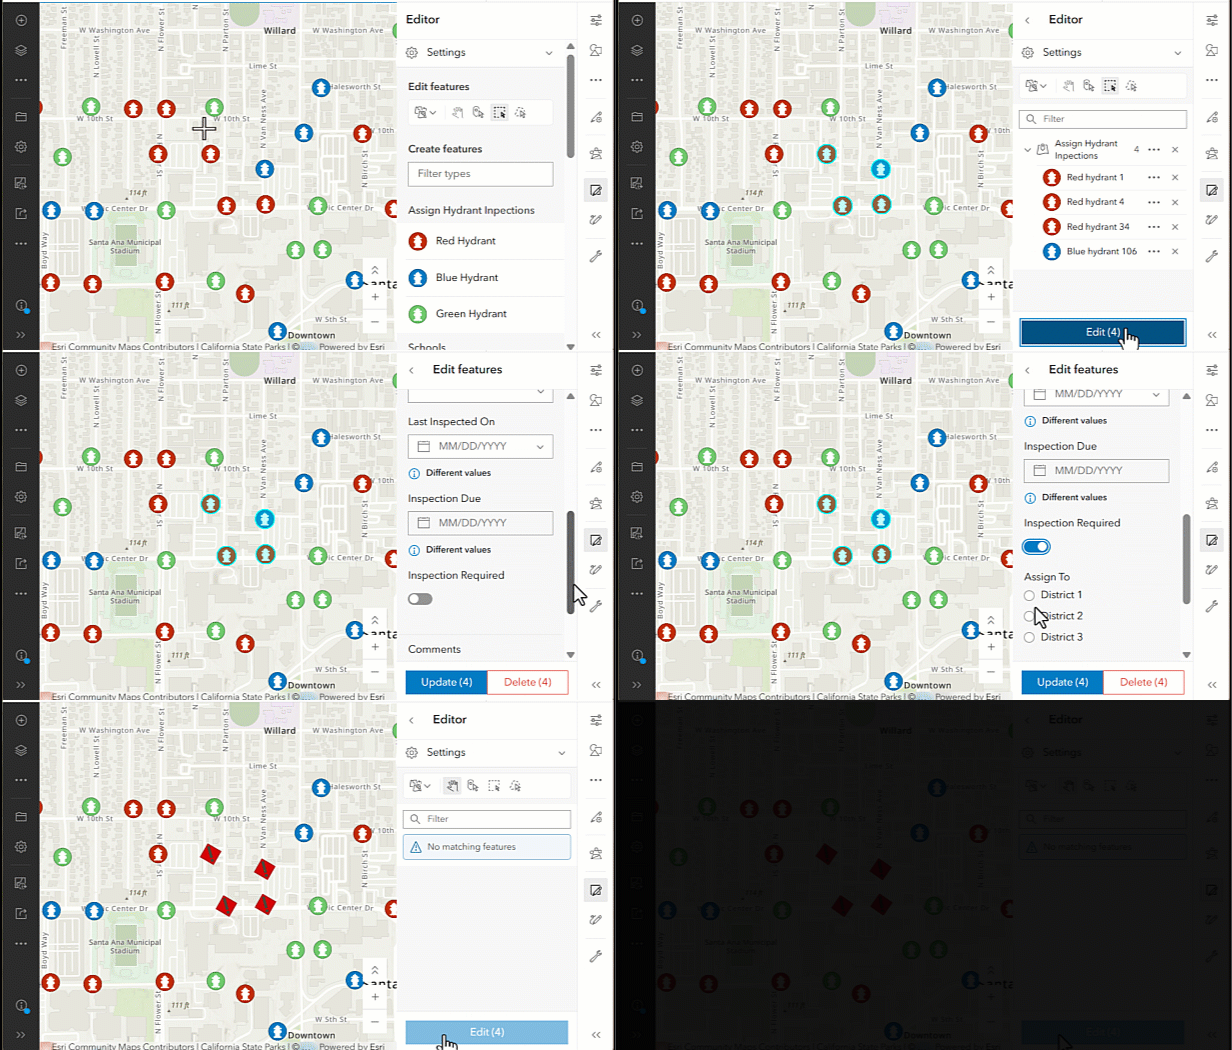
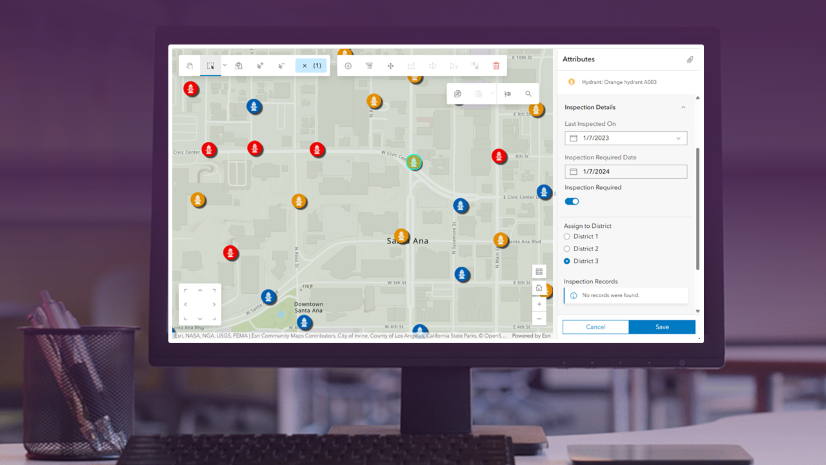
10. Batch Attribute Updates: Update attribute values across multiple features at once. Select features from the same layer on the map or in the table, then edit common attributes in the form. This is especially useful for tasks such as assigning inspections to all the features within an area.
Summary
That’s a wrap! Whether you’re new to editing in Map Viewer or a seasoned pro, we hope you found some tips that help you tighten up your editing workflows. Have a favorite editing tip of your own? Share your ideas and feedback with us over on Esri Community, and stay tuned for more editing enhancements coming in 2027 and beyond.


Commenting is not enabled for this article.