“Puma opens window so Rhino can get out!” sounds like some kind of weird headline from a newspaper, doesn’t it?
Now bear with me here, because that sentence is more than a catchy headline and actually holds true in the ArcGIS CityEngine world.
As you might have noticed, over the last couple of years, we have steadily been releasing plug-ins for many different 3D software environments, like Unreal Engine, Autodesk Maya, SideFX Houdini and now, we have a new plugin to add to the family: Puma – CityEngine plugin for Rhino / Grasshopper.
What is Rhino / Grasshopper (GH)?
For those of you familiar with the Rhino / GH environment, you’re probably jumping for joy right now (I’m looking at you, Architects!). For those of you unfamiliar with Rhino / GH, here is a little bit of background.
GH is a visual programming language and environment that runs within the Rhinoceros 3D computer-aided design (CAD) application. Rhino 3D is unavoidable in Architecture, and GH is intuitive in exploring the designs without the need to program scripts. It uses visual programming to easily create parametric architecture.
To us, the use-case was clear, ArcGIS CityEngine is after all a software used to create building models (amongst other things) and the native CGA scripting language (which stands for Computer Generated Architecture) is specifically designed for….architecture. So this really is a great addition to the toolkit.
I already hear you asking “So what can you actually do with Puma, that you couldn’t do before?”, well here it is in a nutshell.
Enter Puma!
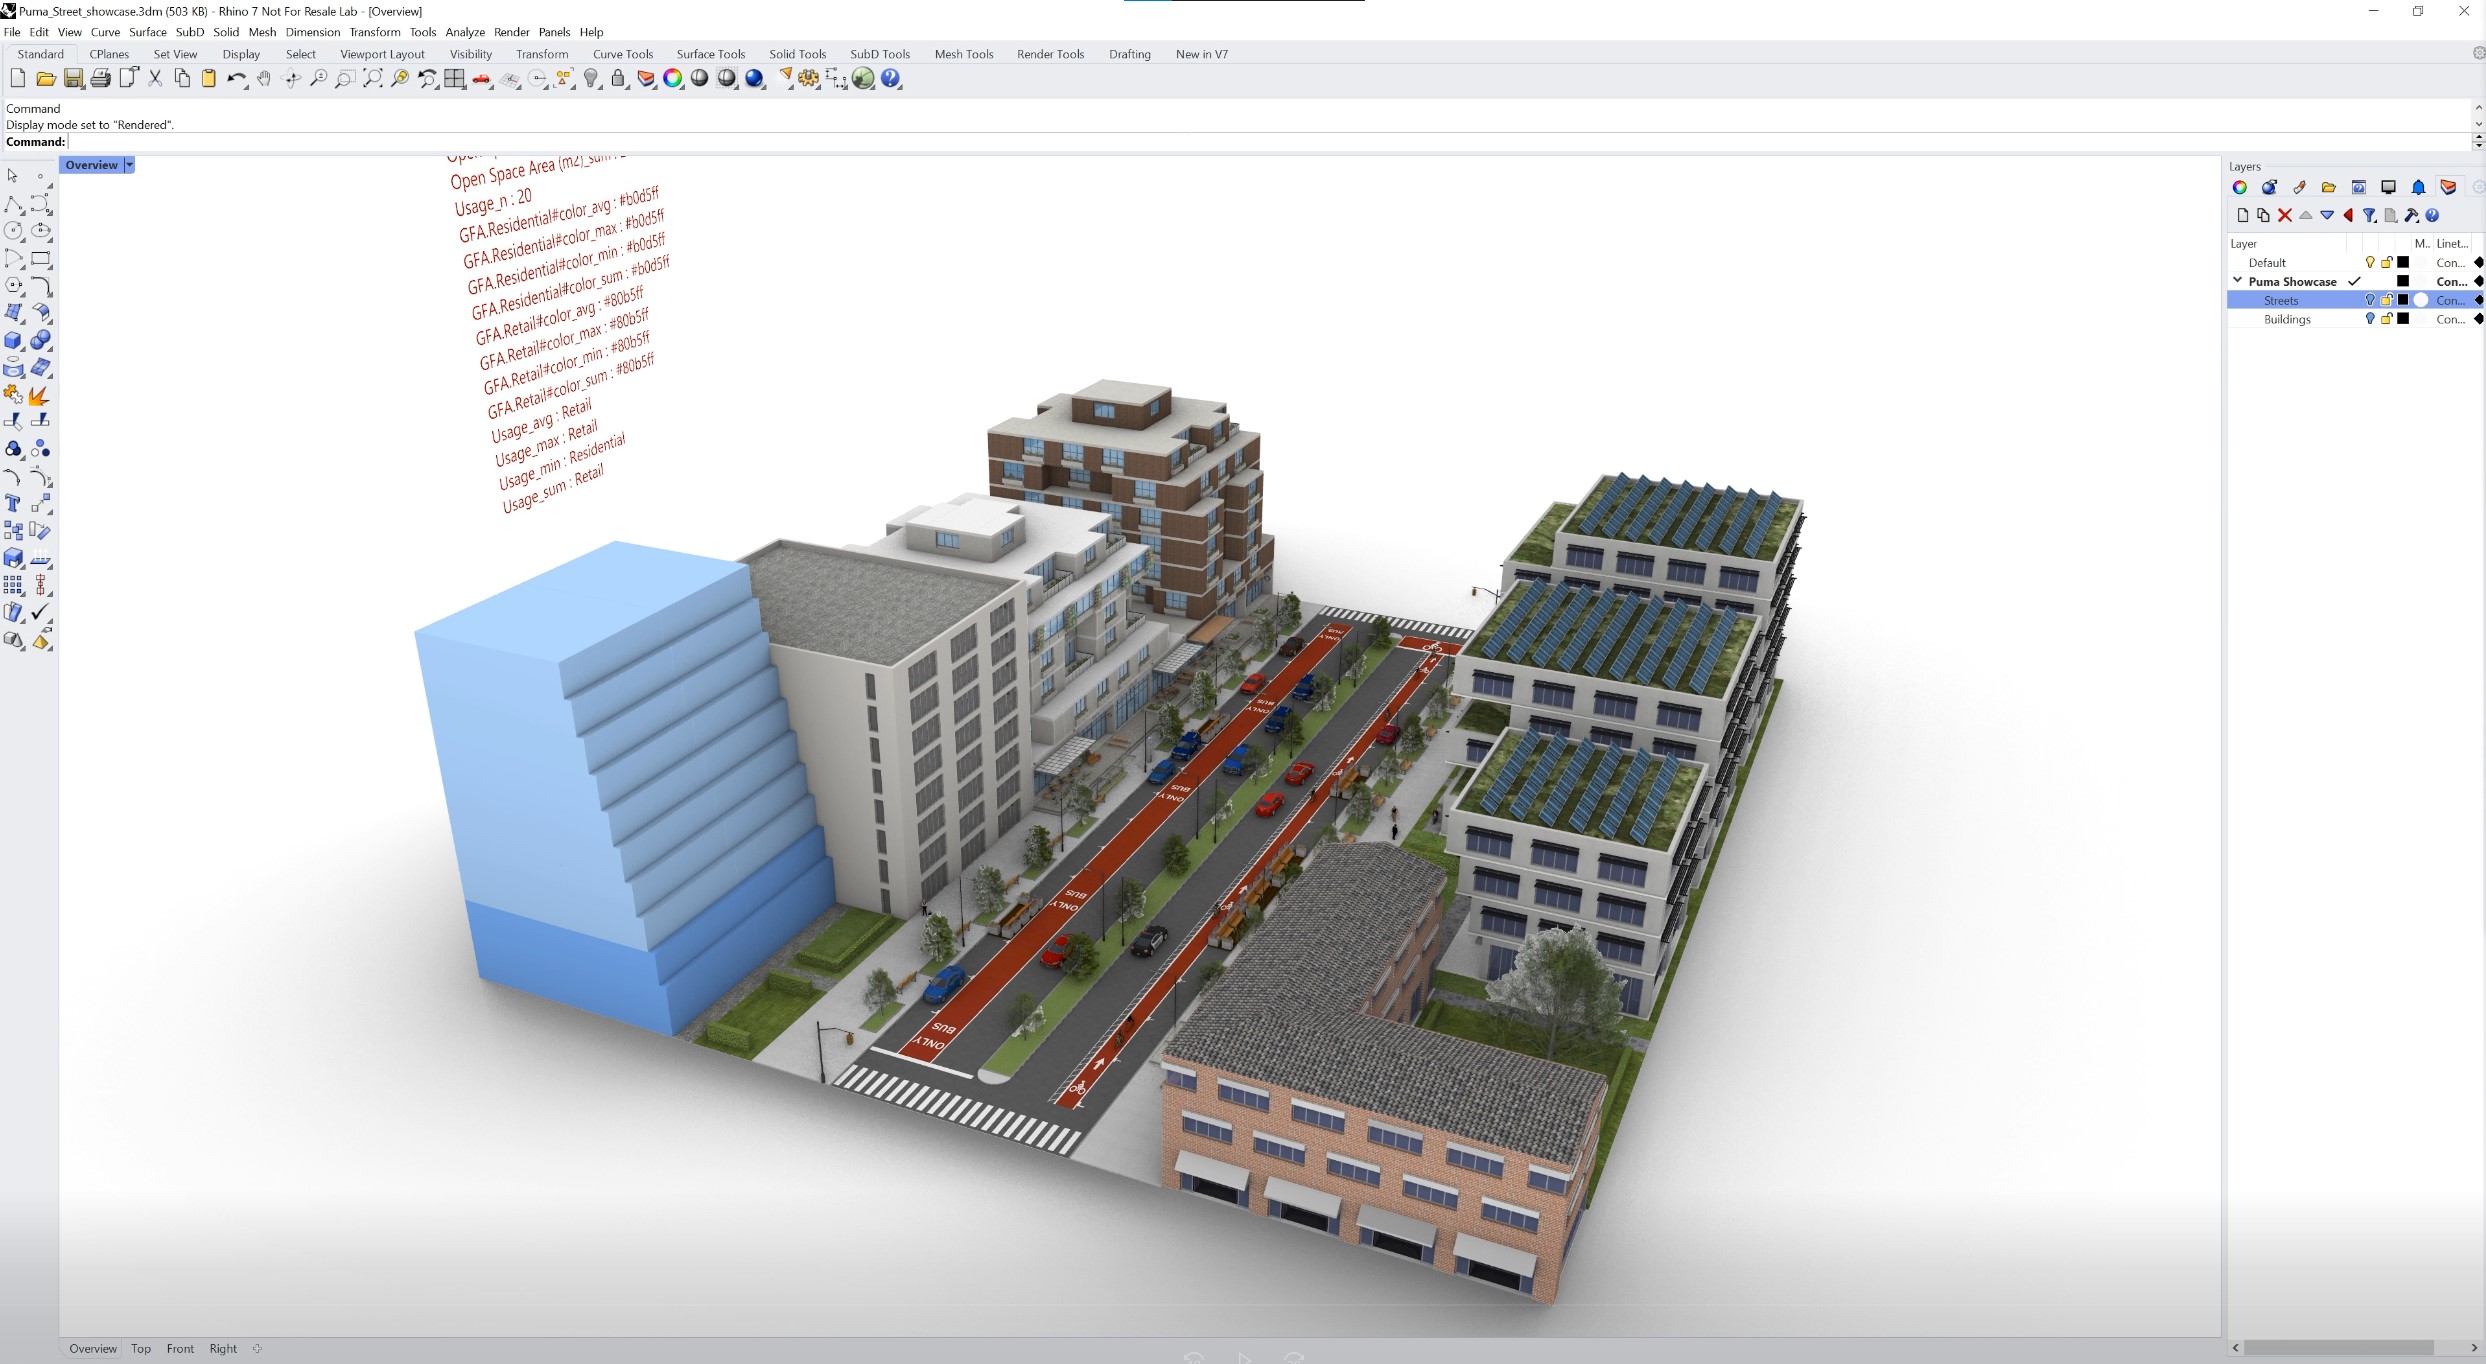
Puma is a plugin for Rhino and Grasshopper. It provides a Rhino command and GH components which enable the execution of CityEngine rules within a Rhino scene. Therefore, a Rhino artist or designer no longer needs to leave their familiar Rhino environment anymore to make use of CityEngine’s procedural modeling power. Complicated export-import steps are a thing of the past, which also means that the procedural models no longer need to be “baked”. The building or street models remain procedural during the entire design or planning workflow. Consequently, the user can change any attributes of the building or street models easily by connecting them to other Grasshopper components.
Puma requires Rule Packages (RPK) as input, which are authored in CityEngine. An RPK includes assets and a CGA rule file which encodes an architectural style. A comprehensive “street segment” example is available here.
More examples for CGA rule files can additionally be found in the CityEngine tutorials and the official CityEngine examples available in the built-in download tool (see Help menu in CityEngine).
Puma is well suited for managing the procedural generation of architectural 3D content in design and urban planning scenarios. However, Puma is restricted to the procedural generation of buildings and street detailing/furniture. Puma does not include the city layout and street network editing tools of CityEngine (i.e. the rich CityEngine toolset to design a city from scratch or based on geographic data is still needed).
So to circle back to the “Puma-Rhino window” analogy in the beginning of this blog, with this plugin, we aim to open a window to specific capabilities of CityEngine to Rhino users, without the need for them to leave their everyday tool.
Puma will allow us to create robust workflows in Rhino and Grasshopper. By running CityEngine via an embedded library, Puma will empower our designers to simplify workflows and the design exploration process.

I could go on and on, but I really think you should just try Puma out for yourself as soon as possible, so either download the “Street Segment” example or create a scene from scratch.
Creating a Rhino scene from scratch with Puma
- In CityEngine, download e.g. Tutorial 9 and export the “Parthenon” CGA rules to a RPK (see Creating a Rule Package).
- Install Puma using the Rhino 7 Package Manager in the Tools menu (search for “puma”) or from the Puma market place at food4rhino.
- Start Rhino and open Grasshopper.
- In Grasshopper go to the “Esri” tab and find the “Puma” section, drag the Puma component into the document.
- Right-click on the RPK input parameter to select the “Parthenon” RPK created above. Puma will ask you to save the document, so it can store the path to the RPK relative to the document. It is best practice to put RPKs next to the Grasshopper document or in a subdirectory.
- Create a “Surface” component and use the “Set one surface” context menu entry to draw a surface in Rhino with the “Surface from 3 or 4 corner points” tool.
- Connect the “Surface” to the “Shapes” input. Now Puma will generate the model in the Rhino viewport.


Article Discussion: