When it comes to using maps as a storytelling tool, there’s no shortage of treatments and tricks that can be employed in ArcGIS StoryMaps. We’ve all got our favorites: map tours, map choreography, and media actions, to name a few. Using these features and techniques, maps can become active, even interactive drivers of the narrative instead of just passive ornamentation.
But why should the fun stop at maps? What about other forms of media, like images? Wouldn’t it be cool to stage a tour of a photograph, or let readers pan and zoom around an infographic? As it turns out, you can do exactly that in ArcGIS StoryMaps, and you don’t even need any sort of technical expertise.
It started in February of 2023, when the ArcGIS Map Viewer team announced the advent of the media layer, a way to pull an image into a web map — not as part of a pop-up, but into the actual map itself, as its own layer — and position it anywhere in the world. This meant that anything you could do to a map in ArcGIS StoryMaps, you could now do to an image by adding it to a web map as a media layer and bringing that web map into a story.

Then, in August 2024, a media layer-esque capability was added directly to ArcGIS StoryMaps, through a new express map feature. Express maps, if you’re unfamiliar, are simple, build-from-scratch maps that you can put together right there in the ArcGIS StoryMaps builder, without any prerequisite GIS knowledge or ability. Express map creators can easily add features like points, lines, and shapes, and populate pop-ups for each.
The big change was in giving storytellers the option to use an image as the base layer for an express map instead of a map. The video below offers a brief demonstration of how to add an image base to an express map. Note that the image base layer is still considered to be in beta, so keep your ears open for future enhancements that will make this feature even more robust. One such enhancement that has already found its way into the product is the ability to clip the express map container to the aspect ratio of the image that’s being used as the base. This makes any express map using an image base fit more seamlessly and naturally into a story.
Still not sure why this is all so exciting? Let’s look at some of the previously map-only techniques that can now be applied to images in ArcGIS StoryMaps, and when it makes sense to use a media layer or an express map image base, depending on your desired use.
Anything maps can do, images can too
Image tours
We’ll start with one of the most popular features in ArcGIS StoryMaps: map tour. In a map tour, storytellers set up a sequence or array of geographic points that relate information and media about each place as readers are guided through or given license to explore them. But what if you could have an audience experience that curated tour of an image instead of a map? That’s precisely what the media layer now allows.
In the story The golden view, a panoramic photo of the skyline of Pittsburgh is used as the base for an explorer tour in lieu of a map. Rather than representing points on a map, each point in the tour represents an element of the photo—a towering skyscraper or a nearly-hidden historic site, for instance. Readers can embark on a self-guided “tour” of the photo, clicking the pins on the elements of the skyline that interest them the most to learn more about them.

Map tours currently do not support using an express map as their base, so you’ll need to use a web map media layer for these.
Image choreography
Another feature of ArcGIS StoryMaps that the we on the StoryMaps team are really enthusiastic about is map choreography: the ability to stage a series of maps in sidecar slides that change in some way (exposing layers, changing extent, etc.) as a reader scrolls from slide to slide.
Returning to Pittsburgh and The golden view, you can see an example of image choreography, now possible thanks to the Media Layer. Sequences of slides involve a web map that has multiple images uploaded into it, each depicting the Pittsburgh skyline, but across three different periods of time. By turning these media layers on and off as the reader scrolls, they can watch the city transform from the same vantage point over the span of a century, before their very eyes.

Because each instance of an express map in a story — even when copied during the duplication of a sidecar slide — is considered its own unique item, map choreography involving panning and zooming tends to work better for media layers in a web map.
Image actions
Another fun trick that can now work on images is media actions. These are clickable buttons or bits of text in map-occupied sidecar slides that change the appearance of the map when activated, again by turning layers on or off and/or panning/zooming.
The story Quizzed from above presents ten photographs taken from airplane windows somewhere over the continental U.S. These snapshots are media layered into a web map so that “map” actions within the accompanying text can point out various context clues that might help a reader key in on the photo’s location. A final map action reveals an annotated screenshot from Esri’s world imagery layer that provides the answer.

Media actions work great for both web maps and express maps, so if you know you want to configure some media actions to help readers explore an image, it’s probably easiest to just go with the one-stop shopping of an express map image base and not have to leave the story builder.
Annotating images
One more thing you can do to images, thanks to the express map image base, is take advantage of the express map drawing and annotation tools. You can easily add features like points, lines, and shapes to an image, and fill out interactive pop-ups with additional information for each of those features, if desired. You can also add annotations like text labels and arrows, all without leaving the builder or needing to create additional feature layers on a web map.

Just think of the possibilities!
Those two example stories show off some fun, whimsical ways that map-based images can be used in conjunction with ArcGIS StoryMaps features and techniques, but the full range of possibilities starts to feel nigh on endless once our imagination kicks in. Just off the top of my head, here are a few other ideas for how to incorporate media layers into ArcGIS StoryMaps.
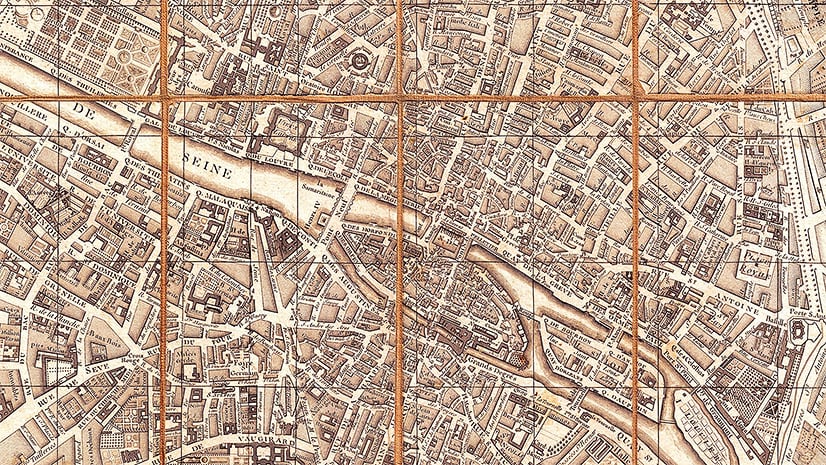
Historic/scanned maps
A lot of the time we’re spoiled by living in a digital age; we can usually find all manner of archival materials online in a matter of seconds, including historical maps (obligatory shout out to the Rumsey Collection). But that just makes it even more frustrating on those occasions when we find ourselves in possession of cartography that’s digitized (or able to be digitized) but not georeferenced. Fortunately, now we have the media layer to evaporate that frustration.
Note: For now, an image brought into an express map base layer is automatically locked in size at a global scale, with no way to adjust its size or position. This means that maneuvering a digitized map into its proper place is another use case that needs to happen as a media layer in a web map.
Schematics/graphics
Maps come in all shapes, sizes, and scales. You could even have a map of a studio apartment—it’s called a floor plan. Use a map-based image to set up a digital tour of an indoor space. Or, heck, let’s get totally heretical: You don’t even need to involve place at all! Walk through a flow chart or instruction manual or family tree in ArcGIS StoryMaps.

Artwork
While I’m heading down this very dangerous road of placelessness (please don’t tell anyone), I might as well toss out the suggestion of using map-based images to “deconstruct” a work of art like a painting, say, or a more human-oriented photograph.
In the story Answering the call, about wilderness safety and rescue, we pulled an illustration into a media layer and then used it as the “basemap” for a guided tour that walks through some essentials for long hikes.
I’m sure you could come up with dozens of other potential use cases, and I’m super excited to see what our storytelling community comes up with!
Media layer tips and tricks
Given that some of the use cases outlined above work better (or only) as a media layer, I thought it might be helpful to talk through some of the nuances involved in setting up a web map with a media layer to make it work most effectively in a story.
A beautiful simplicity
Before the advent of the media layer, there technically was a way to trick GIS software into “georeferencing” an image, after which you could theoretically employ the techniques outlined in this post. However, this was a multi-step process that required access to and some knowledge of GIS software; in other words, the barrier to access was just a little too high to make it part of a regular storytelling workflow for most people.
One of the best things about the media layer is that literally anyone with an ArcGIS Online account can do it in four clicks or fewer: One click to open your map’s Layers tab (if it isn’t open already), one to unfurl the Add drop-down menu, and a third to select Add media layer. The final click is used to drag in your desired image (for now, just JPG and PNG files up to 10 megabytes), and watch it appear on the map.

When you first add an image, you’ll be inside the media editor, where you can place, resize, rotate, and stretch the media. You can also adjust the image’s transparency while you wrangle it into shape, which can be especially helpful for lining up a historic or scanned map with the underlying basemap. (Note that transparency within the media editor does not apply to the actual appearance of the layer in the map; layer transparency can be adjusted in the layer properties. Also, you can reenter the media editor at any time by clicking Edit placed media in the layer properties.)
Hide the basemap
There may be instances when the basemap is only going to be a distraction from the presentation of the media layer(s) in your story, but there are a few options to “hide” it. The easiest is to simply turn off the basemap layers entirely, then enabling background color in the Map properties and setting that color to whatever you’d like the background to be (useful for making media layers appear seamless against the background of a custom theme, as in the Quizzed from above story).

If you know you’re still going to want to display the basemap at times—for example, to provide locational context for a photo, or to compare a historic map with the present-day environment—you could try adding the ready-made “Blank White Vector Basemap” or “Blank Black Vector Basemap” from the Living Atlas layer repository and toggle it on or off to cover or show the basemap as need dictates. If pure white or black doesn’t jive with your theme, you can always draw your own sketch layer that encompasses the entire earth, make it fully opaque, and give it whatever custom color you want.
We’re just getting started
The ideas laid out in this post are only scratching the surface of what’s possible. There are plenty more options and approaches to try, both within ArcGIS StoryMaps as well as on the Map Viewer side.
You could play around with scale dependency, making it so images only show up when you drill down to the largest scales, e.g., a photo of a particular storefront appears upon zooming into the street level on the map (credit to Map Viewer Product Engineer Mark Harrower for this idea).
You could experiment with other Map Viewer tools like sketch layers or bloom effects to call attention to certain parts of the image before you even pull it into the story. (Check out this blog post for one such workflow.)
The best thing about this wonderful storytelling community is that if we haven’t thought of it or tried it, you certainly have, or will! Please keep us in the loop as you come up with clever ways to combine media layers with ArcGIS StoryMaps. Give us a shout on Twitter @ArcGISStoryMaps and show off what you’ve been working on. We can’t wait to see what creative stories you’ll be able to tell!
_____________________
Blueprint schematic photo by Anastasiya Bleskina, © Adobe Stock, all rights reserved.


Article Discussion: