
An exciting feature of the ArcGIS Business Analyst Web App is the ability to create and publish infographics to your organization. Infographics are an engaging and dynamic way to communicate key facts, maps, and indicators. To expand upon this capability, you can integrate your infographics to Esri Story Maps to build an immersive web experience.
In this blog, we’ll demonstrate how to publish your Business Analyst infographics into a story map. As an example, we’ve created this story map that focuses on county-wide coronavirus impact planning for Arizona.

The following instruction includes a step-by-step tutorial to create a similar story map as the one shown above. Please note: the example we use is for the state of Arizona, but feel free to use any other geography area you want.
Step 1: Define Your Areas
First, you need to define study areas you are interested in.
- Sign into ArcGIS Business Analyst Web App.
- Click Maps > Define Areas > Select Geography > Select From Full List > Counties.
- In the Select Geography dialog box, select Arizona from the list of states.
- Select checkboxes of the desired counties.
- Select No to combine geographies.
- Click Next.
- In the next screen, click I’m Done.

Step 2: Create an Esri Story Map Cascade with Infographics
In this step, we will assume that you are using an infographic from “Standard” infographics, which are available to you by default. If you want to create custom infographic templates, please follow the instructions in this documentation. If you want to add an infographic from the Infographic Gallery Template, go to the “My Templates” section of the same documentation.
You are now ready to select a story map template, select the study areas you defined in the previous section, and add infographics.
- Go to Maps > Share Results > Story Map.
- In the Story Map dialog, click Get Started. (If you selected to skip this step previously, you will bypass this step.)
- Select Cascade template.
- Select Add Sites.
- In the Add Sites dialog, select the study areas you defined in the previous section. Please note you can add up to 100 sites.
- In the Configure Items dialog, uncheck Maps. (You can choose to add maps in the future, but in this demo, we will focus on infographics.)
- Select the checkbox next to Infographics.
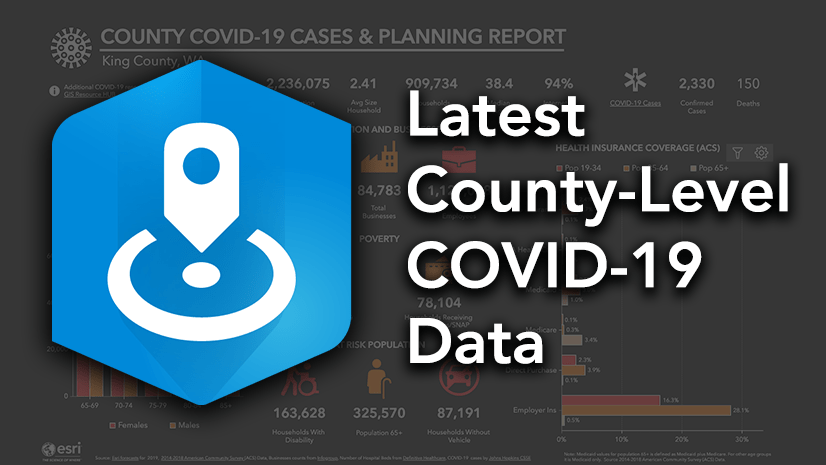
- From the dropdown that shows up, select an infographic of your choice. For this tutorial, I will select the “Coronavirus Impact Planning,” one of the latest templates added to support impact planning for COVID-19.
- Click Apply.

- Back in the story map dialog, click Next.
- In the next dialog, add a title and click Create.
- Click I’m Done.
Toward the bottom of the screen, you should see a notification that your StoryMap is being created. Once the story map has been created, you will see a new dialog. Click to View Story Map .
Step 3: Edit Story Map
Now that you have successfully created a story map, you are ready for the final touches.
- Click Edit located on the top-right corner of your StoryMap to launch the Builder mode.
- In the Builder mode, click the pencil icon located at the bottom of the first main container where the StoryMap title is shown.

- On the new view, click Manage and select Change media.

- Add your own image or choose an image by selecting Unsplash (my personal favorite).
- Browse or search to find an image of your choice.
- Scroll through the rest of the story map to see if there is any item you want to reorder or edit. In this example, I want to remove the containers repeating similar information as the infographic headers. I will hover over each section I want to remove and click the “X” icon to delete.

- Once you are satisfied with the edits, click the Save icon (shown as a floppy disk) on top of the left panel to save.
- Then select the Publish icon (shown as a globe) on the same row.
- Click to Preview (shown as an eye on top left) to view the website. Scroll down to see the infographics you added.
To share, you can click on the share icon located on the top right of the Preview mode or the Builder mode. Clicking Share launches a pop-up window for options to copy the URL, share via social media, and the ability to take HTML code of your story map to embed in other web sites.
To return to any story map you created, simply go to the App Launcher to login to classic Esri Story Maps and access all your stories. For more detailed instructions on how to edit your story map, visit this site for additional tutorials.
I hope the steps shown on this tutorial help you share your work easily. If you have questions on this blog, please do not hesitate to reach out to us (businessanalyst@esri.com).
Additional Resources
COVID-19 Specific Resources:
- Impact Planning for COVID-19– Infographics for every county in the United States – Web App
- State-Level COVID-19 Cases & Demographics– Web App
- Coronavirus Planning for Vulnerable Populations– Web App
- Build Your Own Vulnerable Population Infographic– ArcGIS Blog
- Explore COVID-19 Impact Using Infographics– ArcGIS Blog
ArcGIS Business Analyst Specific Resources:
- Business Analyst product overview page
- Business Analyst resources page
- LinkedIn user group
- Business Analyst YouTube playlist
- GeoNet community
- Business Analyst Web App login page
- Business Analyst help and documentation pages
- What’s New in Business Analyst Web App documentation page
- Email the team: businessanalyst@esri.com


Is there a refresh feature so we can update an existing one? If not, that would be awesome to have that option.
Is this available with the BAO standard license? I am not seeing the “Share with Story Map” option. I only have the “PDF or Image” and AGOL Map options.