With the release of ArcGIS AppStudio version 5.4, we have improved our existing templates by adding exciting new features, enhancements, and bug fixes to help you create cross-platform native apps easier and faster. In this release we have updated all templates to fully support ArcGIS Runtime 100.14 and Qt framework 5.15.6.
Visit the What’s New post to learn about all the updates in AppStudio 5.4.
Sidebar
We are excited to introduce a brand-new Sidebar app template in this release. With the Sidebar template, you can create a map-focused app with full control of the map tools available to the end-user. The name Sidebar comes from the fact that most of the tools will appear in the side panel next to the map when running on a tablet device. But don’t worry, the Sidebar template has an adaptive design so your apps will also look great on smartphones. And the Sidebar template will work offline (disconnected from a network) when you have prepared offline map areas for your web maps. Sidebar is one of the growing numbers of AppStudio app templates that uses an ArcGIS Sidebar Instant app web experience for configuration.
The following Instant App configurations are currently supported in the AppStudio Sidebar template app:
- Layer list—Displays a list of layers with icons to turn visibility off and on in the map. You can choose which layers to include in the tool at runtime.
- Bookmarks—Zooms and pans the map to a collection of preset extents that are saved in the map.
- Pop-up—Presents the configured pop-up content when tapped on a feature.
- Edit tools—Provides options to add or update features in editable layers. To learn more about the editing workflow see below
- Details—Shows the description content from the source map’s item details of the app. This includes the layer list and the legend UI.
- Filter—Filters data in the map based on predefined options.
- Basemap toggle—Changes the look of the map by switching to a different basemap.

Editing in Sidebar
The new data editing tools provide a great native app experience that works on desktops, tablets, and smartphones. The data editing user experience is designed to be intuitive and touch screen friendly. The tools work with points, polylines, and polygon feature layers. You can perform following operations with the edit tools if enabled in the instant app depending on the feature layer ownership and the layer edit settings.
- create new features,
- update or delete existing features.
Creating new features – Adding new features workflow follows a step-by-step process. The first step is to tap on the add icon (if enabled in the corresponding Instant App) and then choose the type to edit. The second step is to draw the geometry on the map. After the geometry is completed, the next step is to add attributes data. Optionally, attachments can be added to the newly created feature during this step. Tap on the create button to finish adding the new feature to the map and the corresponding feature service. The complete workflow is demonstrated below: –

Update or delete existing features – This workflow is tied to the popup (by tapping on the desired feature). If editing is supported the popup will show the edit icon on the popup. That will allow users to choose from
- Edit Attributes – make edits to attributes of the feature or managing attachments
- Edit Geometry –update the geometry of the selected feature
- Delete – Permanently delete the feature. This is an irreversible process, hence caution must be taken when using this workflow
All geometry editing operations include options to undo/redo, discard or apply your edits. Data editing works for feature layer data that is private (requires ArcGIS login) or public (approved for Public Data Collection).

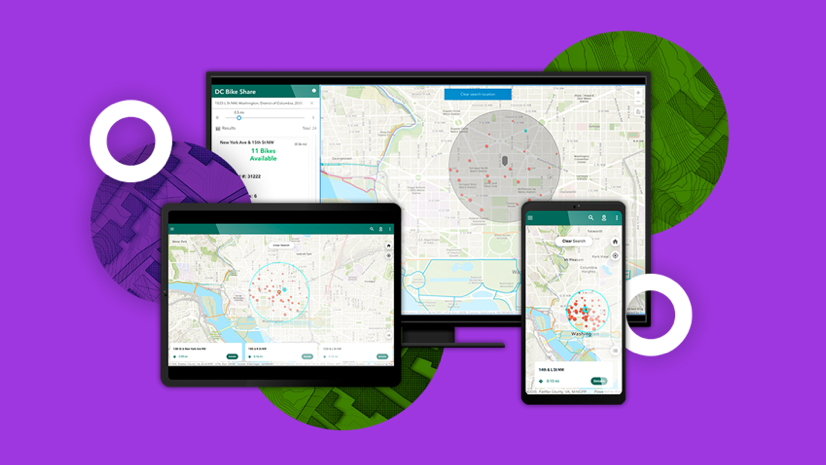
Nearby
The Nearby app template has received exciting new feature updates since the first release. To learn more about updates checkout updates in 5.2 and 5.3 releases. In this release we are adding the following
Filters support
Filters allow users to filter the query results based on the attributes value and conditions and act as the where clause of the query. These filters are authored in the Instant App. Multiple filters can be created per feature layer and can be used to follow ALL (using the AND operator) or ANY (using the OR operator) conditions when performing query for each layer. This way users can perform both spatial and non-spatial queries to fine tune the results.
Filters can be predefined or require user input. Predefined filters use the preset value of an attribute or collection of attributes together. User input allows an end user to choose a valid attribute value on the fly. End users can use any combination of one or more filters at any given point.
For user input filters, the Filter UI is based on the data types of the attribute (fields)
- Combo-box for the string or domain fields
- Sliders for the number or double fields
- Calendar control for the date fields
Tap on the filters icon if enabled in the Instant App and make selections in the UI. See below for an example of how users can engage with filters with the Nearby app.

Map Viewer
Layer List
In this release we have overhauled the table of contents to display the layers, group layers and the sub layers within a Tree view UI structure. The table of contents lists all the layers on the map and shows what the features in each layer represent. The map’s table of contents helps you identify the display order of map layers and symbol assignment, as well as set the visibility of each map layer. Thus, allowing end-users to navigate through the multiple levels of the sub-layers and group layers. The layer swatches (symbols) next to the layer name would immensely help users identify the layers on the map.
This working experience is same for both the online web maps, offline mobile map packages and offline map areas currently supported in the Map Viewer template application.
Other improvements within Map Viewer include:
- Legend support for Image Services – With Runtime 100.14 update the Image services layer now supports the legend view. Previously the legend was never displayed for this type of layer
- Improved feature selection while identifying features
")
Zone Lookup
Offline support
- Similar to the Nearby template, the Zone lookup template app now also supports the offline maps. Hence enable users to perform and utilize the zone lookup functionality in the offline scenario. To use a zone lookup app in offline mode you will first need to create predefined offline map area within the web map which was consumed when configuring the Zone Lookup Instant App. After the map areas have been created for the web map, they will be available in the template app to download locally for offline use. In a disconnected environment with no internet access, you will be able to run the app, browsing the Zone lookup query results and the attachments using the previously downloaded offline maps in the same way as you would with the online map.
Attachment Viewer
Sort Field and order
Attachment viewer template app now honors the sort field and sort order of features within a feature layer as configured in the corresponding Instant App. To learn how to configure sort field in Attachment viewer Instant App checkout this blog.
Once configured the features in the template app will be listed in the same order as configured based on the sorting field. When no sorting field is configured in the Instant App for the feature layer then the features are listed based on the OBJECTID field as default field.
Popup improvements
The popup UI has been updated to allow users to navigate between previous or the next feature if available without having to close the popup.

Try it yourself!
Would you like to try these new features on your mobile device? You can easily run the Nearby template, Zone Lookup template and other templates using AppStudio Player. Here are the quick steps involved in this process:
- Download & install the AppStudio Player on your mobile device as provided here
- Run the Player app
- Go to the App Settings from the side menu
- Turn on “Developer mode” and then go back to the main page of the app
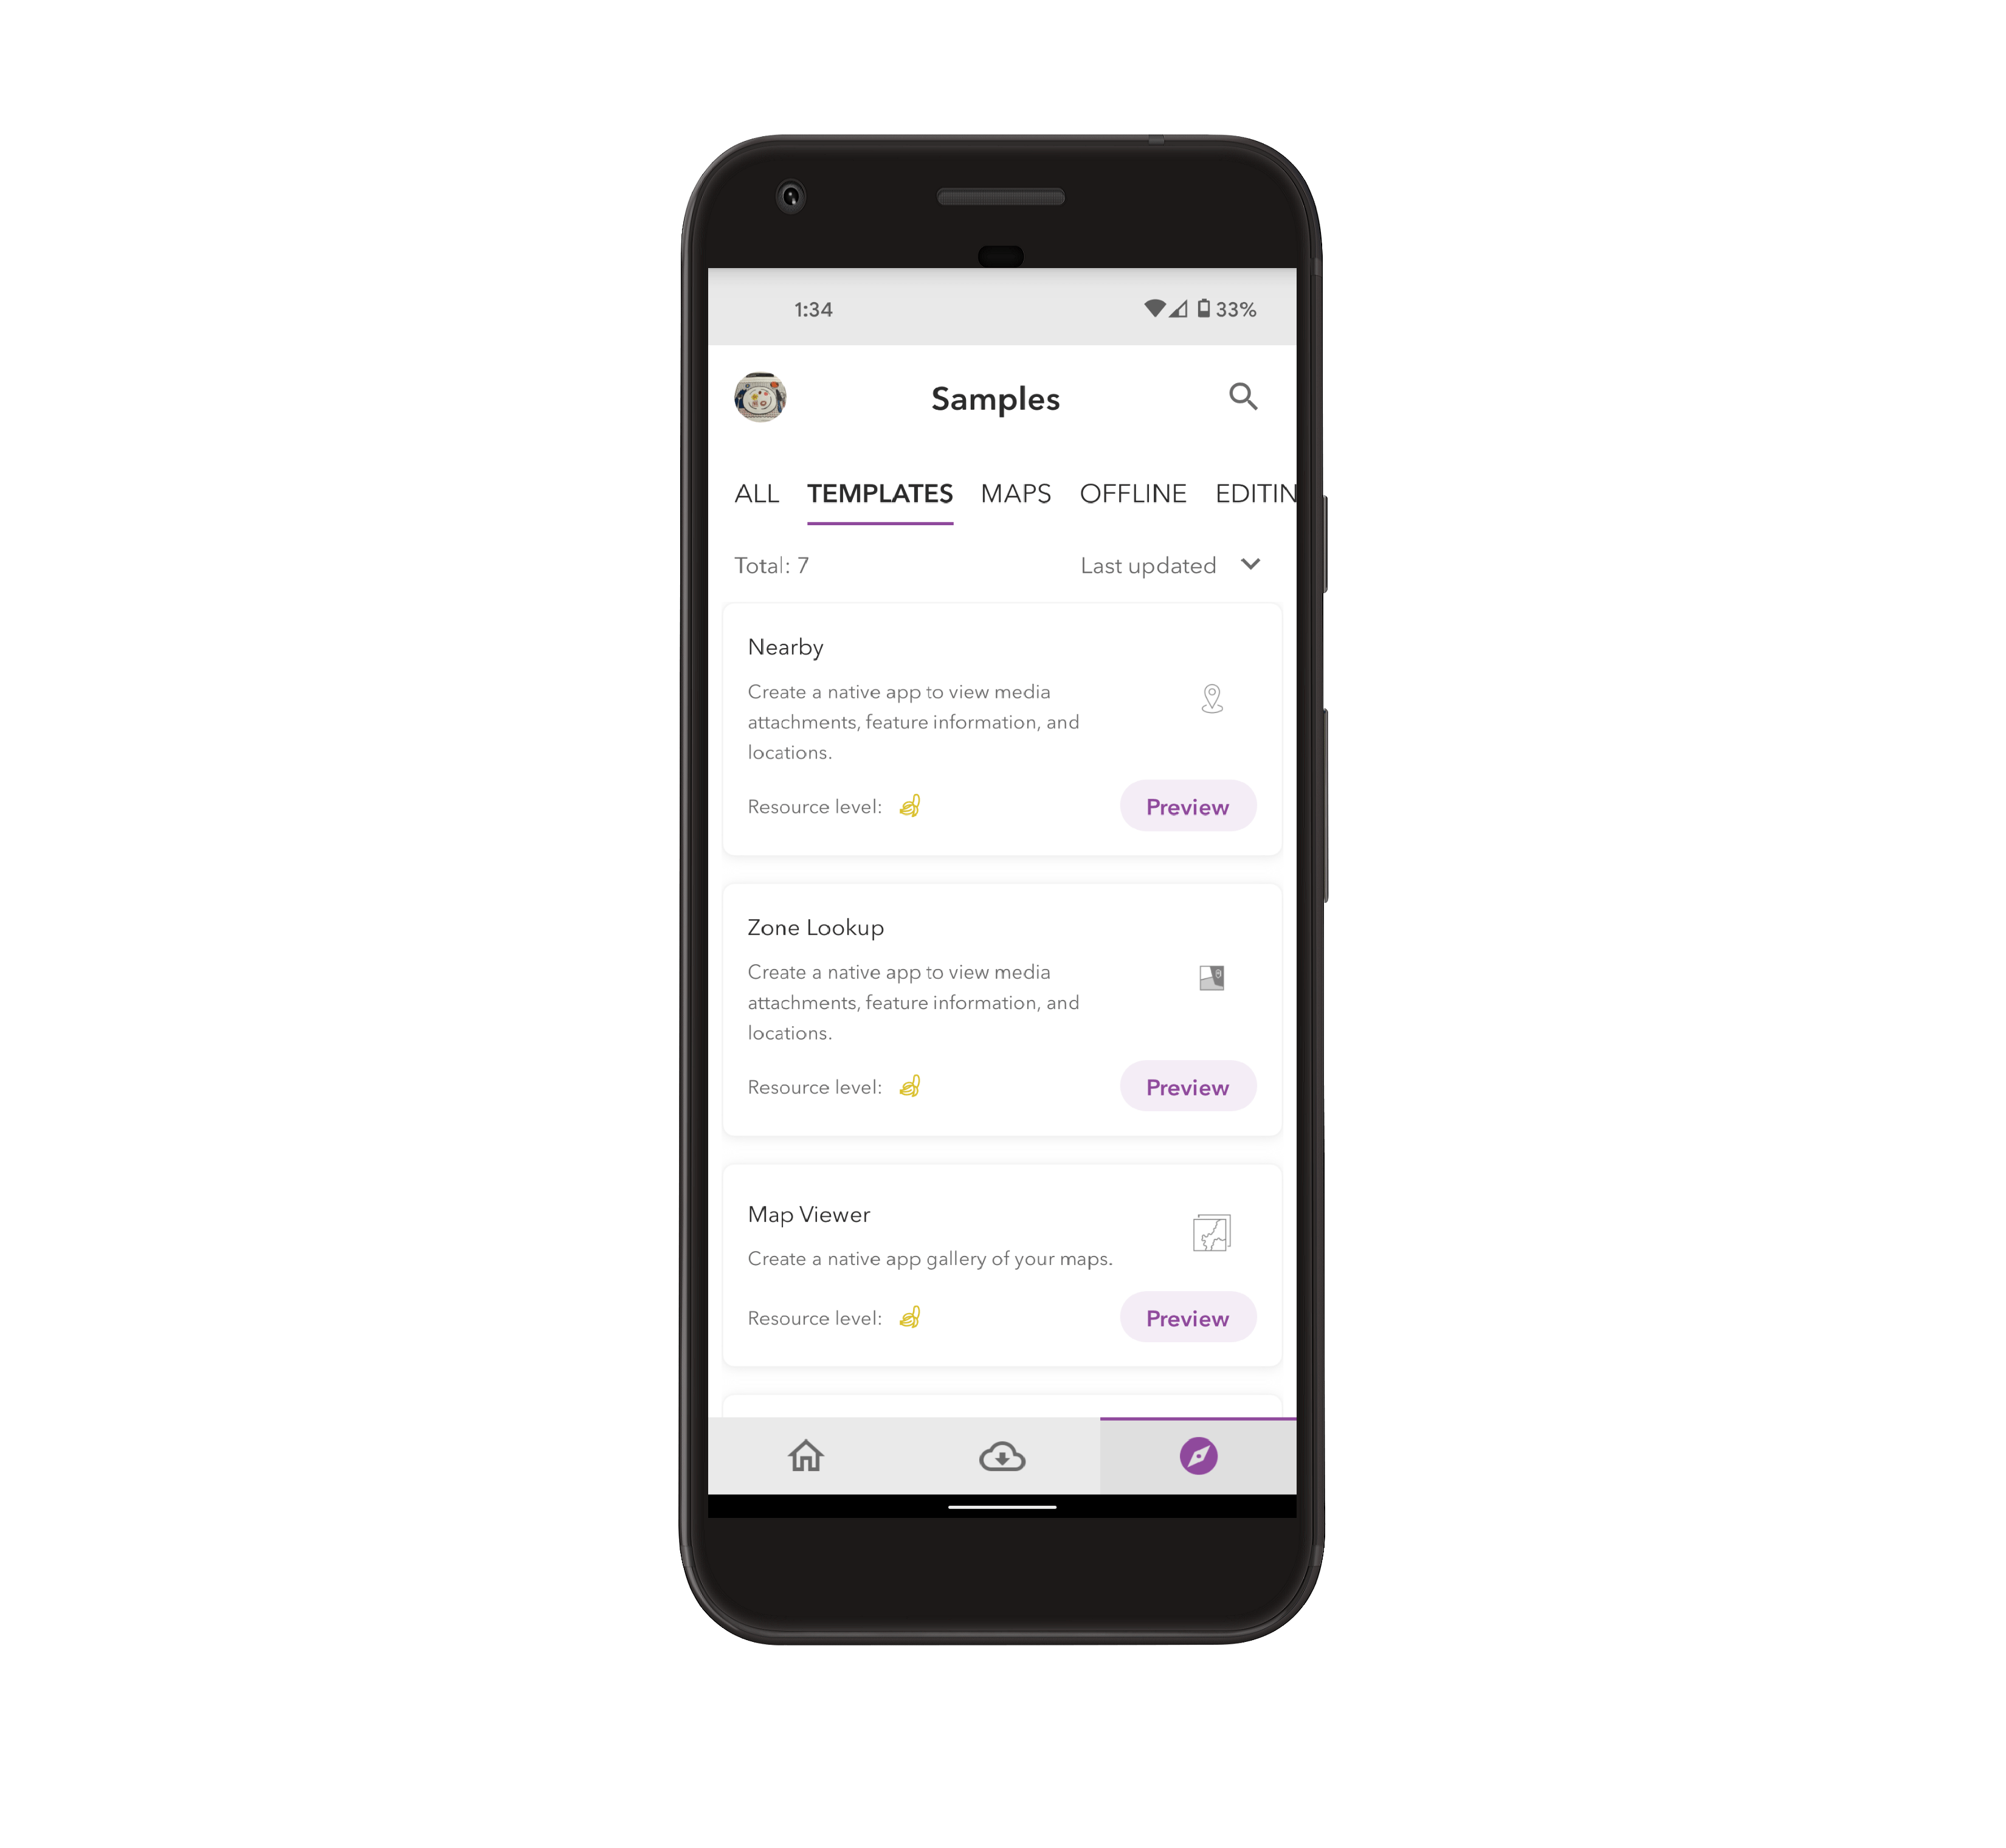
- Navigate to the third bottom tab to access samples and templates as shown below


Article Discussion: