One major advantage of vector tile layers is that you can easily modify their style to better suit your own branding or application design. The ArcGIS Vector Tile Style Editor provides a quick and easy way to customize Esri’s vector basemaps to better suit your mapping needs. With this latest release of ArcGIS Online, you can now access the editor directly from Map Viewer via the ‘Change Style’ button, making changing the style of a vector tile layer as fast and simple as styling a feature layer!
It’s worth noting that you aren’t limited to editing only basemap layers. The ‘Change Style’ button will appear for any vector tile layer you have in your map, including those you publish yourself. Since the editor can now be launched directly from the layer once it has been added it to the map, the Map Viewer integration also makes it much easier to find and edit vector tile layers beyond Esri’s default basemaps. So, if you happen stumble across a useful vector tile layer in the Living Atlas or elsewhere in ArcGIS online you simply need to add it to your map to get started! This is especially useful for organizations that want to promote the use & restyling of their own basemaps to other users.
This article will demonstrate how you can access this new functionality using Esri’s World Topographic basemap as an example.
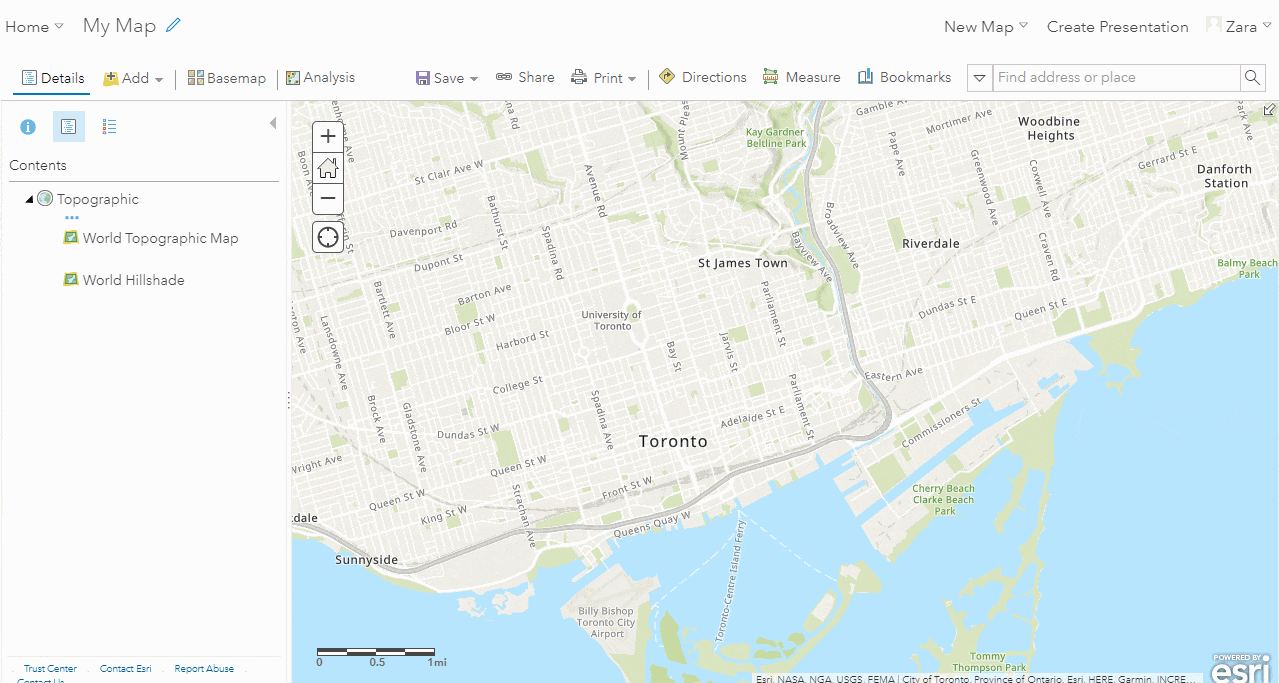
If you have vector basemaps set up as the default in your basemap gallery, you can add the World Topographic Basemap from there. If not, you can access it from here.
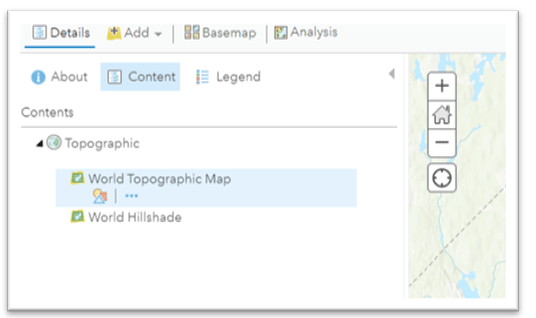
Once you’ve added it to the map, make sure you are on the Content tab and click the black arrow beside ‘Topographic’ to expand the basemap contents. Then hover over the vector tile layer and you should see the Change Style button.
After clicking Change Style you will be prompted to save a copy of the layer. (This is necessary so you don’t overwrite the original style of the basemap.) Be sure to add tags and a summary relevant to the style you are hoping to create.
Once you hit Save Style, the Vector Style Editor will open automatically to where you were zoomed in to in Map Viewer. Because this example is using the World Topographic Map, the Quick Edit panel is open by default (Note – This Quick Edit option is only available for Esri basemaps). Hit Randomize to see the default colors change. For additional information on the various tools available within the Vector Tile Style Editor, please refer to the documentation.
The editor saves any edits automatically, so you don’t have to worry about losing your changes as you go! Just hit the Save style & close button when you are finished, and you will be returned to Map Viewer where you will see your newly styled basemap!
You’ll notice that ‘World Topographic Map’ has been replaced by ‘World Topographic Map – Copy’ in the basemap contents and that this layer has also been automatically saved to your content. Just be sure to save the map itself if you want to keep this new style in your existing map going forward. Otherwise you will have to re-add the copied layer later. If you want to keep editing your new style, simply click the Change Style button again. You won’t be prompted to save a copy this time since you will now be editing your own version already.
We hope this new functionality makes for a much more seamless editing experience, allowing you to spend your time perfecting a unique style for your map instead!

Commenting is not enabled for this article.