Have you ever dreamed about an efficient and easy way to create 3D geometries in Python with only three lines of code? Your dream has come true and it’s called “PyPRT”.
PyPRT is a Python binding for CityEngine Procedural Runtime. PRT stands for “Procedural Runtime” and is the core of the CityEngine 3D generation. Before you stop reading right here: this post is not about CityEngine. You don’t need to know CityEngine to be interested in what’s following.
In this post, I’m going to talk about a brand new Python package that allows you to easily and efficiently generate 3D content in Python.
Among all the possible examples where it can be used, PyPRT is very powerful if you want to:
- Generate simple 3D content out of building footprints (LOD2 buildings)
- Optimize a 3D geometry design (example presented below)
- Convert a 3D geometry into another format
Let’s talk Python
2019 was Python’s year. More and more people are using this programming language for their projects. According to rankings, Python really is one of the most popular programming languages nowadays.
I personally use Python quite a lot. Actually, when I started at the Esri R&D Center in Zurich in 2018, I was working on Machine Learning applications for Urban Planning. As the first step of any Machine Learning project, I had to process a lot (I mean, A LOT) of data: clean the data, scale it, remove outliers, process it again, etc. For those tasks, Python is great! It’s easy to use, intuitive and powerful. I especially liked working with Jupyter notebook and libraries like NumPy and Pandas. After collecting my dataset, I used TensorFlow to build neural networks that model my data. In the end, I could plot the results using Matplotlib for instance. Python has such a wide spectrum of applications and is really convenient for quick feedback on what you’re trying to build.
With all that said, it just made complete sense for us to make the CityEngine PRT API accessible to Python users.
Python bindings for the “Procedural Runtime SDK” (PRT) of CityEngine
The CityEngine PRT SDK is the underlying engine that performs the 3D generation in CityEngine. In short, it allows transforming any data (2D or 3D) into detailed 3D geometries. This transformation is based on a set of geometric rules. PRT is a C++ API. Therefore, the goal of PyPRT is to let Python users have access to the main functionalities of PRT within the Python world.
Following Python’s philosophy in terms of simplicity and ease-of-use, you don’t need much to make PyPRT work: an initial shape and a rule file. The initial shape can be, for instance, a building footprint, a parcel or any polygon. It corresponds to the geometry on which you want to apply the procedural operations in order to get the 3D generated model. You write these procedural operations in the rule file, which is a CGA (Computer Generated Architecture) file. As can maybe be gathered from its name, the CGA file contains CGA code, which is the procedural modelling language. If you want to know more about CGA, check this out.
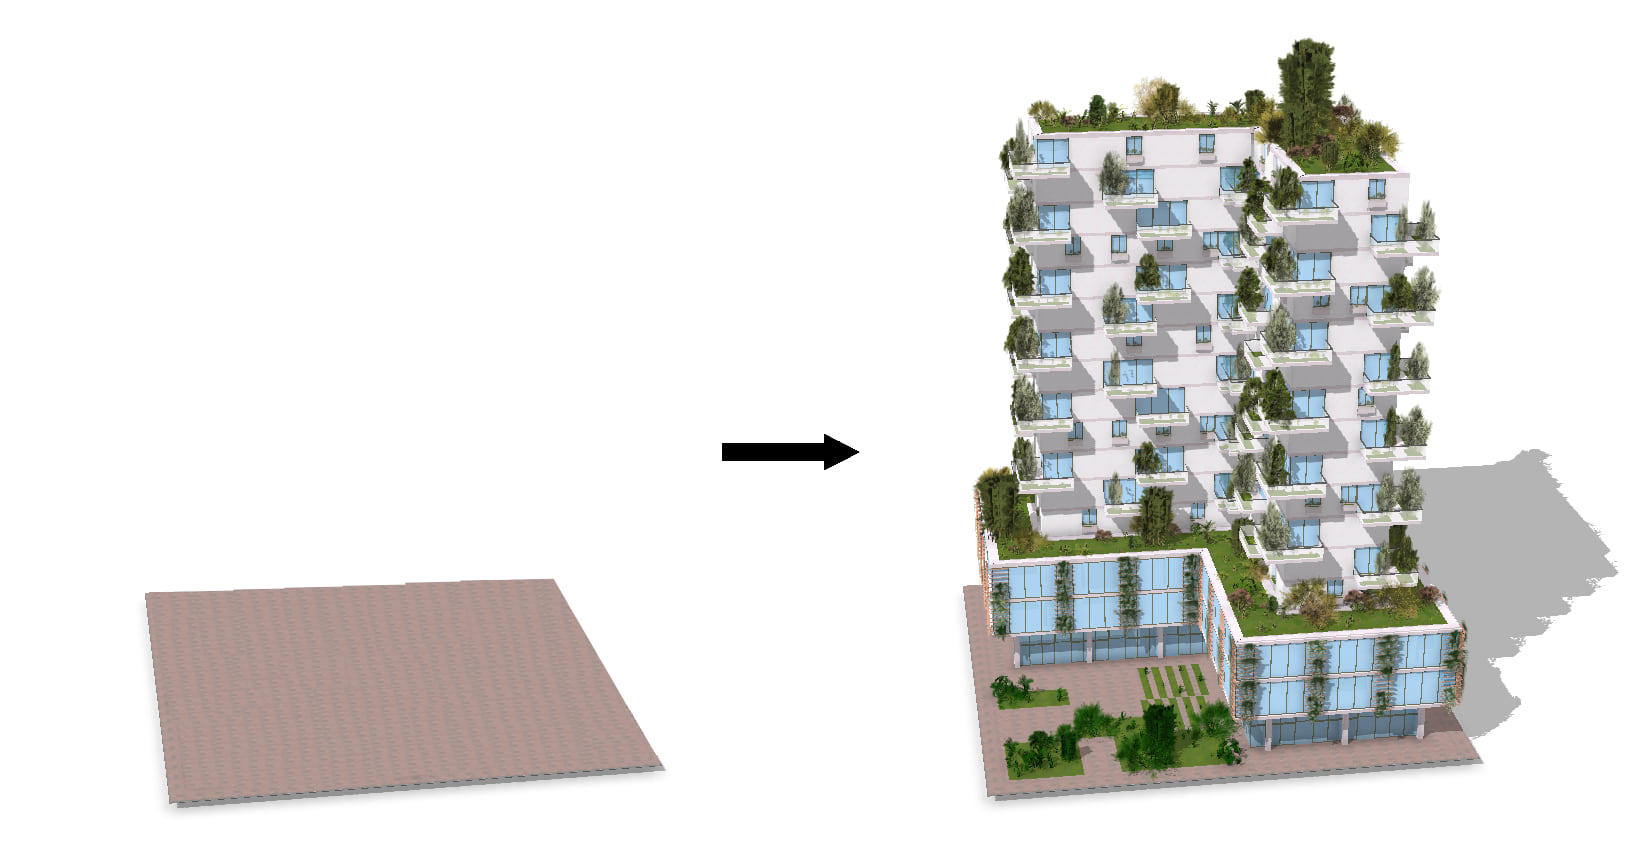
Let’s have a look at an example. Imagine you want to quickly visualize the buildings of a city neighborhood. The design of the buildings in this area is modeled and encoded in a CGA rule file. Maybe you wrote this rule file or someone shared it with you as a rule package. This rule package encapsulates the rule file and the assets and textures to apply on the new buildings.
From your Python script or Jupyter notebook, you call the PyPRT “generate_model” function. The function takes the parcels and the rule package as arguments, in order to procedurally compute the 3D geometries. You can then read and further process the generated geometries as Python arrays. Then, using a Python 3D visualization library, you can visualize the neighborhood with the 3D buildings generated on top of the parcels.
So, using PyPRT, you can easily create 3D geometries stored as Python data structures. But you can also export these generated geometries into other formats, like OBJ, Collada, GLTF, i3s, etc. Essentially, PyPRT comes with a set of geometry exporters.
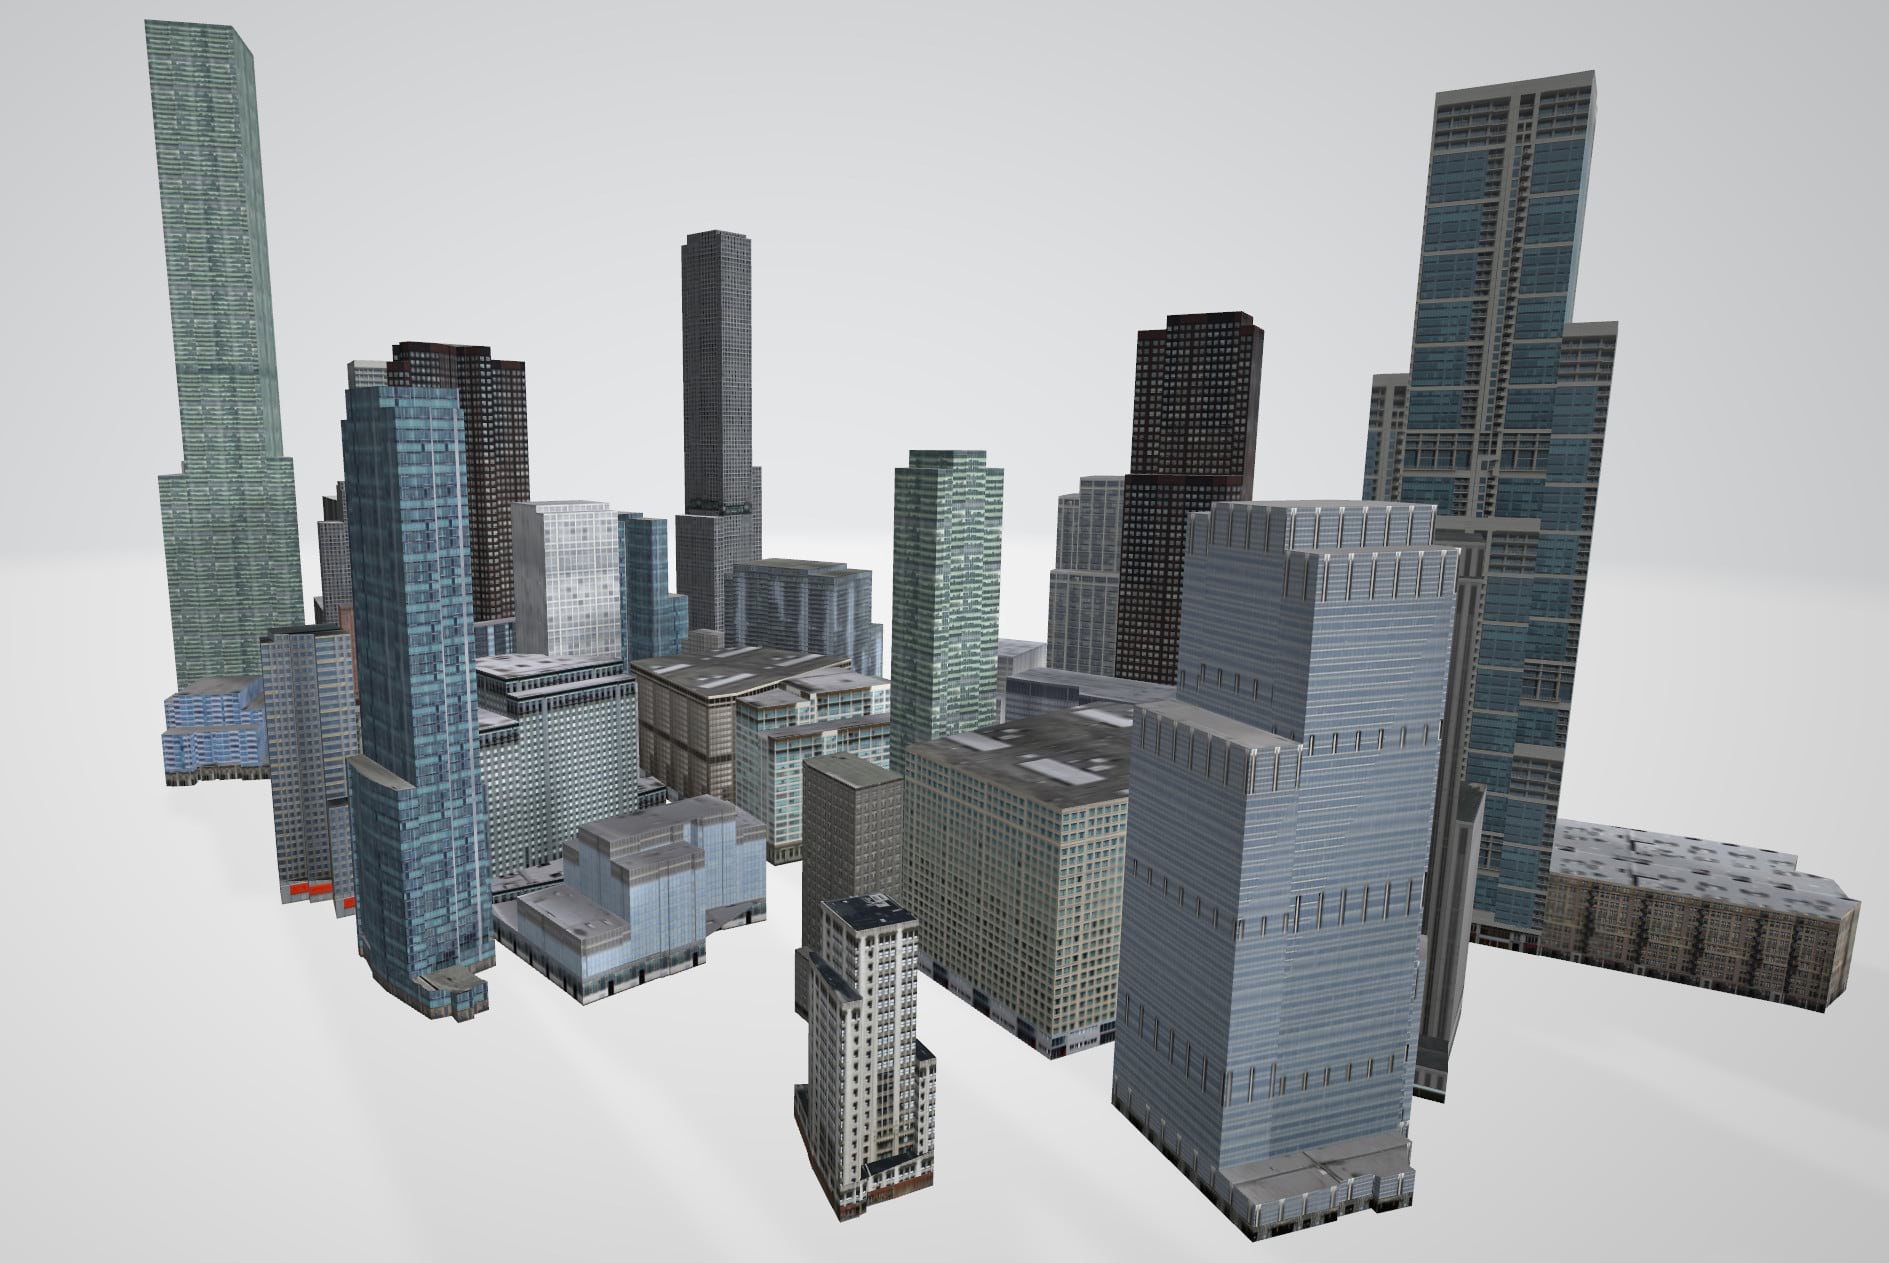
Last but not least, PyPRT allows generating 3D geometries on multiple initial shapes. Each initial shape can have a customized generated model. For instance, when modeling buildings, you can modify the parameters of the generated buildings by changing the values of the CGA rule input attributes. Using this feature, the generation of an entire neighborhood (or even city!) is greatly simplified.
Example: Optimize the green area of a building
When redeveloping a city area, urban planners, urban designers or architects have to design the most interesting building which fulfils various requirements. Some of these requirements are quantitative. They can be anything from the number of affordable apartments to the solar potential of a building. Designing a building that achieves a set of requirements can be a tedious task, especially when the model of the building is complex and composed of many tunable parameters. Using PyPRT, the optimization of a building design can be simplified.

In Milan, you can visit the Bosco Verticale (Vertical Forest) buildings. These constructions are covered by trees and plants. In CityEngine, we wrote a CGA rule file that allows generating building models inspired by the Bosco Verticale façades architecture. However, there are three attributes of the building that we can vary: the lot coverage, the first tier height and the building footprint shape. Given the architectural design of the building (defined by the CGA rule) and the parcel, which values of these attributes should we choose in order to maximize the building green area?
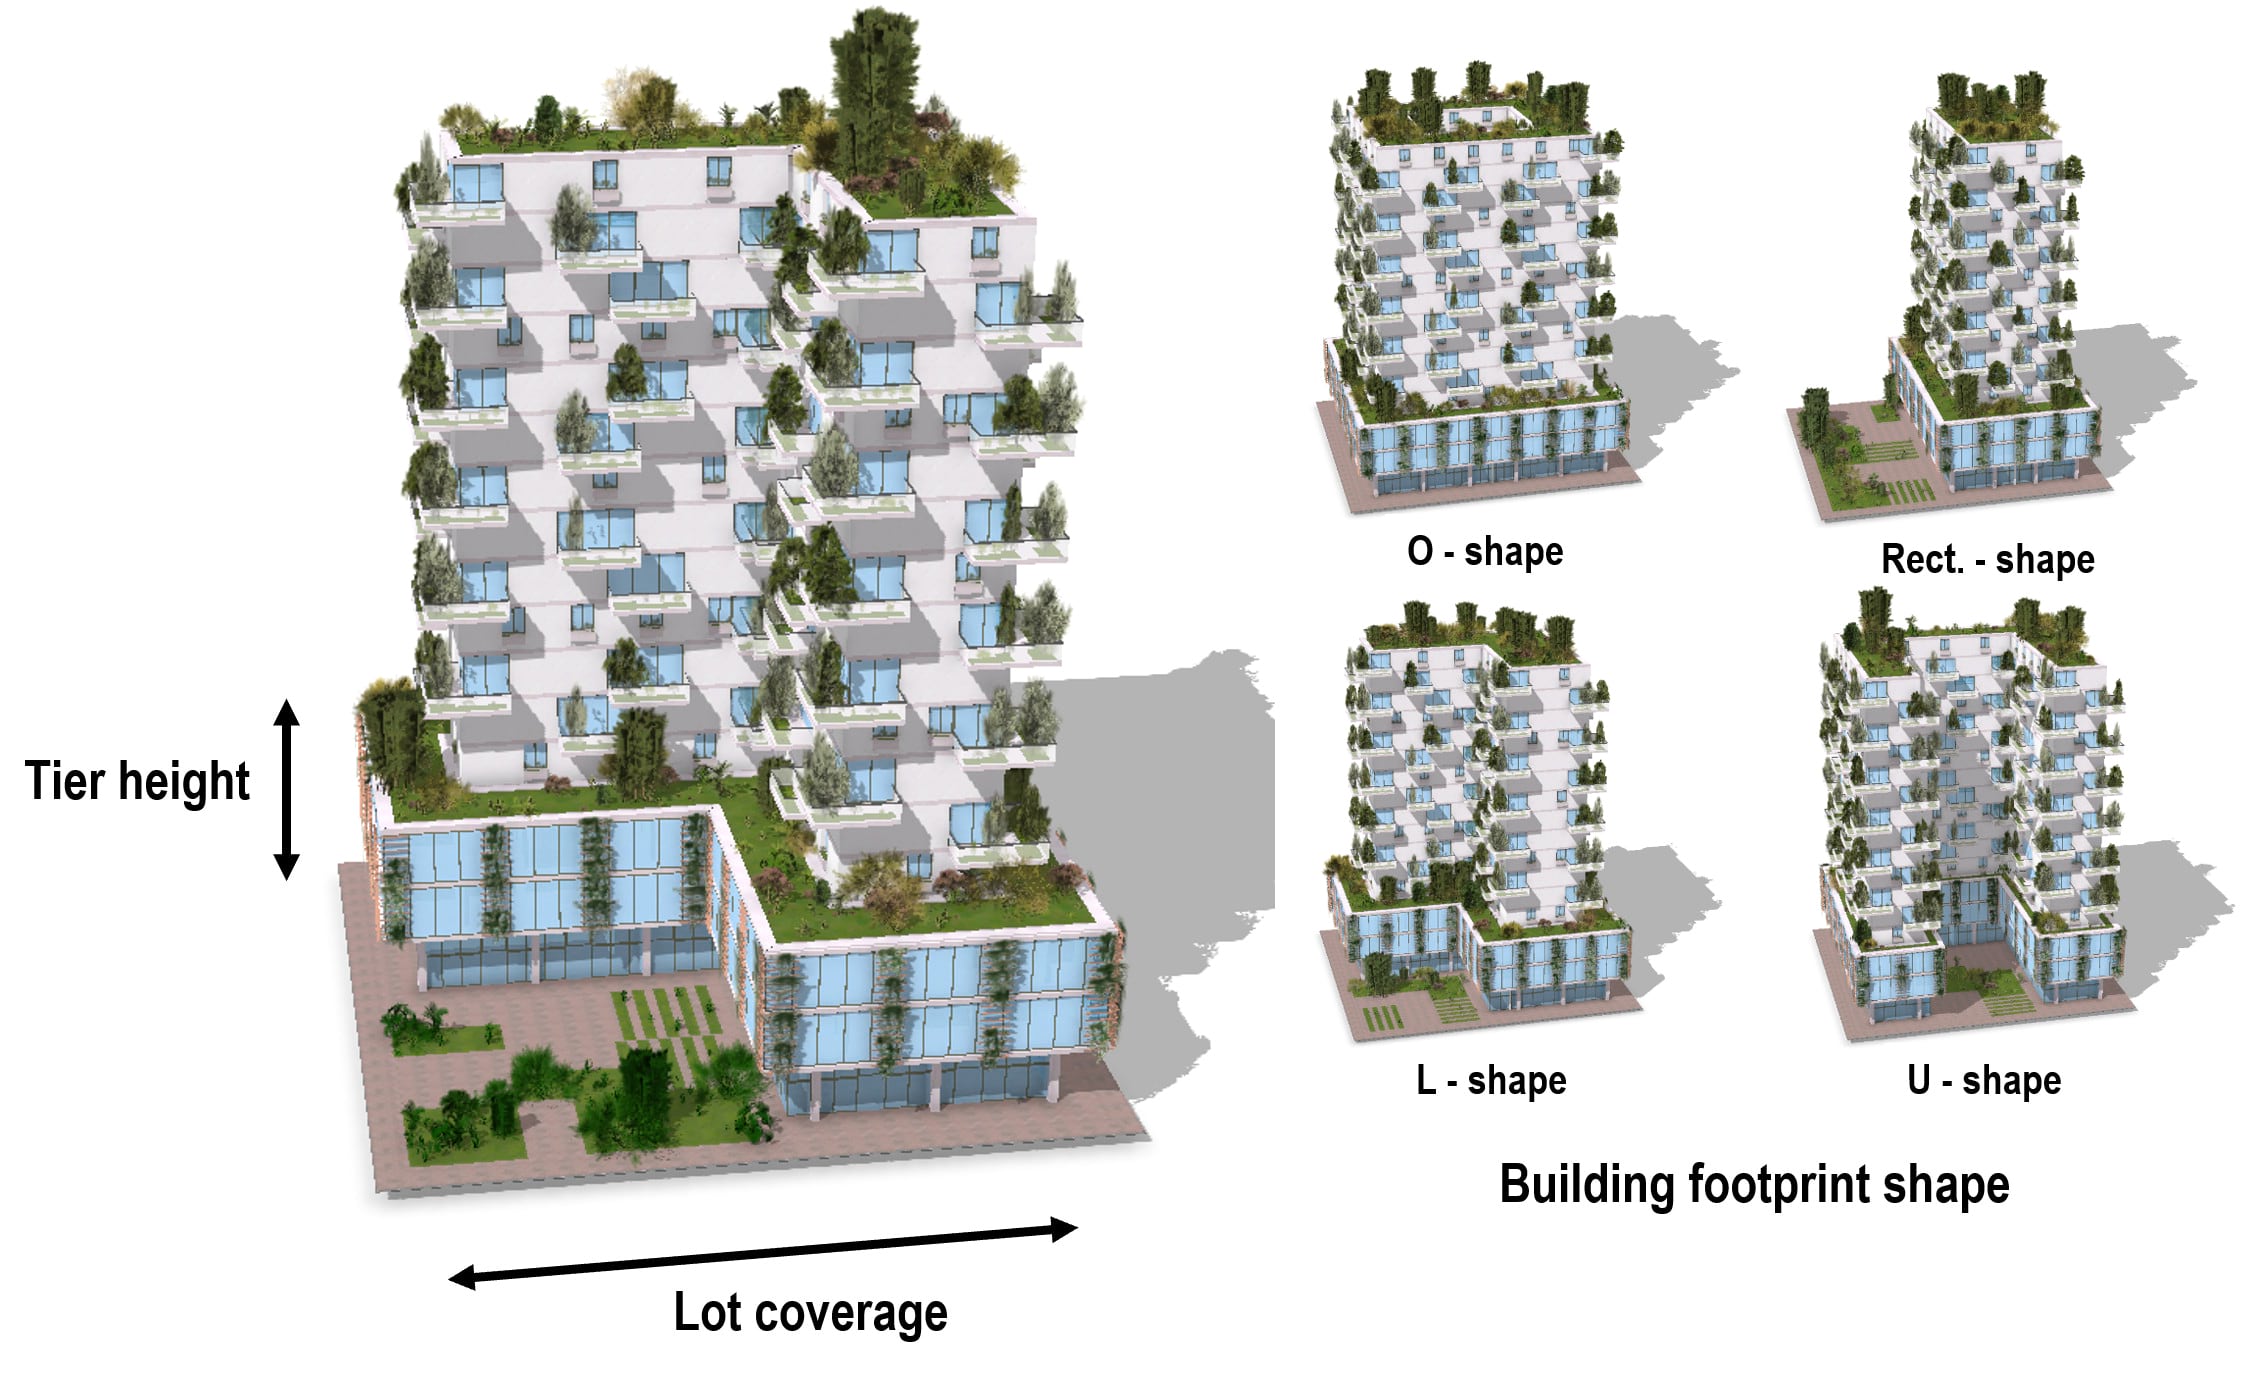
Below you can find a short description of the steps required to solve the question above. You can have a look at the code at the same time.
- You instantiate the PyPRT ModelGenerator class with your parcel as the initial shape. The initial shape can come from a file or you can specify the vertices coordinates of the parcel. In this example, the initial shape is an OBJ file.
- You then have to define the objective function of the optimization problem. This is the function you want to minimize or maximize. In it, you call the PyPRT “generate_model” method of your ModelGenerator instance and give the building attributes to vary as the parameter. In our example, the return value of the optimization objective function is the number of green spaces. This number is located in the report of the generated model. Therefore, you call the “get_report” method on the generated building and read the green spaces entry in the report dictionary.
- You can specify some constraints on the attributes ranges (minimum and maximum values for instance).
- Finally, using any optimization algorithm, you give the objective function and the attributes bounds as parameters of the algorithm and run it. It will give the optimal value of each attribute in order to maximize the greenery area.
To solve the problem, I used the SciPy optimization library, which is extensively used within the Python community. However, any optimization algorithm works with PyPRT.
How to get PyPRT
Please visit the PyPRT page for more information about the package installation, documentation and examples with ready-to-use rule packages and initial shapes. If you have any questions or feedback about PyPRT, contact me.
What’s next
What would you do if you could easily convert a geometry from one format to another? In the next post, I’m going to show you how you can use PyPRT as a geometry format converter. Moreover, I’ll present a demo server app for visualizing an uploaded geometry on a map (in two clicks!).


Article Discussion: