In the previous article you learned about how to get started with 3D in ArcGIS Runtime. In this article you will learn the available 3D data types and how they are used in ArcGIS Runtime. You will also learn some of the subtle, yet important, differences between them.
In the previous article, you learned how to setup a SceneView to display 3D data, including an introduction to operational layers and how to add them. In this article, you are going to focus on the operational layers designed exclusively for 3D. The code snippets and the links to the doc in this article are for ArcGIS Runtime for Qt (C++) but the concepts apply to any of the ArcGIS Runtime APIs.
Scene Layer Types
There are several categories of 3D data that can be used in ArcGIS Runtime, representing three dimensional features using points, 3D objects, or integrated meshes. Each has its own properties and there are some subtle differences between each of them. Read on to discover the different types and how they’re represented in ArcGIS Runtime.
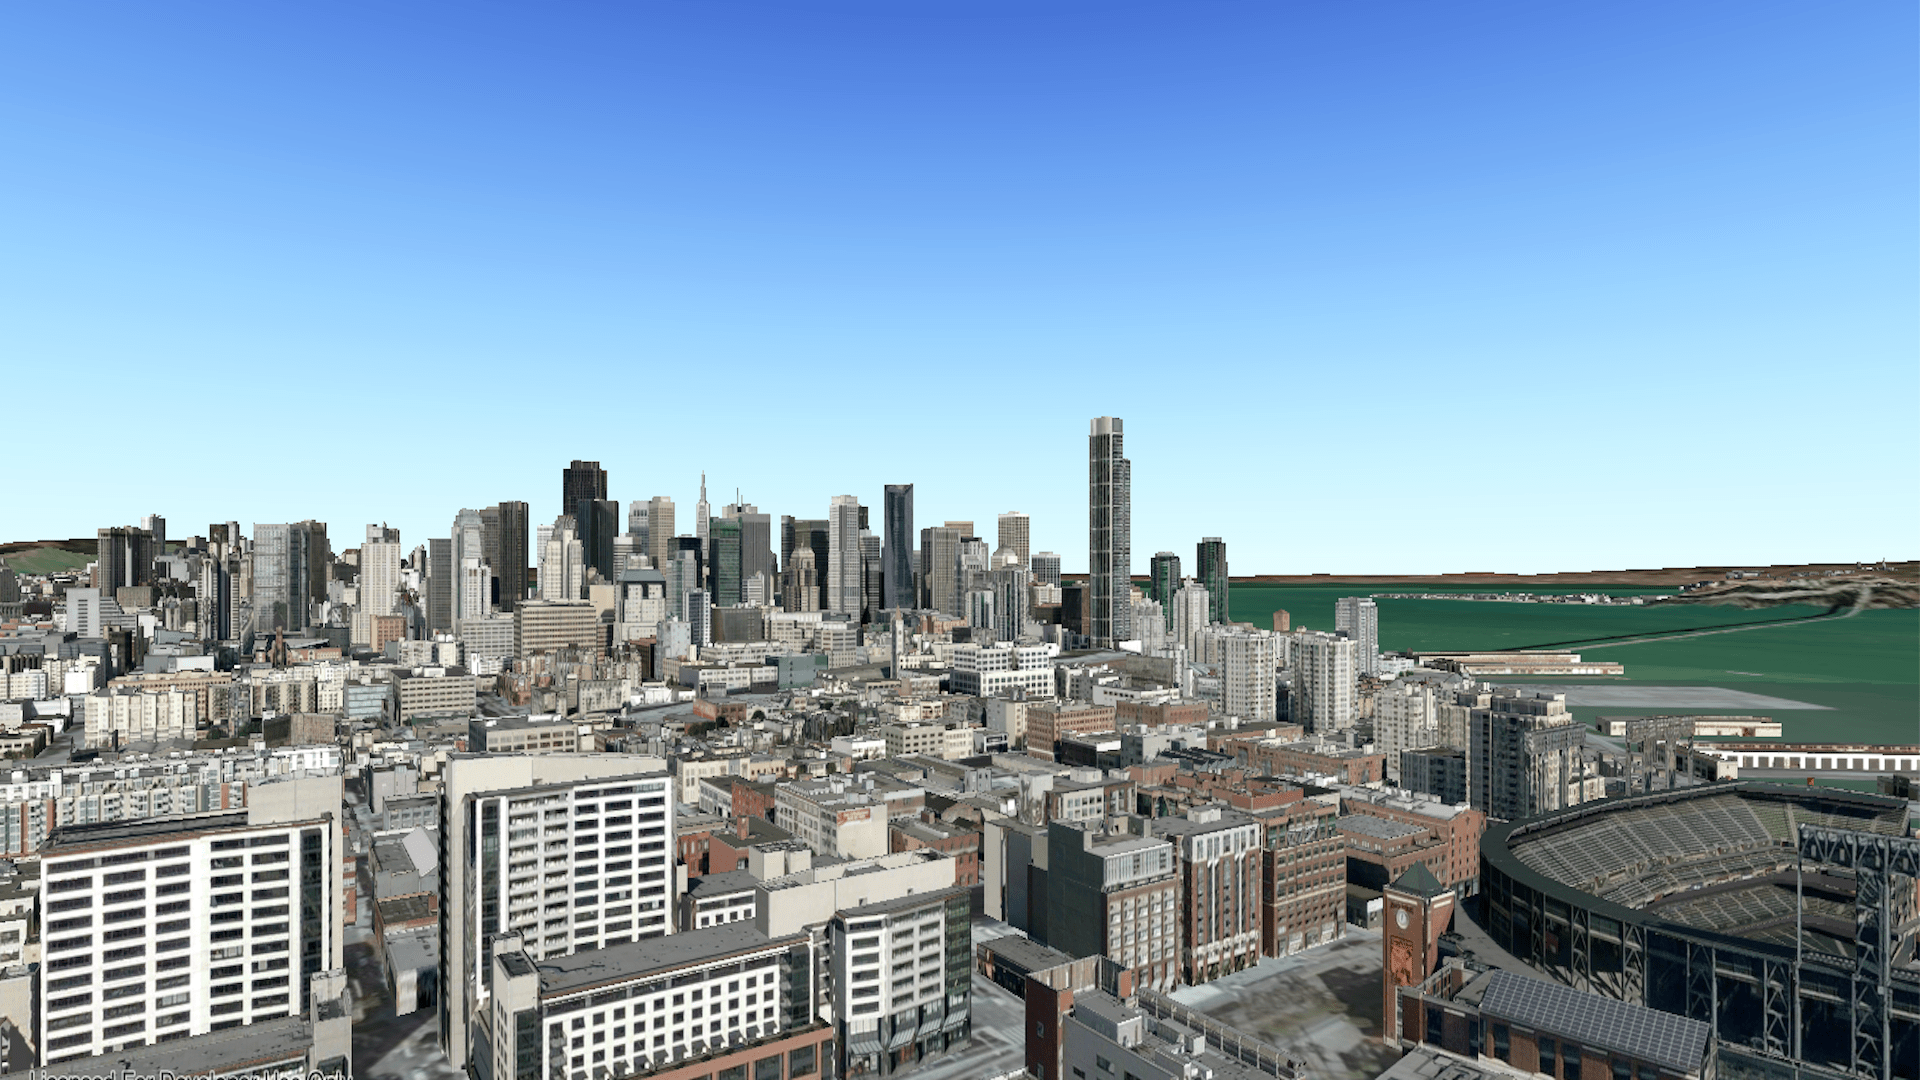
3D Object Layers
3D object features are meshes that represent real-world objects like buildings, vehicles, and so on as 3D models. Each feature has attributes with a common schema for all features in the layer. The image below shows a 3D object feature and its attributes:
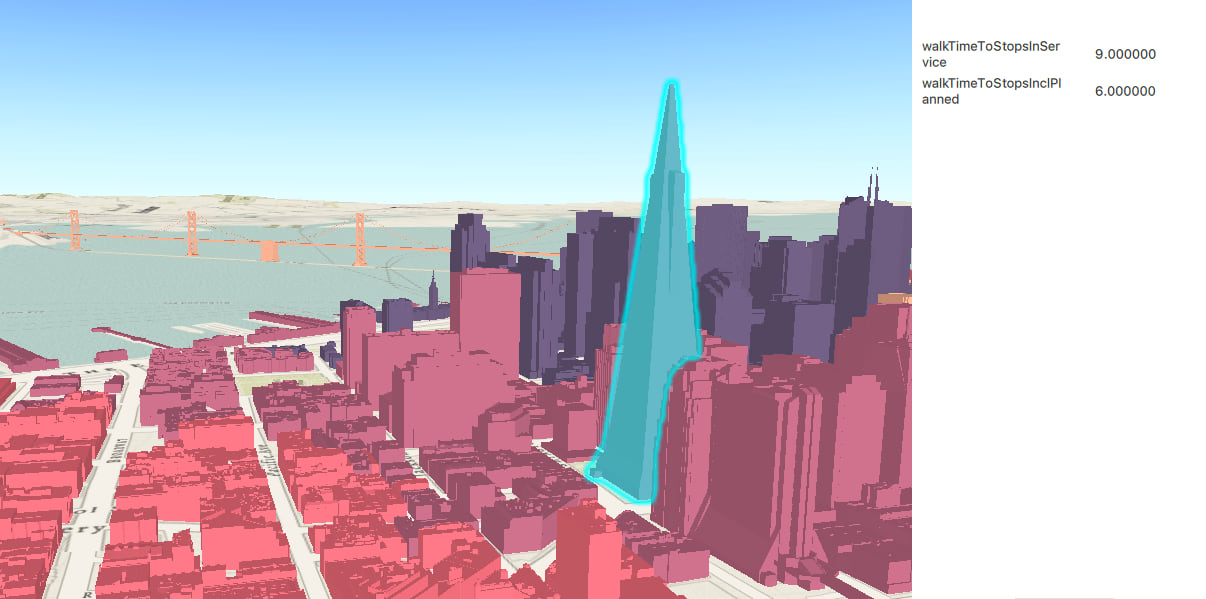
In ArcGIS Runtime, 3D objects are displayed in an ArcGISSceneLayer. 3D objects in ArcGIS Runtime always have an absolute surface placement, which means they always appear at the specified elevation above sea level. In other words, the ground elevation has no effect on the vertical placement of the features.
3D object features support operations like identify and selection. You can add popups in your application to display attributes when needed. The code below shows how to add a 3D object scene layer and perform an identify operation on it.
// create a scene layer from a url and add it to the scene
ArcGISSceneLayer* layer = new ArcGISSceneLayer(QUrl("https://services2.arcgis.com/cFEFS0EWrhfDeVw9/arcgis/rest/services/SM__3857__US_SanFrancisco__Buildings_walk_time_attributes/SceneServer/layers/0"), this);
m_scene->operationalLayers()->append(layer);

// connect the identifyLayersCompleted event once a feature has been identified to perform a selection and display a popup
connect(m_sceneView, &SceneQuickView::identifyLayersCompleted, this, [this](QUuid, QList identifyResults){
  if (identifyResults.isEmpty())
  {
    return;
  }

  if (!m_popupManagers.isEmpty())
  m_popupManagers.clear();

  for (const auto result : identifyResults)
  {
    ArcGISSceneLayer* sceneLayer = dynamic_cast(result->layerContent());

    for (const auto element : result->geoElements())
    {
      if (dynamic_cast(element))
      {
        sceneLayer->selectFeature(static_cast(element));
      }
    }

    if (!result->popups().isEmpty())
    {
      for (Popup* popup : result->popups())
      {
        // create a popup manager
        PopupManager* popupManager = new PopupManager{popup, this};
        // append popup manager to list
        m_popupManagers.append(popupManager);
        // notify QML that m_popupManagers has changed and to display the popup(s).
        emit popupManagersChanged();
      }
    }
  }
});
Integrated Mesh Layers
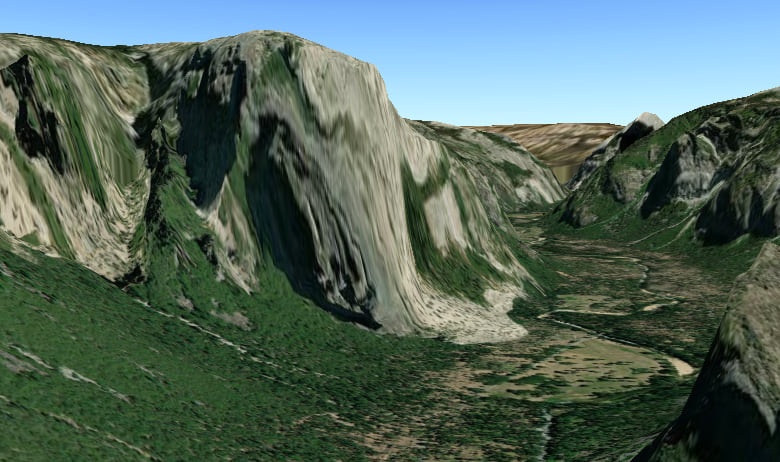
Integrated meshes are typically used to represent the skin of the earth, representing the ground, vegetation, buildings, and everything else on the visible surface. They define the surface and will cut through the ground depending on the elevation of the dataset. Such layers can be created from aerial photography (perhaps from drones, for example) or from satellite imagery. They can be as small as a single building or as large as an entire geographic region (state or country).
There are no features or attributes in this type of dataset and it consists of one contiguous piece of data. As a result, integrated mesh layers do not support identify or select operations.
In ArcGIS Runtime, integrated mesh data are displayed using an IntegratedMeshLayer. Below is a code example of how you can create and add this type of layer to the scene.
// create the integrated mesh layer
const QUrl meshLyrUrl("https://tiles.arcgis.com/tiles/FQD0rKU8X5sAQfh8/arcgis/rest/services/VRICON_Yosemite_Sample_Integrated_Mesh_scene_layer/SceneServer");
IntegratedMeshLayer* integratedMeshLyr = new IntegratedMeshLayer(meshLyrUrl, this);

// add the layer to the scene
m_scene->operationalLayers()->append(integratedMeshLyr);
Point Cloud Layer
Point cloud layers are used to display large amounts of point data and are optimized for rendering. Lidar is a perfect example of point cloud layer. Point cloud layers are always at an absolute height for surface placement.
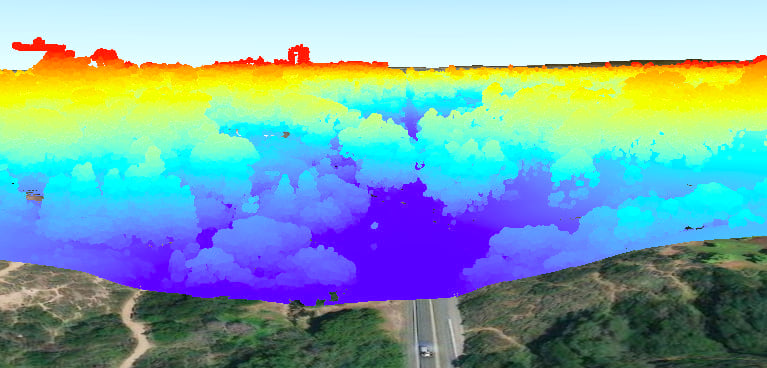
In ArcGIS Runtime, point clouds are displayed in a PointCloudLayer. The code snippet below illustrates how to add a point cloud layer to a scene. Operations such as identify or selection are not supported for point cloud layers in ArcGIS Runtime.
// create the point cloud layer
const QUrl pointCloudLyrUrl("path to local data"); // .slpk
PointCloudLayer* pointCloudLyr = new PointCloudLayer(pointCloudLyrUrl, this);

// add the layer to the scene
m_scene->operationalLayers()->append(pointCloudLyr);
3D Point Layer
3D points layers represent points with three dimensional coordinates. Point layers honor all the surface placement modes, which means if a point’s surface placement is absolute, it will appear at the specified elevation above the sea level, and so on. Point layers have feature attributes that can be used to symbolize them using either 2D or 3D symbols. 3D points may represent features like trees, street furniture, and so on.
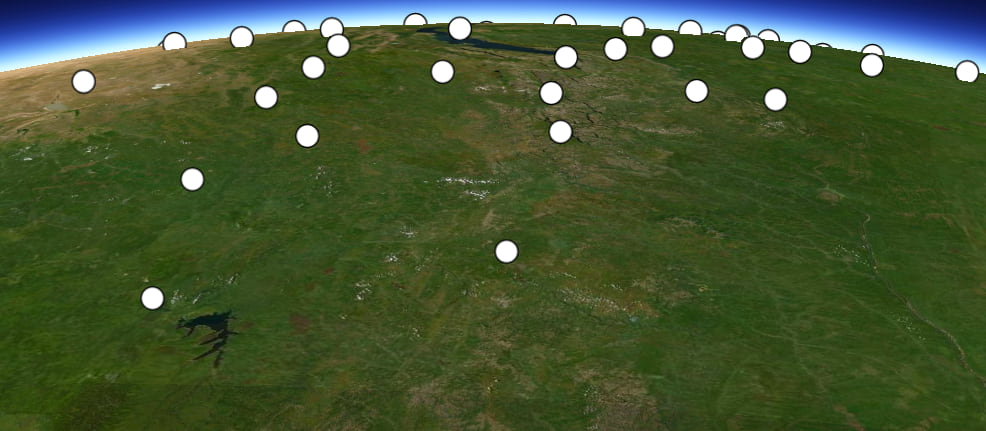
Point layers are displayed by a ArcGISSceneLayer in ArcGIS Runtime. They support operations like identify and selection. The code example below shows how to create and add a point layer in ArcGIS Runtime.
// create a new point scene layer from world airport REST service
ArcGISSceneLayer* pointSceneLayer = new ArcGISSceneLayer(
QUrl("https://tiles.arcgis.com/tiles/V6ZHFr6zdgNZuVG0/arcgis/rest/services/Airports_PointSceneLayer/SceneServer/layers/0"), this);

// add scene layer source to the scene to display points at world airport locations
m_scene->operationalLayers()->append(pointSceneLayer);
Point layers are thinned automatically for better performance and visibility depending on the distance at which the points are viewed. At greater distances, you may see fewer features than you will at a closer distance.
A key difference between points in a scene layer and those in a feature layer is that data in a feature layer can be dynamic whereas data in a scene layer is cached and static. A feature’s geometry and attributes in a feature service may be updated over time. Scene layer data however is static and never changes.
Conclusion:
In this article, you learned a few details about some of the 3D datasets and how to use them in ArcGIS Runtime. You also learned some of the subtle differences in functionality among them like what surface placements are supported in each and whether they have feature attributes. I hope you enjoyed reading this. Your feedback is important and I hope you will share your thoughts about this article or other topics you’d like to learn about.

Article Discussion: