Introduction
BIM building models can contain millions of features. This data is used during the building design, construction, validation and decision-making processes. But what happens when the construction has finished? Such rich and detailed data can be very valuable, but at the same time difficult to interact with for non-professional users.
In this article we will explain how to leverage your existing BIM data to engage users and visitors of a building to discover the architecture, explore the different floors, and even navigate and visualize the rooms and spaces, in a simple and intuitive website: the Building Viewer.
See the Building Viewer running here: https://esri.github.io/building-viewer

But before we go into details on how this web site works, let’s take a step back to learn about the technology that makes it possible…
Building Scene Layer
Building scene layer is the latest data type added to the ArcGIS platform. This new layer allows you to visualize BIM building data, coming from Autodesk Revit, in an efficient and performant manner, on the web. This new capability opens tremendous possibilities of creating rich user experiences, in a thin client, combining BIM data with GIS.
Building scene layers not only represent the shape of a building, but all the different parts that compose the exterior and interior of the model: walls, windows, doors, electrical and plumbing fixtures and even furniture. These accurate representations of building assets are useful in many use cases, ranging from architecture and building design, to construction control and monitoring, and spaces and asset management.
You can use the Scene Viewer in ArcGIS Online to mash up your building scene layer published from ArcGIS Pro together with a city model, streets, transportation and utilities data for example. Save the visualization as a web scene, share with colleagues or with the public, and explore this data on the web, even on a phone.

As a developer, the ArcGIS API for JavaScript allows you to build richer, more focused user experiences around the BuildingSceneLayer, together with the available layers, widgets and tools.
Turanga public library
Public buildings like government or administration buildings, commercial buildings or large office campuses, once construction has finished, can now reuse their BIM engineering datasets and obtain an added value from these existing models. A great example of a public building that recently open the doors after construction is the new Turanga public library in Christchurch (New Zealand).

Once we saw the BIM model, combined with the rich information available about the library, we agreed it would be the perfect use case to drive our app design. We worked together with the Christchurch City Council to publish the data to ArcGIS Online and the development started. We would like to take the opportunity to thank the City Council for openly collaborating with us and for sharing their BIM model data as Creative Commons (CC BY 4.0), you were super helpful!
Let’s now look into the Building Viewer design and implementation…
Building Viewer
The Building Viewer is designed to show a building from multiple perspectives: an overview of the building, a floor level visualization and a birds-eye view of the building together with its surroundings. Each section shows additional information like photos, opening hours or informational text and links.

The ArcGIS API for JavaScript is used to display and interact with the building and surroundings in each of the sections. Let’s explore them in more detail:
1. The overview presents the building from the outside, a set of stored points of view to explore the architecture as well as some general information. Viewers can also freely zoom in around to get a closer look at the building details.
In the JavaScript API, to load the BIM model and surrounding buildings, we will use a web scene, created with the Scene Viewer, using the WebScene class.
    var scene = new WebScene({
        portalItem: {
            id: "affa021c2d61fe1057..." // ID of the Web Scene on arcgis.com
        }
    });
The web scene also contains Slides which are used to create the viewpoints, using the slide text as the button title and slide camera as the location.
<button onclick={view.goTo(slide.viewpoint)}>{slide.title}</button>
2. Floor by floor section takes users inside the building, on a top-down view to easily navigate through the interior spaces. Icons indicate locations like staircases, emergency exits or vending machine locations, as along with some embedded photos of interior areas.
The icons displayed in this section are also part of the layers in the web scene, and together with the building, the data gets filtered based on the selected floor. This is an example of a BuildingSceneLayer filter:
    buildingLayer.filters = [{
        filterBlocks: [
        {
            title: "floor",
            filterMode: { type: "solid" },
            filterExpression: "BldgLevel = 3"
        }
        ]
    }];
3. Surroundings is a section that brings together GIS information and BIM information in one view. In this case users can explore car park, transportation options and some nearby points of interest.
The web scene can also contain other GIS layers, and this section is simply a representation of such layers along with some points of interest that are enabled or disabled on click.
    view.map.layers.forEach(layer => {
        <button onclick={layer.visible = true}>layer.title</button>
    });
There is of course a lot more to discover in the source code. The website is built in Typescript and JSX, using SASS and it is a great example of how to leverage the ArcGIS API for JavaScript in a modern and interactive way.
Head to the GitHub repository to find out more or continue reading. In the next section we’ll go over how to configure the source code with your own data and to even extend the application with custom sections.
Set up your own Building Viewer
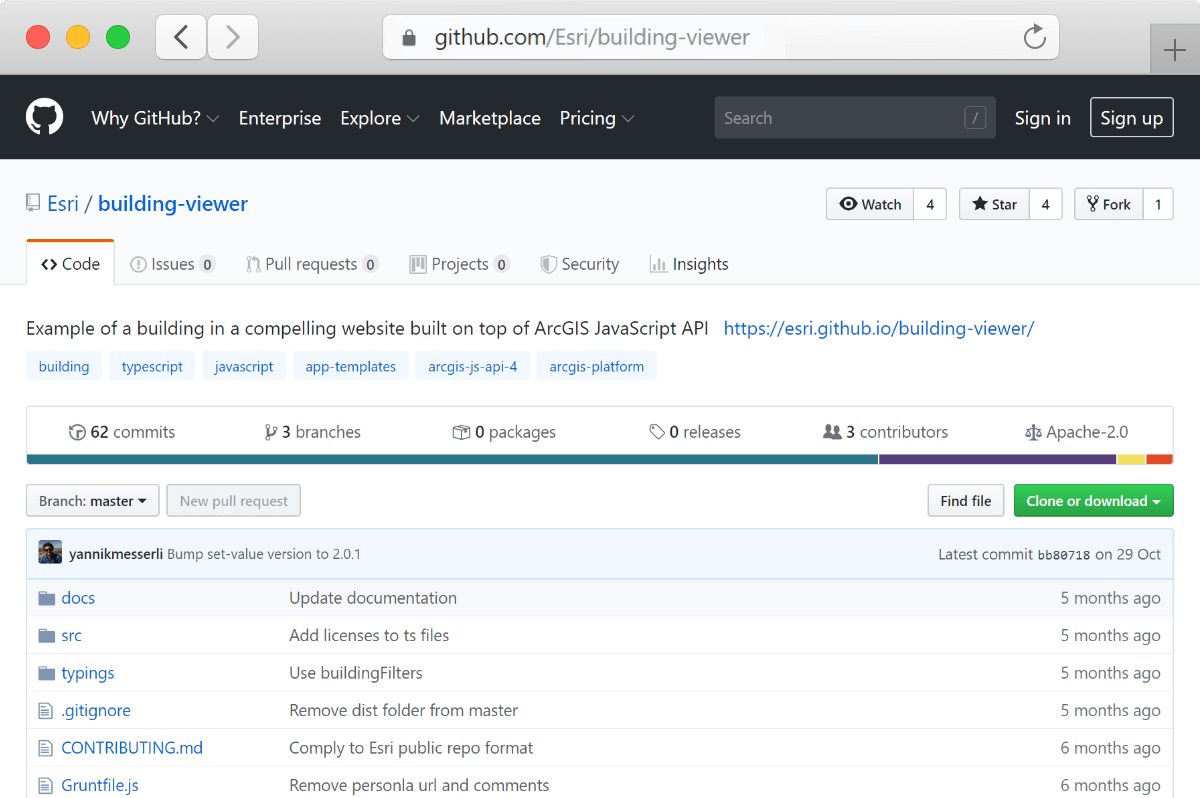
We had a lot of fun configuring the Building Viewer with the Turanga library, but we would like you to use it with your own buildings. Hence, we open sourced the code on GitHub and wrote a few easy steps in the readme to get started: https://github.com/Esri/building-viewer/
To configure your own version of the Building Viewer start by cloning the repo on your computer. The code ships with all the tools you will need to start and display it locally. You will just need to install the dependencies, compile TypeScript and then run the package’s script called `server`.
There are two main aspects required configure your version of the viewer:
A) The web scene
The web scene contains all content, layers and viewpoints. Use the ArcGIS online scene viewer to create your scene with the main building scene layer, surrounding buildings, additional layers and slides (viewpoints). When creating the scene, it is important to follow the Building Viewer naming conventions for layers and slides.
For example, the layer with a name starting with “Building:” is the only required layer in your web scene and represents the main building. Whereas a layer with a name starting with “City model:” is an optional layer in your scene that shows the surroundings. You can read about the naming conventions in more detail here: https://github.com/Esri/building-viewer/blob/master/docs/NameConventions.md
B) The configuration file `src/config.tsx`
This file is the central point for configuring the content and the sections. Once you have created the web scene described in the step above, replace the existing webscene ID with your own.
let websceneId = "YOUR WEBSCENE ID HERE";
Then notice that in this file the 3 sections of the viewer are created and configured. You will have to adjust the sections configuration to match your building and the information you would like to display on your website.
    let sections = [
        new HomeSection({
            content: "",
            timetable: {}
        }),
        new FloorsSection({
            floors: []
        }),
        new SurroundingsSection({})
    ];
You can read more about configuring the sections and even creating your own custom section here: https://github.com/Esri/building-viewer/blob/master/docs/Sections.md
Once the config.tsx file with the web scene and sections is ready, most of the additional configuration will happen in your scene. For example, if you would like to change the title of the home page go back to your scene and change its title. Change the website background color? Change the scene’s Ground color and remove the basemap.
We have just explored the configuration, but if you are familiar with sass style and our API, you will quickly be able to also change the colors, the renderers and create your own sections. The possibilities are endless! We are now waiting for your creativity…
Summary
From our side, we feel like we have only scratched the surface of the possibilities offered by building scene layers. This year we released a first set of tools and widgets that make use of the data and layers and we will keep adding more. Please stay tuned!
And as said, the Building Viewer website is available as an open source project on GitHub so that you can configure it with your data and make it your own, just go here and download or clone the repository: https://www.github.com/Esri/building-viewer/
We hope to see your own version of the building viewer with buildings from cities around the world!

Commenting is not enabled for this article.