
Welcome, future GIS wizards and software engineering superheroes 🌟! If you’re just starting to explore the world of GIS and looking to build custom web mapping applications, you’ve come to the right place! This step-by-step guide will walk you through the process of getting started with ArcGIS Maps SDK for JavaScript, preparing you to create stunning maps and leverage its powerful geospatial capabilities in your web applications.
Follow along to learn how to setup your development environment, create an ArcGIS account, obtain an API key, and build a basic web mapping application using ArcGIS Maps SDK for JavaScript and Visual Studio Code.
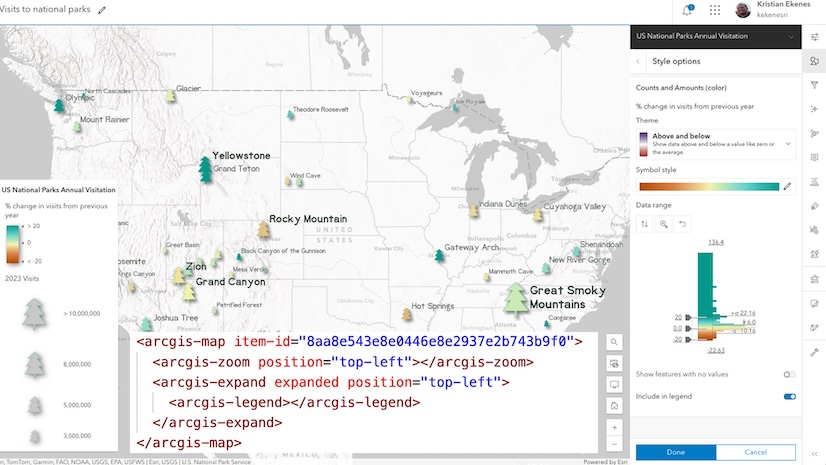
This example uses ArcGIS CDN to get started with the JavaScript Maps SDK—a fast and easy way to get up and running without a local setup.
Quick Links
- Setting Up Your Development Environment
- Creating an ArcGIS Account
- Creating an API Key
- Creating Your Web Application
- Importing and Displaying from a CSV
Setting Up Your Development Environment
To start, you’ll set up your development environment using a code editor. In this tutorial, we will use Visual Studio Code.
Download Visual Studio Code
- Download and install Visual Studio Code from the official website.
- Open Visual Studio Code and go to the Extensions view.
- Search for ‘Live Server’ and install the extension to help you preview your web applications.

Create a Project Folder
- Click on ‘File’ and then ‘Open Folder’ to create a new folder for your project.
- Choose a location to save your project and create a new folder.
- Click ‘Open’ to open the folder in Visual Studio Code.
- Click ‘Allow’ and let Visual Studio Code access to your local file.
- Click ‘Trust’ to trust the authors.
- Restart/ Reopen Visual Studio Code before you get started with your first code.
- Create a new HTML file (e.g. index.html) under the folder to start writing your code.

Creating an ArcGIS Account
Now, let’s explore a fundamental tutorial—How to Display a Map using ArcGIS Maps SDK for JavaScript.
To get started you can either create an ArcGIS Location Platform or ArcGIS Online account. In this example, we’ll set up an ArcGIS Location Platform account and take advantage of its free tier to get started. Alternatively, you can also create an ArcGIS Online account and leverage its 21-day free trial. If you have an existing ArcGIS Location Platform, ArcGIS Online, or ArcGIS Enterprise account, you can use the JavaScript Maps SDK at no additional cost.
Create an ArcGIS Location Platform Account
- Click on Sign up for an account.
- Enter relevant details: First name, Last name, Email.

- Fill in all the sections.
- For the Your portal URL section enter a string that you would like to display in the URL e.g. MyMaps
- For Your portal display name, enter a value that you would like to display e.g. MyMaps.

Creating An API Key
Once you log into to your account, create an API Key by following the steps outlined below.
- Click on My Portal > New Item > Developer Credentials > API Key Credentials
- Set the expiration date to a month from today’s date
- Select only the required location services (This example selects all the services).
- Add a title and a summary (Optional)
- Click on Next > Generate API Key > Next
Your API key will be generated 🎉 . Click the copy button to quickly save your API key for the next step.
For more information on ArcGIS Location Platform and creating an API key, you can also watch this video.

Creating Your Web Application
Once your ArcGIS account is set up, head over to Visual Studio Code to create your web application.
- Copy the HTML and CSS code from the tutorial into Visual Studio Code.

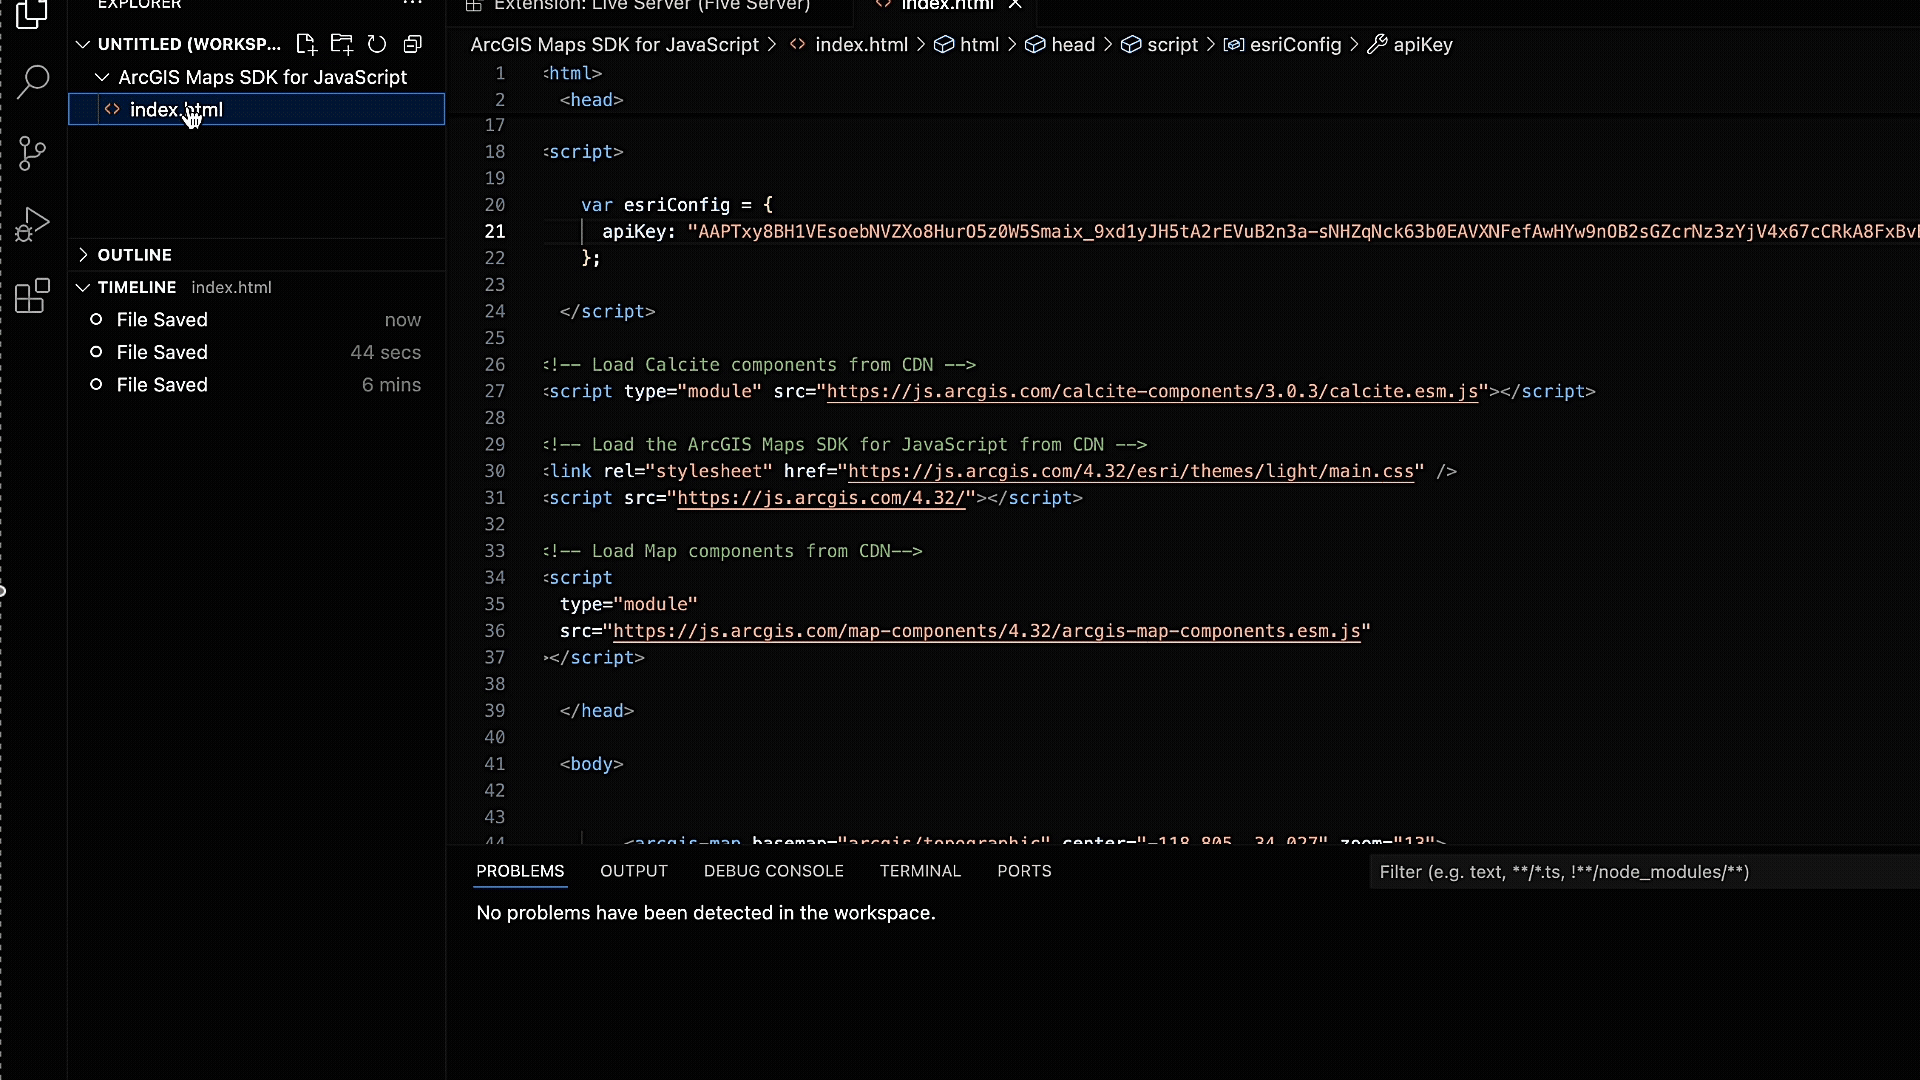
- Enter the API key that was generated in your ArcGIS Location Platform account in the “YOUR_ACCESS_TOKEN” slot.

- Add script and link tags for Map Components and Calcite Design System.

- In the body tag, use the Map component to set the basemap layer, location, and zoom level.
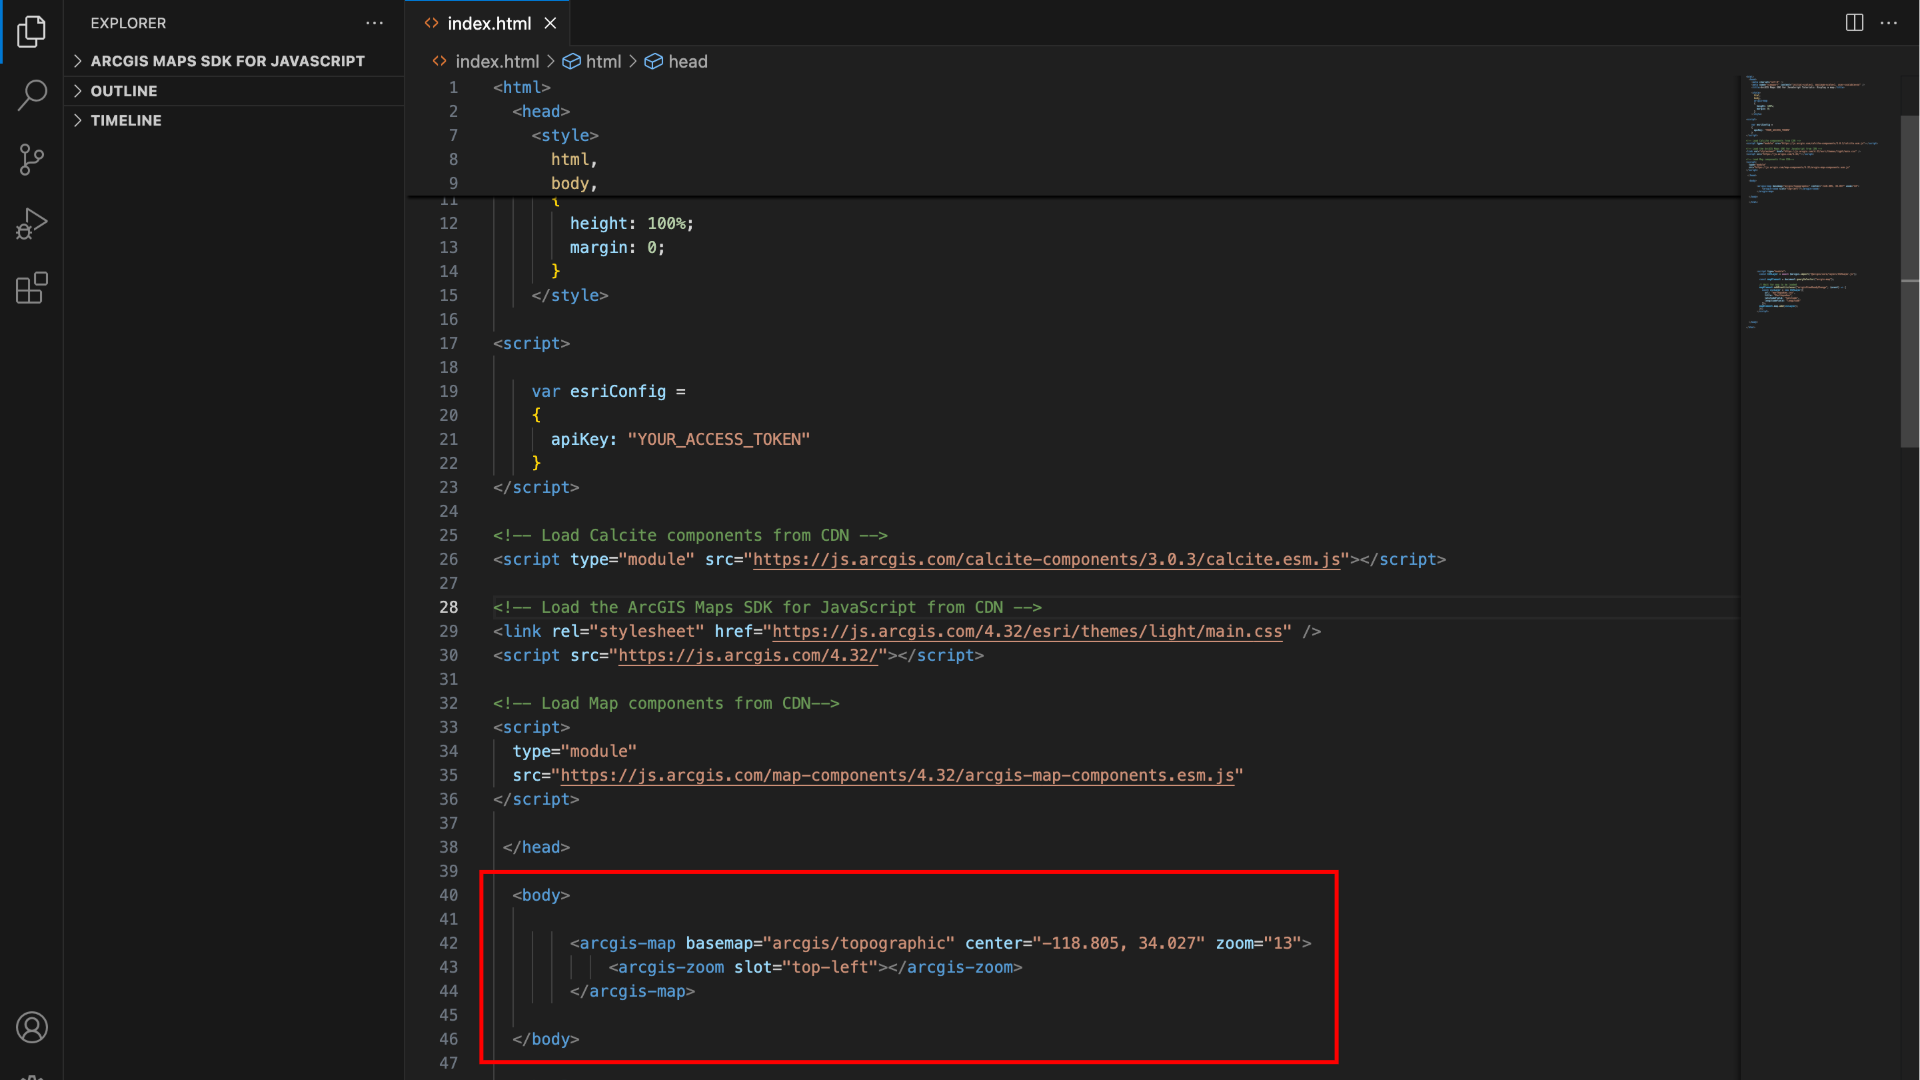
-
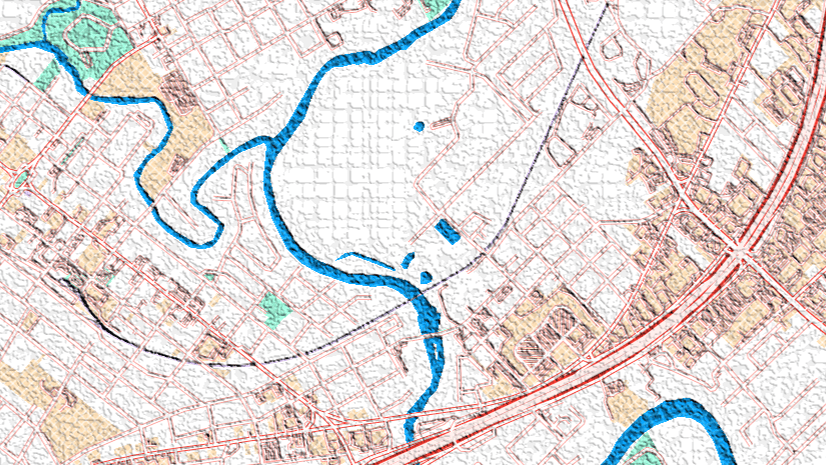
To display the map, start by clicking on ‘File’ and then select ‘Save’. Next, right-click on your file name and choose ‘Open with Five Server’. This should launch your browser and showcase the topographic basemap layer for an area within the Santa Monica Mountains in California. Alternately, you can also click the ‘Go live’ button in the lower right corner to run the code.
Congratulations on successfully displaying a map using ArcGIS Maps SDK for JavaScript! 🥳 You can also build the same map using ArcGIS Online, following similar steps.
Importing and Displaying Data from Your CSV
A powerful capability of JavaScript Maps SDK is enabling you to convert raw data into informative maps. If you would like to import data from a CSV file and display it on the same map, follow along.
- Download this CSV file.
- You may use your own CSV file as long as it includes latitude and longitude information.
- Save and name the file (e.g. earthquake.csv) in the folder you created for your project.
- Import the CSV file via the map element.

- Run the code to display a map with locations that experienced earthquake
- Zoom out to view the locations impacted by the earthquake

If you liked this tutorial, consider exploring more tutorials, and sample code to deepen your understanding of JavaScript Maps SDK. Additionally, you can consider these courses on offer by Esri Academy to master the SDK.
Additional Resources
To learn more about ArcGIS Maps SDKs for JavaScript, visit our Webpage. For detailed documentation, head over to the Esri Developer Site. Also, stay in the loop with the latest in Developer technology by subscribing to the Esri Developer Newsletter.


Article Discussion: