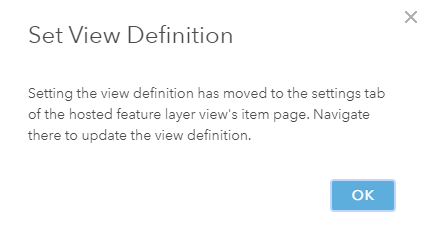
Hosted feature layer views are a great way to provide stakeholders with alternative visual and tabular representations of a dataset that includes only relevant information. For example, you can exclude fields containing personal information on view layers that are public facing. This control over a view layer is accomplished by setting view definitions. With the latest release of ArcGIS Online, we’re excited to announce a new create view experience. The new experience combines the creation and definition setting workflows together, making the process of configuring a view more seamless. We’ve also introduced a new update view experience that allows you to update your definitions all at once. The old view definition setting access points, through Map Viewer Classic and the Visualization tab, will no longer be updated and they will prompt you to the new update view experience.
Creating a view layer
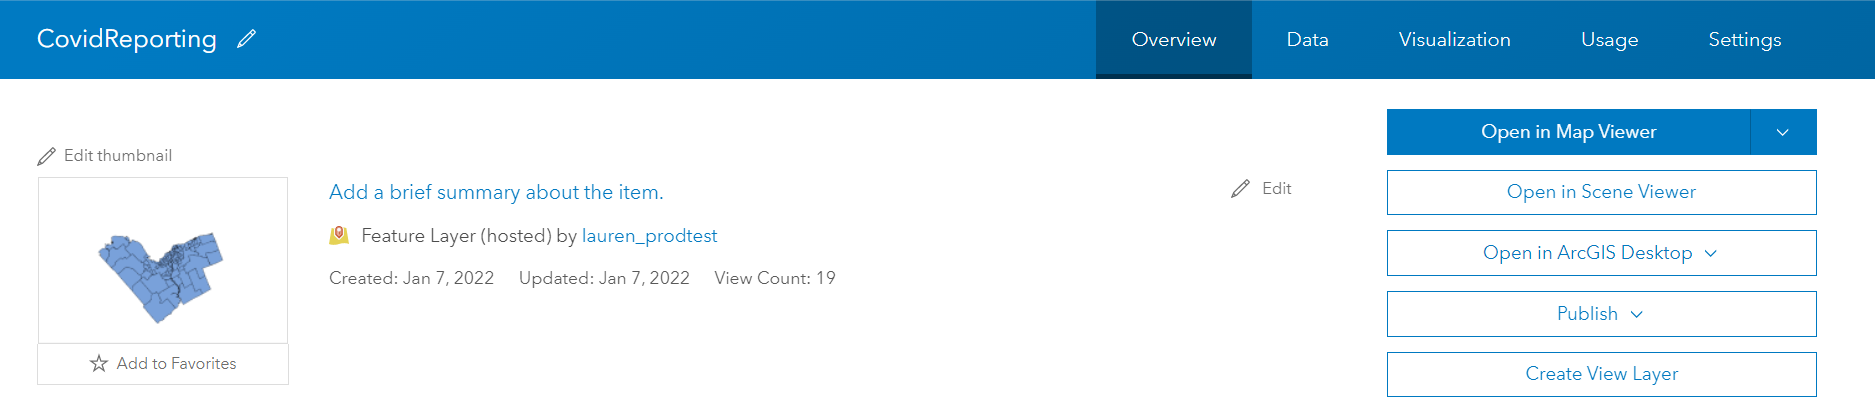
Let’s walk through the new create experience together with an example. Say I have a team of data reviewers responsible for managing Covid-19 infection data for downtown Ottawa. I also have a hosted feature layer comprised of a Covid-19 reporting layer, an Ottawa neighborhoods layer, and a summary table of confirmed cases. Only the Covid-19 reporting layer is relevant to the reviewing process, so I’ll need to create a view layer that only contains the Covid-19 reporting layer and excludes patient information for confidentiality reasons.
To get started click Create View Layer on the Overview tab of the hosted feature layer’s item page. This launches the new Create View Layer experience, which includes three steps, 1) Choose Layers; 2) Define view; and 3) Create view.
1. Choose layer
In this step you select the layers and tables that you want to include in your view layer. Continuing with our Covid-19 reviewers’ example, I’ll un-select the Neighborhoods layer and Summary table to ensure that the reviewers only assess the Covid-19 reporting layer.

2. Define view
This is an optional step in which you set the view definitions, filter, area of interest, and/or field definition, for each layer and table in the view. For our example, I’ll use a filter to show records that have not been reviewed, an area of interest to focus on downtown Ottawa, and a field definition to exclude patient personal information.
Setting definitions on multiple layers is as simple as setting the definition on a layer, clicking the Back-arrow button to return to the list of Included layers, and then selecting the next layer you want to configure.
3. Create view
The final step is where you specify the item data for your view layer and finish creating your view layer.
Updating a view layer
You might find that you need to tweak the view definitions and the layers or tables included in an existing view layer. The new update view experience allows you to do just that in one-shot. Simply go to the view layer’s Settings tab, click Update View and you can update your view in just a few clicks.

What’s next
We’re excited about the new create and update view experiences, and we’re going to keep expanding the capabilities of these workflow. Some of the enhancements we have planned include:
- Swapping the source layer (great for staging a new layer to replace the old one)
- Create view from a join (simple, spatial, and SQL)
- Improved tools for defining area of interest

Commenting is not enabled for this article.