ArcGIS Online includes capabilities that make it easy to manage and protect your items to ensure that you don’t accidentally delete them, have others copy or download your data, make edits and other changes, or get unwanted comments. Here’s an overview of the different ways you can protect and manage access to your content.
Prevent accidental deletion
You can use categories and tags to help identify key layers, maps, or other items that you don’t want to inadvertently delete. But the most surefire way to prevent accidental deletion is to enable Delete Protection.
In the item pages, open the Settings tab and check the box to Prevent this item from being accidentally deleted. When finished, click Save.
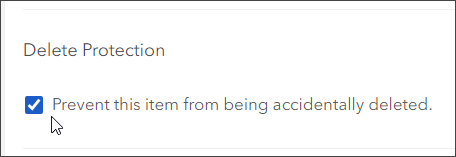
This prevents the inadvertent deletion of essential items. If you really want to delete the item, uncheck the box, save, then delete. For more information, see Enable delete protection.
Manage map copying
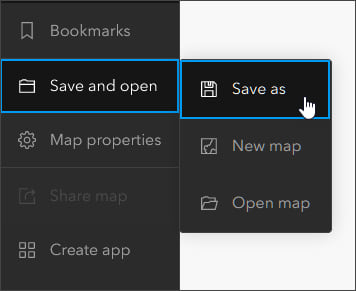
You can specify whether others can save copies of your shared maps using the Save As property. By default, others you’ve shared the map with can make copies of your map by using Save as from the Contents (dark) toolbar.
To control copying, in the map item pages click Settings, then scroll down to the Web Map section. Check or uncheck Allow others to save a copy of this item, then click Save.
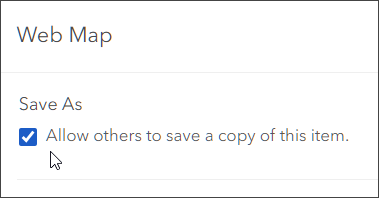
When unchecked and the map is opened by others, Save As is disabled, preventing your map from being saved as a copy. For more information, see Save maps.
Manage feature layer export
In the Settings tab of the feature layer item pages, Export Data allows users to export features in a variety of formats. By default, this setting is checked off.
To enable or disable this capability, in the item pages click Settings, scroll down to the Feature layer (hosted) section, then check or uncheck Allow others to export to different formats.
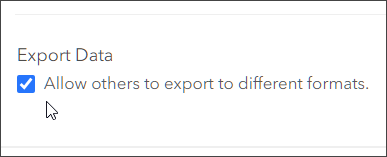
When enabled, Export Data appears on the item pages offering a list of different formats the features can be exported to.
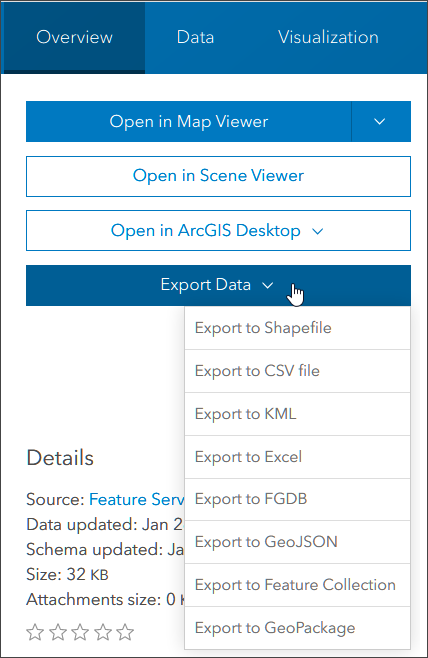
For more information, see Allow data exports.
Protect your editable feature layers
Who can edit feature layers is controlled by both sharing and the layer settings. These settings include tracking who makes changes and what changes were made, what kind of editing is allowed (add, delete, update), if both attribute and geometry editing are allowed, whether editors can edit all features or just their own, and even who can see the features.
If you try to enable editing on a layer that is shared with the public, or if you try to share an editable layer with the public, you will be prevented from doing so unless you enable public data collection.
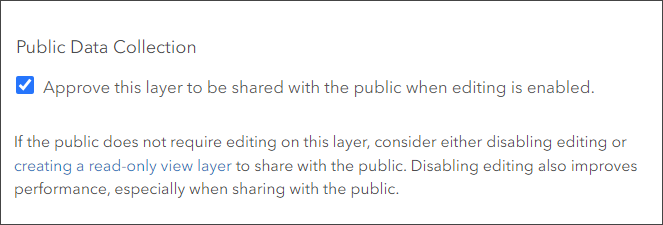
When enabled, the item is badged for Public data collection.
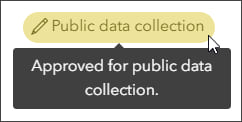
When you enable editing on a layer that is shared publicly, anyone with access to the layer can make edits, including those outside your organization and those inside your organization without editing privileges.
To maintain control over who can make edits, and still make the layer publicly available, you can create a read-only view layer. See Create hosted feature layer views for more information.
Enable or eliminate comments
Comments can be useful in getting feedback from users of your maps and other items. For example, Esri’s Recent Earthquakes live feed has a long list of comments, which you will find at the bottom of the item Overview page.
The comments range from questions about the service to suggestions for improvements. But suppose you don’t want any comments at all? As an organization administrator you can disable comments by navigating to your organization Settings, opening Items, then enabling or disabling comments.
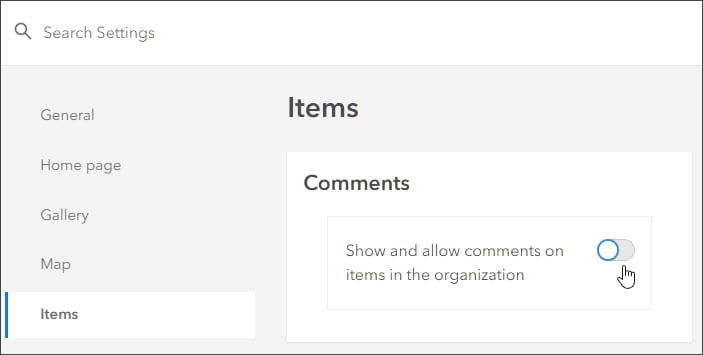
For more information, see Add ratings and comments.
Manage access to your home page
In many cases, you will want to allow anonymous visitors to view your home page so they can find your featured maps, apps, groups, and more. If you do not want your home page available to anonymous visitors (those without an ArcGIS account), you can prevent anonymous access.
Administrators can enable or disable anonymous access by going to the Security section of the organization Settings.
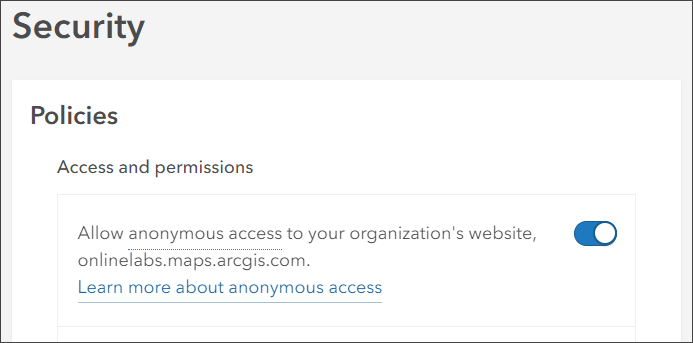
Even when anonymous access is disabled, members can still share public items using the public URL. For more information, see Access and permissions and Configure security settings.
More information
For more information. see:
- Item details (Help)
- Protect your editable feature data from the public, a best practices approach (Blog)
This post was originally published on January 10, 2014, and has been updated.

Commenting is not enabled for this article.