Understanding a layer’s attribute data is one of the keys to making good maps. This task can be especially challenging if you aren’t familiar with the layers you’re showing on your map. Knowing what attributes you have and what the values mean helps you make the right decisions when styling the layer and configuring popups that others can view.
Viewing the list of fields
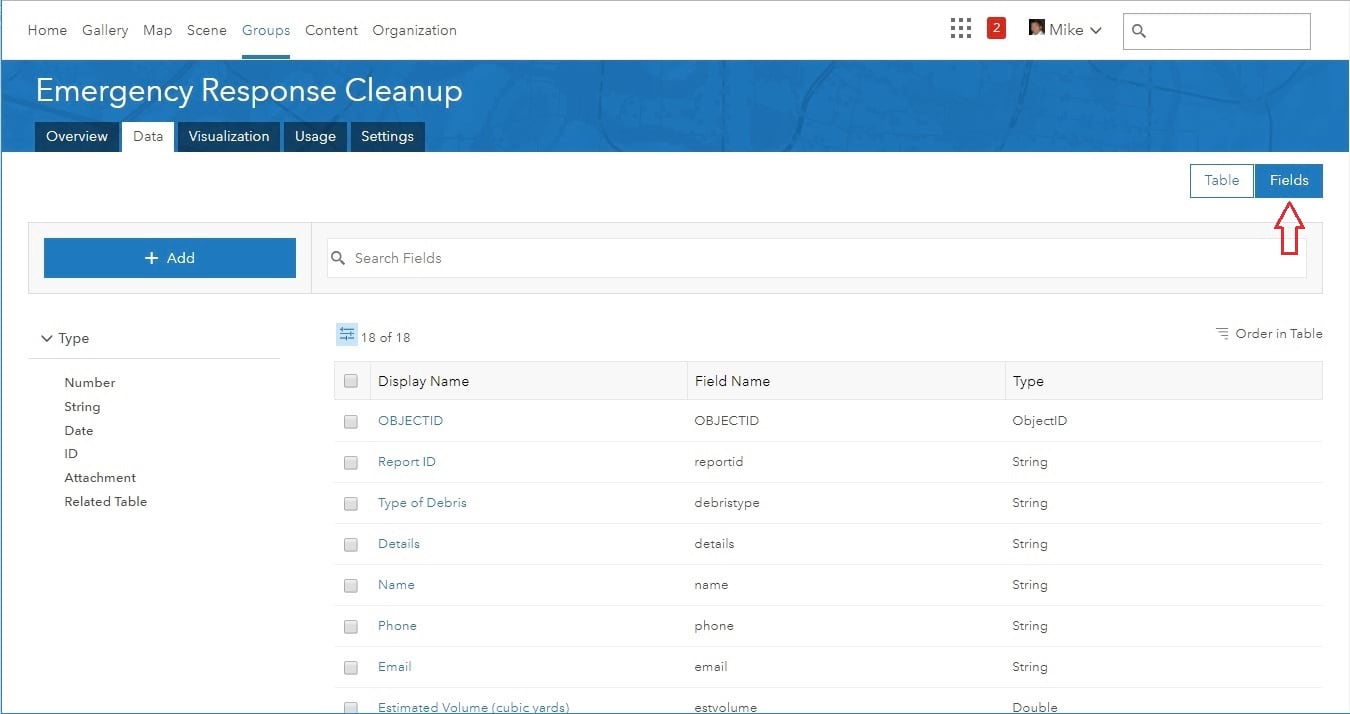
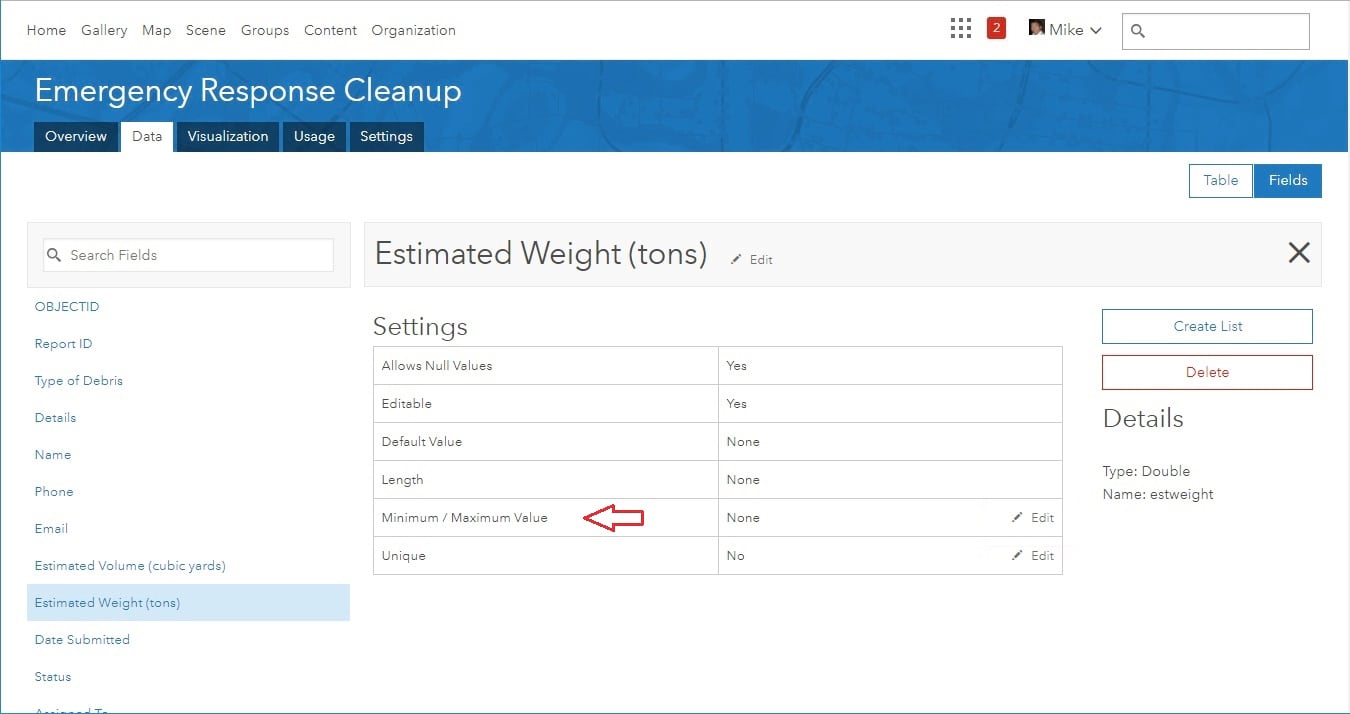
To understand what attribute information the layer contains, you navigate to the Data tab of the layer’s item page to view the attribute table and look at the fields and their values. With the June 2018 update to ArcGIS Online, you’ll notice a new feature on the Data tab, called fields view, that allows you to view the list of fields in the layer. Toggle to fields view by clicking the Fields option in the upper-right of the page.
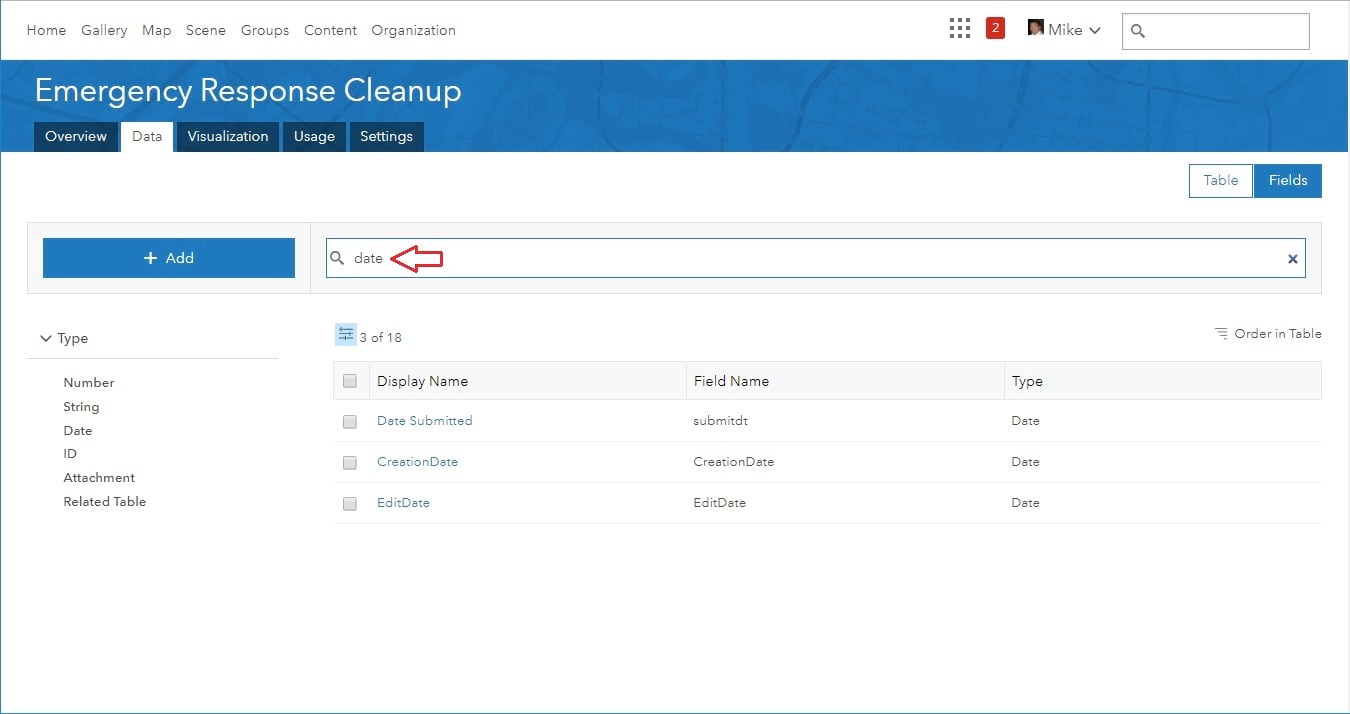
Fields view looks a lot like your view of items on the Content tab. As on the Content tab, you can tailor the view of fields by filtering and sorting them, or by typing a search string to find one or more matching fields.
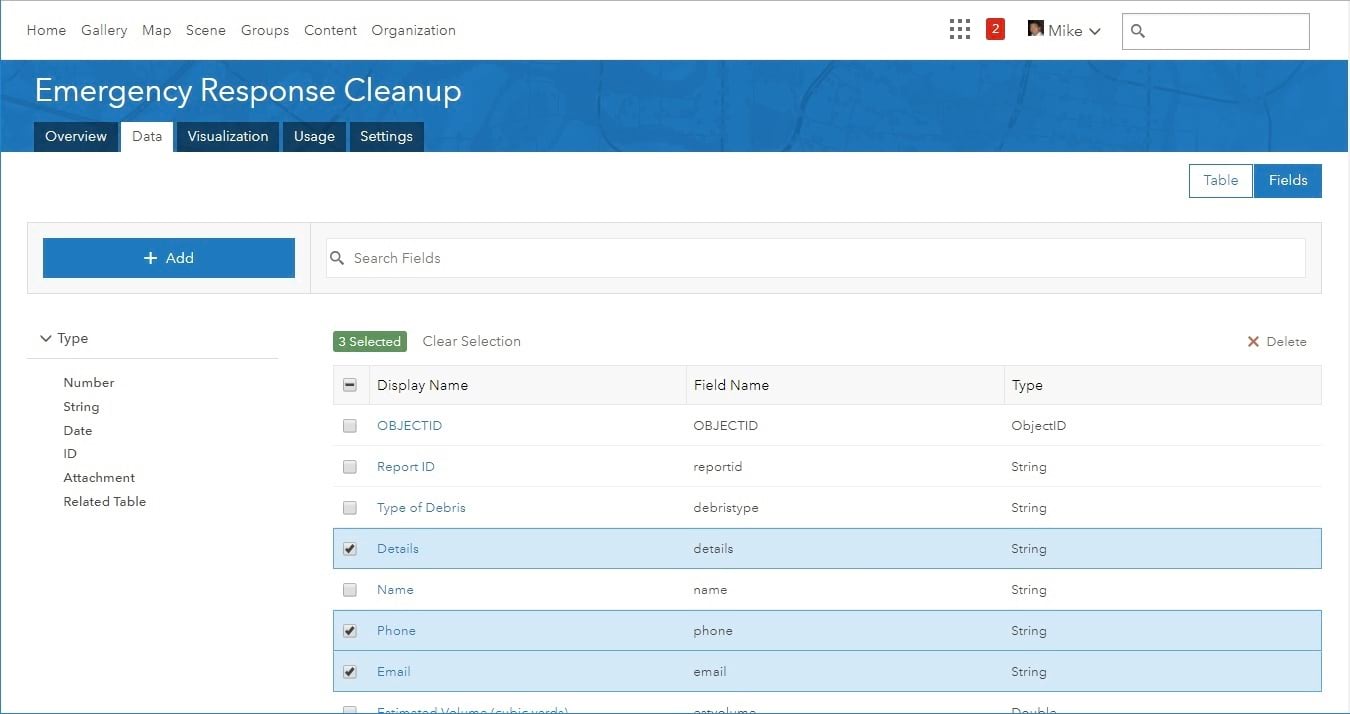
You can also select one or more fields and delete them. Note that you cannot delete system fields, or fields used to configure the layer, for example, for styling or labeling.
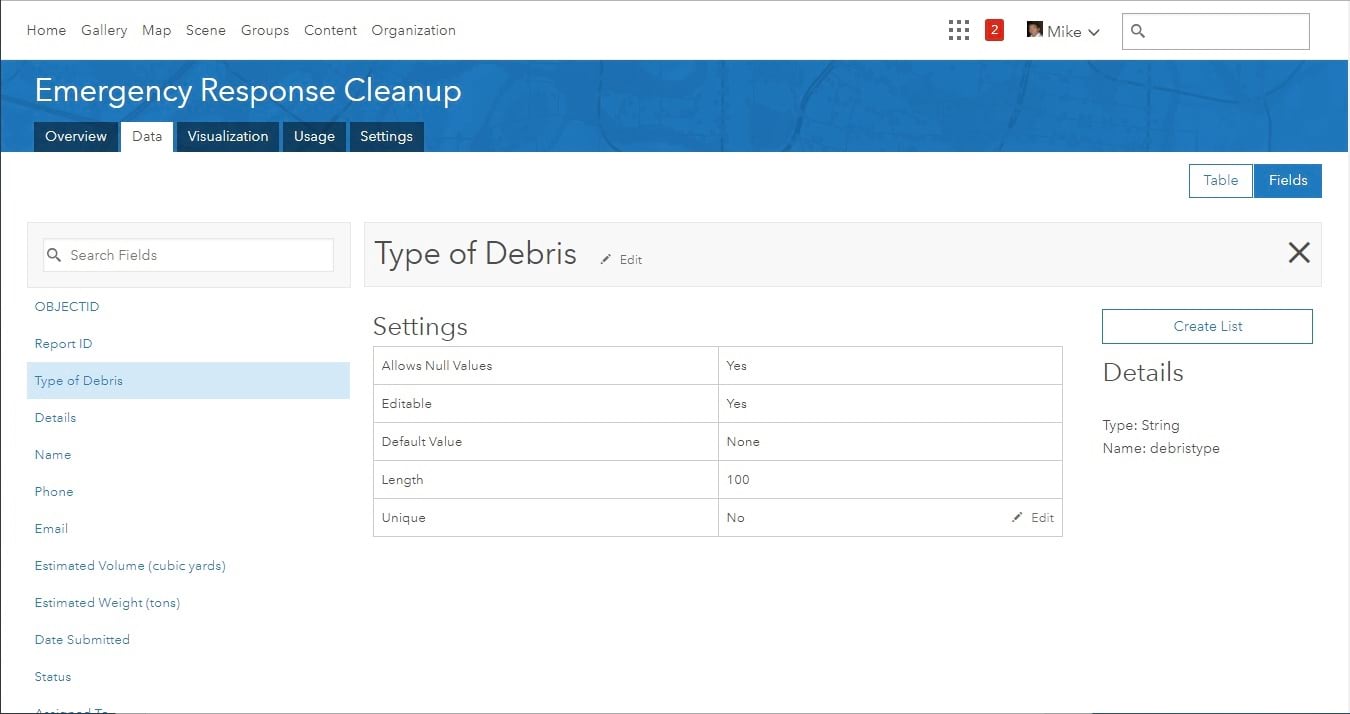
To see the details of a field, just click the field. The page refreshes to show the properties of the selected field. You can also quickly switch to the details of a different field by selecting from the list on the left.
Changing a field’s display name
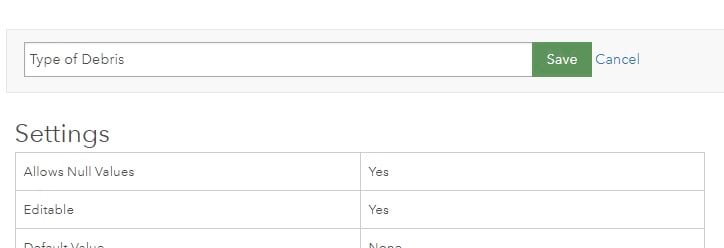
The layer owner or administrator can edit the display name (alias) for a field. By default, the display name is the same as the field name, but you can easily change a cryptic display name into a more useful, user friendly one that better describes the contents of the field. Simply click the edit button next to the display name.
Helping editors set the right attribute value
For people who need to edit the layer, you can ensure data quality by providing editors with a list or range of acceptable values for fields in your hosted feature layers. This helps to prevent editors from typing in incorrect values.
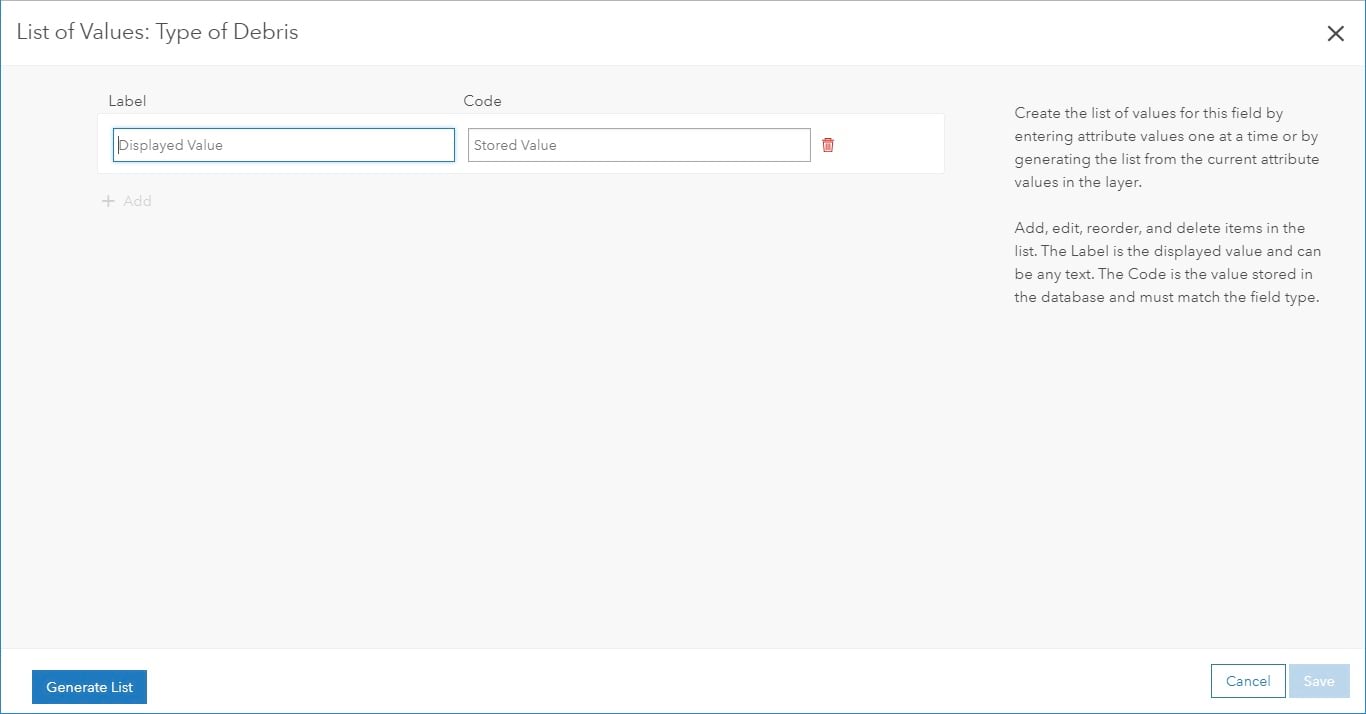
In the case of the Debris field in this example, you can define a list of different types of debris. Click the Create List button on the field details page to create your list.

You can now begin entering list values. Notice that items in the list have both a user-friendly label that displays to your editors and a code that is the value stored in the database. For example, you might choose to display an airport name, but store its three-letter code (Los Angeles International Airport and LAX), or provide a text label on a numeric field (High = 1).
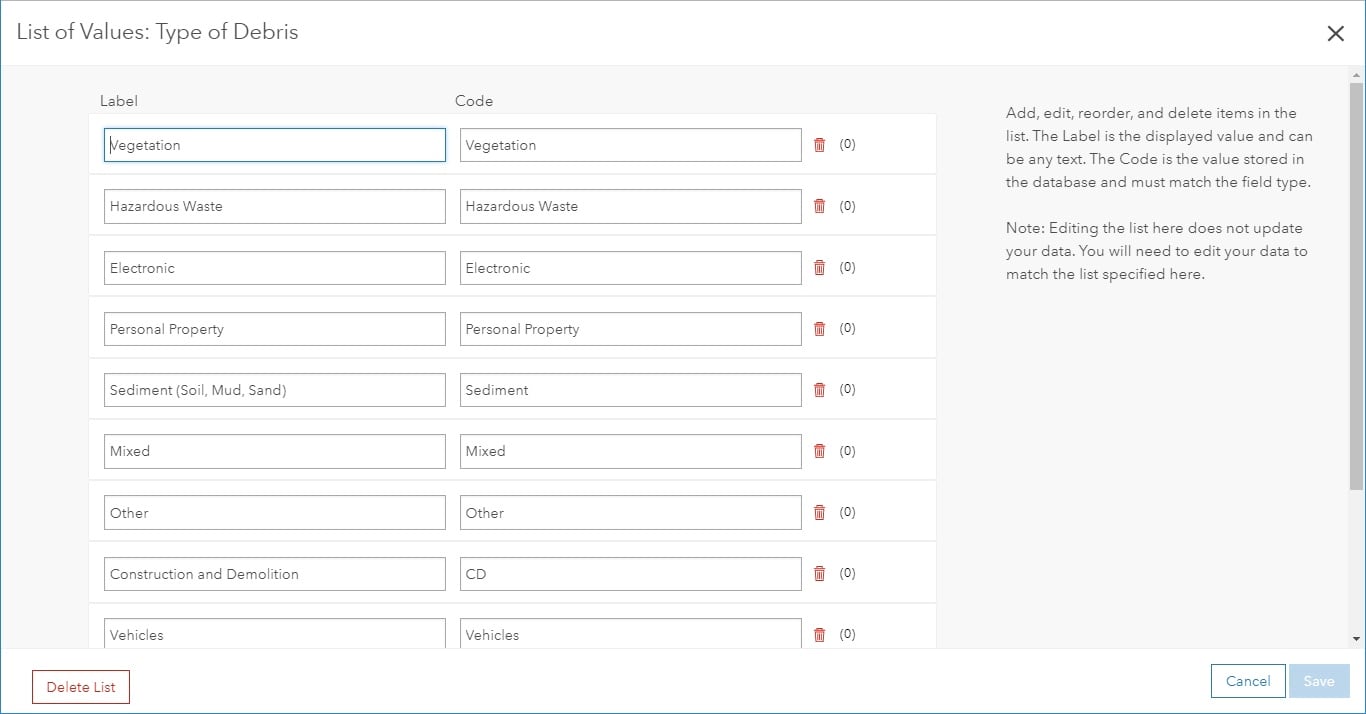
If your layer already has data, you can use the Generate List button to automatically populate the list with unique values from the field.
For numeric fields, you can alternatively specify a range of allowed values. Simply set the ‘Minimum / Maximum Value’ property.
More to come
With the latest update, we’ve just begun to give you all the features you need for understanding and managing field attributes. Here’s a glimpse at some of the ideas we’re considering that may (no guarantees) be added in future updates of ArcGIS Online. This is not a definitive list and we welcome your feedback and suggestions.
- Allow data owners to provide descriptions of fields so that others can easily understand what the field values represent.
- Provide the ability to create relationships between layers and tables and add related records to features.
- Provide a filtered view of attachments.
For more information, see the Help topic, Attribute Field Management.


Commenting is not enabled for this article.