After creating impressive 3D visualizations with your space-time cube layers, you may want to share these informative visualization layers with other stakeholders in a web scene. In this blog post, we will outline the steps to create and configure a space-time cube layer and subsequently share and access it within a web scene. To follow along, ArcGIS Pro version 3.5 or later is required.
Getting Ready to Share: Create and Configure a Space-Time Cube Layer
Set Up a New Scene
To begin, we can create a new ArcGIS Pro project using the Global Scene template or add a new global scene to an existing project.
After initializing the global scene, in the Contents pane, check if there is an active Elevation Surface. If so, click the checkbox to turn it off. In space-time cube layers, the z-axis (elevation) is used to represent time, so it is best practice to turn off any elevation surface that may interfere with the visibility of the space-time cube layer.

Create a Space-Time Cube Layer
After setting up the scene, we will go to the Command Search bar at the top center of the Pro window, type and search for “Make space time cube layer”.
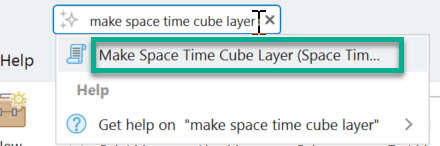
Click the item populated under the search bar and open the Make Space Time Cube Layer tool pane.
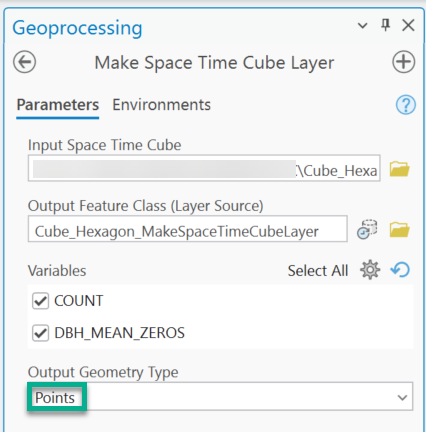
Input a cube that you want to represent, select a variable that you plan to visualize in the web layer, and specify the output path if needed. To improve visualization and rendering performance in the web scene, we recommend using “Points” as Output Geometry Type.
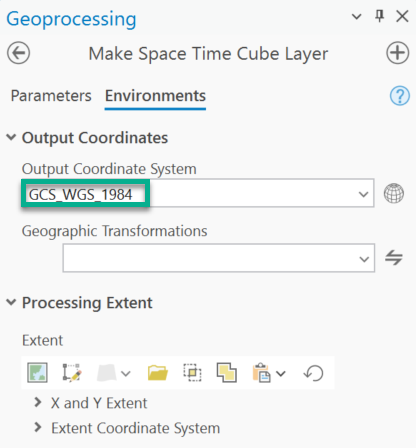
Switch to the Environments tab, for the Output Coordinate System, click the drop-down arrow and select “Current Map [Scene]”. “GCS_WGS_1984” will pop up in the Output Coordinate System window.
You can also use Processing Extent in Environments settings to only create a focus area.
After confirming all the parameters and environment settings, we’ll go ahead and click Run to generate the space time cube layer.
Configure the Space-Time Cube Layer
Once the tool has finished running, the output space-time cube layer will be added to the scene. To begin configuring the visualization, select the space-time cube layer in the Contents pane, then activate the Space Time Cube ribbon to access visualization and analysis options.
Interact with the ribbon tools to configure your space-time cube layer. You can change visualizing variables, apply different display themes, and configure a temporal extent. To enable the time slider on the web scene, switch Time Steps to Single or Cumulative.
If you are working with a space-time cube layer generated from a grid cube and using Points as the Output Geometry Type, be sure to set the Symbol Scaling to Fixed. This allows you to customize the height and width of the bins to better represent your data on a web scene. Once configured, you can upload the customized symbology to the web for consistent visualization across platforms.

Upload the Space-Time Cube Layer as a Web Service
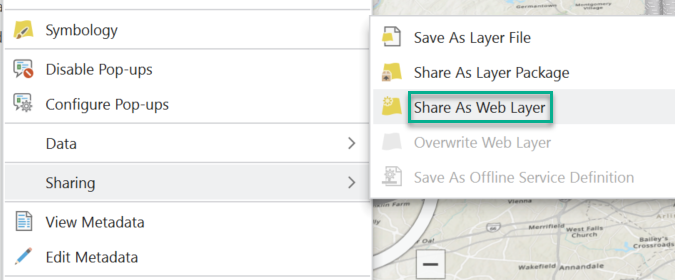
After you finish setting up the visualization, right click on the space-time cube layer in Contents pane. Click Sharing and select Share As Web Layer. Make sure you are signed in to ArcGIS Online or a portal. If you are not signed in, the Share As Web Layer option will not be available.
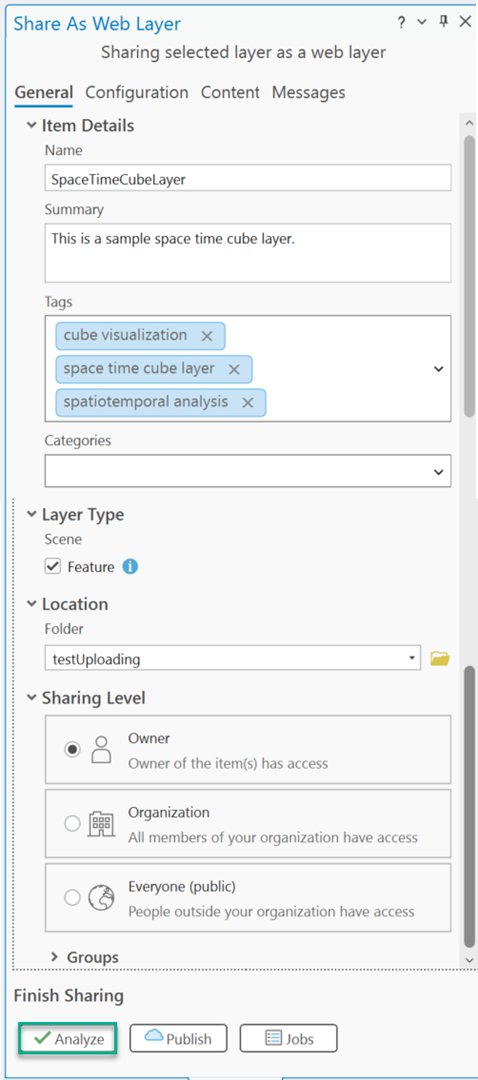
In the Share As Web Layer pane, fill in necessary Item Details, and then set up Location and Sharing level. (You can also edit above information after the layer is uploaded.) Then click Analyze. If there are no errors in the Messages, finish sharing by clicking Publish.
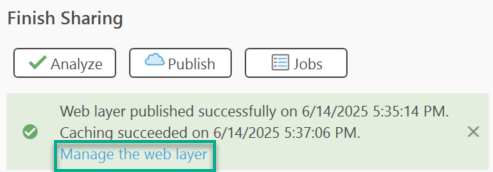
After the layer has been successfully shared, click Manage the web layer link to access its item page.
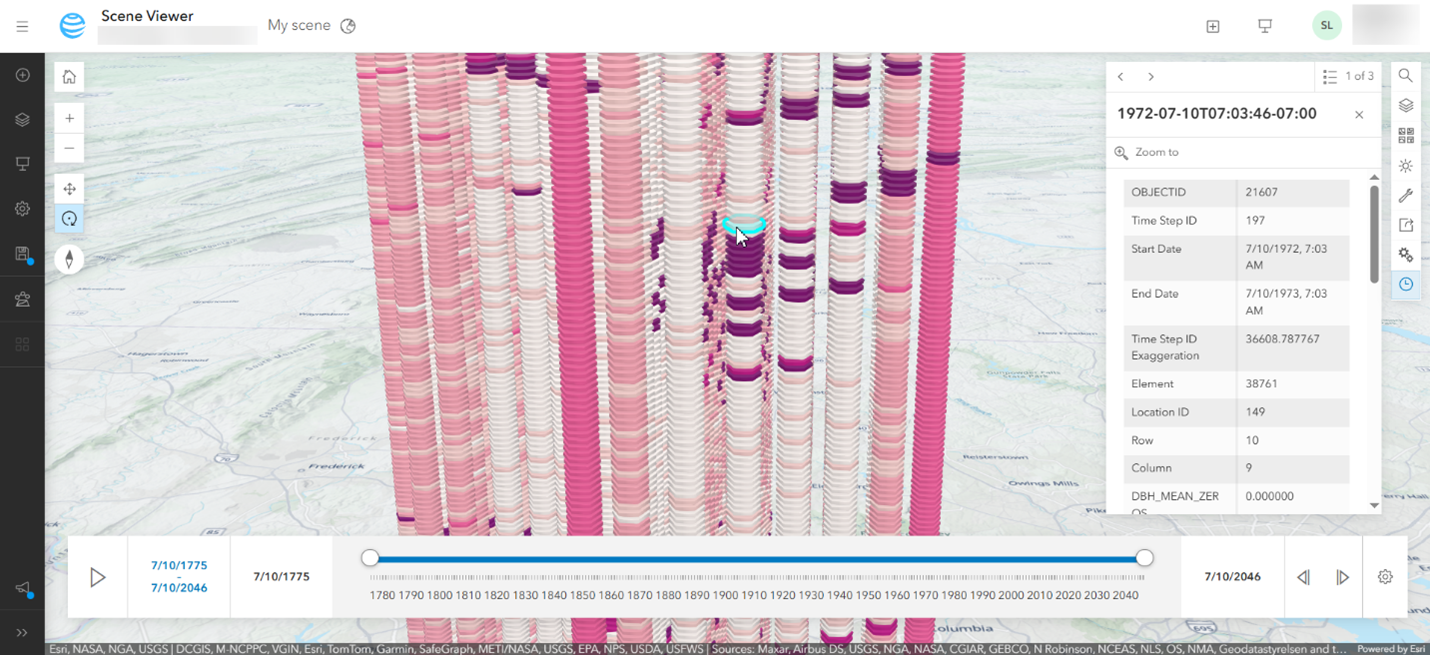
To view the uploaded web layer, in the item page, select Open in Scene Viewer. From here, you can modify the published web layer’s style and properties. You can also interact with the time slider and scene tools. The item is now uploaded and can be shared with others, used in a web app, or added to a story map.
Notes and Tips
- In ArcGIS Pro, a space-time cube layer activates the Space Time Cube ribbon, which enables you to explore the space-time cube layer dynamically. After you publish the space-time cube layer, it is converted to a web scene feature layer, which can only display information. Before publishing, make sure to configure the layer in ArcGIS Pro as you would like it to display in the web scene.
- A published web feature layer can only visualize one variable. The information of other variables that were included within the space-time cube layer will still be stored. Users can access this information in the web scene by clicking the pop-up table for each bin.
- Due to current limitations of uploading feature classes with spatial definition queries, space-time cube layers with spatial extent configurations cannot be published. It will return an error message on the sharing steps. To work around this, think about using Processing Extent to trim your space-time cube layer in Make Space Time Cube Layer tool.
- The Time Series Chart and Time Series Pop-ups by location are no longer available for published web layers.
- The Range setting and Elevation settings are not supported in a web feature layer. Consider using a definition query under the layer’s Properties.

Commenting is not enabled for this article.