How long is your list of recent projects? I just counted mine–it’s up to 25. It can be hard to keep track of what each project is about, especially ones that you haven’t worked on for a while. For instance, when I look at the list below, I’m not sure what MD stands for, and I don’t remember what I was doing in MyProject2.
Not only that, but I’m a little tired of the generic blue briefcase look.
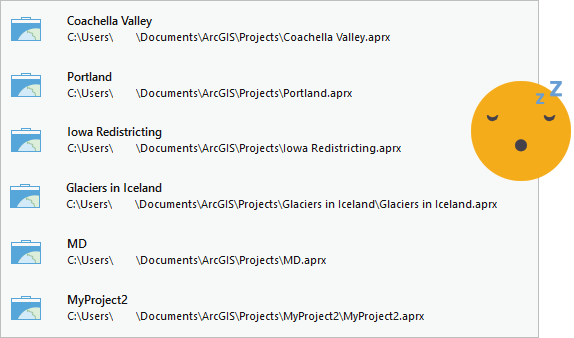
So I was happy to learn that in ArcGIS Pro 3.1, you can display your recent projects as tiles with thumbnail images.
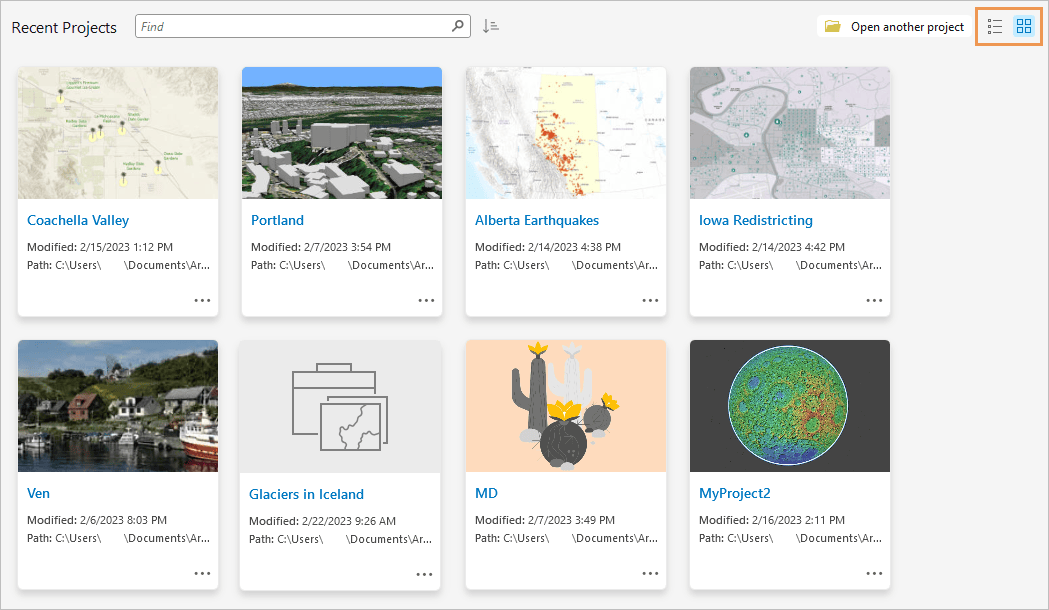
This is visually appealing, and it helps me recognize my projects. The picture reminds me that MD stands for Mojave Desert. MyProject2 is my spare-time project about the moon. (Granted, I could have chosen better names to begin with.)
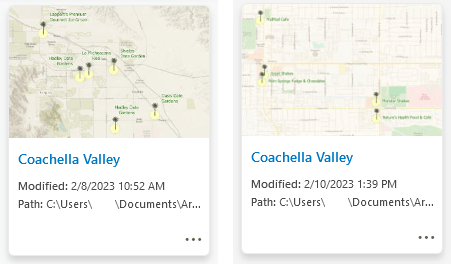
Project thumbnails can be static images that don’t change or dynamic images that update to reflect the current state of a map or scene. The thumbnail for my Coachella Valley project shows a map I made of places to get date shakes. It updates dynamically, as you’ll see.
To display thumbnails, click the Tiles button on the start page. (Click the List button
to switch back to list view.)
The first time you view projects as tiles, they’ll probably all have the same default gray thumbnail as the Glaciers in Iceland project, above. Let’s see how to make a thumbnail that better represents that project.
Make a project thumbnail
Follow these steps to add a thumbnail image to your project.
1. Open a project.
2. On the ribbon, click the Project tab to go to the ArcGIS Pro settings.
3. In the list of side tabs, click Info.
The Info page is new at ArcGIS Pro 3.1. You can describe your project here—and you should—but this workflow will focus on thumbnails.
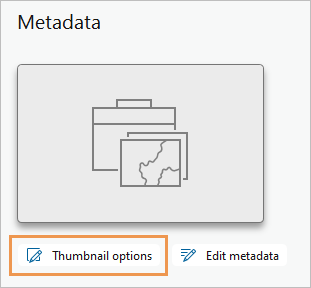
4. Click Thumbnail options.
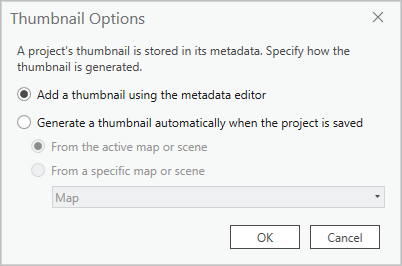
The Thumbnail Options dialog box appears. From here, you have two choices. You can add a thumbnail with the metadata editor. This is a static image that doesn’t change unless you replace it. Or you can generate a thumbnail from a map or scene in the project. This image updates with your changes when you save the project.
Add a thumbnail using the metadata editor
First, let’s add a static image. From the Thumbnail Options dialog box, follow these steps:
1. Choose Add a thumbnail using the metadata editor and click OK.
2. On the Info page, click the Edit metadata button .
An editable metadata view opens in the project.
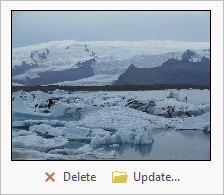
3. Under the thumbnail frame, click the Update button .
4. On the Import Thumbnail browse dialog box, browse to an image file and select it. Click OK.
The image must be in PNG, GIF, JPEG, or BMP format. The recommended size is 200 pixels wide by 133 pixels high, or an equivalent multiple, but images are resized to fit.
5. On the ribbon, in the Manage Metadata group, click the Save button .
6. Close the metadata view.
7. On the Quick Access Toolbar, click the Save Project button .
8. On the ribbon, click the Project tab.
On the Info page, the thumbnail now appears in the project metadata.
9. In the list of side tabs, click Open to see your recent projects.
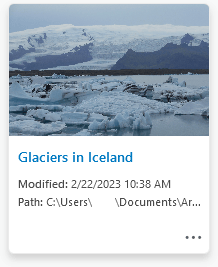
I’ve chosen a picture of the Vatnajökull glacier. I don’t plan to change the thumbnail, so a static image added with the metadata editor was the right choice. Now let’s compare the automatic thumbnail option.
Generate a thumbnail automatically
From the Thumbnail Options dialog box, follow these steps:
1. Choose Generate a thumbnail automatically when the project is saved.
2. To generate a thumbnail from the active map or scene, select From the active map or scene and click OK.
Another option is to generate a new thumbnail when a specified map or scene changes.
3. Click the Back button on the settings page to return to the project.
4. Do some experimenting.
a. Save the project with a map or scene active.
b. Go to the Info page and view the thumbnail in the project metadata.
c. Return to the project and make a change to the active map, or make a different map or scene active.
d. Save the project. Go back to the Info page to see the updated thumbnail.
e. Click the Open tab to see the thumbnail in your recent projects list.
In this case, I used my Coachella Valley project, which was zoomed to the area around Indio. I copied the map, panned to Palm Springs, picked a slightly different basemap, and changed the label placement. Then I saved the project with this new map active.
Have fun with this new feature. And don’t forget about the ArcGIS Pro 3.0 enhancements that allow you to find recent projects by name and sort the project list in various ways.

The long-standing methods for managing recent projects are still available in both tile and list view. You can hover over a project and pin it to keep it at the top of the list, or click the options button and remove it if you’re done with it for the foreseeable future.
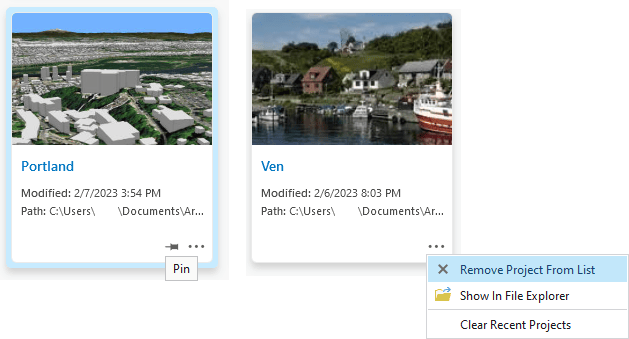
So long, Ven, home of the Tycho Brahe museum–you were one of my favorite projects. But now you’re archived, and I’ve moved on from goat cheese to date shakes, so you’re coming off the list.
Project thumbnails are just one example of new features for working with projects. You can find more in the Projects section of the What’s new in ArcGIS Pro 3.1 help topic.
Thanks to Naicong Li for help in the preparation and review of this article.
Article Discussion: