Projections are cool. Custom projections are cooler. And despite what you may think, they are not difficult to make.
This post is part 2 of a little series I’m writing about the making of this map of the Tibbitt to Contwoyto Winter Road in northern Canada. For this map, I made a custom projection.
If you want to follow along, add this layer to ArcGIS Pro.

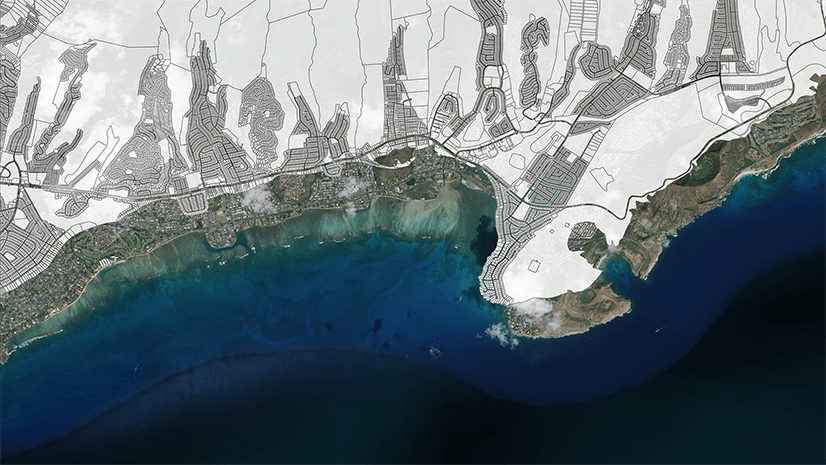
This layer represents the ice road which is the theme of my map, and some adjacent roads. I want to choose a projection which is suitable for it.
1. Open Map Properties in ArcGIS Pro and click the Coordinate Systems tab.
2. Click Spatial Filter and Set Spatial Filter.

This dialog will filter the list of available coordinate systems to only the ones that cover your chosen extent.
3. Click roads so the extent will match that of the roads layer. Click Apply.
4. In the coordinate system list, expand Projected coordinate systems. Have a look through this list to see if there are any obvious candidates.

A nice obvious candidate would be called something like “NAD 1983 Tibbitt to Contwoyto Winter Road.” But of course there is nothing quite so specific.
Usually I just go for the appropriate UTM Zone projection. But in this case, the extent of the road layer covers 2 UTM Zones. NAD 1983 Northwest Territories Lambert looks like a good choice, but the road also extends into Nunavut territory.
I decided to make a custom projection instead.
5. Visit the Projection Wizard. This handy tool (created by Bojan Šavrič) will suggest a custom projection for you based on your desired extent and distortion property. You don’t need to know how to create projections, you just need to know what you want.
6. First, set an extent. You can either drag the corners of the blue box, or zoom in and click the Fit Area button. I just eyeballed it to match the general extent of my road layer, but you can enter precise values if you prefer.

7. Next, choose a Distortion Property.
All projections will distort something in order to preserve something else. Mercator, for example, is a conformal projection. This means it will preserve angles at the expense of area, so the shapes of features appear correct, but their sizes are distorted. If you don’t know what to choose, you can read about projection types here.
8. I chose Conformal because I wanted to preserve the relative shapes of the lakes in my map. Mine is a thematic map and not very concerned with making measurements of areas or distances.
The tool recommended Lambert conformal conic and gave me four parameters for fitting this projection to my specific area:
- Latitude of origin: 63° 59′ N
- Standard parallel 1: 62° 28′ N
- Standard parallel 2: 65° 31′ N
- Central meridian: 111° 38′ W
9. You can use these parameters in ArcMap or ArcGIS Pro. But first you need to convert from the Degrees, Minutes, Seconds format into decimal degrees. There are a lot of online tools that can do that for you. This is just one of them.
10. Back in ArcGIS Pro, on the Map Properties page, click Add Coordinate System and choose New Projected Coordinate System.

11. Give your new projection a new name, and edit the properties to match the values provided by Projection Wizard.

12. Click Save. The Current XY button now reads Ice Road to indicate it is the current coordinate system for the map.
13. Find the new coordinate system under the Custom category. Right-click and choose Add to Favorites. Right-click again and choose Save as Projection File.

Step 13 is optional, but highly recommended. Otherwise you risk losing your new coordinate system, since the Custom category is only a temporary holding space.
14. If you want to apply your newly-saved projection to a different map, click Add Coordinate System and choose Import Coordinate System. Browse to the .prj file that you saved in step 13.

You can learn more about choosing the right projection for your map at this help topic.
You can read the first blog in this series, at Prep Your Cartography Project.
You can download the project package of the final map to see this custom coordinate system in action.

Commenting is not enabled for this article.