If you’re anything like me, you make mistakes. A lot of them. Fortunately, I work on a team full of super-sharp people who have enough patience to help me deal with my issues while they manage their own. But as I learn and grow, I want to take up less of their time, and figure out how to resolve my own minor crises.
This blog post is the fourth in a series of JavaScript debugging tips and tricks to help you on your way. While earlier posts focused on browser debugging, this one will have an emphasis on using native JavaScript to handle errors with the 4x version of the ArcGIS API for JavaScript. The next blog will focus on the error handling abilities of the API itself.
Nothing happened
This is my most common issue. I write some code and run it in a browser, and either nothing happens or nothing changed. No bueno. So I go to the samples and search for a keyword and then copy and paste part of the sample code from the sandbox, host it locally in my original app, and watch it work. Bueno. But I learned nothing.
When this happens, cracking open the browser console will usually reveal what’s gone wrong. If it’s not there, then for sure there’s a request in the network tab that had an erroneous response. These are good ways to figure out what broke, but only after the fact. As Maureen Howard said: “Hindsight is common and bland as boiled potatoes.”
We should really try to get in front of our potential potato problems. Let’s look at the app development process and see where we can make some improvements.
JavaScript error handling
Like a trail of luminescent stones left out in the moonlight, adding proper error handling logic to your code can help guide you to where you want to go. Let’s look at an example.
Say you want to create an app with some granular printing controls. If you look at the doc for printTask.execute(), you can see that the method takes two parameters; the first is required and the second is optional. You can also see that the method returns a promise, which when resolved returns a PrintResponse with one property.

If you look at the code snippet for printTask.execute(), you see this line:
printTask.execute(params).then(printResult, printError);
This makes use of the promise that is returned as the result of the printTask using a .then() method that calls the printResult() function if the promise resolves, or calls the printError() function if the promise fails. Here is a live app that has two print buttons. One should pass, and one should fail.
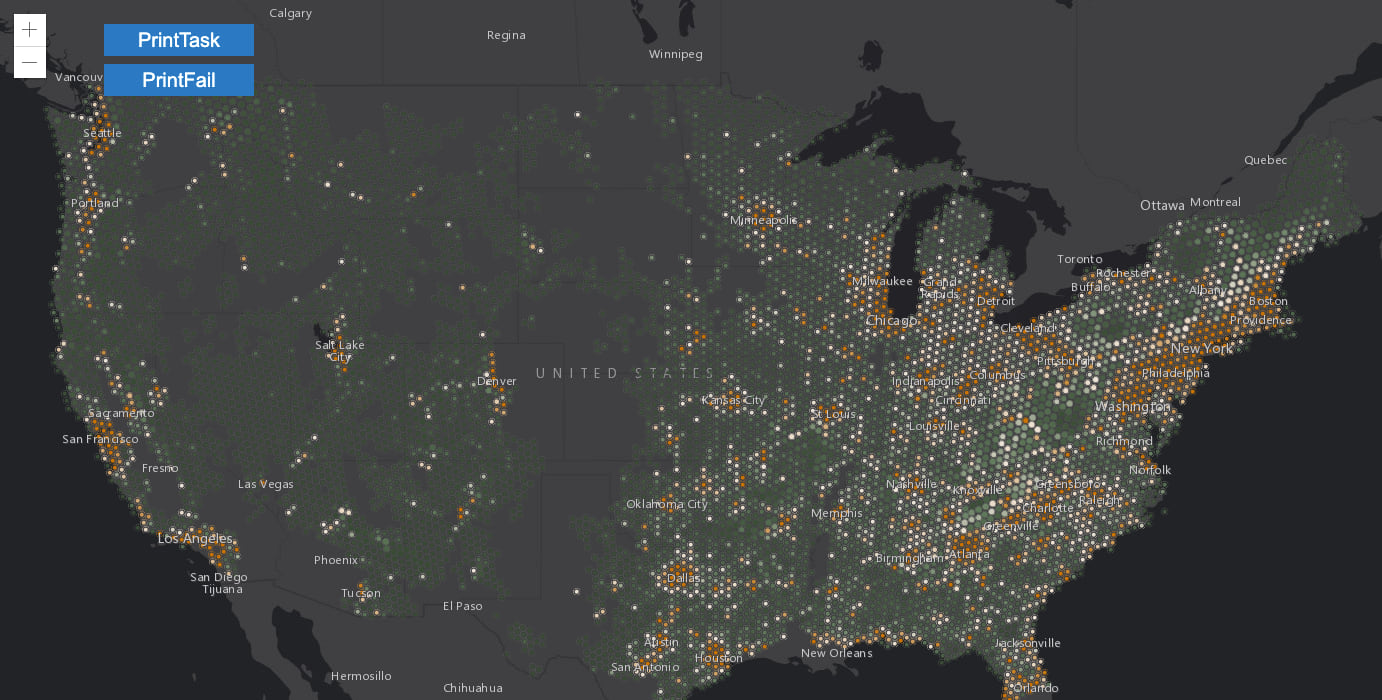
Open the console of the web browser, and you should see this message:
Something broke: TypeError: Cannot read property 'spatialReference' of null
Sure enough, the spatial reference is null because I forgot to define the view when I constructed the second print task function. But if I did not have that simple printError() function, it would be far less obvious what the issue was.
Now that’s a good way to handle errors with native JavaScript promises, which the ArcGIS API for JavaScript returns by default since version 4.15. Let’s look at another way to handle errors.

Another option is to use try and catch statements. This is a good way to handle new and/or important functionality in your app. So if you’re adding something new and just testing it out, this is a good option to try it out. Or if there is functionality that you want to actively monitor, this is a good option to catch any potential issues and handle them appropriately.
Here is an example of what a try and catch statement looks like:
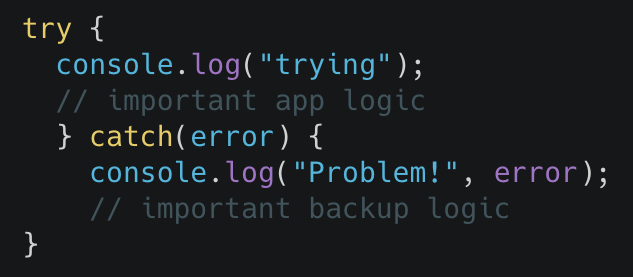
This time, let’s wrap our important functionality in the try statement. Then we’ll add some logic to the catch statement so that the app doesn’t crash if the try statement fails. This is a better end-user experience (e.g. an experience versus a blank screen).
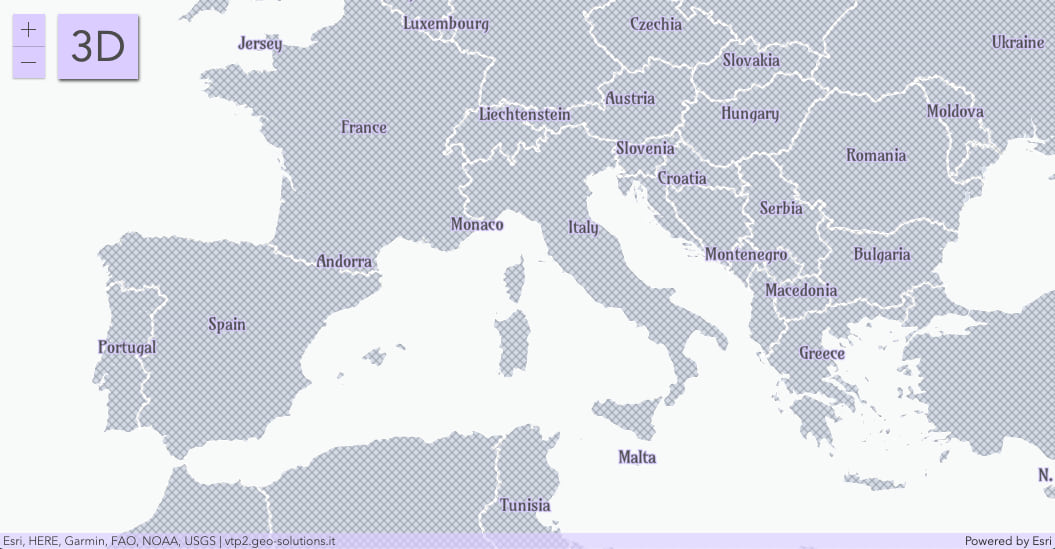
This app makes use of the OGCFeatureLayer, which is new at version 4.16. The functionality we want to monitor is the ability to switch between a 2D MapView and a 3D SceneView with the click of a button. As an aside, we were able to match the exact purple color between the CSS, the button, and the label halos by using the Color Picker in Chrome DevTools.
The try statement starts at line 153. We try to set the viewpoint, container, and activeView properties to match the view that the end-user switched to. Now without this try/catch statement, if this part of the app failed, the app would crash, the screen would be blank, and the console would be full of helpful but slightly angry error messages. A better way is to add the try/catch statement, so that if the try part fails, the catch part keeps the app alive. In this app, we assign the above property values to the last known working values, then log a message in the console.
Expand to view the code for try/catch
if (is3D) {
   try {
      console.log("Switching to 2D");
      appConfig.mapView.viewpoint = appConfig.container;
      appConfig.mapView.container = appConfig.mapView;
      appConfig.activeView = activeViewpoint;
      switchButton.value = "3D";
      } catch {
         console.log("Problem switching to 2D. Remaining in 3D.");
         appConfig.sceneView.viewpoint = activeViewpoint;
         appConfig.sceneView.container = appConfig.container;
         appConfig.activeView = appConfig.sceneView;
         switchButton.value = "2D";
      }
} else {
   try {
      console.log("Switching to 3D");
      appConfig.sceneView.viewpoint = activeViewpoint;
      appConfig.sceneView.container = appConfig.container;
      appConfig.activeView = appConfig.sceneView;
      switchButton.value = "2D";
      } catch {
         console.log("Problem switching to 3D. Remaining in 2D.");
         appConfig.mapView.viewpoint = activeViewpoint;
         appConfig.mapView.container = appConfig.container;
         appConfig.activeView = appConfig.mapView;
         switchButton.value = "3D";
      }
}
The code snippet above shows how the app below works. Click on the 3D or 2D button in the upper-left corner to run the app and run into issues: try/catch OGCFeatureLayer app.
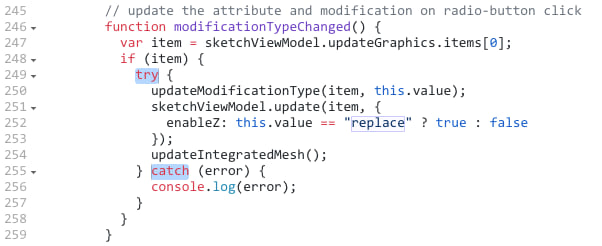
Another good try and catch example from our SDK: Sample – IntegratedMeshLayer modification. The logic starts at line 249:
Fun, right? And practical.
Additional Resources
Want more? Me too. Here are some links to additional resources, and feel free to leave a comment below to share your own debugging resources.
Past blogs in the series:
- JavaScript Debugging Tips Part I – Google Chrome and the Network Tab
- JavaScript Debugging Tips Part II – Google Chrome and the Console Tab
- JavaScript Debugging Tips Part III – Advanced Google Chrome Developer Tools
Helpful videos:
- Webinar: Tips and Tricks for Developing and Debugging Apps (2020)
- ArcGIS API for JavaScript: Tips and Tricks for Developing and Debugging Apps (2019)
Useful doc:
Images:
- The comic-style images in this blog were generated using Microsoft Teams Stickers.
Stay tuned till next time, when we’ll look using the ArcGIS API for JavaScript for error handling, instead of just native JavaScript. Happy debugging!

Thank you for your very clear explanation !