Note: This blog article covers the classic Esri Story Maps which are in mature support and scheduled to be retired in late 2025. Story authors are strongly encouraged to use the new ArcGIS StoryMaps to create stories.
For more information about transitioning to the new StoryMaps, see ArcGIS StoryMaps resources. For more information about the transition from classic Esri Story Maps to the new ArcGIS StoryMaps, see Esri Story Maps: Now in mature support.

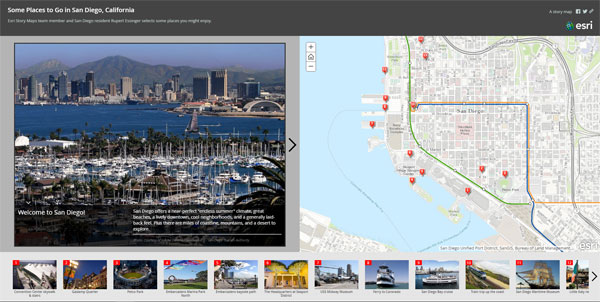
Story Map Tour is among the most popular story maps, ideal when you want to present a linear, place-based narrative featuring images or videos. Each “story point” in the narrative is geo-located. Viewers have the option of clicking sequentially through the narrative, or they can interact with the map or browse using the thumbnail carousel.
Some Places to Go in San Diego is one example, and you will find more in the Story Map Tour gallery. To learn more, see the Story Map Tour overview and tutorial.
Flickr and the Story Map Tour builder
One of the locations you can access photos for your Map Tour is Flickr, a very popular online photo management and sharing site. One of the features of Flickr is that it stores not only your original image, but different sizes (resolutions) based on the original.
Each story map has a builder—a helper app that guides you through the process of authoring your story map. The Story Map Tour builder is designed to work in a complementary fashion with Flickr, and is smart enough to obtain the appropriately sized image for both the thumbnail and featured photo. This ensures that the optimal image for the Web is used in your Map Tour, and you won’t have to worry about inadvertently using a 5MB photo as a thumbnail.
Photos that you wish to use in your Map Tour must be in an album (not just in your Flickr photostream). Adding a note to your album about their use in a story map, or creating a unique album for each story map, will help to ensure you don’t accidentally remove needed photos.
Tip: Titles and captions you’ve added to your Flickr photos will automatically be used in the Map Tour, saving story map editing time.
Add Flickr photos to your Map Tour
Follow the steps below to add Flickr photos to your Story Map Tour.
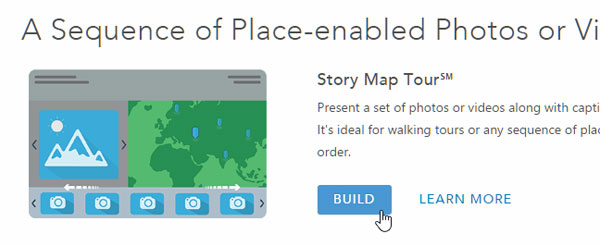
Step 1. Launch the Story Map Tour builder. There are several places to launch it, one way is to open the Apps tab at the Story Maps website, scroll to Story Map Tour, and click Build.
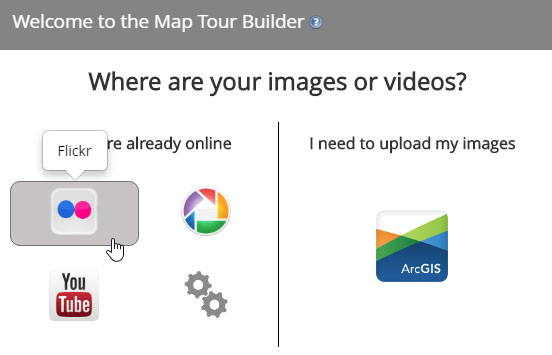
Step 2. After the builder launches, choose Flickr as the location from where to obtain photos.
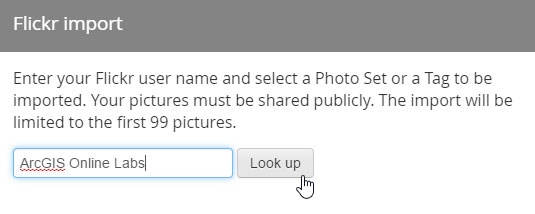
Step 3. In Flickr import, enter the Flickr user name, then click Look up. Note that your photos must be shared publicly to use in the Map Tour.
Step 4. After entering your user name above and clicking Look up, choose an album from the drop down list.
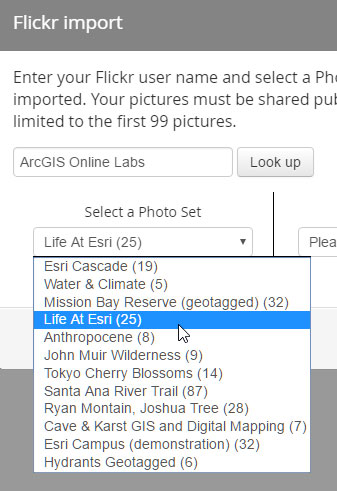
Then click Import.
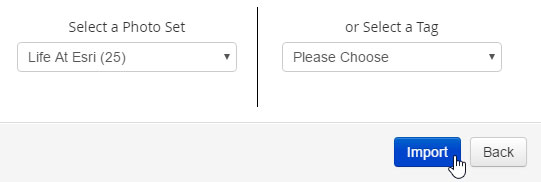
Step 5. Locate your photos.
If the photos are not geotagged, they will appear in the To Locate list. Click to select a photo, then place it on the map. You can refine the locations later (Step 6).
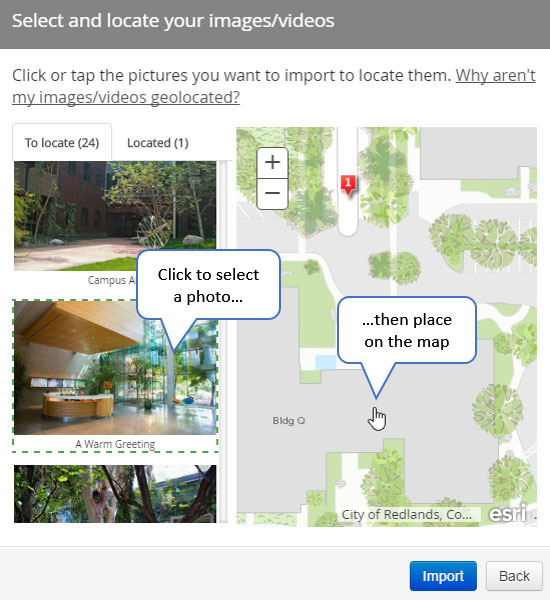
If the photos are geotagged, they will automatically be placed on the map and listed on the Located tab.
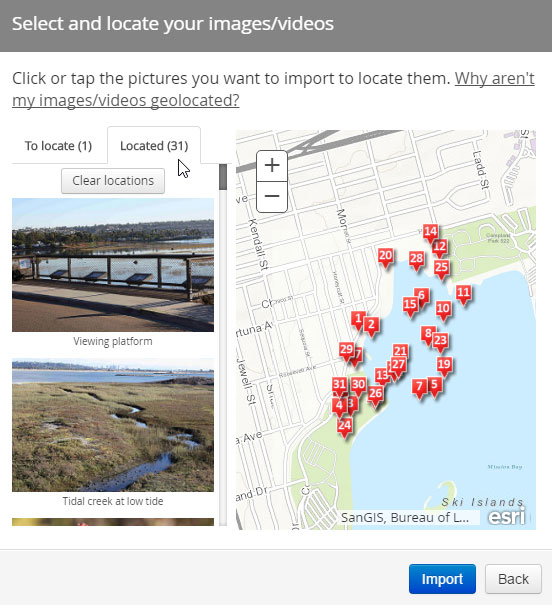
You can remove unwanted photos by selecting them from the Located list.
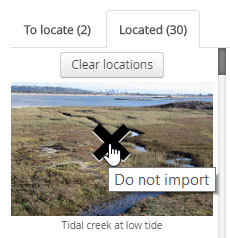
You can adjust the locations of geotagged photos via the map. Additional changes can be made later (Step 6).
Step 6. Refine and finalize your Map Tour.
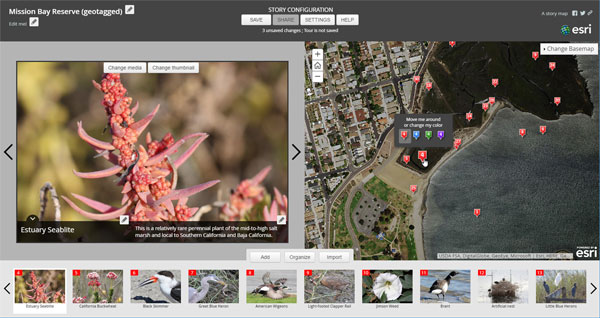
You’ve successfully added your photos to your map, and can make other edits while in builder mode to complete your Map Tour. Add titles and captions for your photos as needed. You can also can reorder or adjust locations, change symbols, set the map zoom extent, change the color scheme and layout, add a logo, and more.
Experiment with the various options to learn more about what you can do, or view the Story Map Tour tutorial for more details. When finished, save and share your Story Map Tour.

Commenting is not enabled for this article.